Meep-Meep
дворянин
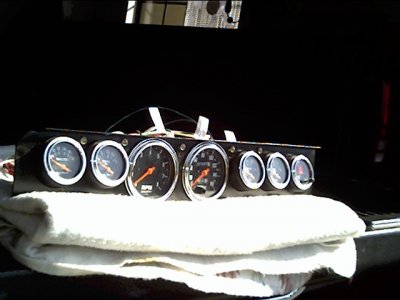
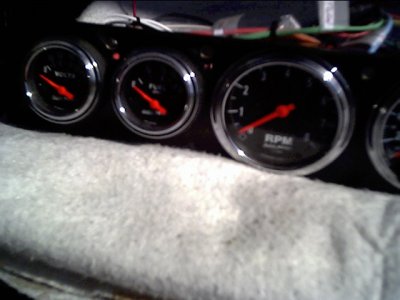
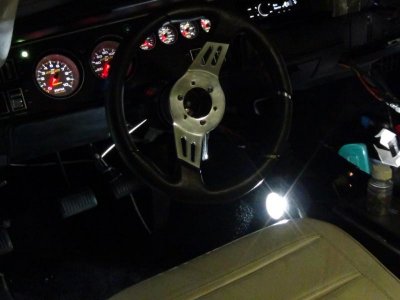
That's a nice looking and clever way around a factory gauge cluster restoration. A lot cheaper too! And it has a certain European flare to it. I used to have a 72 Porsche 911 and one thing I can say about the dash is it was strictly business. When you sat in the drivers seat the first thing you see front and center is the huge tach.
Here is an example http://farm4.static.flickr.com/3374/3413865278_044b6d0280.jpg
Here is an example http://farm4.static.flickr.com/3374/3413865278_044b6d0280.jpg
 imp_daddy: Damn, I'm just full of good ideas tonight! Or just full of it!