• When you click on links to various merchants on this site and make a purchase, this can result in this site earning a commission. Affiliate programs and affiliations include, but are not limited to, the eBay Partner Network.

1970 superbee

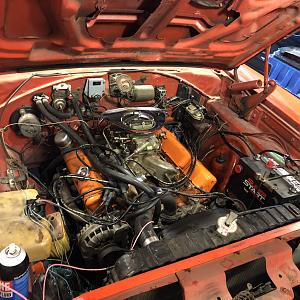
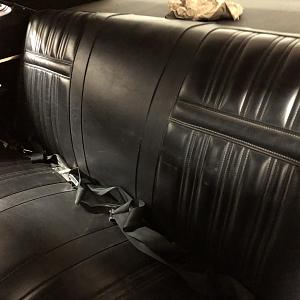
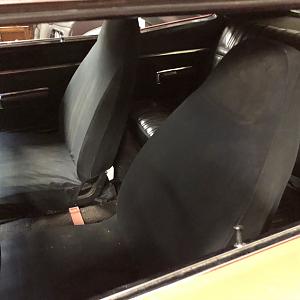
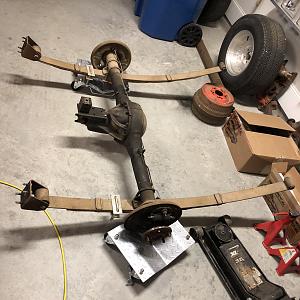
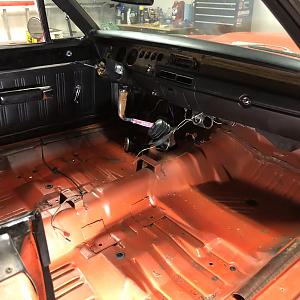
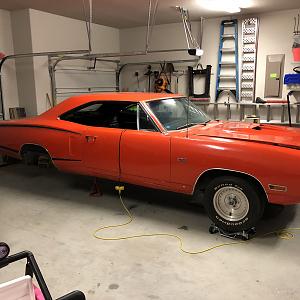
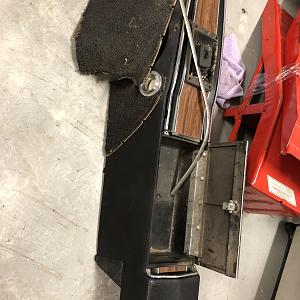
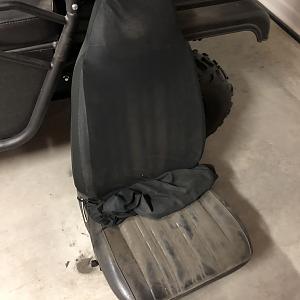
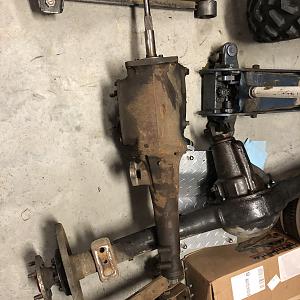
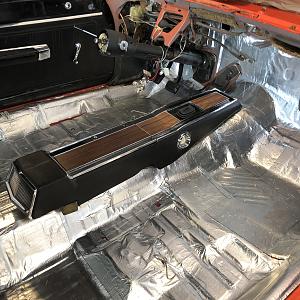
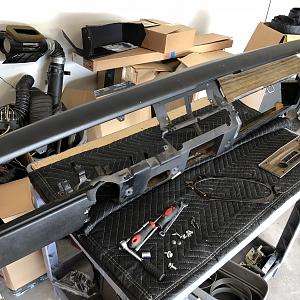
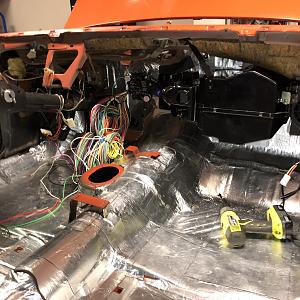
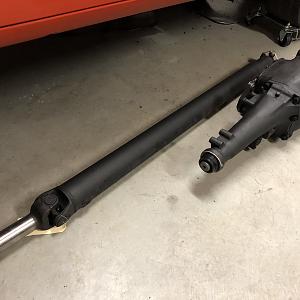
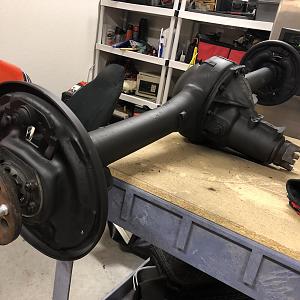
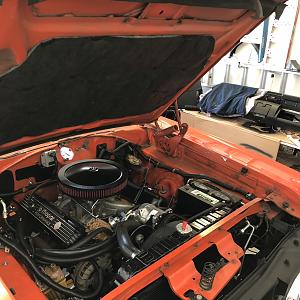
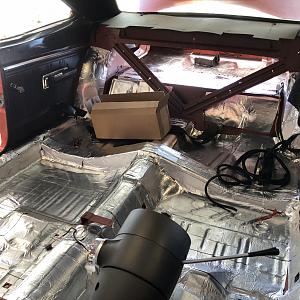
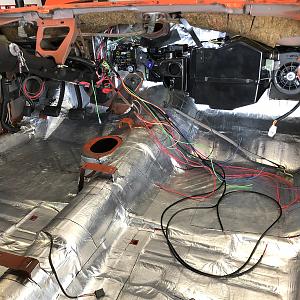
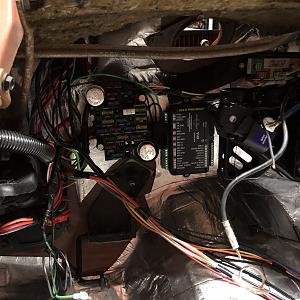
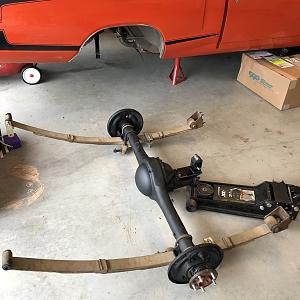
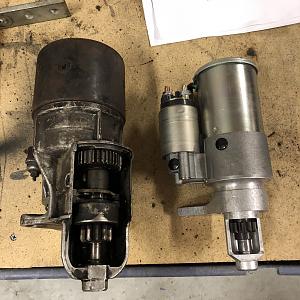
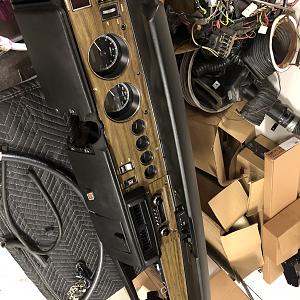
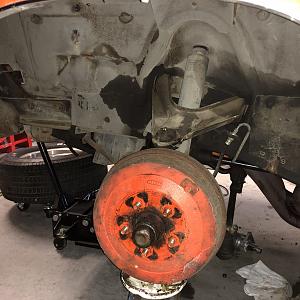
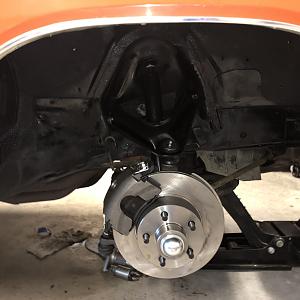
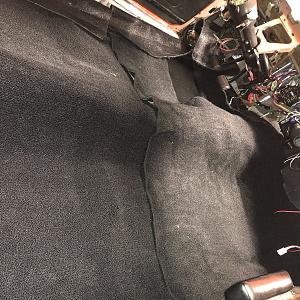
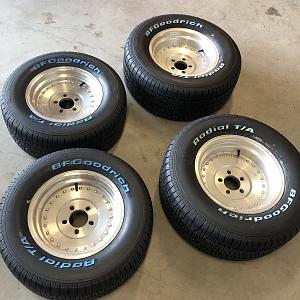
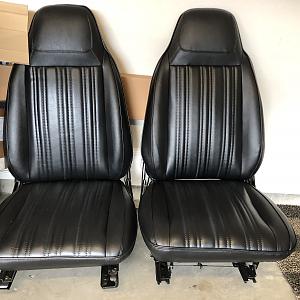
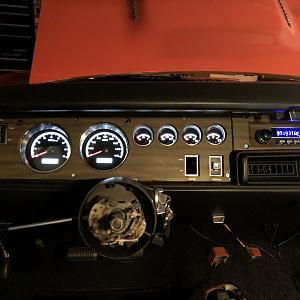
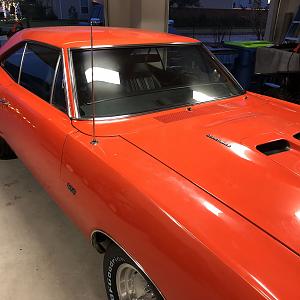
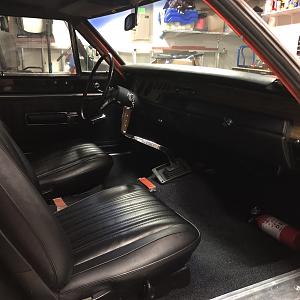
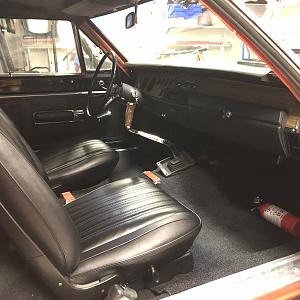
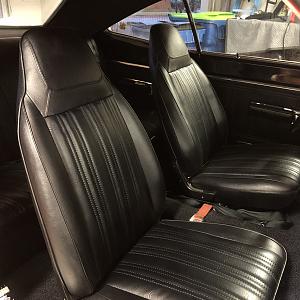
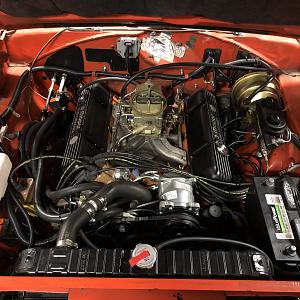
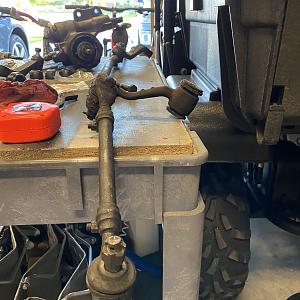
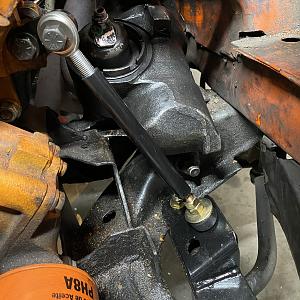
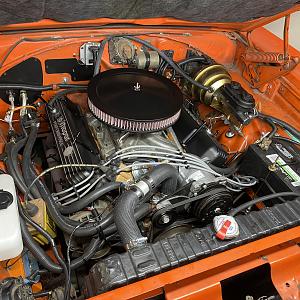
Overhaul of 1970 superbee

About this Mopar:

EFB7A6F0-DF0E-437C-9035-B84AB0033AA3.jpeg
64C16AEB-05FC-4FA9-9AC8-B0C44813A144.jpeg
E215F6B5-7C91-4DC0-B3A5-74707BE2BA85.jpeg
80CD64C7-F008-4501-8D6A-7FBAC0F18A9F.jpeg
D71EC73B-7F79-4A4B-948C-C38B9816031E.jpeg
0AA970AA-E882-4574-B66C-C46CE25F5C47.jpeg
26D17B4F-78B6-4811-92E6-D130DB31D0EF.jpeg
ABA1C2BF-77E5-4889-A637-2988FDBBECCE.jpeg
9F674D2E-B4E7-4687-A793-AD72BFACCF72.jpeg
CD64F53F-6639-4BD2-B7FB-A848A75697C0.jpeg
3857D6A2-807E-4DF2-B419-FD66AE4F5FDE.jpeg
8112FE63-6BBE-43E9-BD31-BE04B41DDF17.jpeg
0ECD46D9-F967-4AE1-81DC-D76F4486FAC7.jpeg
29EC1C04-62BE-4625-844C-B65FA3561BAA.jpeg
23C67A01-3776-4AFC-B0C0-9B6E9DA79D63.jpeg
3B9A5DCF-74B6-41E5-9BBA-9E8FFBABEB7E.jpeg
445CBEE6-3AC1-458A-89F5-C31F0422E3E4.jpeg
B29C82BD-1D45-43E1-A0FF-26C484B56CA3.jpeg
BB0CE0E6-6304-4704-93DA-84325147C1F6.jpeg
25A0DB4F-8C29-449C-AF78-A9384CD6FA08.jpeg
04A8C2AF-4F7A-468C-8269-7770E42C852B.jpeg
E387F3F1-09B9-4043-A0D3-2AB2D8715E70.jpeg
888E1346-B828-425A-92AE-89476DE9F46B.jpeg
E572486E-B63D-48A7-B5AB-9302510B33D2.jpeg
AF750E69-6C07-4E18-AC8C-5B72B25B8D3A.jpeg
8A35FB70-9BEF-4297-83E7-5BA8151EC75B.jpeg
470CF1AE-3BA2-4E97-8709-B0B8D0F76257.jpeg
FC03565D-6711-40E0-B004-8A8E519459C8.jpeg
FB4F28D7-8943-438C-905B-E3E86604B71A.jpeg
46AF0D4E-44B3-43E4-869B-647764A06D06.jpeg
48439702-80B9-4BE2-BB26-85301BD0FBDD.jpeg
5F522163-DD3C-4B13-8E52-72DE9F6E1081.jpeg
EF1A2085-7BC6-4015-AF47-2A70B195C131.jpeg
9CD12B88-3AD5-4760-84EB-EB31401CB226.jpeg
4AE70F02-A726-47D8-AF79-38168688F728.jpeg
34F24CF1-3441-46A8-A0B3-9ADFD7ECC852.jpeg
64F98E2C-9057-4FA9-86AA-2FCCE34DACBC.jpeg
5D2461CA-9D1A-43BD-8367-D3CDE47D9128.jpeg

Comments

25 years in storage, and since it last ran, in Oklahoma, dads first car was handed down a generation and came to Houston. A little bit of jigery pokery and we got it running... only to then start stripping it down to do a mechanical overhaul. The aim, to keep it looking like dad remembered it, but make it reliable... this site has been invaluable for us in fixing things. Welldone to everyone. We will keep posting progress pics until we are fully overhauled.
 
What kind of insulation are you using on the floor?
I used the ‘GT MAT’ as the first layer, its a thick heavy dense tar backed with foil. Its just like dyna mat but a lot cheaper. Then i put a layer of 6mm foam with silver foil backing. Its not got a name, it was $79 from ebay. The gt mat is more for sound deadening and the foam is more for heat and to give the new carpet an underlay thats a bit more ‘squishy’
 
Awesome. I also just got my Dad's RR running and cleaned up after sitting for 24 yrs. I need to remove the dash so I can repaint it. How hard was it to remove ?
 
Awesome. I also just got my Dad's RR running and cleaned up after sitting for 24 yrs. I need to remove the dash so I can repaint it. How hard was it to remove ?
If you are re painting then you will be removing the windscreen any way. In my opinion... the dash is impossible to take out without taking out the windscreen. There are two bolts, one on each side, low down about knee level that need to be loosened. Then there are five screws where the windscreen meets the dash. If you take the 5 out... the dash will pivot towards the inside of the car on the two knee level bolts... piece of cake. It will come out as one.
 
25 years in storage, and since it last ran, in Oklahoma, dads first car was handed down a generation and came to Houston. A little bit of jigery pokery and we got it running... only to then start stripping it down to do a mechanical overhaul. The aim, to keep it looking like dad remembered it, but make it reliable... this site has been invaluable for us in fixing things. Welldone to everyone. We will keep posting progress pics until we are fully overhauled.
Disc brakes went on last weekend
 
25 years in storage, and since it last ran, in Oklahoma, dads first car was handed down a generation and came to Houston. A little bit of jigery pokery and we got it running... only to then start stripping it down to do a mechanical overhaul. The aim, to keep it looking like dad remembered it, but make it reliable... this site has been invaluable for us in fixing things. Welldone to everyone. We will keep posting progress pics until we are fully overhauled.
New starter went in. Need to bolt headers back and test run engine to double check all my wiring... kinda dreading turning it on for the first time after it being in so many bits for so long.
 
sweet ride lookin good. wish I had ac
Classic air, pricey but what a great kit... i always wanted to put one in my 57 chevy truck but never quite could justify it. Since this bad boy is intended to be used year round... why not drop some wedge to be comfortable... you dont want to be sweating on your new seats do you?
 
Wow, finally... drove it today... out the garage, down drive, then back up drive and into garage... no problems.

Its been quite a haul,
new classic air system
Retro sound stereo
VDO digital gauges
Discs up front
New starter
Electric fans
Recovered seats
New carpet
3 layers of sound deadening inside
New wheels and tires
Complete rewire
Tranny overhaul
Diff gears and overhaul
New shocks all round

Just dropped windshield back in today... waiting for road to dry then may take it down the drive again tomorrow
 
Finally... wipers, got a new switch$$$ and figured out the wiring. Got a new carb which instantly fixed rough running and frustrations trying to set it up, vacuum to power brakes sorted... need to set up the new GPS speedo and calibrate the fuel sensor. Then need to find a local car show.
 
Ok, its been a while since i updated anything here. Last few weeks i have been fixing all kinds of leaks. Started with the power steering pump... then replaced hoses, well, while thats all out i may as well replace the steering box since its just about the only thing that hasnt been touched. Well... thats all out so i may as well fit that engine steady bar i couldnt do with all that stuff in the way. Wow, had to take pit man arm off, lets replace the idler and all the rod ends, since im taking that off i may as well do the sump gasket, and the bottom radiator hose looks a little shady also. Everything is back together and working perfectly with no leaks. Need it tracking up at the auto center but thats a job for tomorrow.
 

Item information

Category
FBBO Member Photo Garage
Added by
Richard Eastham
Views
2,220
Comments
16
Last update
Rating
5.00 star(s) 4 ratings

More in FBBO Member Photo Garage

Share this item

Back
Top