You are using an out of date browser. It may not display this or other websites correctly.
You should upgrade or use an alternative browser.
You should upgrade or use an alternative browser.
#scarletsue 1972 Plymouth SSP
- Added by trishhritz
- Create date
- Updated
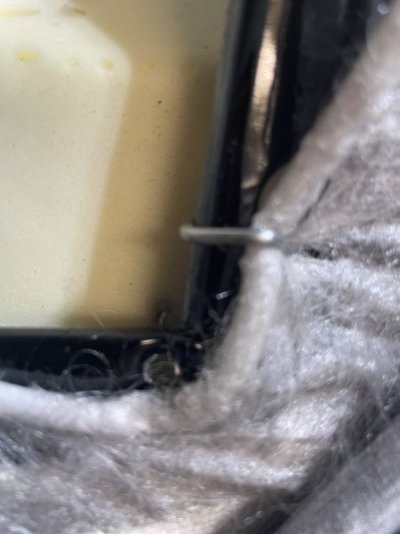
With new seat covers and a vinyl canopy, this gal is starting to look better up close. I’m working on replacing a lot of missing and mismatched interior screws a few and other minor details. Vapor barriers might as well have been non existent since most were just taped back into place over her life. With the original style rope weather stripping a mattress bag from Home Depot, now all is right All that is needed to make her rainy weather ready is some good cat whiskers, it just seems that everyone is out of stock….darn it!
Several years ago at a Good Guys swap meet, I found original 1972 valve covers, and just recently, I found the oil pan, so now I can finish the returning the engine to original and get
rid of the chrome. I want to steam clean the bottom of the engine because there is a slow leak under there somewhere. It might be the Moroso oil pan since it has a big dent in the front edge.
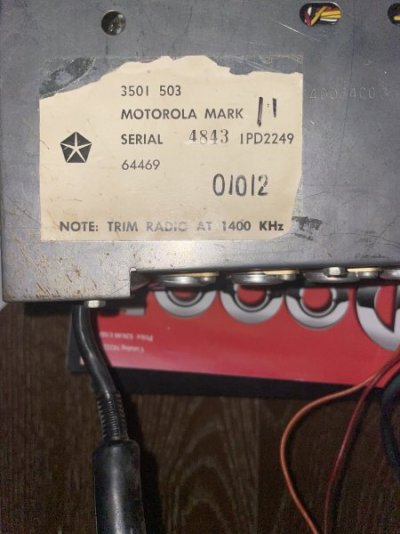
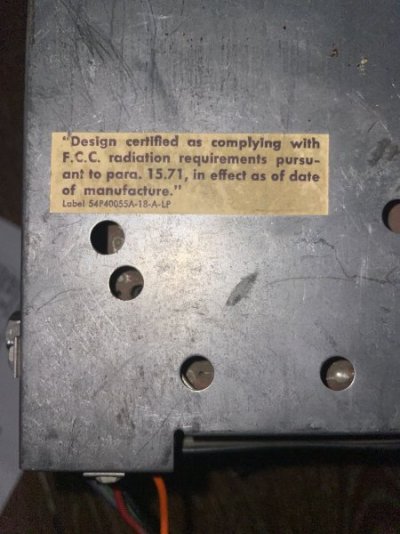
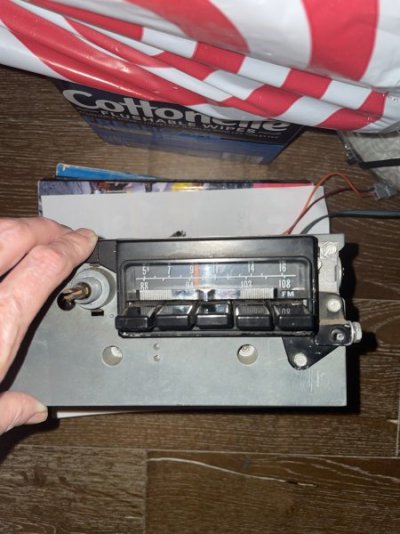
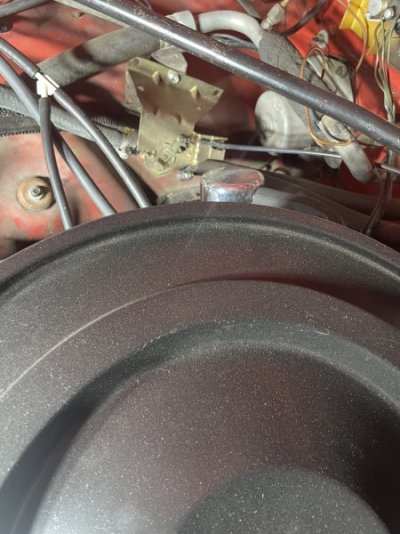
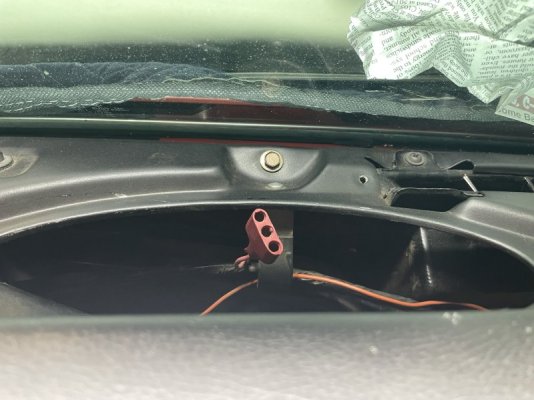
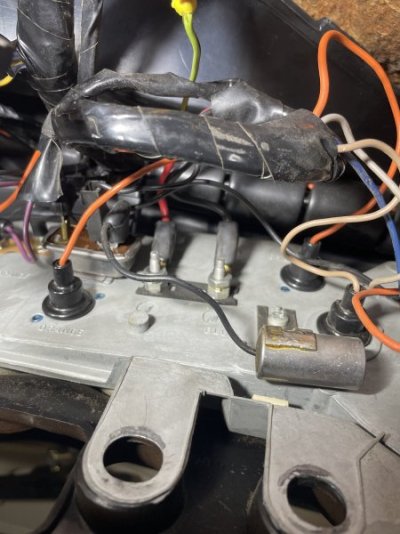
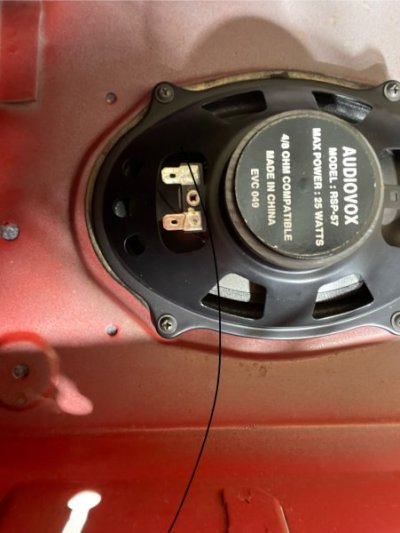
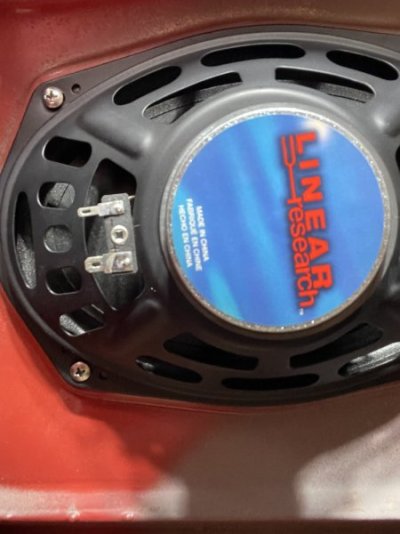
Scarlet Sue also received a new set of rear speakers and an original re-coned front speaker. The Kickers sound really good with the Aurora Design upgrade to the original AM / FM radio.
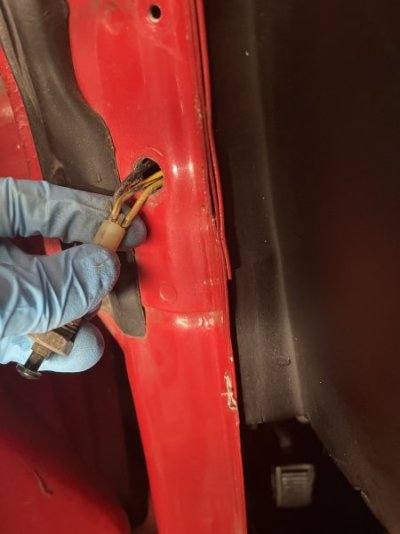
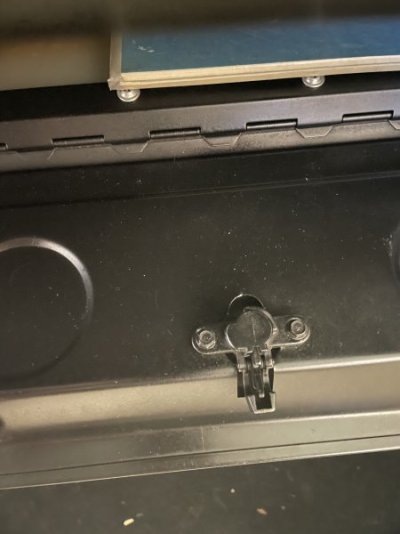
I had to get a reconditioned ignition tumbler because the ignition key was falling out when I turned a corner. I didn’t really need to replace the door locks, but the ignition cylinder came in a set with two keyed alike door locks. I also got reconditioned glovebox and console locks, since the originals were pretty much useless. I’m currently waiting on a part to finish repairing the LH door latch, verses spending a ton on a reconditioned latch, and in the process, I fixed other window hardware issues and then put sound deadener on the doors, under the quarter windows and under back seat.
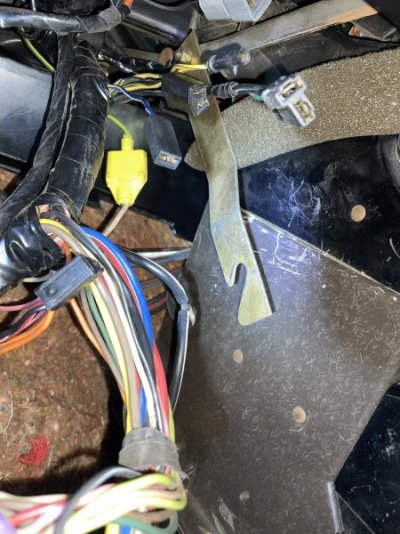
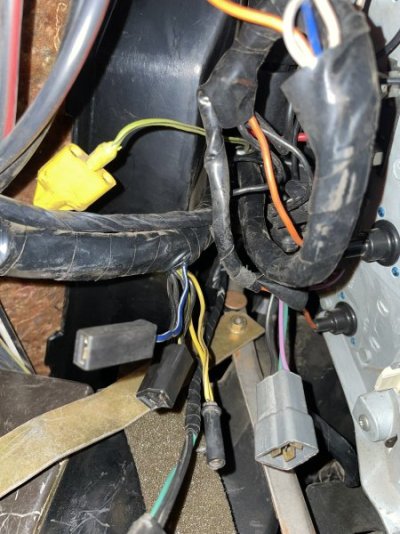
While working on the ignition cylinder, I found the A/C heater control hanging from bailing wire. It was barely attached to the dash because the plastic frame was broken at both places where it attached to the back. So that got a good used box on Ebay along with a reconditioned control and the correct rear support bracket. There were quite a few other things that were just hanging from the back of the dash and are now secure again.
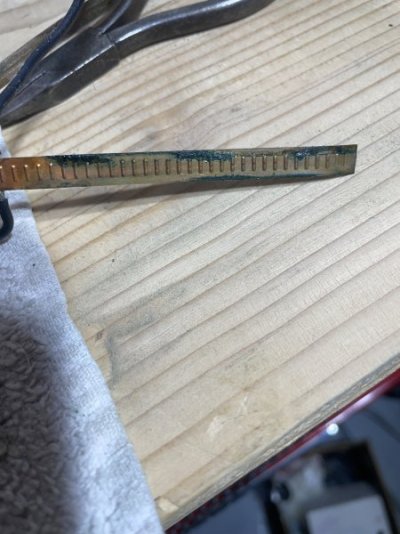
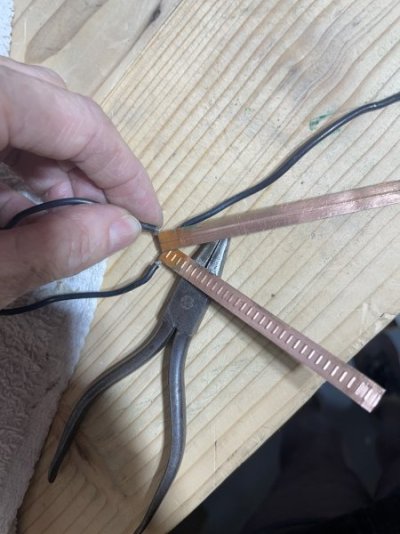
I also started an adventure in trim repair. Of course this old girl has a lot of dents and scratches in her stainless steel trim, but, with the help of an old book I found at a used book store, I hope I can at least make it look better. So far, I’m on my second sill plate. I just wonder how many times the door was slammed shut with the seat belts hanging in the way? A while back, I tracked down one piece of trim at a Mopar only dismantler because the left front fender piece was cut into two pieces and spliced together and then glued into place. The rest of the trim pieces are whole and are workable (I think).
There is so much to do on an old car, and fining the right original parts is a task in and of itself. But what is a car but used parts anyways?
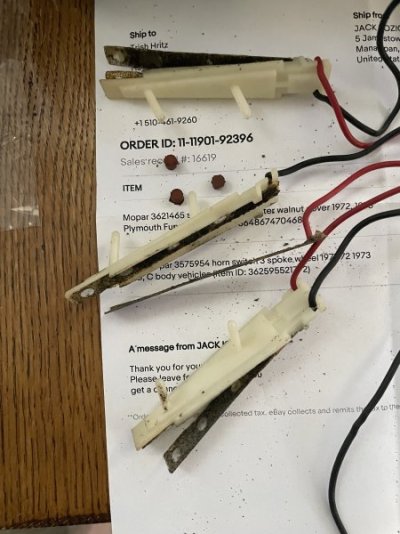
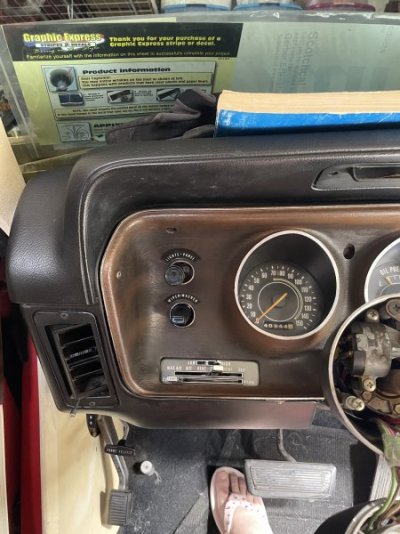
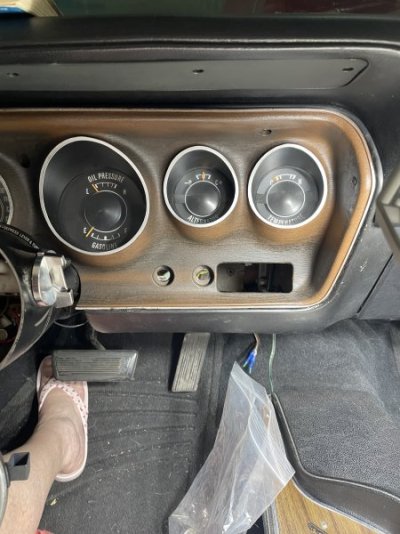
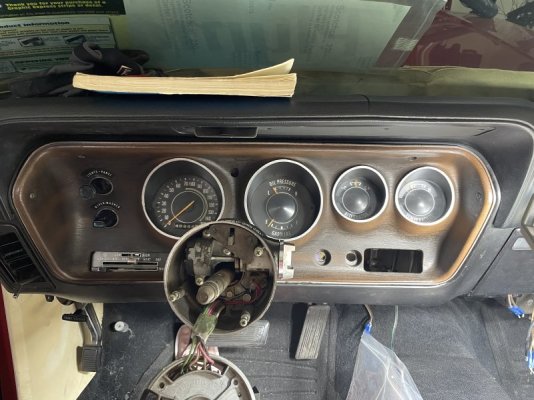
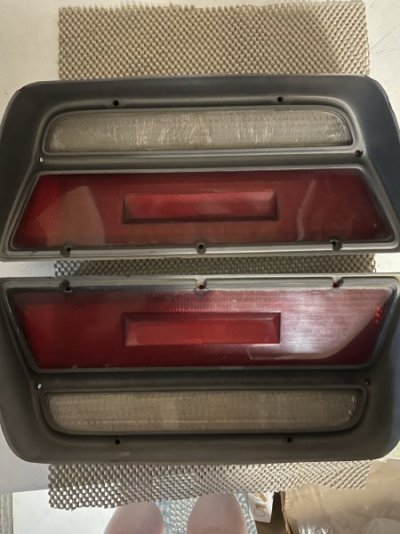
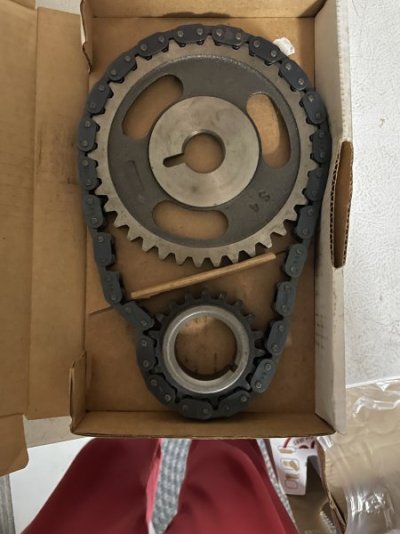
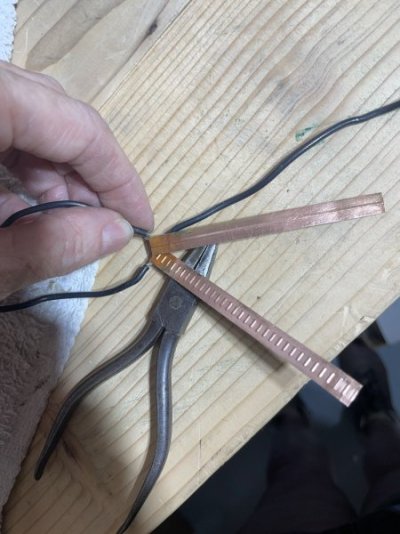
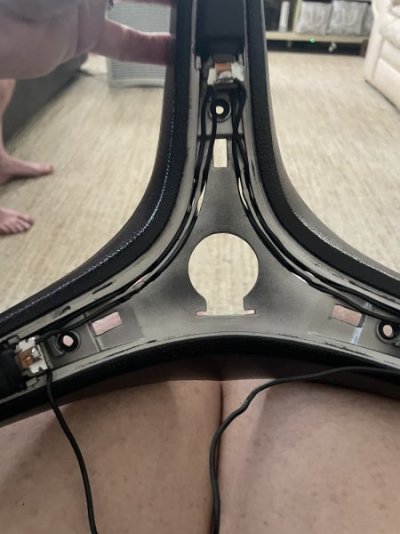
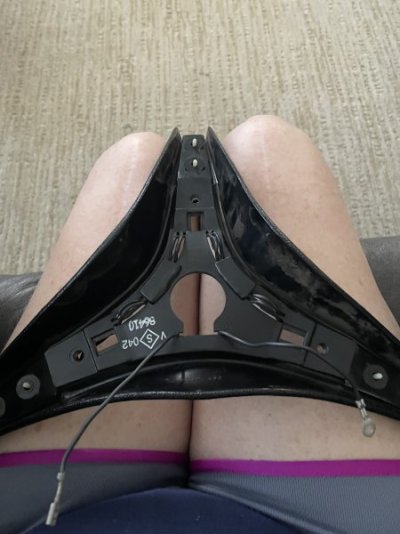
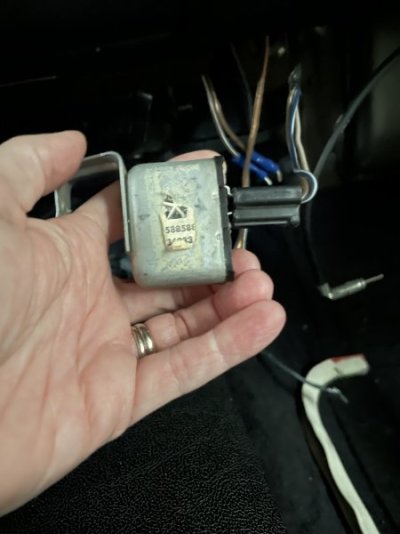
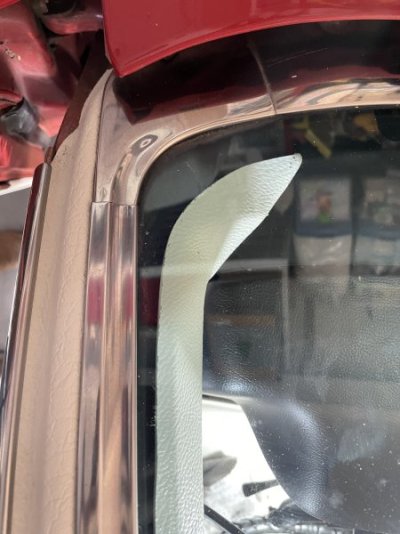
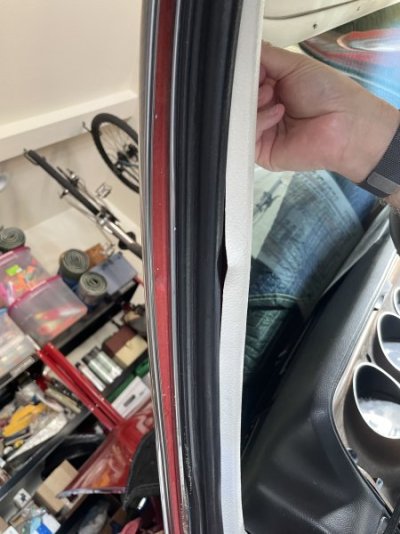
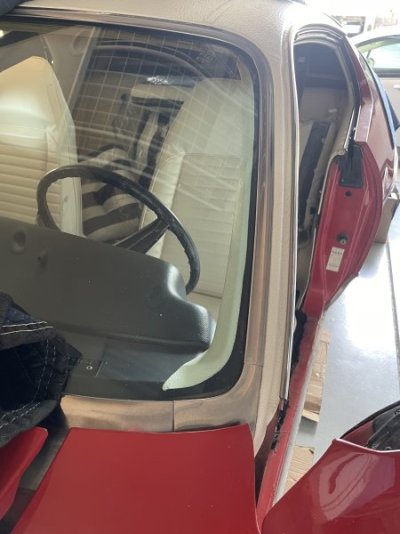
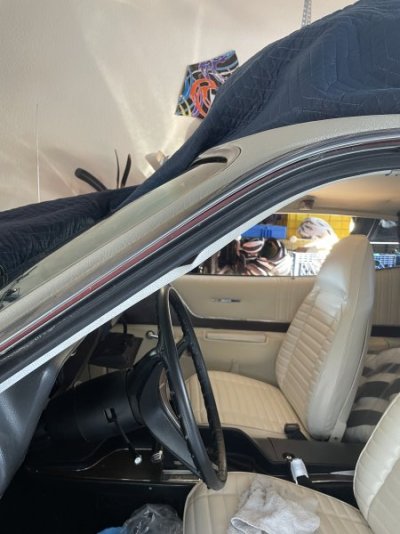
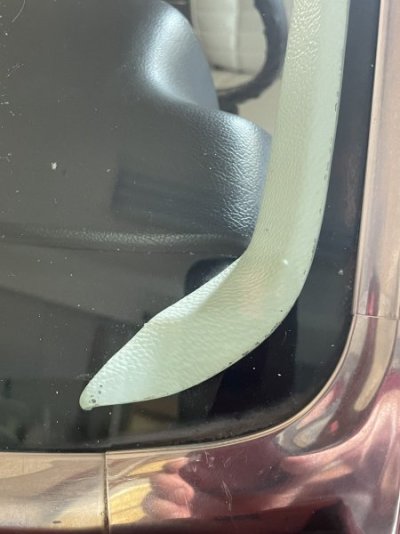
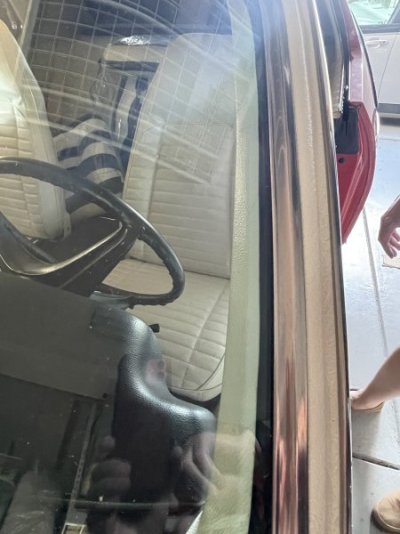
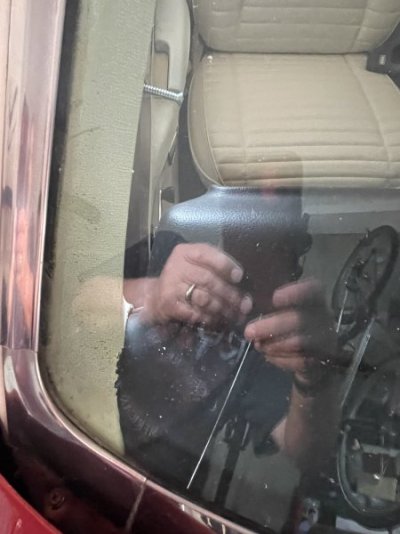
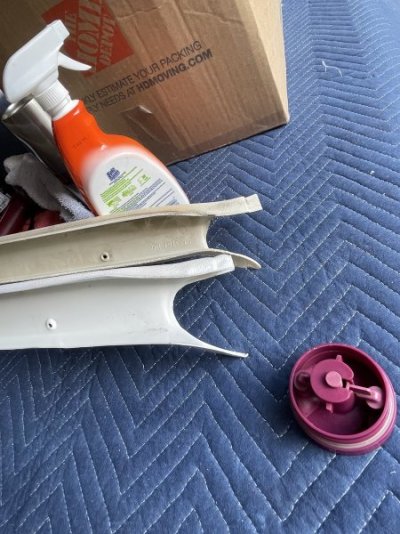
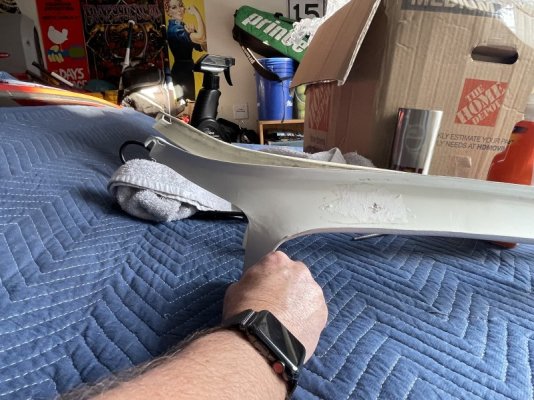
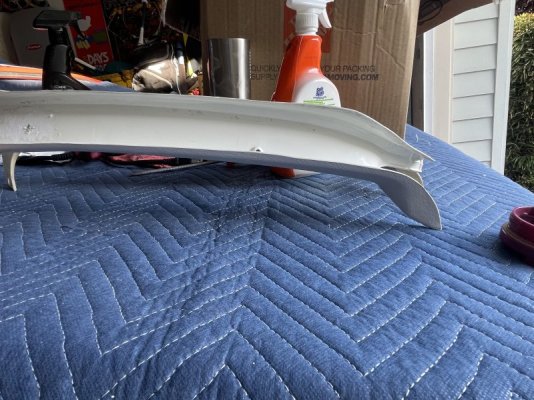
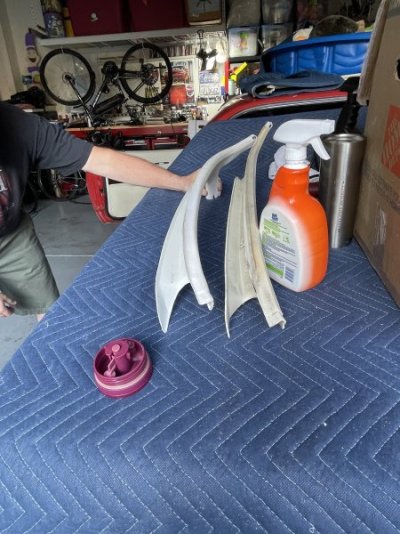
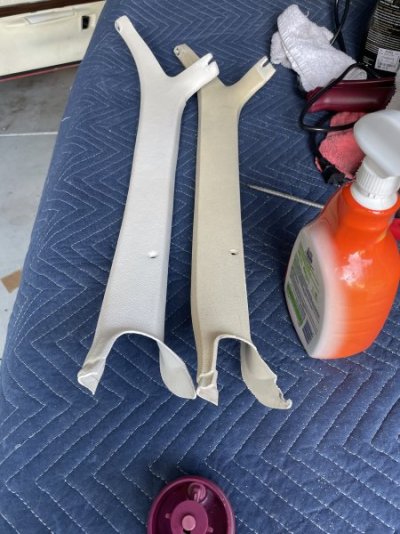
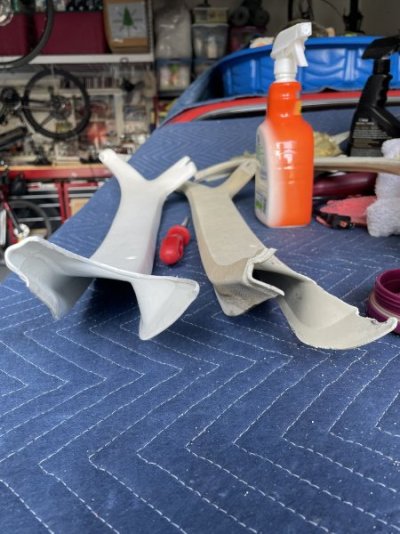
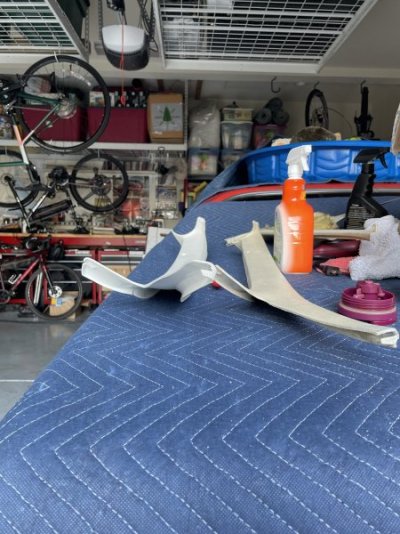
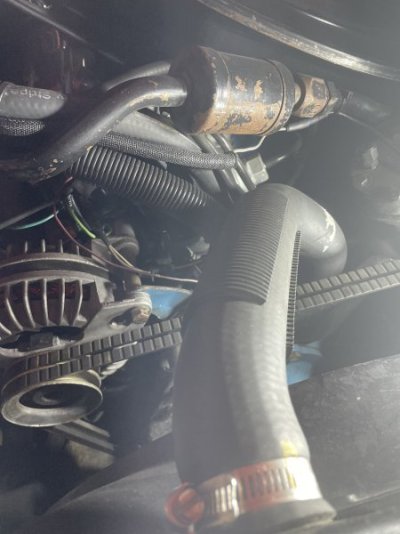
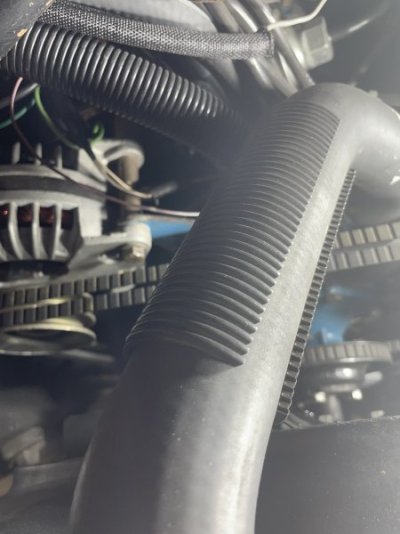
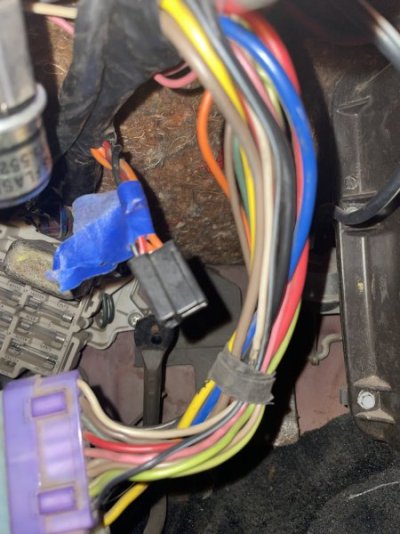
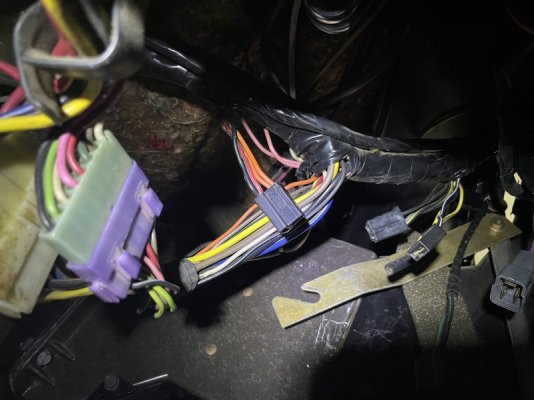
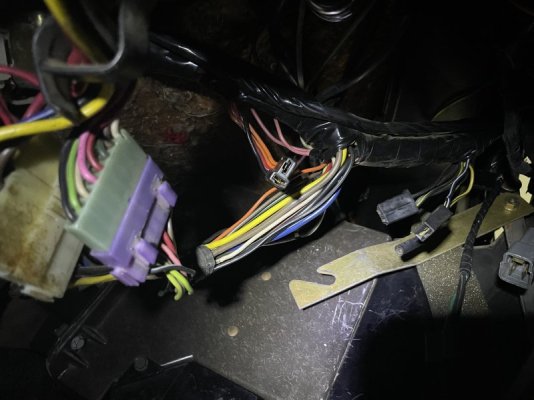
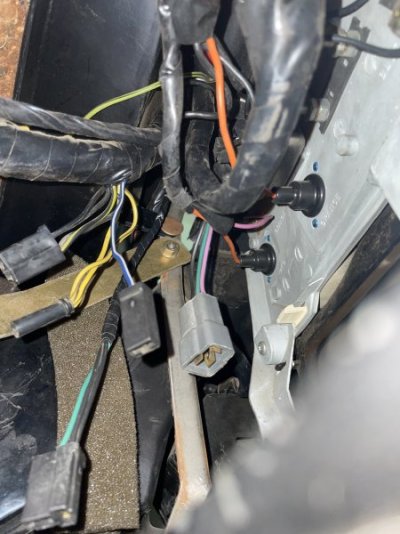
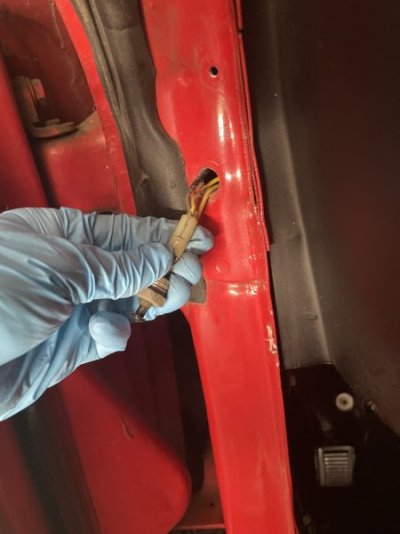
Pictures of what I’ve been working on lately. This may not be a complete list, but I started with pulling the AM FM to get upgraded; I pulled old speakers wires for replacement; replaced the heater A/C controller with an NOS one on EBay; replaced the ignition switch; repaired my 3 spoke horn switch; replaced interior rear view; tried to replace the A pillar moldings; replaced glove box and console locks; tightened up console screws; painted luggage tray ( and broke it reinstalling it ); replaced quarter window weather stripping (boy, that was hard!); and scrubbed and cleaned just about everything I touched with soap and water.
I still have new door locks (keyed like the new ignition switch) and more weather stripping to install. I also found the original NOS valve covers that I’d like to install.
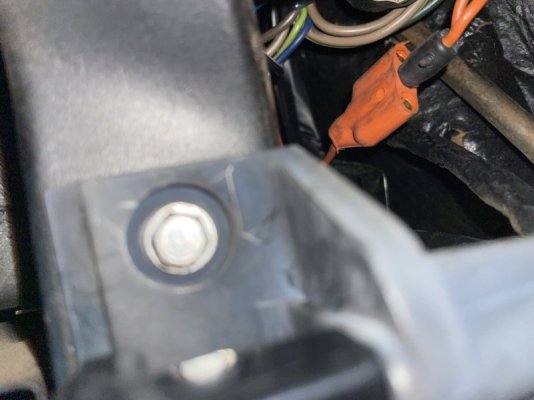
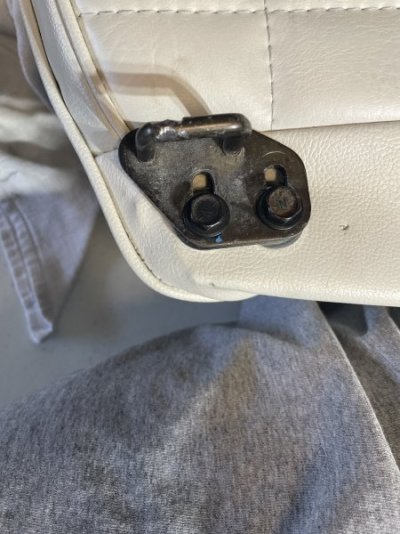
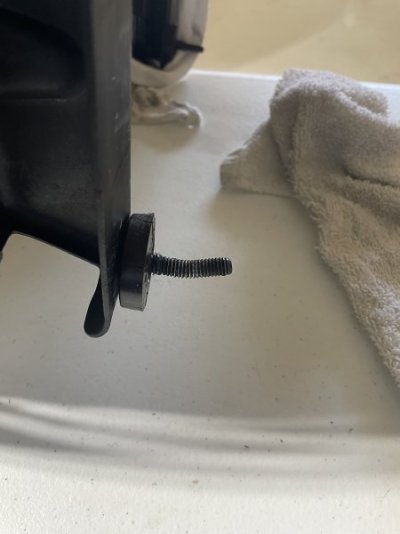
Scarlet Sue is almost back to how she came off the line, but there is always something new she needs as I move through her fixing and cleaning. Some of these pictures are to remind myself of stripped screws and bolts as I move along. I’m no electric engineer, more of a numbers person, so I’ve posted a bit on the revamped radio that I’m still trying to install. There are more questions every step of the way.
Attachments
-
 IMG_4662.jpeg37.1 KB · Views: 39
 -
 IMG_4663.jpeg42.1 KB · Views: 41
 -
 IMG_4666.jpeg46 KB · Views: 41
 -
 IMG_4677.jpeg52.5 KB · Views: 45
 -
 IMG_4684.jpeg47.3 KB · Views: 44
 -
 IMG_4685.jpeg52.4 KB · Views: 41
 -
 IMG_4686.jpeg48.9 KB · Views: 43
 -
 IMG_4687.jpeg82.4 KB · Views: 41
 -
 IMG_4688.jpeg40.9 KB · Views: 40
 -
 IMG_4694.jpeg49.5 KB · Views: 37
 -
 IMG_4700.jpeg43.4 KB · Views: 36
 -
 IMG_4701.jpeg40.7 KB · Views: 39
 -
 IMG_4702.jpeg41.6 KB · Views: 33
 -
 IMG_4706.jpeg48.8 KB · Views: 34
 -
 IMG_4707.jpeg47.9 KB · Views: 39
 -
 IMG_4712.jpeg37.5 KB · Views: 43
 -
 IMG_4713.jpeg39.7 KB · Views: 38
 -
 IMG_4714.jpeg42.6 KB · Views: 38
 -
 IMG_4715.jpeg49.5 KB · Views: 36
 -
 IMG_4716.jpeg41.9 KB · Views: 34
 -
 IMG_4719.jpeg42.2 KB · Views: 36
 -
 IMG_4720.jpeg38.7 KB · Views: 37
 -
 IMG_4721.jpeg45.2 KB · Views: 35
 -
 IMG_4722.jpeg58.8 KB · Views: 38
 -
 IMG_4723.jpeg96.8 KB · Views: 35
 -
 IMG_4724.jpeg99.2 KB · Views: 37
 -
 IMG_4725.jpeg61 KB · Views: 36
 -
 IMG_4727.jpeg53.9 KB · Views: 31
 -
 IMG_4728.jpeg50.7 KB · Views: 35
 -
 IMG_4729.jpeg59.9 KB · Views: 39
 -
 IMG_4730.jpeg46.2 KB · Views: 33
 -
 IMG_4731.jpeg44.6 KB · Views: 36
 -
 IMG_4738.jpeg45.3 KB · Views: 39
 -
 IMG_4745.jpeg62.5 KB · Views: 34
 -
 IMG_4747.jpeg59 KB · Views: 37
 -
 IMG_4748.jpeg46.8 KB · Views: 35
 -
 IMG_4750.jpeg45.4 KB · Views: 38
 -
 IMG_4751.jpeg59.7 KB · Views: 38
 -
 IMG_4752.jpeg54.2 KB · Views: 34
 -
 IMG_4753.jpeg39.8 KB · Views: 33
 -
 IMG_4759.jpeg33.7 KB · Views: 35
 -
 IMG_4760.jpeg36.9 KB · Views: 37
 -
 IMG_4799.jpeg62.9 KB · Views: 35
 -
 IMG_4800.jpeg46.5 KB · Views: 35
 -
 IMG_4804.jpeg44.6 KB · Views: 38
 -
 IMG_4806.jpeg44.7 KB · Views: 39
 -
 IMG_4793.jpeg46.9 KB · Views: 40
 -
 IMG_4794.jpeg38.4 KB · Views: 35
 -
 IMG_4796.jpeg35.7 KB · Views: 38
 -
 IMG_4797.jpeg29.6 KB · Views: 38
