Same
You are using an out of date browser. It may not display this or other websites correctly.
You should upgrade or use an alternative browser.
You should upgrade or use an alternative browser.
68 Road Runner restoration
- Added by Eric Pearson
- Create date
- Updated
Here Some recent pictures of the bird! Things are coming together slowly! All it takes is some TLC ( time and lots of cash)
Attachments
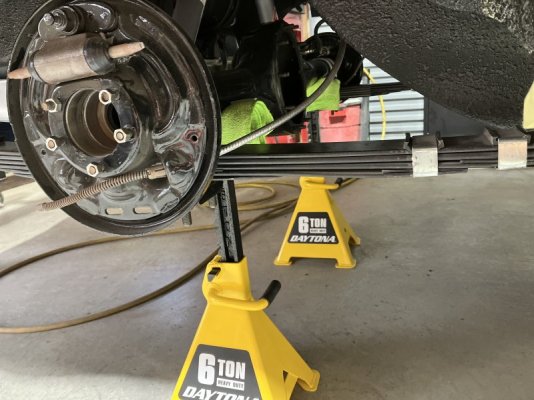
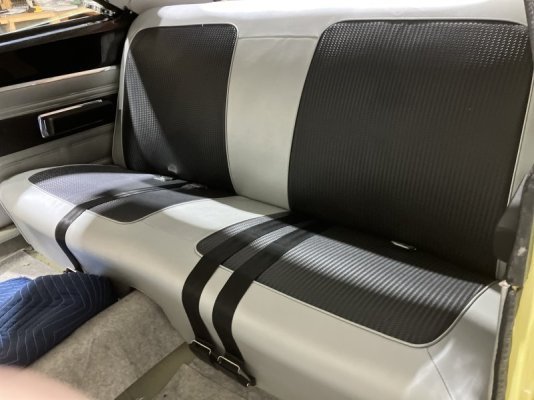
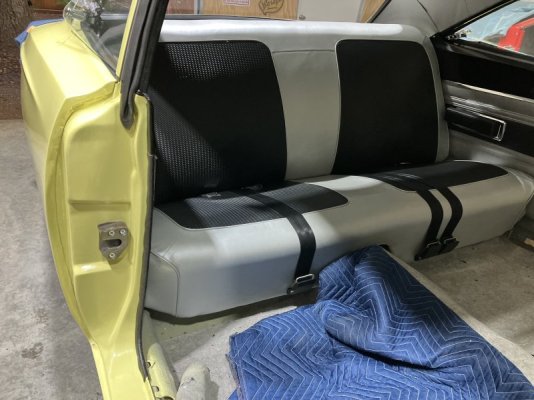
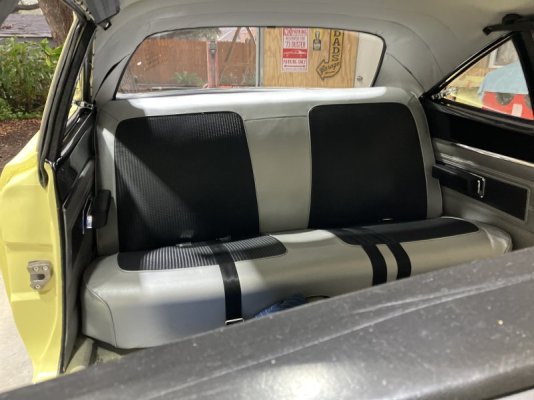
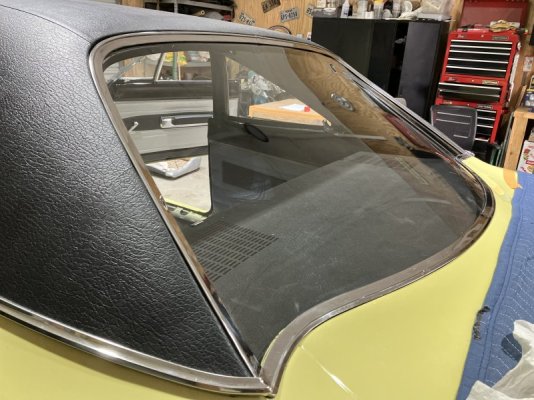
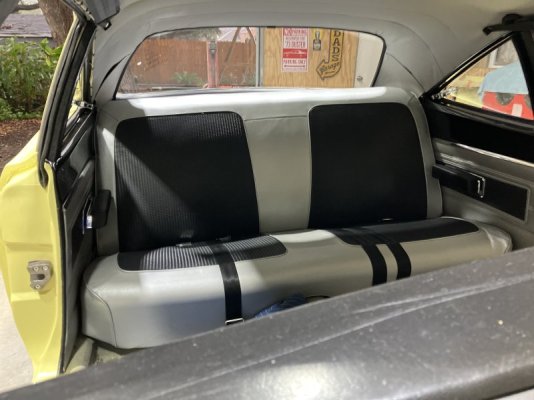
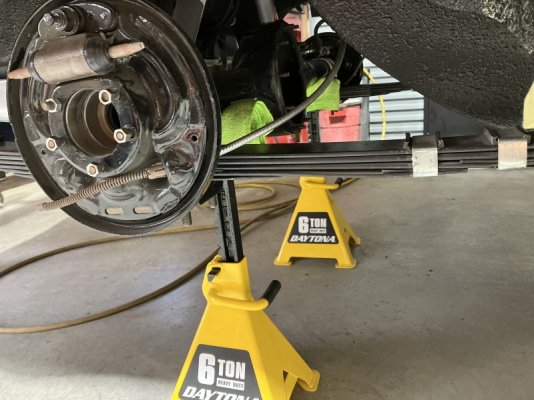
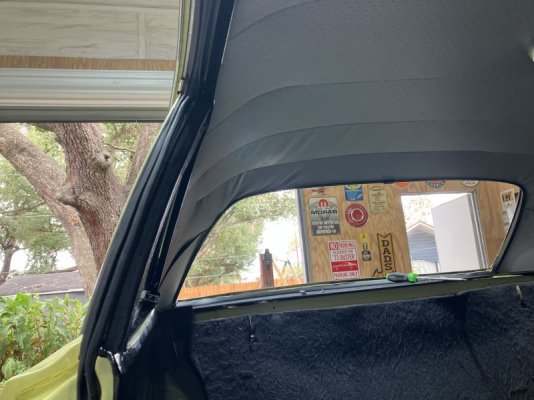
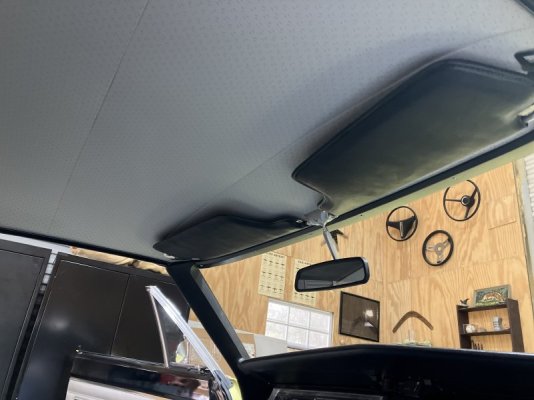
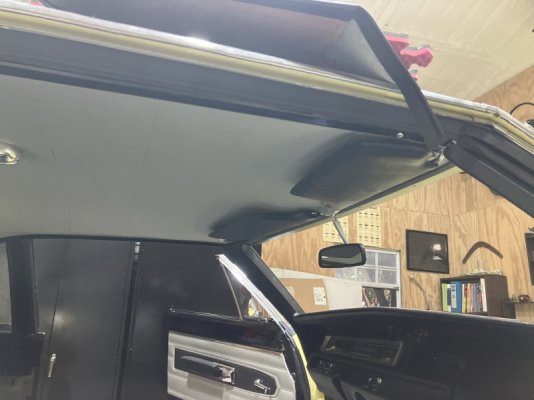
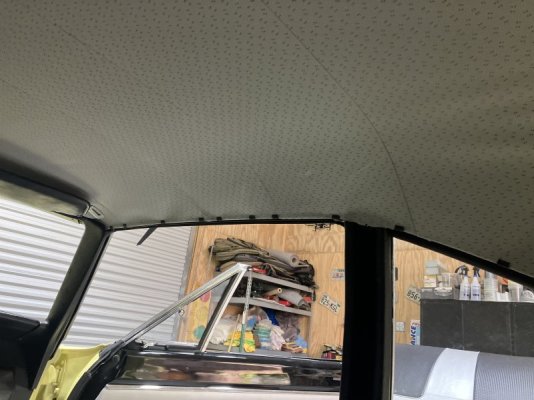
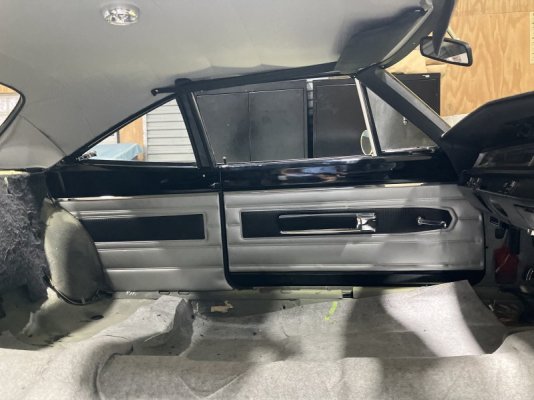
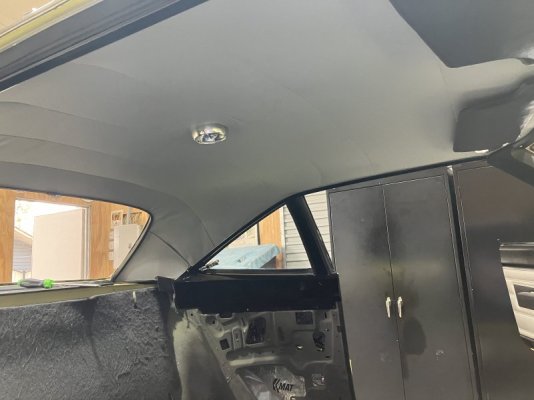
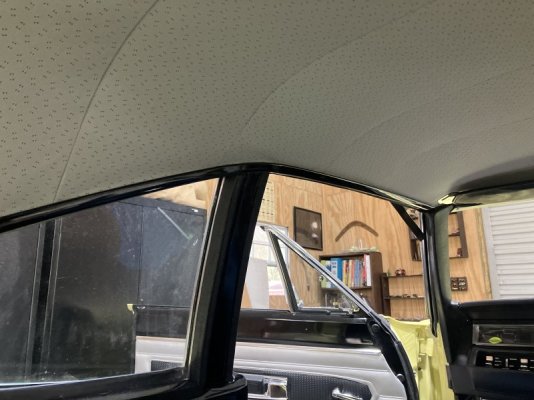
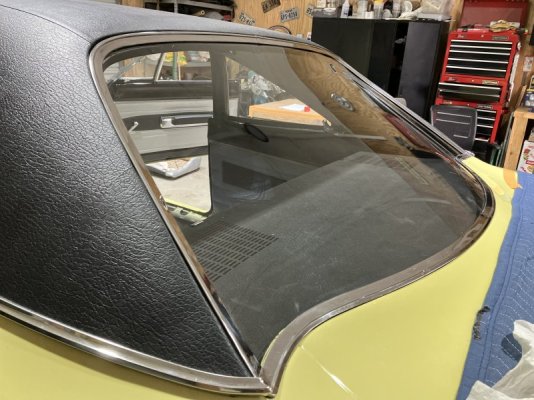
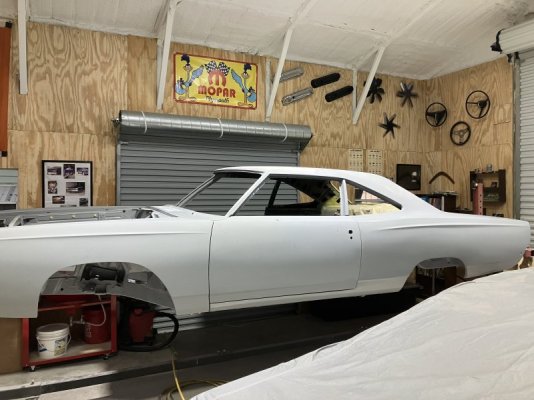
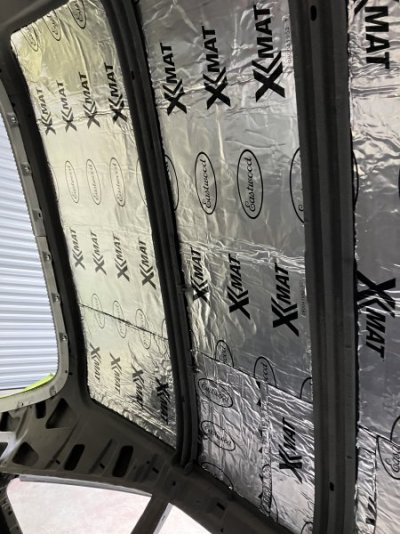
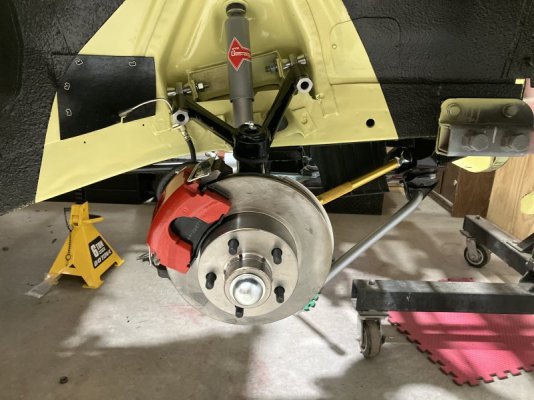
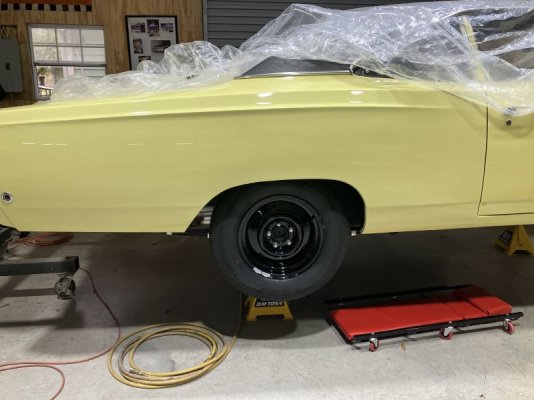
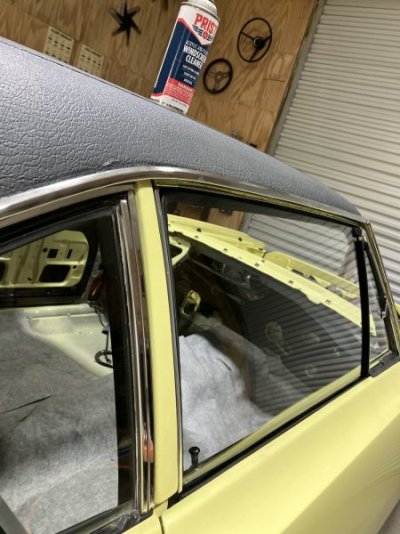
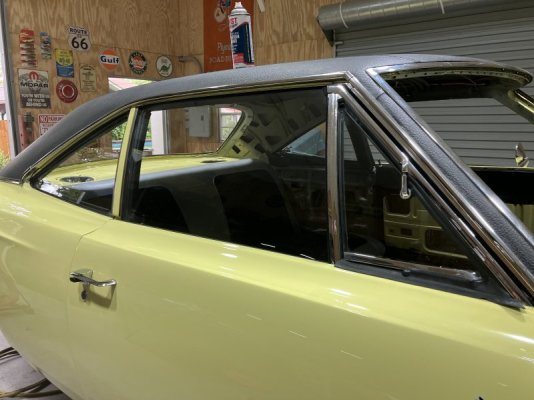
Here’s some update pictures of the bird!!!. Rear axle housing and suspension installed, Rear glass installed. Headliner is in what a PITA!!!! Rear seat and seatbelts in back seat side panels in armrests installed !!!! Thanks for looking
Attachments
-
 IMG_3447.jpeg78.6 KB · Views: 34
 -
 IMG_3441.jpeg60.4 KB · Views: 29
 -
 IMG_3439.jpeg71.3 KB · Views: 33
 -
 IMG_3440.jpeg58.7 KB · Views: 31
 -
 IMG_3438.jpeg91.3 KB · Views: 30
 -
 IMG_3440.jpeg58.7 KB · Views: 31
 -
 IMG_3447.jpeg78.6 KB · Views: 29
 -
 IMG_3421.jpeg72.6 KB · Views: 30
 -
 IMG_3422.jpeg53.6 KB · Views: 30
 -
 IMG_3418.jpeg47.8 KB · Views: 28
 -
 IMG_3416.jpeg69.1 KB · Views: 31
 -
 IMG_3427.jpeg63 KB · Views: 28
 -
 IMG_3419.jpeg45 KB · Views: 31
 -
 IMG_3415.jpeg68.3 KB · Views: 30
 -
 IMG_3438.jpeg91.3 KB · Views: 30
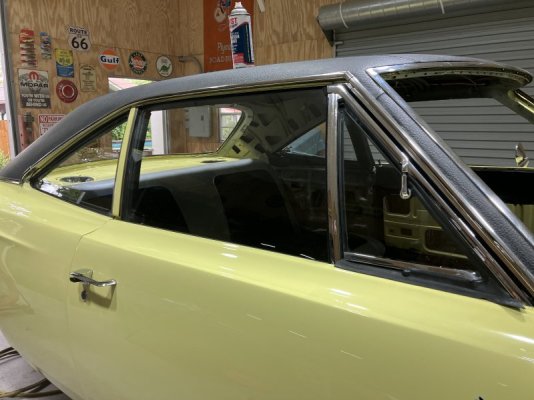
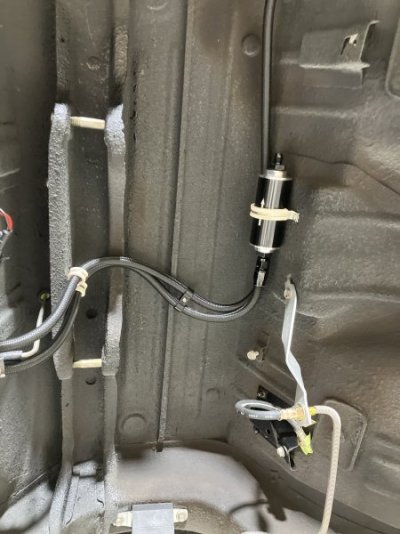
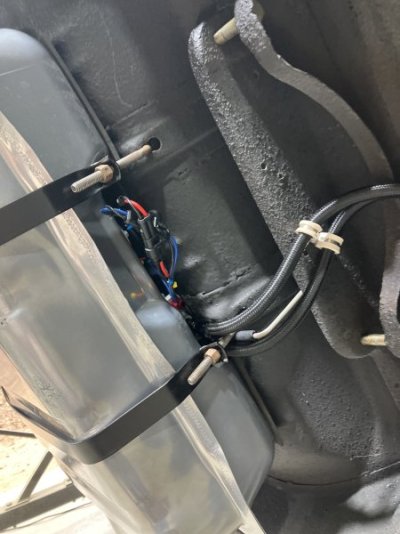
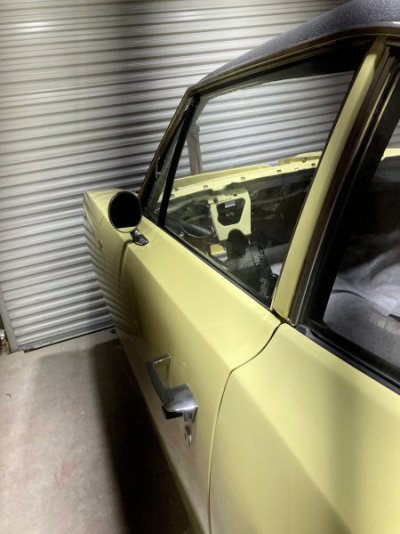
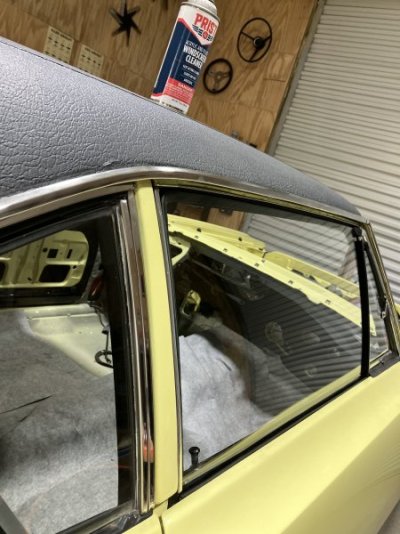
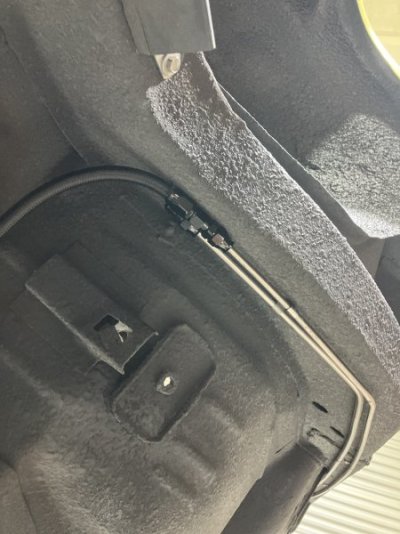
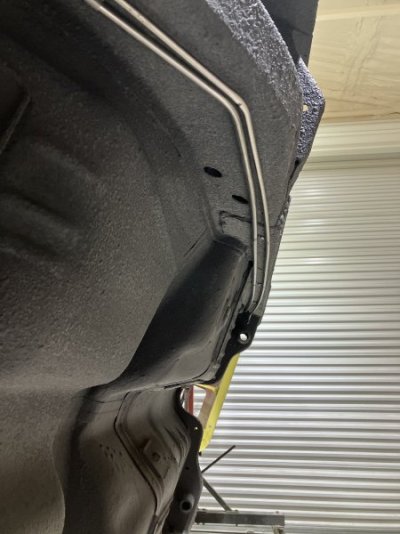
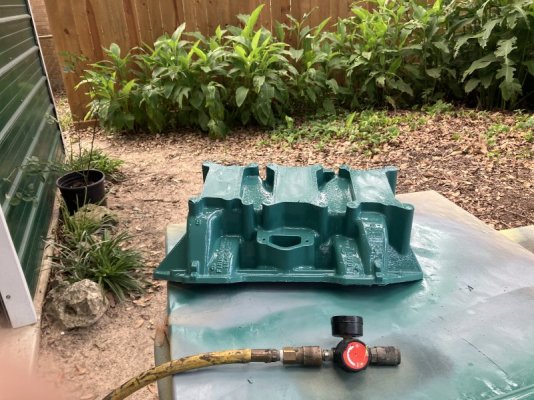
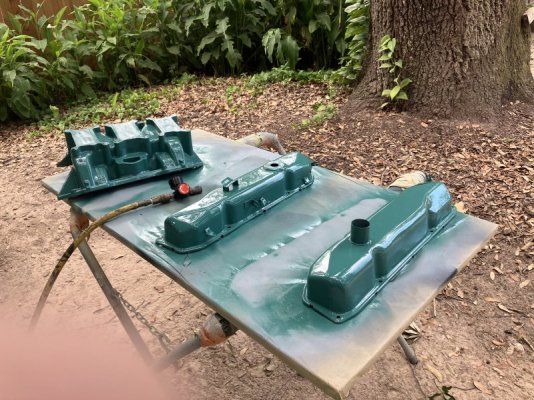
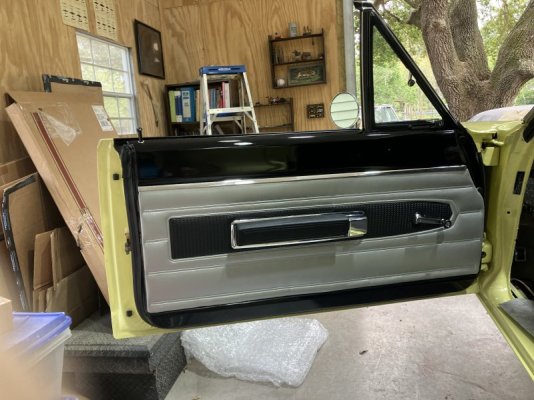
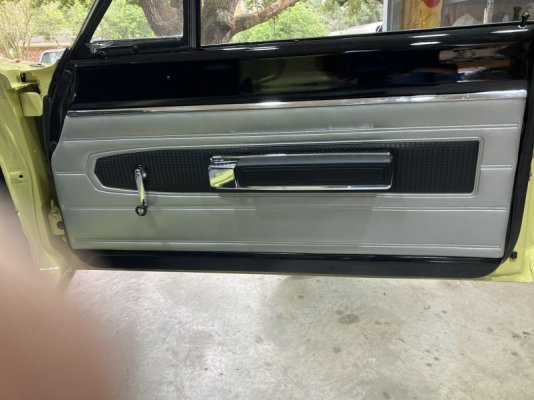
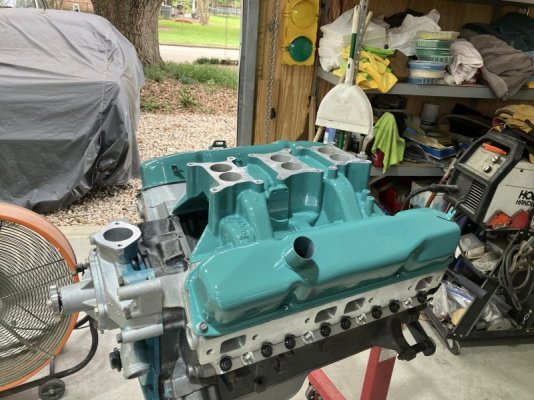
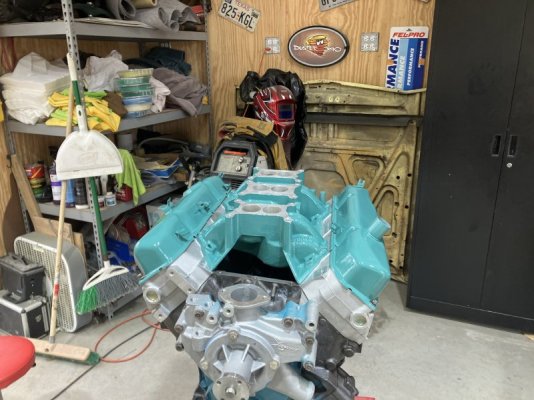
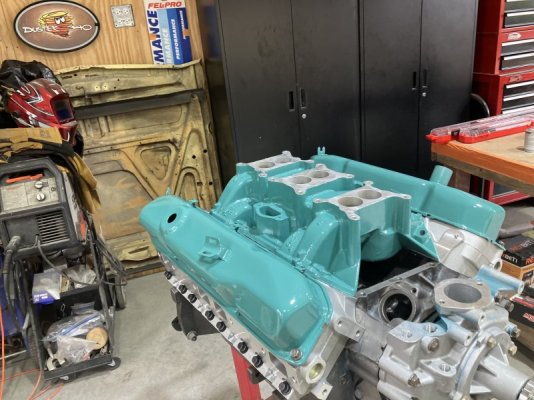
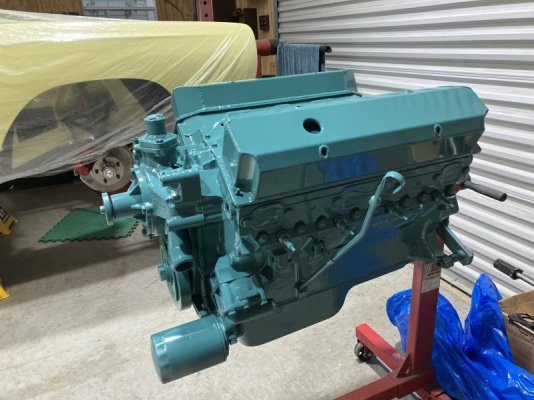
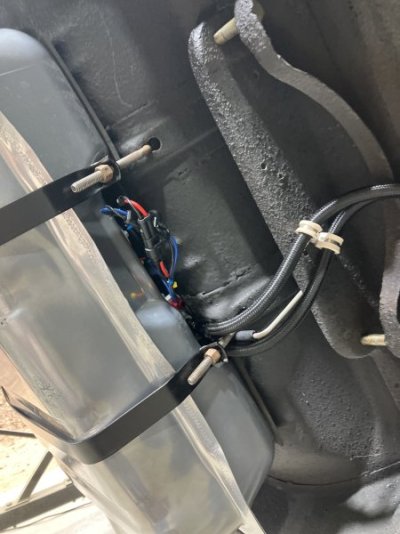
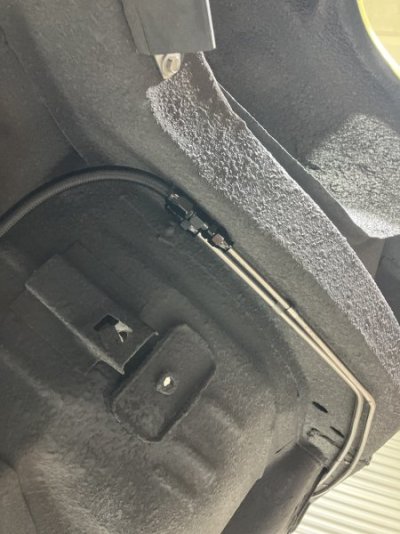
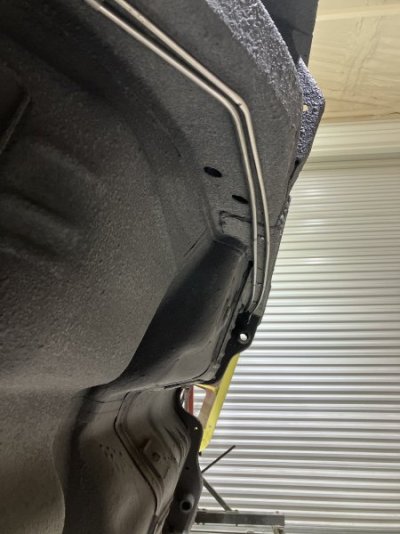
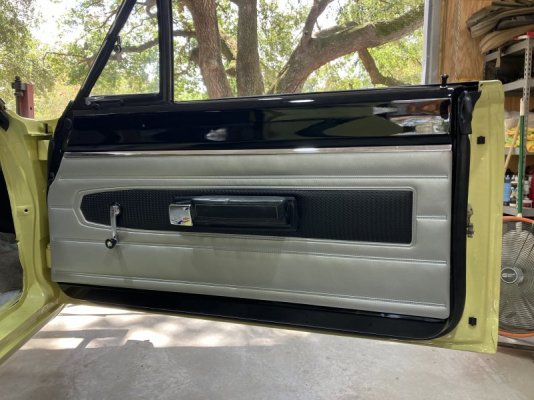
I’ve been very fortunate to get quite some time to work on the bird lately. Fuel system from back to front installed, electric fuel pump and sending unit wiring ran to fire wall, all the glass is in the doors and operational ,front door panels installed and I’ve started on the valve train for the engine and a little painting on some engine parts. As usual waiting on more parts. If anyone has a b body with the deluxe interior I sure would like to see some pictures of it all together. Ive been waiting 3 months for my headliner to be made. It’s holding up progress in the interior Thanks for looking!!!
Attachments
-
 IMG_3091.jpeg64.1 KB · Views: 43
 -
 IMG_3156.jpeg43.4 KB · Views: 45
 -
 IMG_3155.jpeg38.7 KB · Views: 45
 -
 IMG_3134.jpeg40.5 KB · Views: 47
 -
 IMG_3092.jpeg51.6 KB · Views: 45
 -
 IMG_3158.jpeg44.4 KB · Views: 42
 -
 IMG_3157.jpeg41.3 KB · Views: 46
 -
 IMG_3234.jpeg108.9 KB · Views: 48
 -
 IMG_3233.jpeg125.7 KB · Views: 46
 -
 IMG_3232.jpeg82.5 KB · Views: 43
 -
 IMG_3230.jpeg64.2 KB · Views: 42
 -
 IMG_3239.jpeg98.2 KB · Views: 40
 -
 IMG_3240.jpeg82 KB · Views: 43
 -
 IMG_3241.jpeg85.6 KB · Views: 42
Well things have been progressing. Got all the glass in the doors, fuel system is plumed from the back to the front. Working on door panels and a lot of miscellaneous items! I must say that it’s a chore to remember where one put all the items that I took off 5 years ago and where they go!! Thanks for following my journey
Attachments
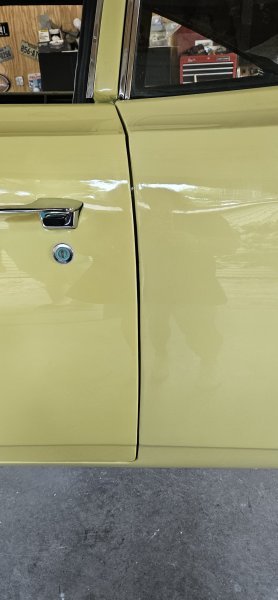
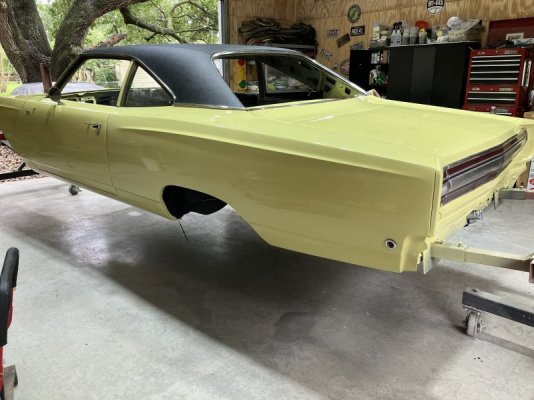
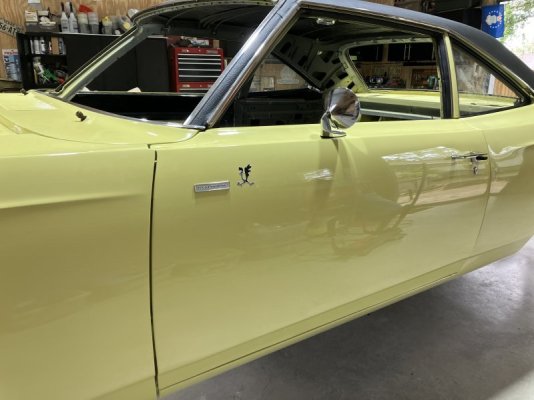
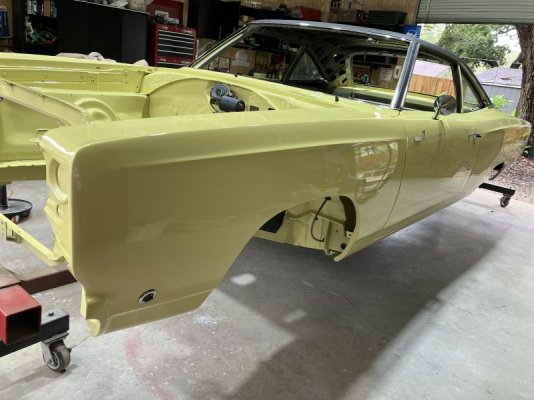
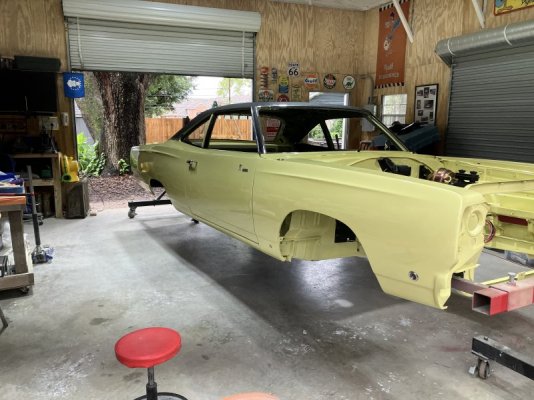
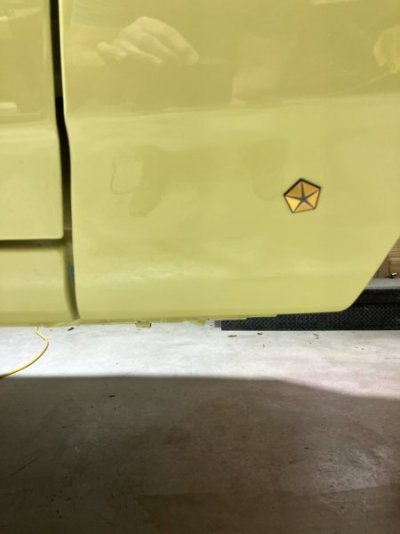
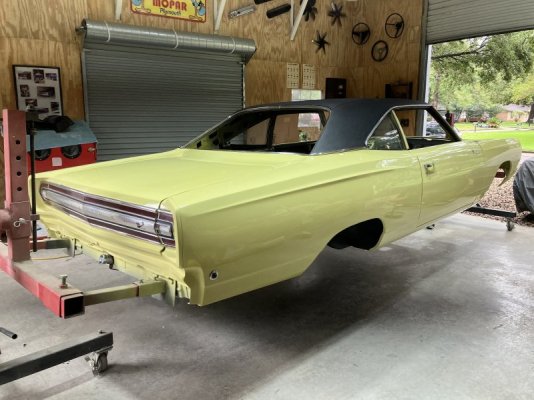
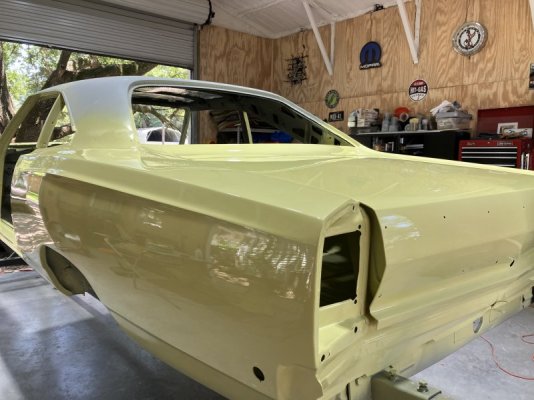
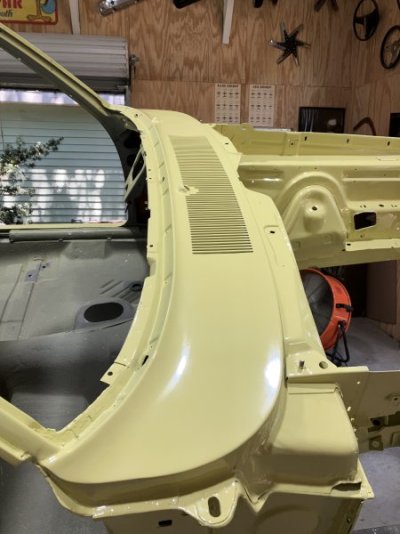
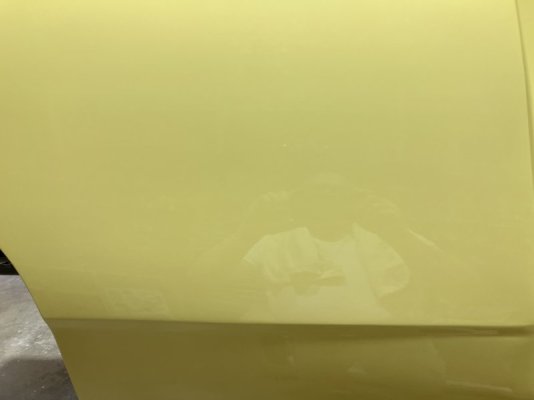
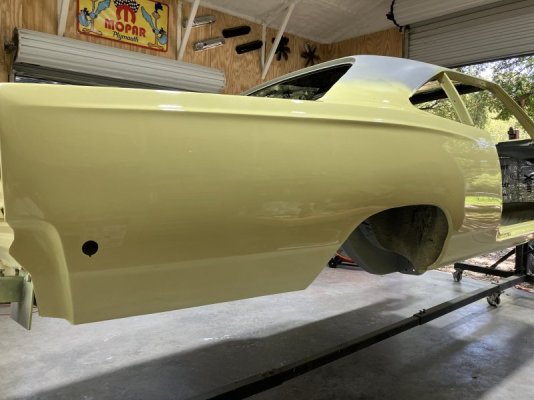
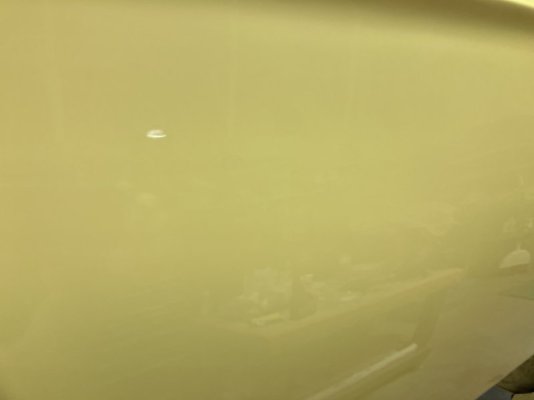
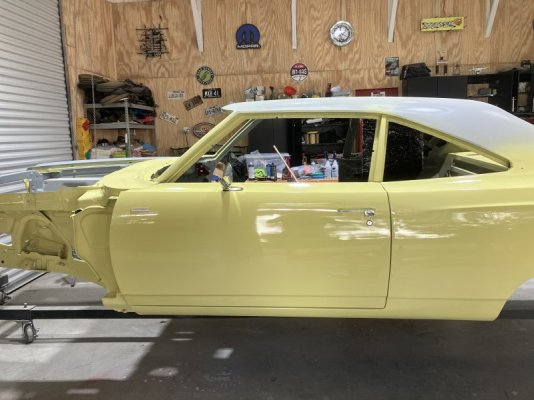
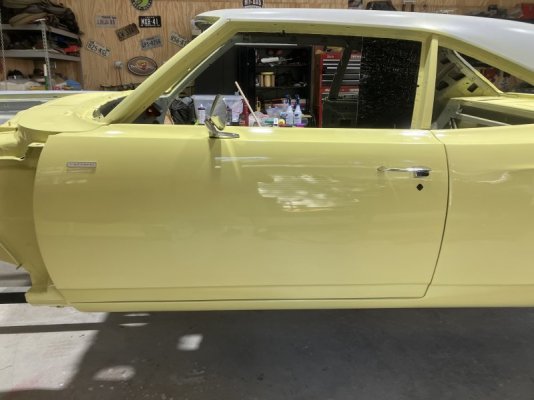
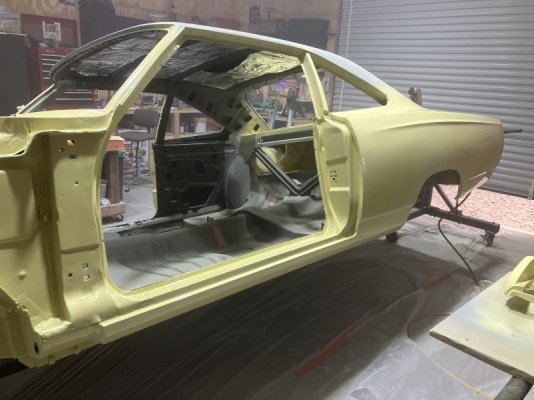
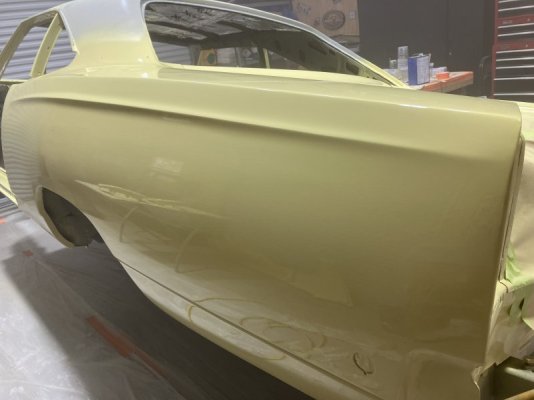
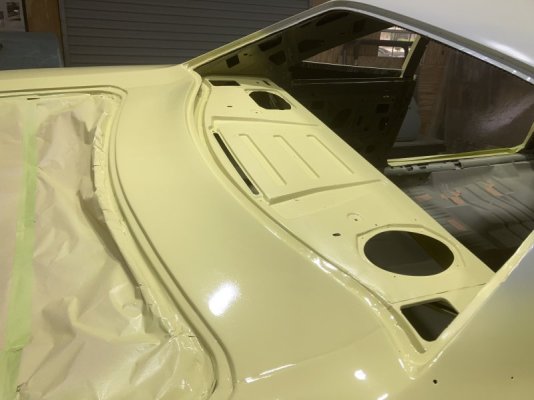
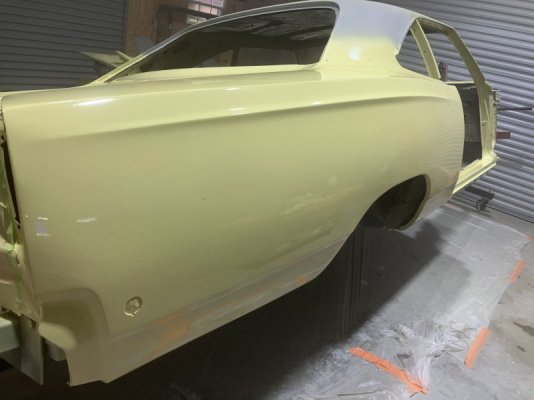
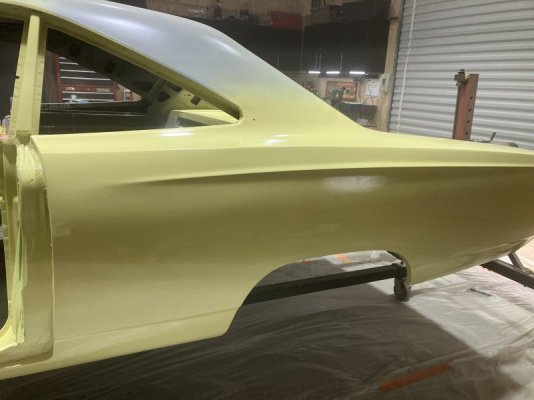
It’s starting to look like a car again. Lesson learned if you are going to paint your car yourself buy 2 gallons of paint mixed the same way! I did not and had a devil of a time getting the paint to match. Thankfully the guys down at the PPG paint store were able to help. First picture is of the paint that I had bought after the first gallon was used up!! The rest is with the corrected paint. Thanks for looking
Attachments
-
 Attachment 4.jpeg25.4 KB · Views: 68
 -
 IMG_2889.jpeg72.9 KB · Views: 59
 -
 IMG_2888.jpeg54.5 KB · Views: 60
 -
 IMG_2887.jpeg68.6 KB · Views: 58
 -
 IMG_2885.jpeg81.8 KB · Views: 65
 -
 IMG_2877.jpeg26.1 KB · Views: 59
 -
 IMG_2895.jpeg77.5 KB · Views: 50
 -
 IMG_2896.jpeg76.6 KB · Views: 54
 -
 IMG_2897.jpeg79.1 KB · Views: 53
 -
 IMG_2899.jpeg62.6 KB · Views: 55
 -
 IMG_2892.jpeg70.6 KB · Views: 51
Speedbird
Always buy more than I need at PPG.
I paint under imperfect conditions and screw up too.
So repainting is common.
Is that a custom mix color to match a code?
I just ask for the paint code at PPG and get the Omni line.
Found out it isn't corrct on the last car. And it's garbage thin.
Five coats to cover.
Too late to change.
They told me they can only custom match in the expensive line.
Whatever that is and it covers better too.
Eric Pearson
It is a factory color. But the second batch was a couple of shades darker
Speedbird
PPG actually mis mixed a quart of Curious Yellow in Omni for me.
Soon as I opened the can...too green.
Tried to use it. My bad.
But showed the Manger. Good guy.
Gave me a discount on next half gallon.
Soon as I opened the can...too green.
Tried to use it. My bad.
But showed the Manger. Good guy.
Gave me a discount on next half gallon.
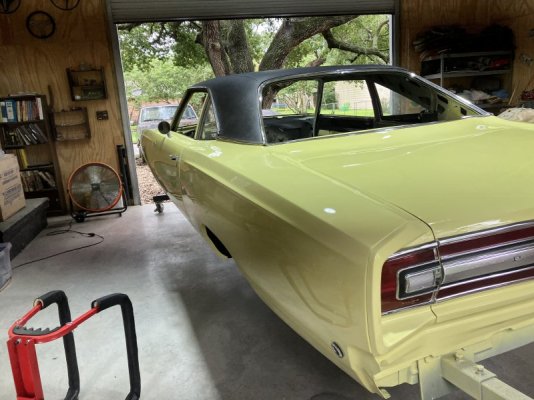
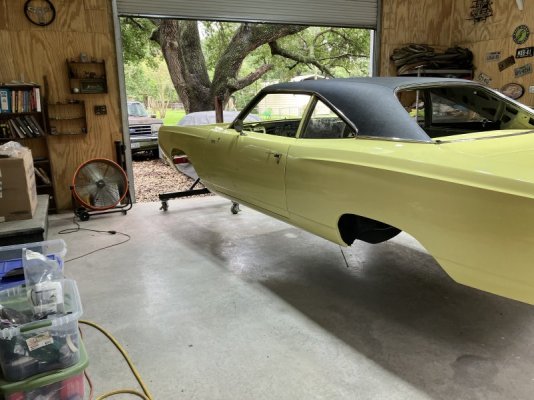
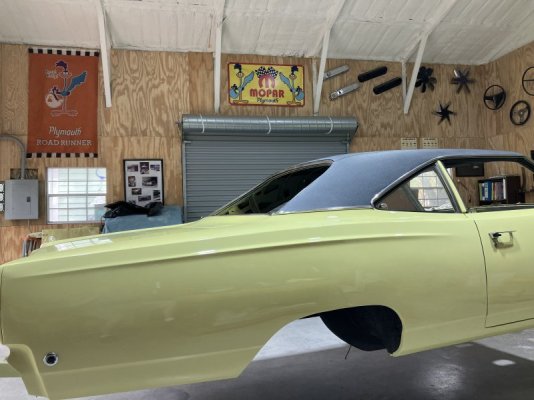
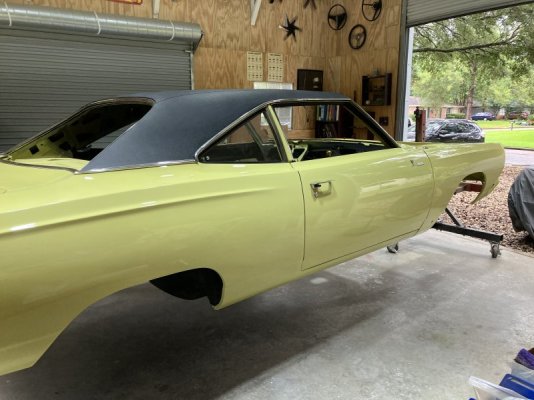
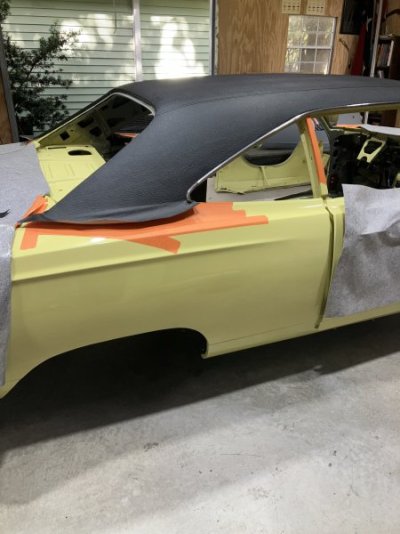
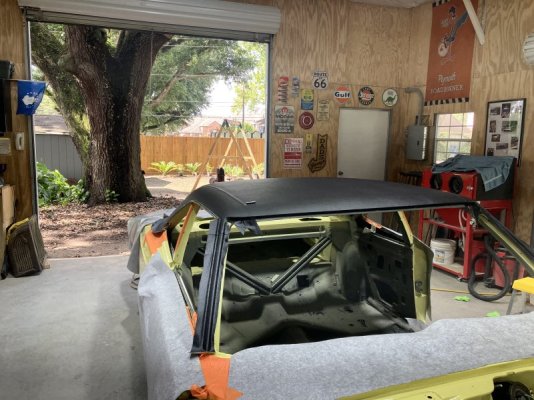
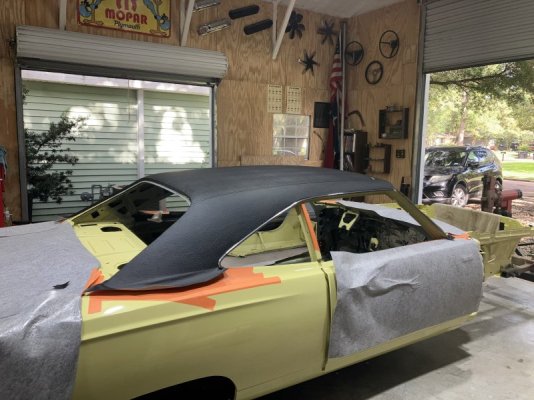
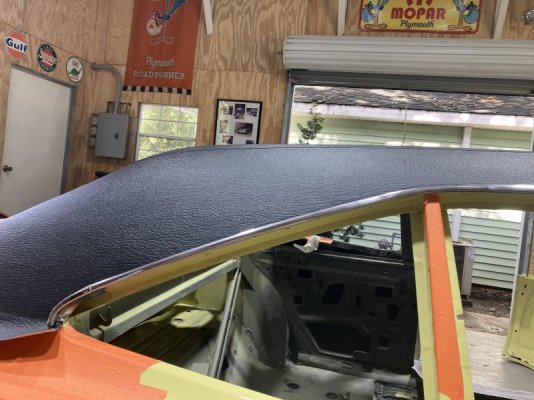
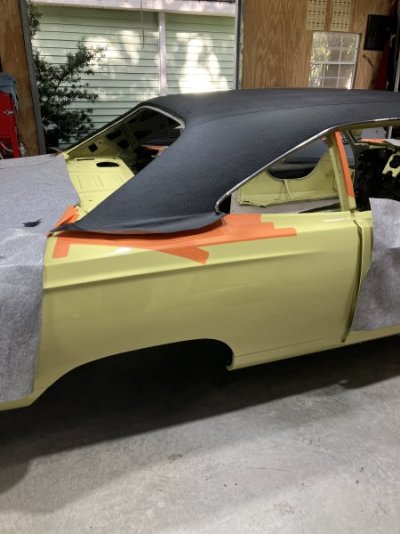
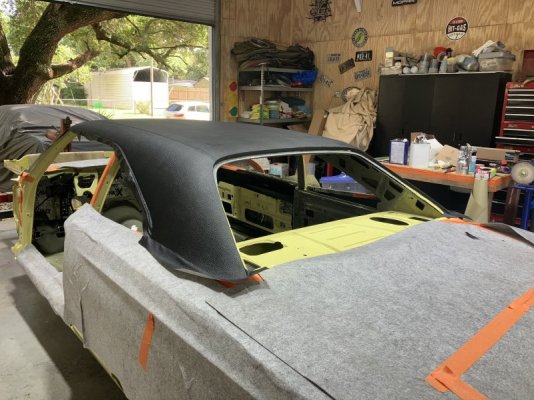
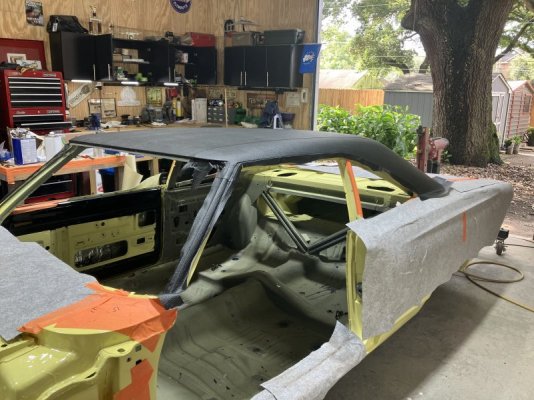
Installed my first vinyl top today! It’s starting to look like a car again
Attachments
65Bel
Like everything else you've done, it looks great Eric! 

Eric Pearson
Thank you
wedgee
Jealous....looks good
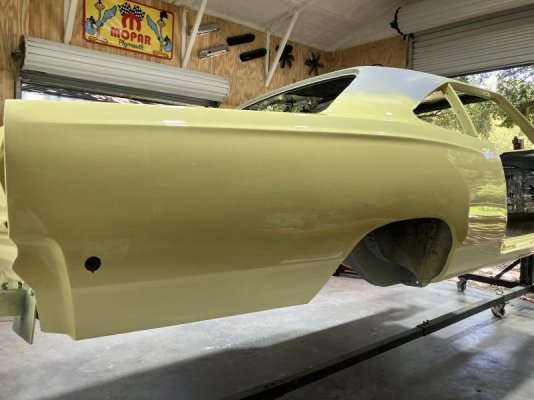
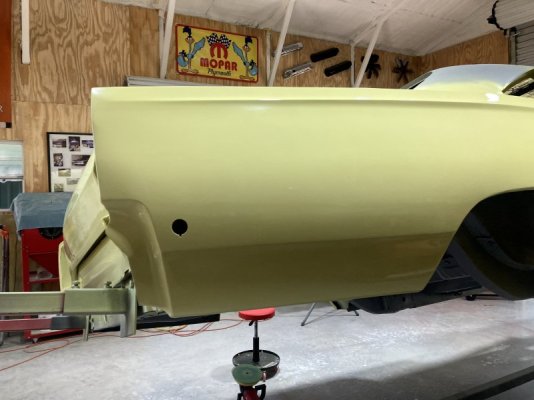
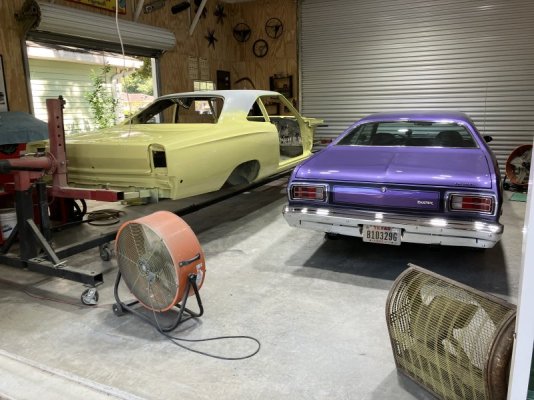
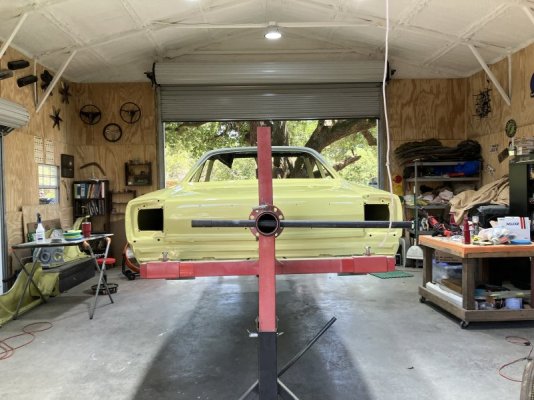
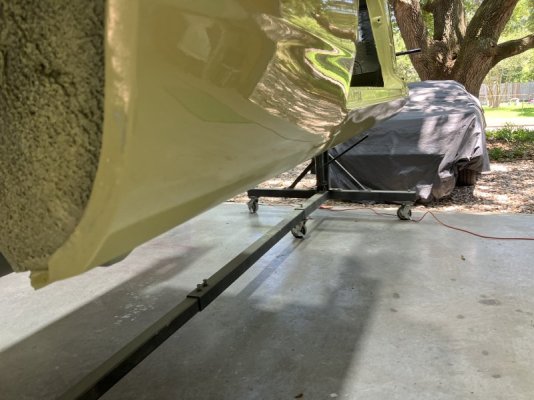
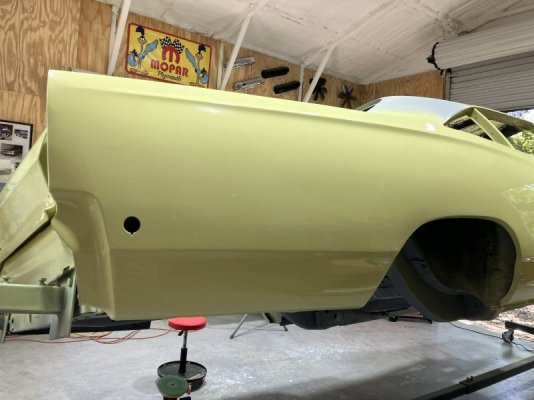
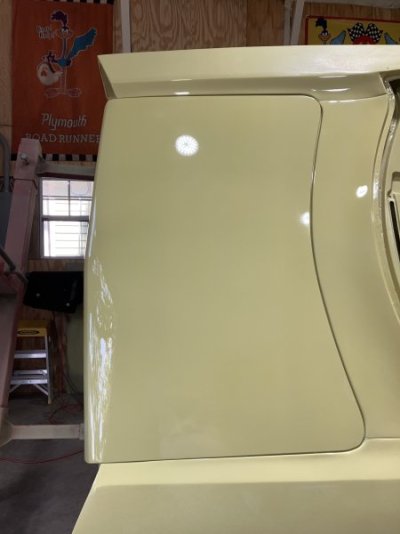
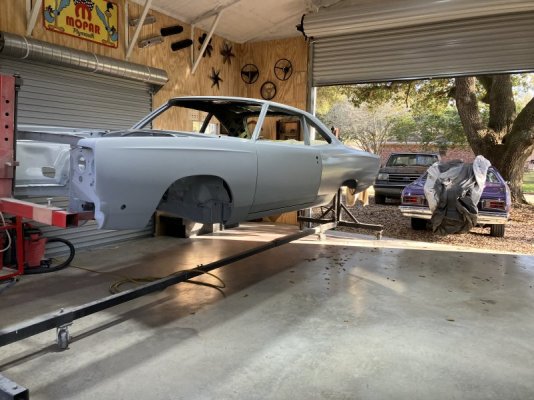
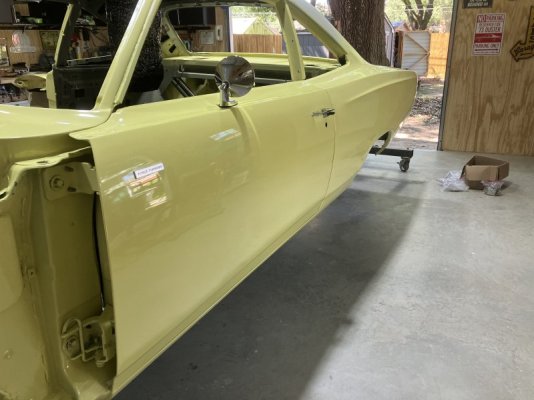
Well after a repaint I was able to cut and buff the body. It’s came along way since 2019
Attachments
-
 IMG_2565.jpeg61.1 KB · Views: 59
 -
 IMG_2562.jpeg54.8 KB · Views: 68
 -
 IMG_2575.jpeg88.7 KB · Views: 68
 -
 IMG_2574.jpeg81.3 KB · Views: 71
 -
 IMG_2573.jpeg69 KB · Views: 66
 -
 IMG_2569.jpeg39.7 KB · Views: 61
 -
 IMG_2564.jpeg20.3 KB · Views: 64
 -
 IMG_2566.jpeg59.8 KB · Views: 63
 -
 IMG_2567.jpeg17.8 KB · Views: 67
 -
 IMG_2568.jpeg69.8 KB · Views: 70
 -
 IMG_2563.jpeg55.7 KB · Views: 63
 -
 IMG_2560.jpeg30.6 KB · Views: 66
ScottsGTX
Nice work!
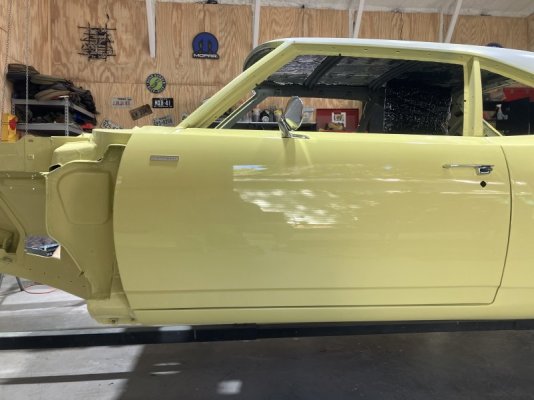
Got both doors on with door handles on. It’s been a long time since they were installed
Attachments
Painted the quarters today. I think it looks pretty good
Attachments
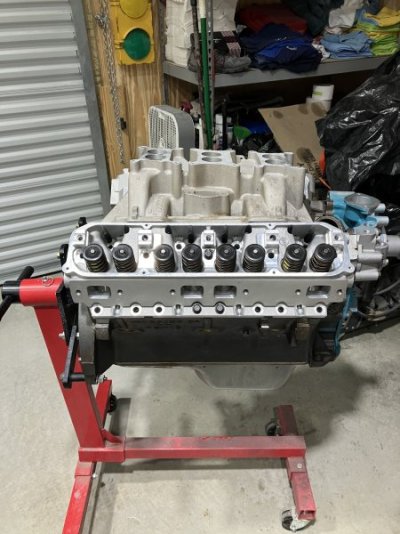
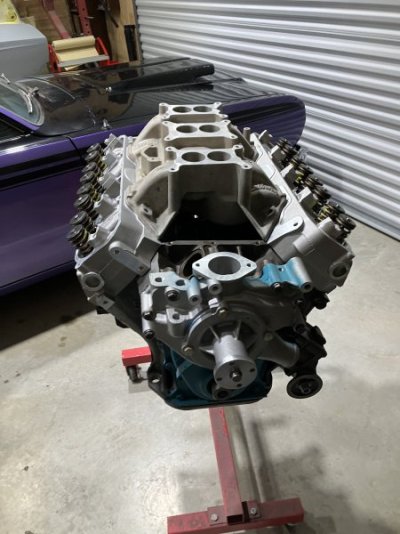
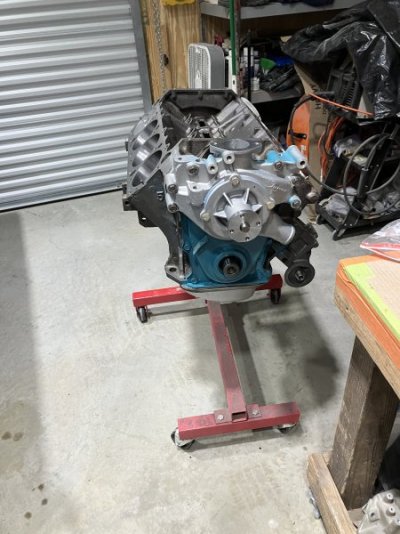
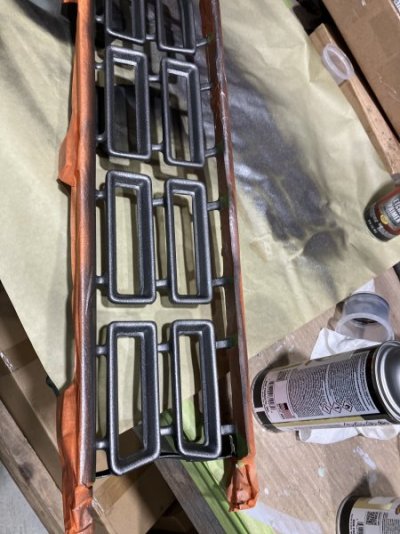
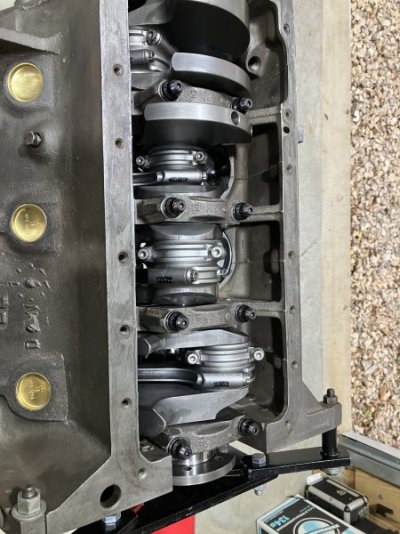
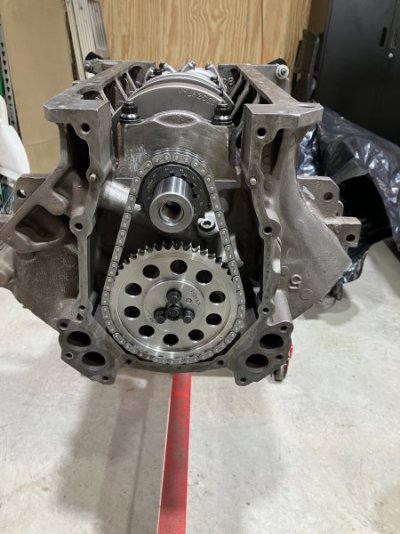
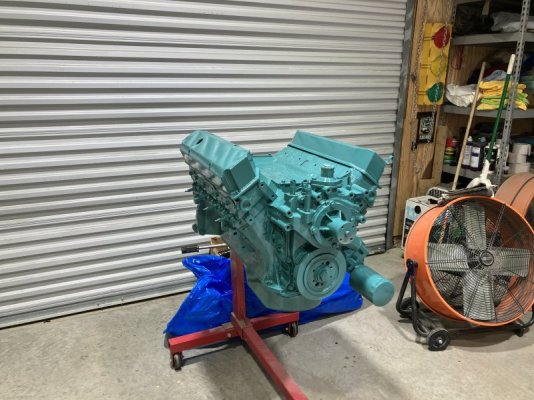
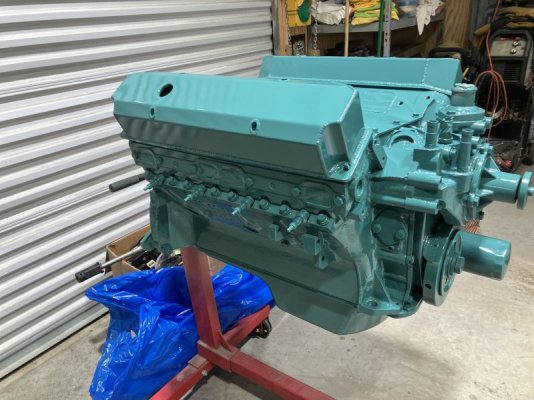
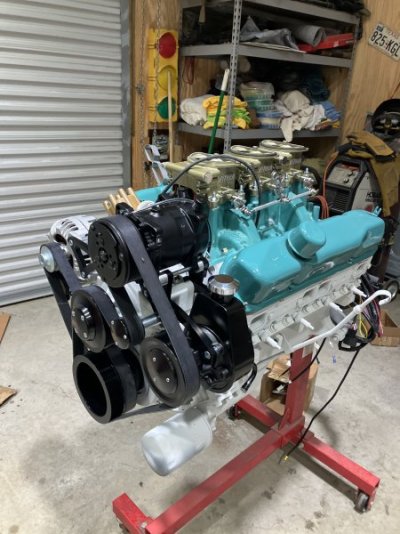
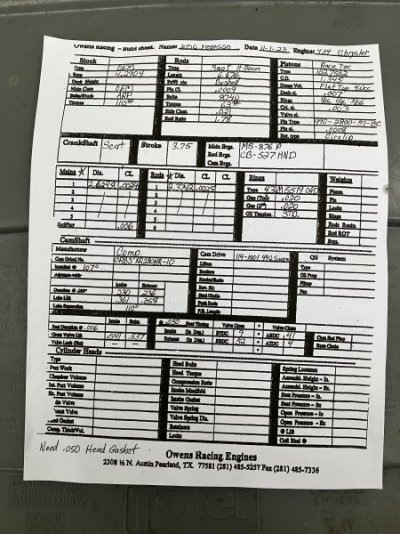
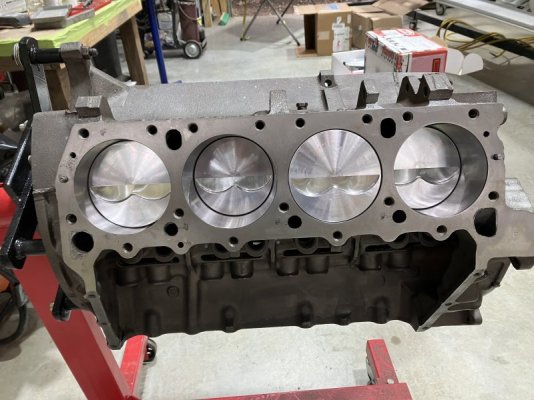
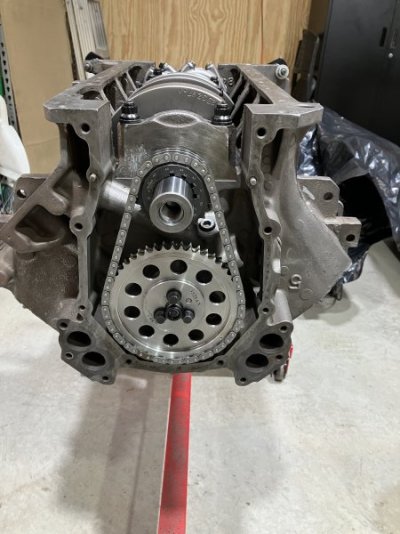
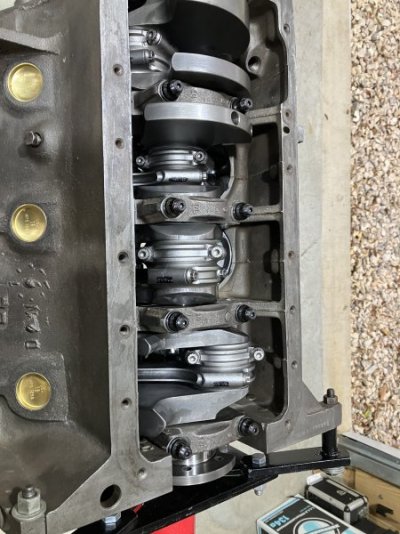
So I have been doing bodywork for a while now and got the engine bac from the machine shop. It turned out to be a 436 stroker with a .040 bore.here’s a few pics for your viewing pleasure
Attachments
-
 IMG_1952.jpeg52.2 KB · Views: 93
 -
 IMG_1951.jpeg47.7 KB · Views: 94
 -
 IMG_1946.jpeg51.4 KB · Views: 83
 -
 IMG_1913.jpeg51.5 KB · Views: 80
 -
 IMG_1912.jpeg65.6 KB · Views: 90
 -
 IMG_1882.jpeg64.3 KB · Views: 89
 -
 IMG_1841.jpeg52.5 KB · Views: 87
 -
 IMG_1765.jpeg56.9 KB · Views: 85
 -
 IMG_1766.jpeg46.5 KB · Views: 80
 -
 IMG_1702.jpeg43 KB · Views: 85
 -
 IMG_2042.jpeg39.6 KB · Views: 78
 -
 IMG_2058.jpeg46.7 KB · Views: 85
 -
 IMG_2055.jpeg46.1 KB · Views: 82
 -
 IMG_2095.jpeg86 KB · Views: 86
 -
 IMG_2097.jpeg71.2 KB · Views: 82
 -
 IMG_2088.jpeg60.1 KB · Views: 87
 -
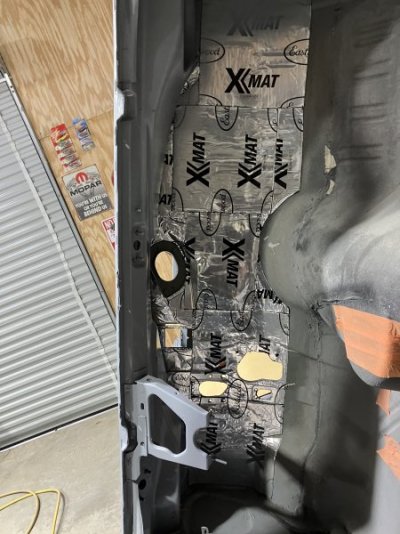 IMG_2089.jpeg52.9 KB · Views: 94
Been working on the body work hope to paint it in the spring. The short block is done stroked it to a 434
Attachments
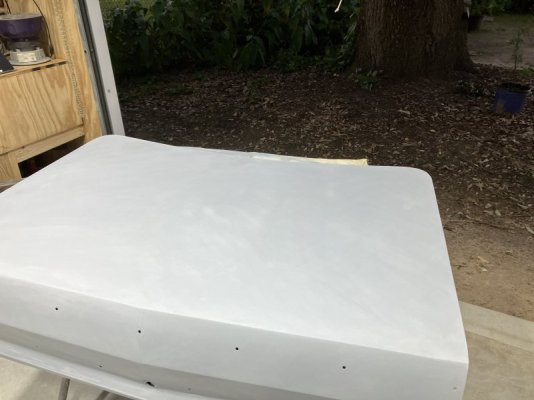
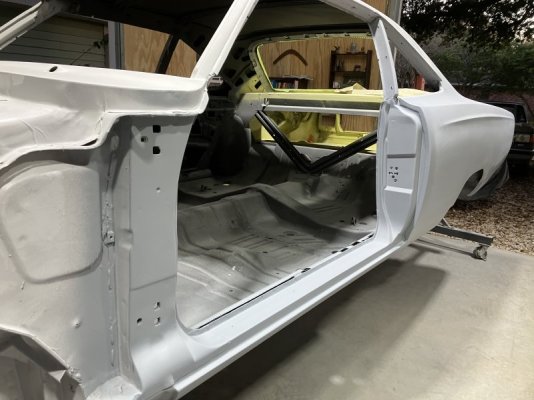
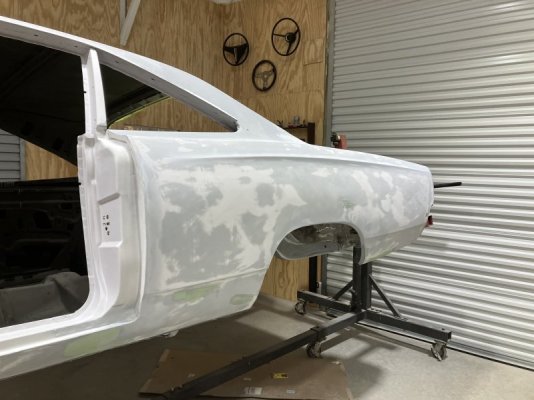
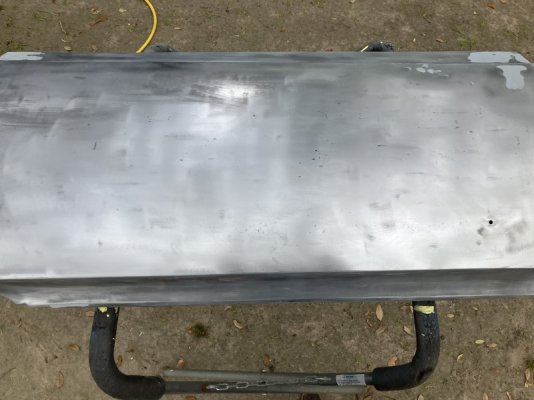
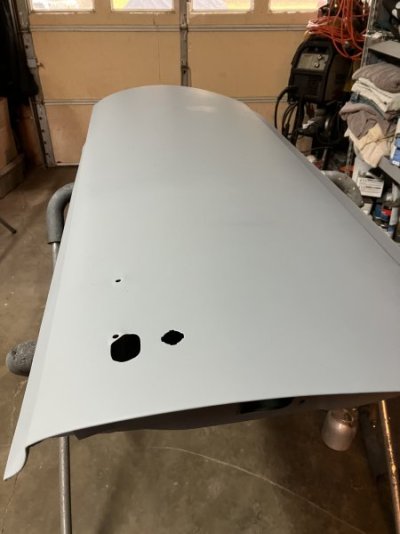
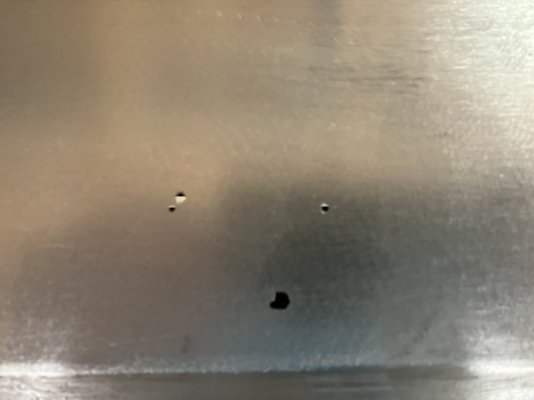
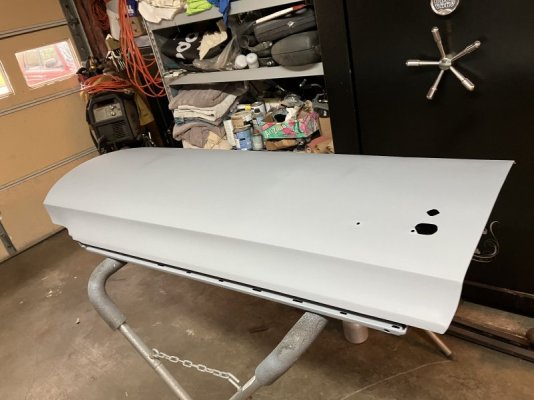
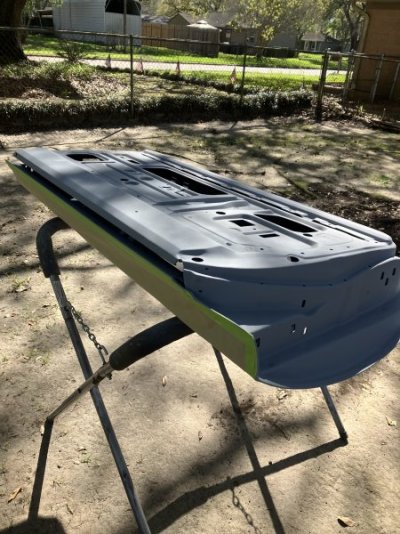
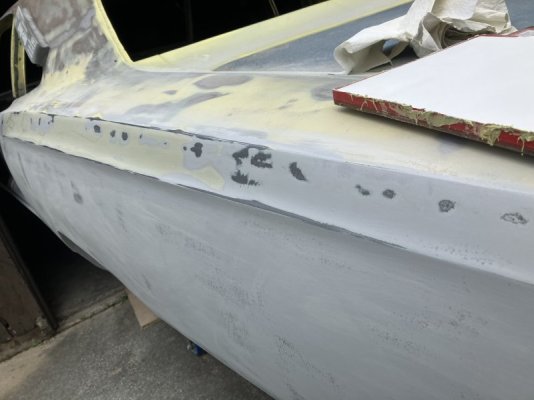
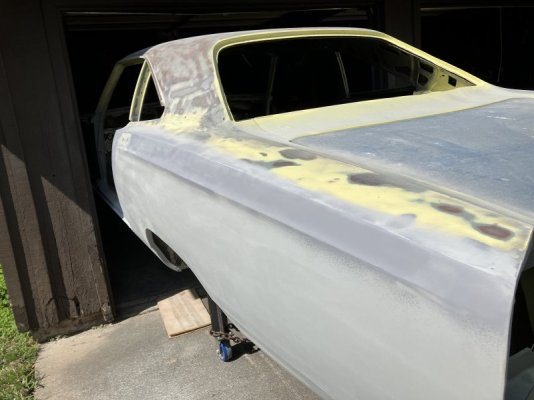
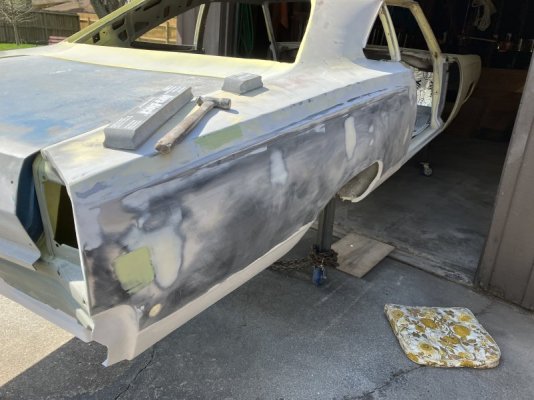
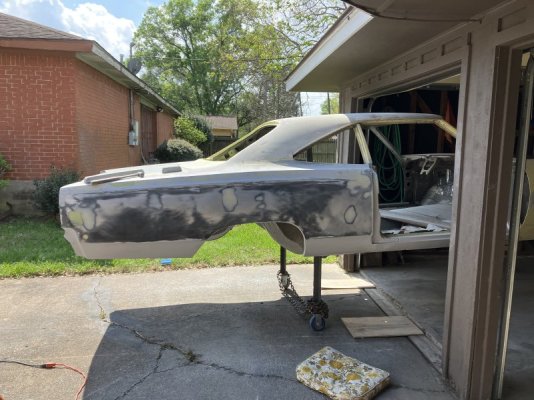
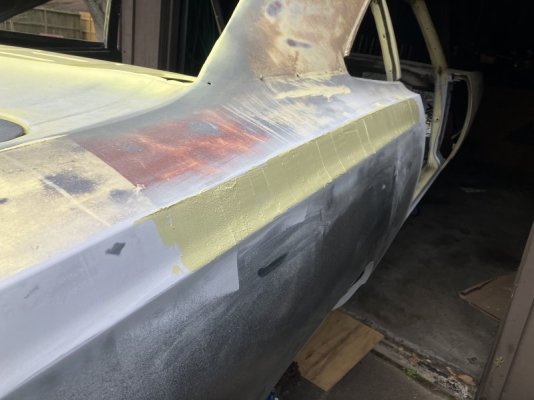
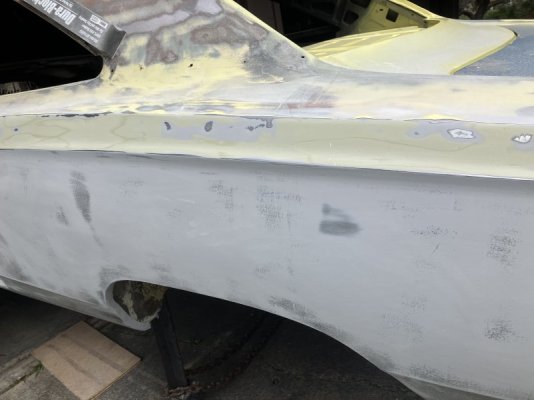
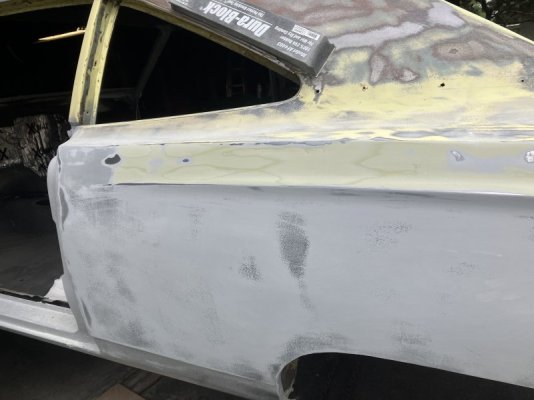
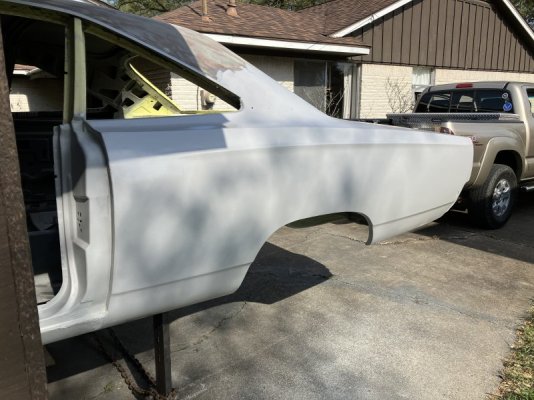
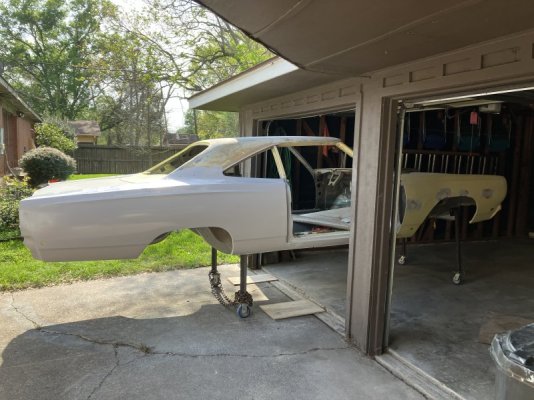
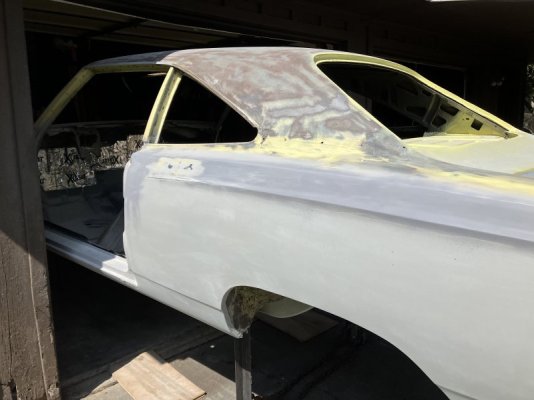
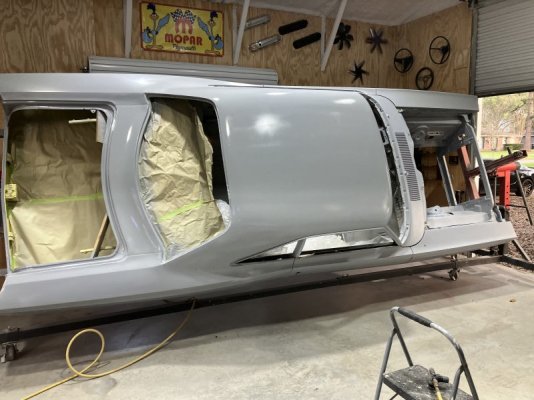
So after a few months,I have finally got to work on the Road Runner. Here’s a few pictures. Started to do bodywork on the passenger door and hopefully finished up the rear quarters where I welded the skins on. Applied the Eastwood opti flow roll on epoxy primer. I recommend it if you have no way to spray primer on. Thanks for looking.
Attachments
-
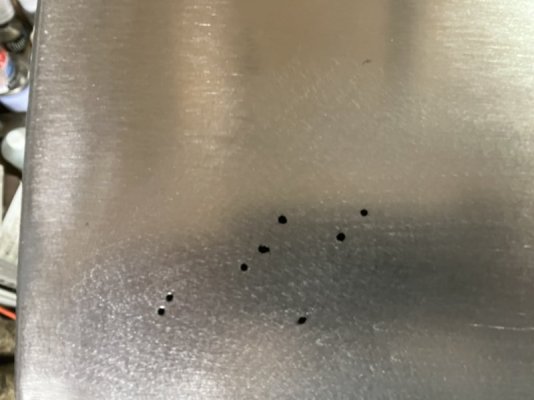 E0188E16-BC44-4FAB-846D-DD4129BFD436.jpeg41 KB · Views: 173
 -
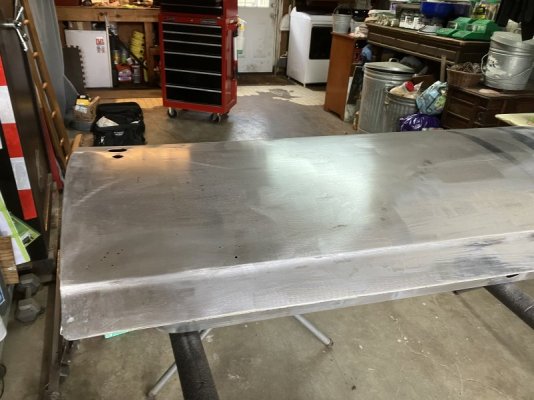 192E3C3E-33D2-4A47-989C-69CA11956048.jpeg70.3 KB · Views: 123
 -
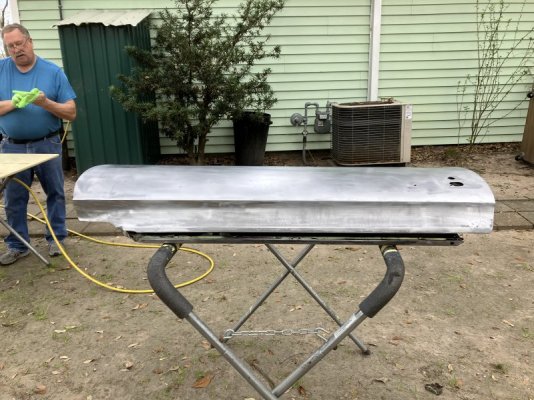 A45EC65C-28BD-4A0D-A48C-005ABAE5A7F2.jpeg104.9 KB · Views: 126
 -
 954C2D4B-815F-4962-8F71-607ED3FA8BDE.jpeg55.7 KB · Views: 112
 -
 0858597C-078A-4A61-B741-ABCFE17A9822.jpeg25.8 KB · Views: 116
 -
 6199F0F8-4AE9-477F-AB53-0D9F253E48DD.jpeg25 KB · Views: 117
 -
 83160DA6-F9A3-42FF-B5FB-BC5911C1CD70.jpeg57.3 KB · Views: 116
 -
 88232878-C252-41B2-8DE9-9053A5D76740.jpeg67.7 KB · Views: 134
 -
 41062AEC-8AD2-4275-AB69-B0DCB7B7B77D.jpeg48.1 KB · Views: 124
 -
 BCF09BB5-2E98-427B-9375-60CF61525EF9.jpeg46.3 KB · Views: 114
 -
 76A2EE7A-1FA0-464D-ADB8-EA43096B810A.jpeg52.6 KB · Views: 131
 -
 A58220E8-82B3-4FED-8231-26102A0B7E34.jpeg71.4 KB · Views: 118
 -
 AAD2C60C-F344-432E-A545-129ABF04288C.jpeg89.7 KB · Views: 118
 -
 736164D0-86A3-467E-9D9B-774886197CB5.jpeg52.9 KB · Views: 121
 -
 A13E6A8C-4EE8-44D1-8320-DE714267C5B1.jpeg47 KB · Views: 121
 -
 F70DE7D3-ED83-4C41-BA99-54F603FF5B65.jpeg49.4 KB · Views: 115
 -
 DA6F22CA-8B37-4D2C-8D87-BCBEE9A33E8E.jpeg80 KB · Views: 118
 -
 1AEC31B5-AE23-4206-A898-0B64655BD95F.jpeg84 KB · Views: 124
 -
 6C3F3B6B-FECD-4D55-A7D4-8728D99A1DDA.jpeg47.8 KB · Views: 132
ruffcut
Coming along nicely! Keep it up! ruffcut
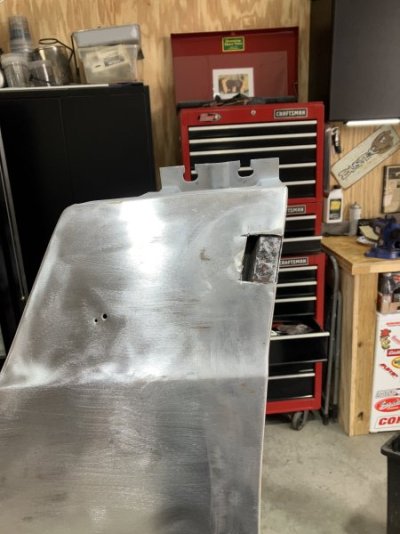
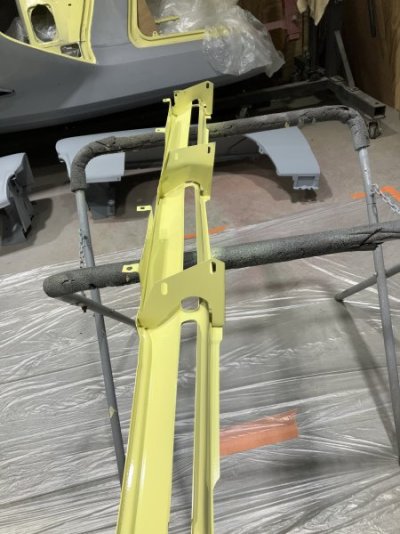
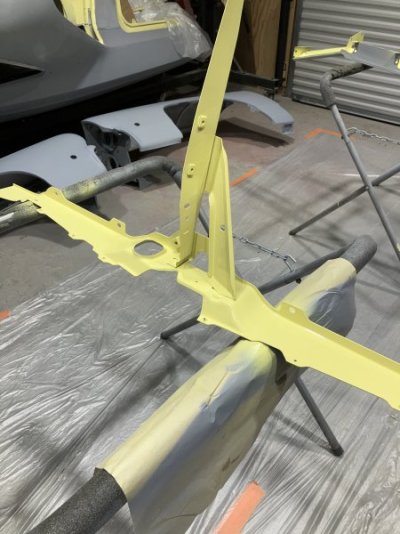
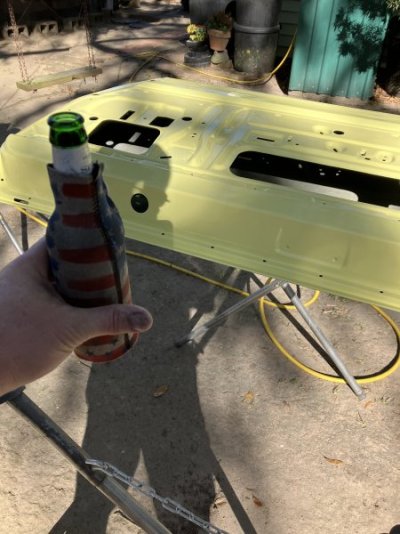
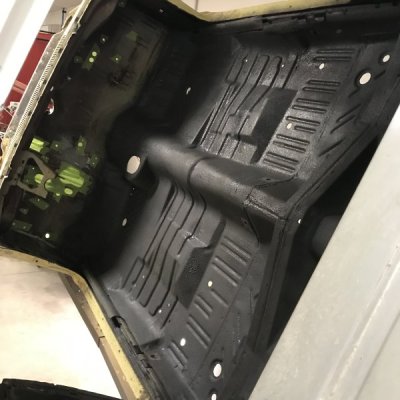
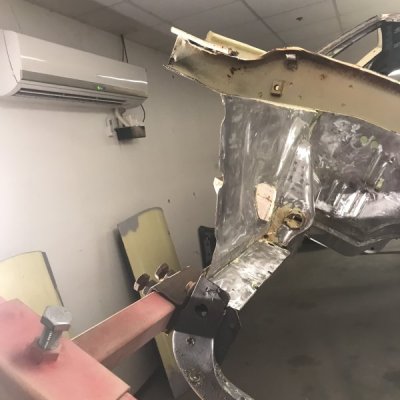
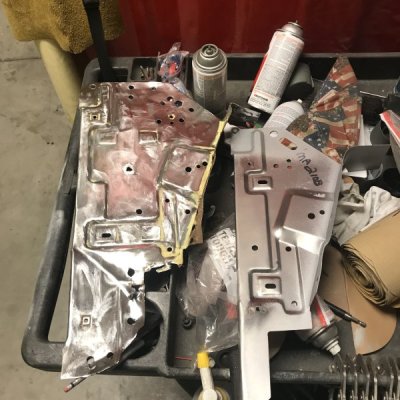
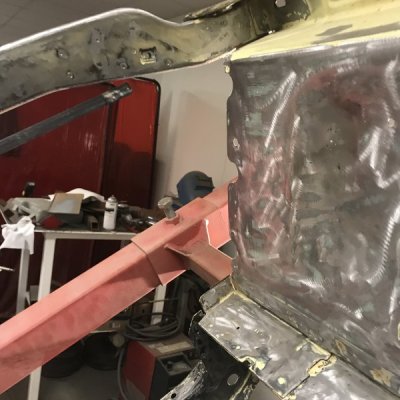
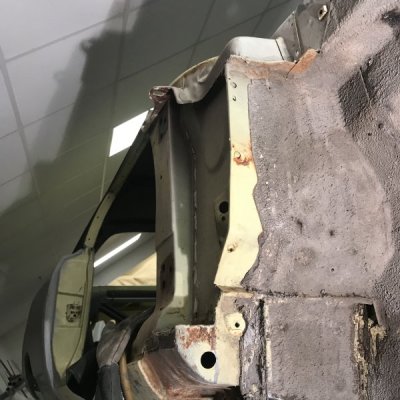
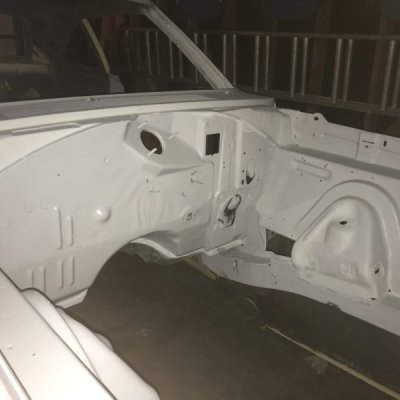
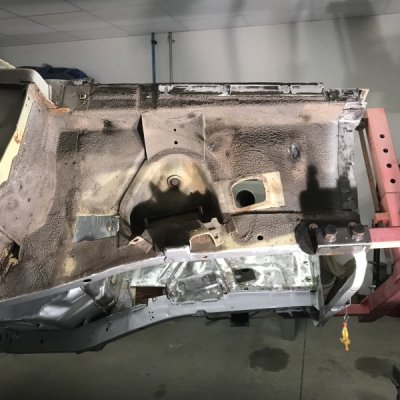
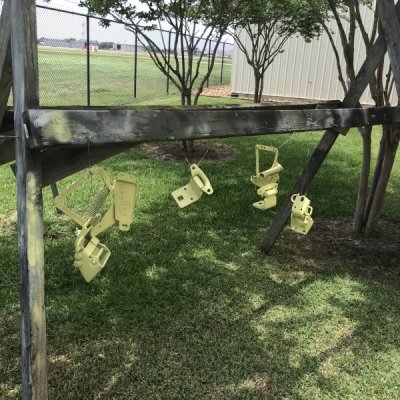
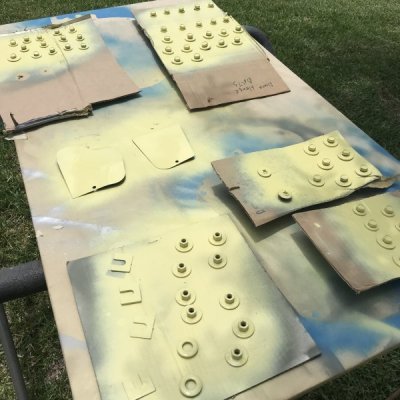
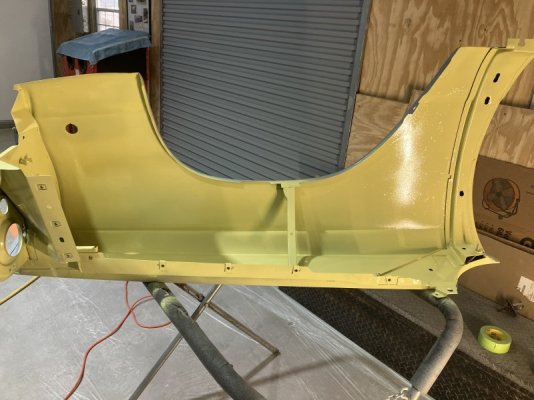
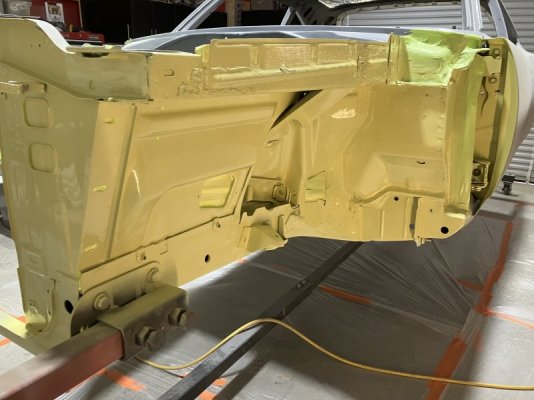
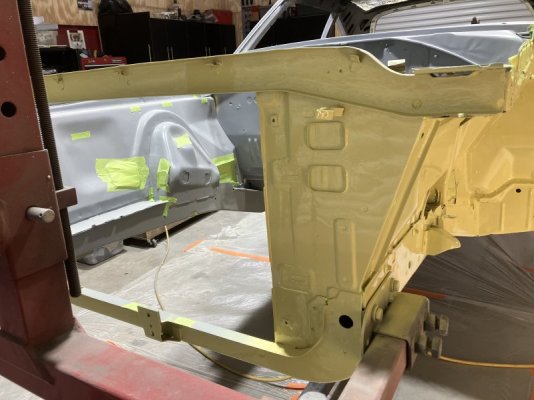
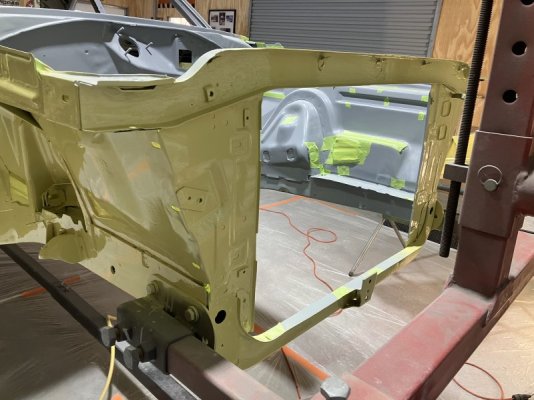
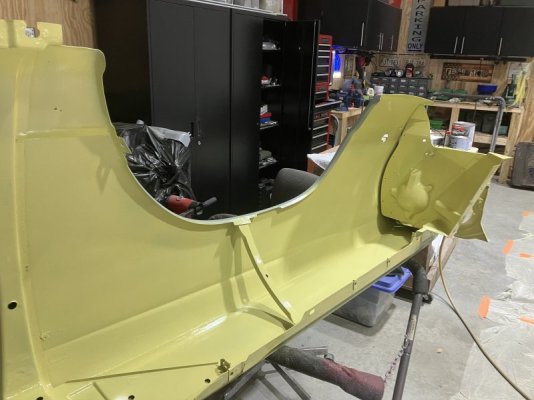
Here’s some pictures of the progress on the road runner. Things will probably slow down for a while as I recently lost my job. But I will continue with the restoration as best as possible. Got some more yellow paint on and replaced the 22in. Radiator support with one for a 26 in radiator. Also primed the engine compartment and drivers side quarter panel with Eastwood,s roll on epoxy primer. It works pretty good. It’s a lot thinner than I expected . Thanks for looking . Have a great 4 th of July
Attachments
-
 8266D8EC-4546-4467-9E22-6B016DFE27F0.jpeg46.5 KB · Views: 162
 -
 8D8DBBF8-3CC7-4264-BE79-5FE30C6E1C8F.jpeg39 KB · Views: 167
 -
 2EF83706-EBAD-479E-95CD-268901DF4BA0.jpeg63.3 KB · Views: 163
 -
 8A3CB79A-DE24-4B21-BEBB-38DAF428E5AD.jpeg50.6 KB · Views: 166
 -
 794525B3-68E8-472C-A862-469B6CE7759C.jpeg101.6 KB · Views: 161
 -
 3ADDB075-F46B-4EE3-8DA9-E6D7AA482A03.jpeg57.1 KB · Views: 155
 -
 2B28C1A6-B7D6-4CFD-929C-954574370284.jpeg27.1 KB · Views: 161
 -
 39CEF868-FEA0-48B4-9B84-314E5B5B490D.jpeg58.5 KB · Views: 164
 -
 A8ADE285-D33F-441A-99CF-17BFCBDE9009.jpeg101.6 KB · Views: 159
 -
 B19134DC-258D-4381-8CD9-F8FC0DEC855E.jpeg54.3 KB · Views: 174
BBodyC
Nice work !
blue69runner
It has come a long way. Hope you can secure a job soon. Know how much money we have to put into these old cars. Keep up the good work. 


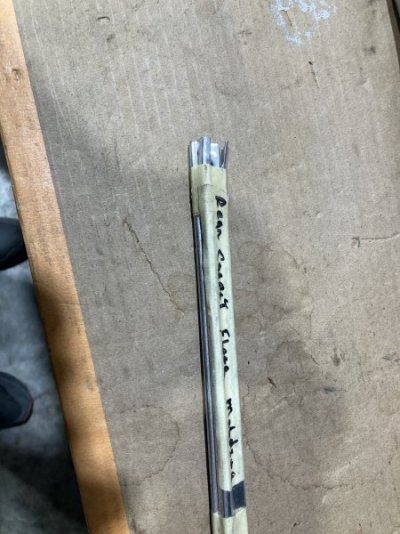
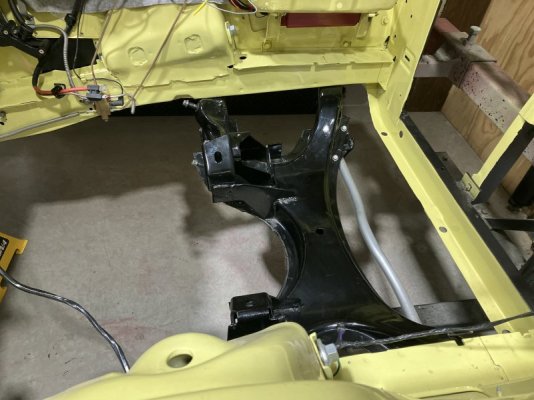
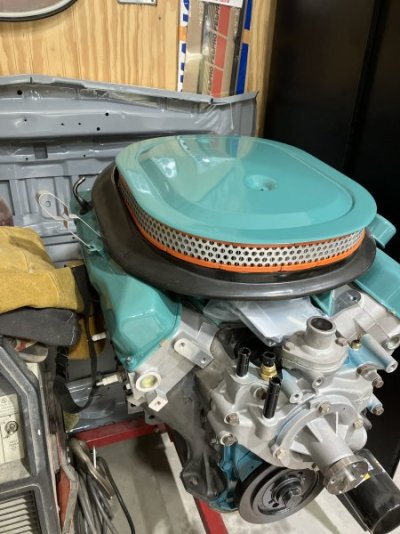
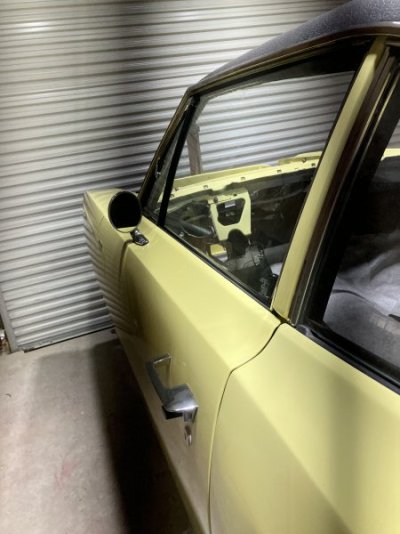
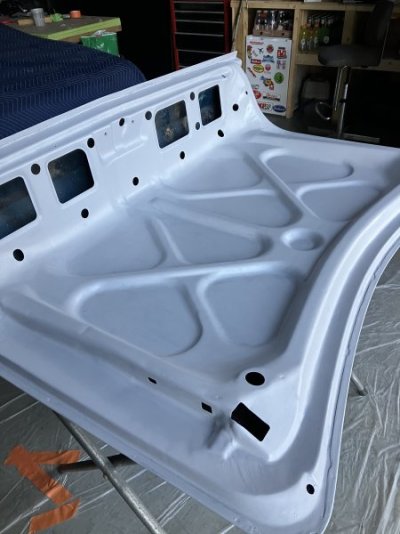
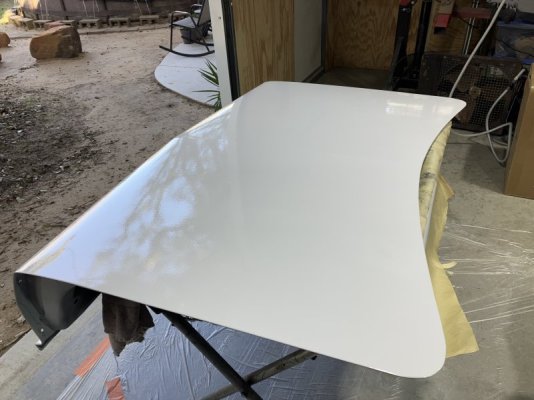
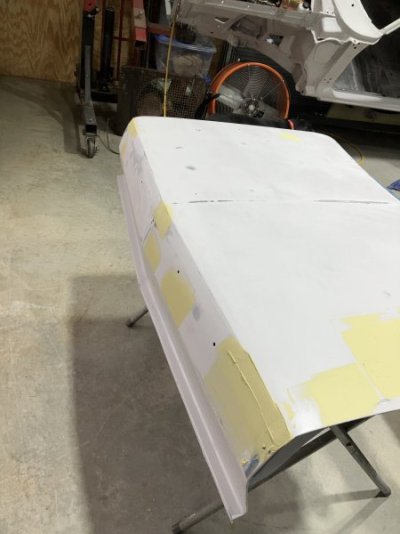
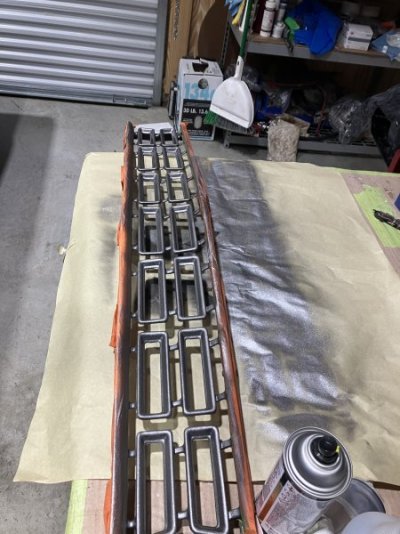
Both things that I bought twice over the years and old spare stuff I forgot I had.
New K bolts when I've probably got close to 12 in my junk yard hoard.
One example.
And the things I screwd up in installing and bought twice. Front glass seal. 0d2HbvW52V8
And the things that I bought that were wrong.
Still can't figure out why I must have trashed the seat belts.
They were bad anyway.
Oh well