• When you click on links to various merchants on this site and make a purchase, this can result in this site earning a commission. Affiliate programs and affiliations include, but are not limited to, the eBay Partner Network.

1973 Charger SE restoration project

Rodney

Well-Known Member
Local time
12:58 AM
Joined
Feb 19, 2010
Messages
124
Reaction score
69
Location
Central Or.
here I go again.
This one is not mine.
1973 Charger SE 440 AT.
not to much rust and none is structural which will make this project nice.
plans are
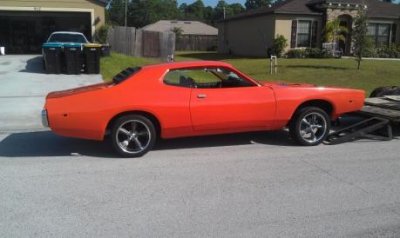
Paint: Orange with black vinyl top
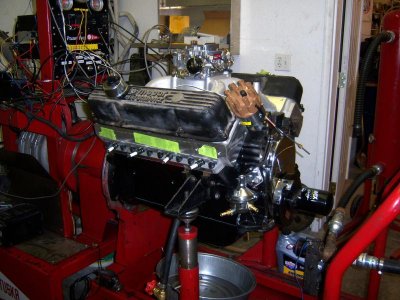
engine: 440 with the Edelbrock top end package.
freshen up the trans
3.23 8 3/4
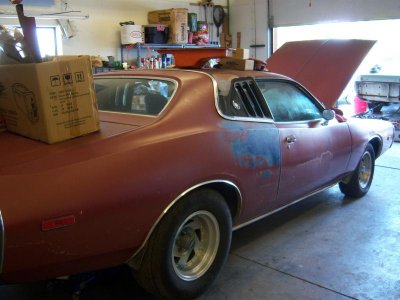
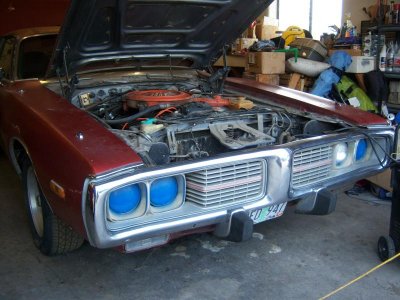
100_4422.jpg100_4454.jpg

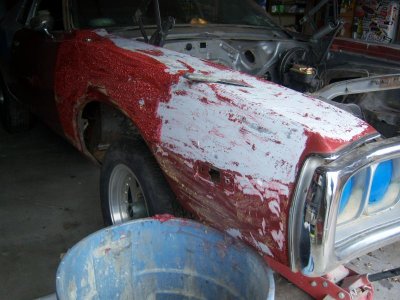
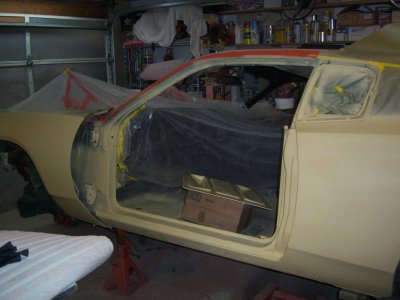
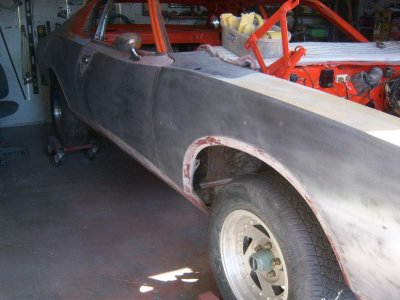
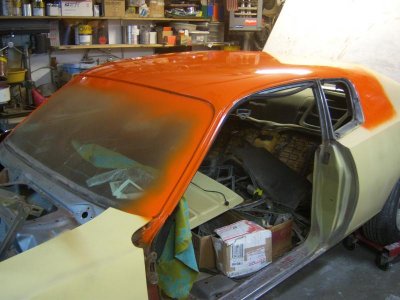
after removing the trim I sanded with 80 grit treated the rust and primed with self etching primer let it dry for 24 hours
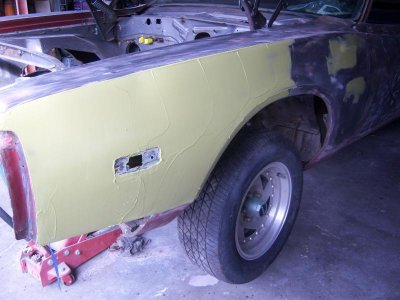
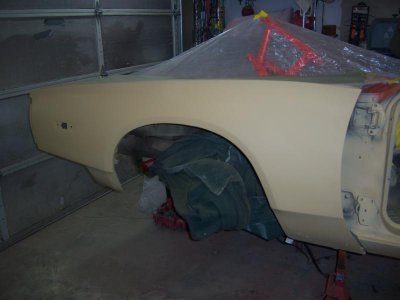
filled as needed with Dura glass and plastic filler and primed.
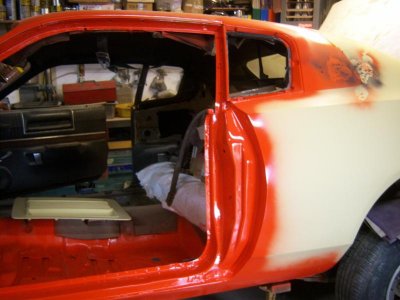
scuff sanded and painted.
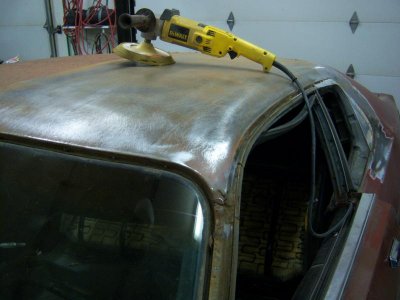
100_5805.jpg

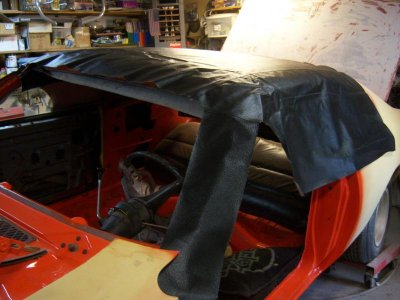
after a coat of Hugger Orange the top is ready for the vinyl.
100_6087.jpg
 
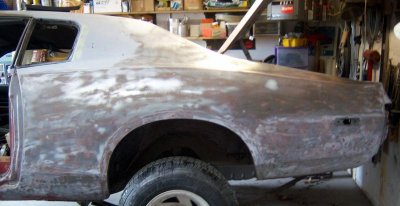
removing old paint and body work

I wasn't as lucky as the past few projects when it came to prepping the body for paint.
The Charger had an enamel paint job in the past and a heavy coat of lacquer primer under the top coat.
Using the feather edge pad on my grinder was just softening the paint enough to clog the paper, with the cost of the 8 inch disc's at more than $2.00 apiece I had to do something different. I went with chemical paint stripper which loosened the paint and was able to scrape it off and applied another coat to remove the primer then rinsed with H2O and finished by using the feather edge disc with 80 grit then going back over with 180 on a DA. Now the panels are ready for body work and primer as needed. I am also painting jambs as I work around the body but once the car is ready for paint I will once again use the spray booth at the body shop. After I get the majority of the body work and priming done the vinyl top will be glued on and windshield and back glass set.

100_6041.jpg

100_6044.jpg

100_6075.jpg

100_6114.jpg

100_6113.jpg

100_6122.jpg

100_6106.jpg
 
Thanks Lazer..
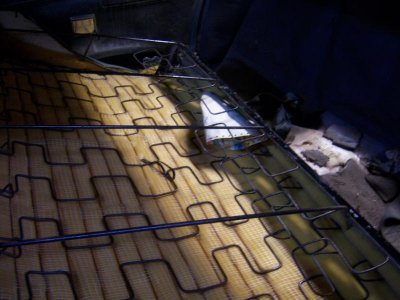
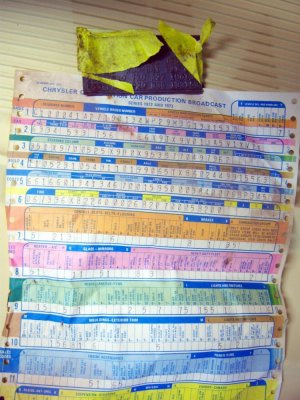
I can't believe it but found another build sheet behind the rear seat back the other was under the passenger bucket seat cushion!
Why can't any of my cars have one?
100_6144.jpg

100_6149.jpg

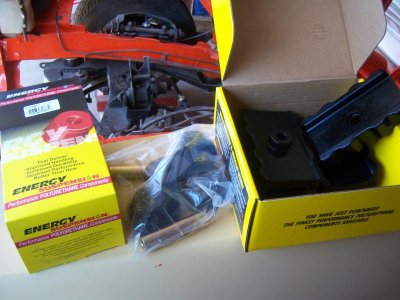
got the last of the suspension rebuild parts and engine mount inserts now all is upgraded to poly.

100_6157.jpg

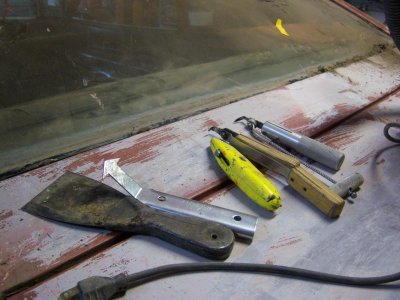
cut out the back glass, I use the utility knife around the edge and cut first with the shorter W/S knife and follow with the longer one, this makes cutting the seal much easier and use windex as a lube as I go.
no rust! nice.

100_6141.jpg

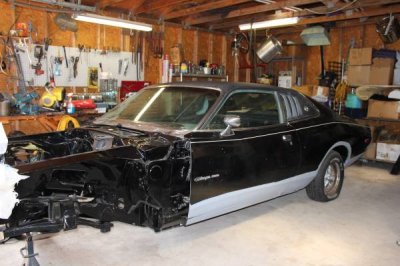
painted the interior next is the top and headliner after some repair to the right side body

100_6162.jpg

sanded to bare metal looks pretty good so will etch prime and fill.

100_6158.jpg
 
Nice project ,and it's the same color I'm painting my 72 rallye car. I have a 74 s.e. sunroof car that will be getting restored very soon. Only a 318 car but fully loaded ,can't wait for more updates ,if you need any parts let me know I got a few extras here and there. Keep up the good work .

- - - Updated - - -

00r0r_dJe6W2gh1Wl_600x450.jpg00T0T_4Ec96XaIyxT_600x450.jpg
Here's my s.e.
And here's my last Orange one I did
attachment-1.jpg
 
Thanks for the offer on parts for the Charger.
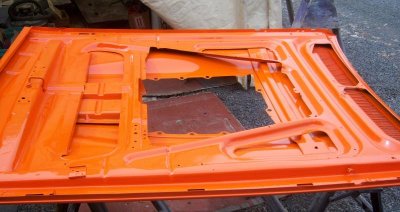
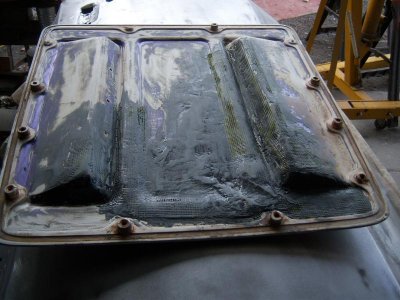
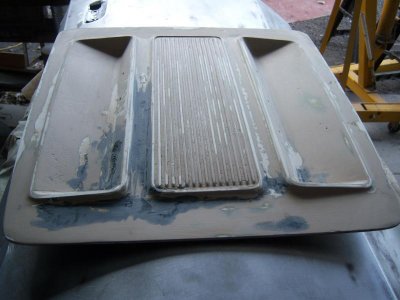
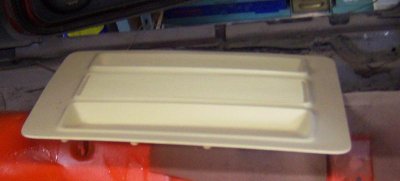
I am in need of some hardware for the hood insert we are using on this car.
I am not sure what year this hood came from? 72? I am not familiar with 3rd gen. Chargers.
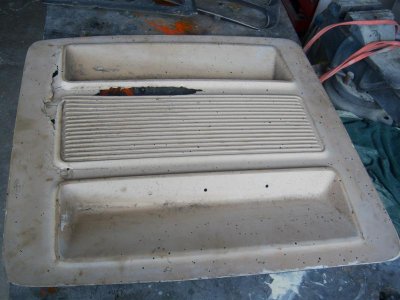
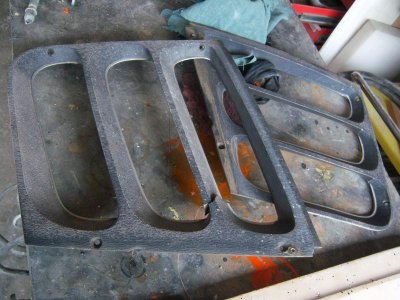
it has the power bulge and an insert made of SMC. I've got it glued back together and primed after hours of tedious work.
after finding no replacement {not surprised} and the one offered on Ebay was 1k I will repair what we have.
maybe you {or someone} knows what type of screws and spacers are used to fasten the insert to the hood?
what I was thinking was some rubber spacers, fender washers and lag type screw. I've made a few spacers from 3/4 hose for now.
also need inside and out trim for the 1/4 glass we have some and plan on repairing but some in better shape would be nice.
door pulls or an idea of some that would work?
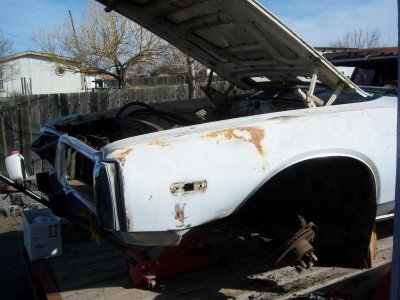
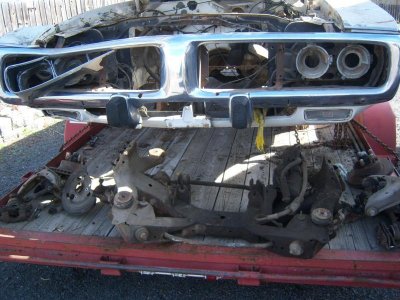
I will aso have some part to offer if anyone needs any I have a parts car with a good Left fender but the car is pretty trashed. The poor guy hit and Elk front end and the thing tried to go through the windshield.

100_6031.jpg100_6032.jpg100_6033.jpg

100_6053.jpg100_6056.jpg100_6057.jpg
100_6123.jpg

100_6059.jpg100_6066.jpg
 
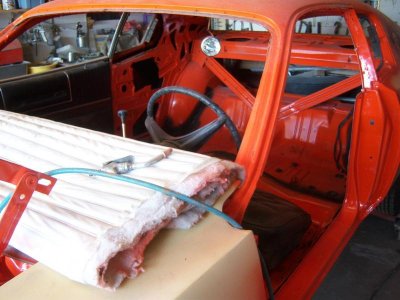
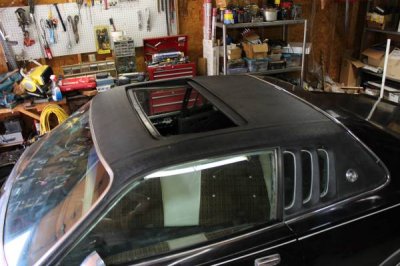
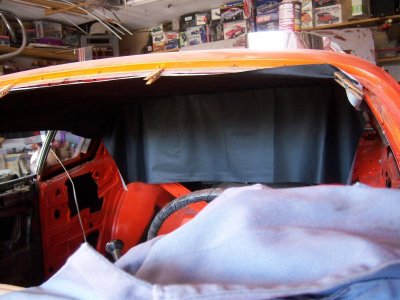
insulation and headliner installed.

took a few minutes and got the headliner hung after gluing and taping insulation to the roof and B pillars
piece of cake just need to clip a couple inches off the bow loop material from either end of each..
a few cloths pins to hold in place until I glue it and fasten it permanently.
If there are any wrinkles I'll leave them alone, they should smooth out with time and hit with a steamer if needed once the car is done.

100_6169.jpg

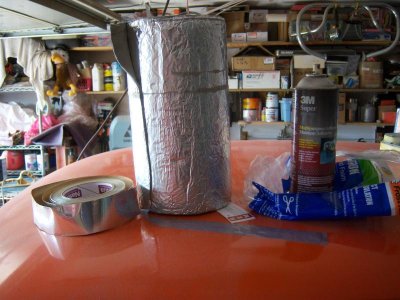
also while at home depot I picked up some aluminum duct tape and insulation to do some sound deadening much less $$ than the automotive type and works just as well just doesn't have the cool name..

100_6163.jpg
 
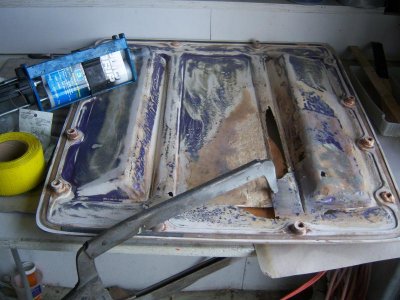
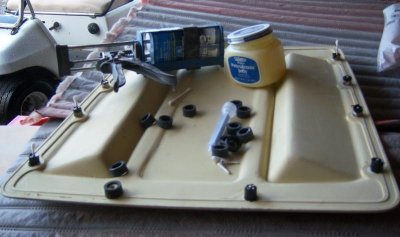
Finishing up the repair on the hood insert where the screw bosses were broken off and cracked by taking some cut pieces of heater hose, coated the inside with a little Vaseline so the Plyo Grip wouldn't stick. after injecting the adhesive I packed it down to make sure there were no gaps then inserted a cut q tip in the center to have a guide for the screw holes. The hose came off with a little twist and now ready for a little prep and paint

100_6202.jpg

I will be gluing the top next with contact cement after I smooth out the wrinkles.
100_6192.jpg
 
Try challenger6pak he has a 71 rt hood with this insert he might be able to help you with what hardware it takes
 
Very cool, doesn't look like you had to deal with much rust! Definitely a plus. Problem with my 73 is the roof is a bit rusty. Skins are impossible to find!

Cool thread, keep posting, I love watching the progress!
 
Thanks
think I am on the right track with a rubber spacer and now need to find short screws with a large head. but would like to see how it should be done OEM.
The Charger was in real nice shape with rust in the usual places where there was little to no paint or primer.
only one area behind the Rt rear wheel which need a small piece of metal welded in.
the roof on my parts car was hit by the Elk body so it is pretty bent or you could have it for your project.
From past experience using a used welded on part to do a repair is a real PITA but some times necessary but last resort.
The roof on this project looked worse than it really was after stripping the primer and glue off the top. there was some pitting but easily filled with
Metal All.
I am now blocking the right side and prepping the door jamb for some paint. Once I get the hinge pin kit I will be rebuilding them mostly they just need the detent spring. Classic sells this his kit so I will get it. they show the springs but look to be the wrong one for the 73? they show the "S" spring in the image?
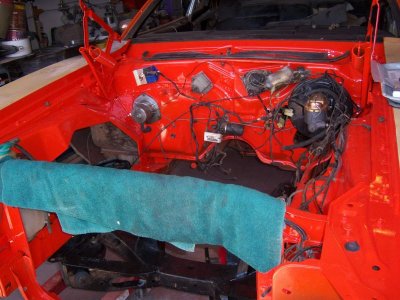
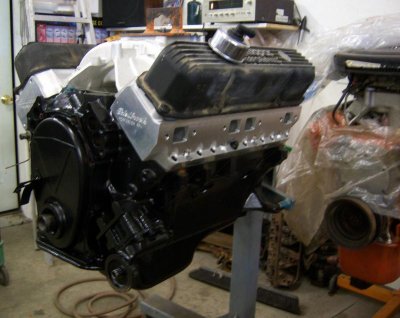
I got the last pieces for the engine, now almost ready for the Dyno to do some testing after the cam is ran in.
The last 440 I built made 468 hp with about the same combo and will be pleased with that for a 9.5 to 1 engine.
this engine has the complete Edelbrock top end power kit they sell so will be using a different cam which comes with the kit.

100_5979.jpg
 
Where did you get your vinyl roof material?

http://www.perfectfit.com/
has always been my go to place for tops. I checked with classic but they did not supply one for the 73
the grain was not the same as OEM and was told that the OEM grain was not available any more for the SE
we were ok with this grain so I did not do any more to try and find the oem type.
cost was a little under 200 which included the shipping and was a few weeks to get made.

- - - Updated - - -

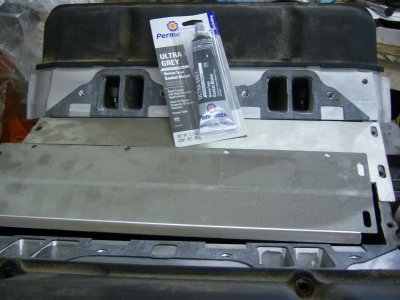
Time to get back on the engine. I got a valley cover from Hughes. pretty basic piece made in two pieces to be able to remove without removing a head. I took special care to fit and clean all sealing surfaces before installing. The directions that came with are complete with good pictures on how to..
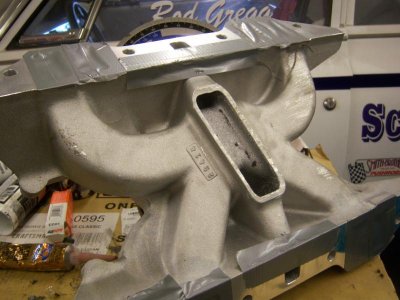
The dual plane intake had to be modified to fit since there is no dimple for the exhaust crossover.
I used a hack saw that was able to turn the blade 90 degrees to cut as close to the bottom of the manifold.

100_6225.jpg

100_6227.jpg

since the Dyno belongs to us we can take out time setting up and testing the engine.
I should have some results in the next few days.
With this package we are looking at 460 hp and a little more torque at our altitude.

100_6236.jpg
 
Auto Transport Service
Back
Top