dfarmercse
Well-Known Member
- Local time
- 8:56 AM
- Joined
- Apr 30, 2011
- Messages
- 338
- Reaction score
- 52
- Location
- Lake Charles, Louisiana
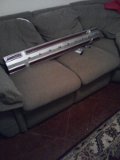
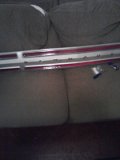
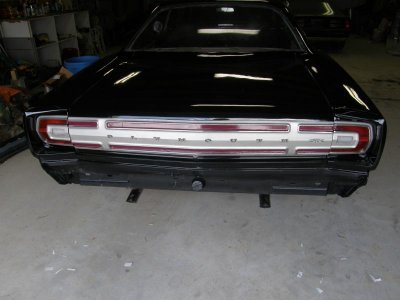
Does anybody know the size of the pal nuts for the finish panel. I know they are 3/8 hex, but what is the shaft size? Are there cup washers that fit under the nuts?
Dave F
Dave F