Pouria
Active Member
Hello everybody;
After three years of being idle in my project, I am back again to continue my job on the 73 Charger. I have better give you a brief summary:
- I am from Iran and purchased my Charger 6 years ago.
- It is a 73 charger originally with 340 motor and 727 tranny that is replaced with a 4 speed manual by the previous owner.
- I have already got a 400 block to make a stroker motor.
- The body work was finished 4 years ago but after this long time I can see some rusts that should be repaired ASAP.
- The car is compeletly teared apart. Engine, Tranny, seats, bumpers and side glasses are off the car and I recently removed the K member as well.
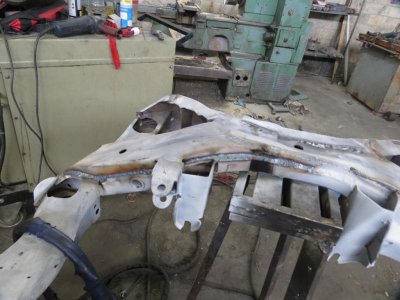
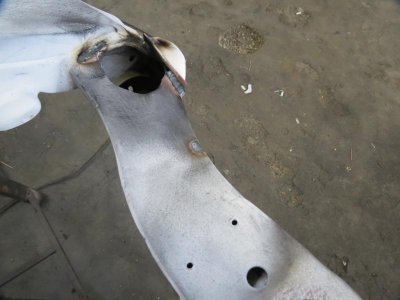
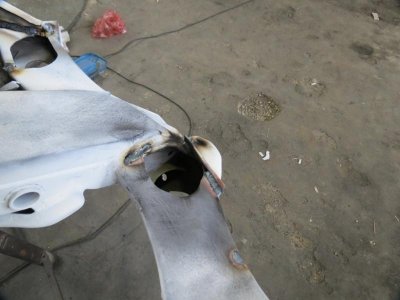
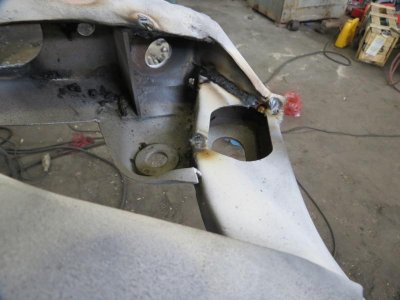
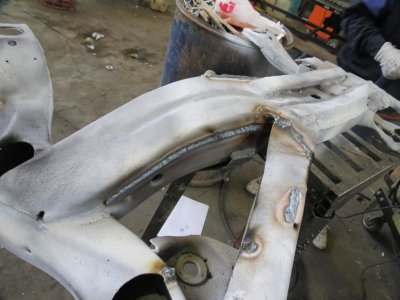
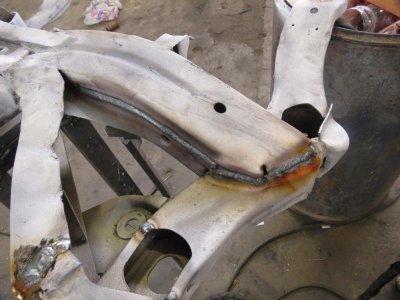
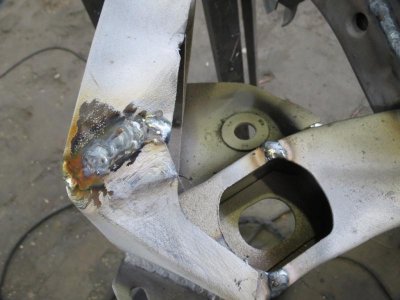
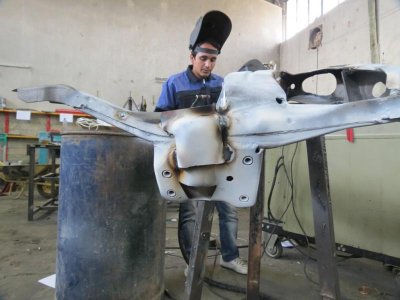
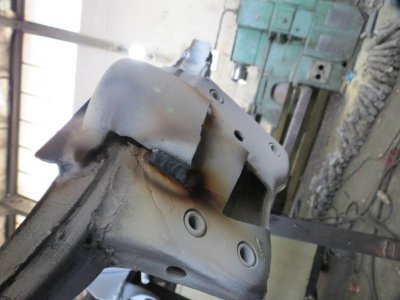
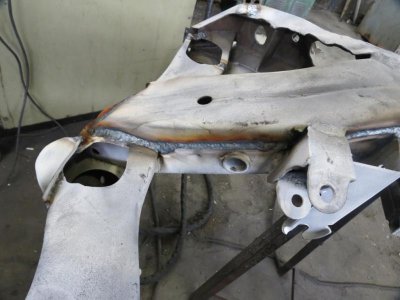
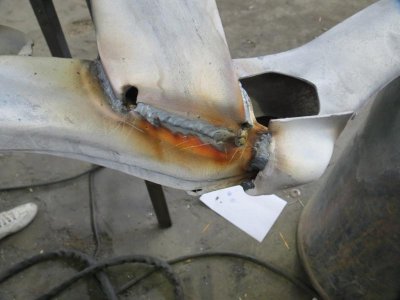
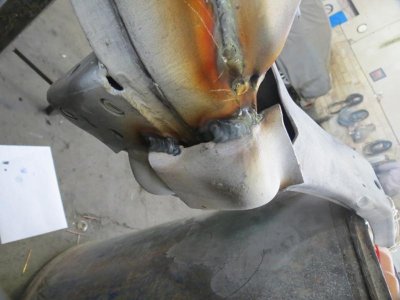
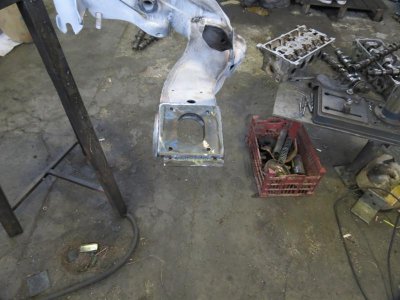
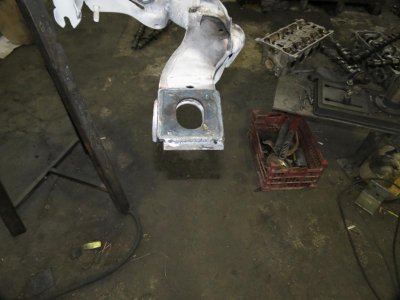
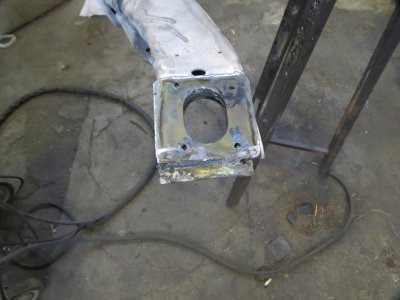
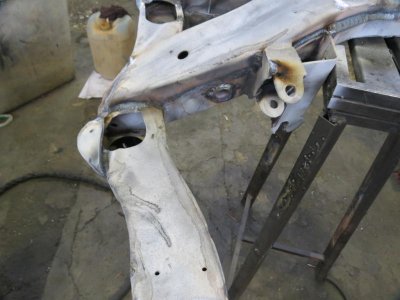
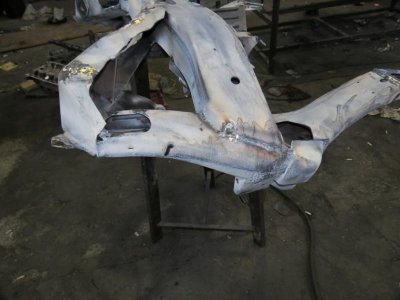
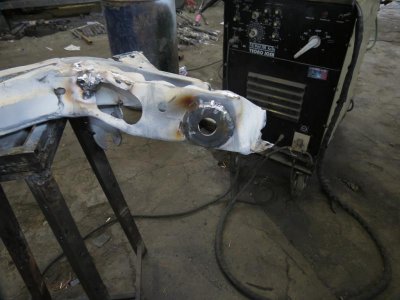
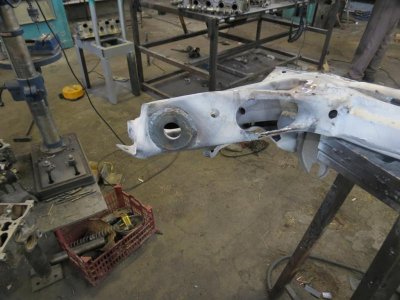
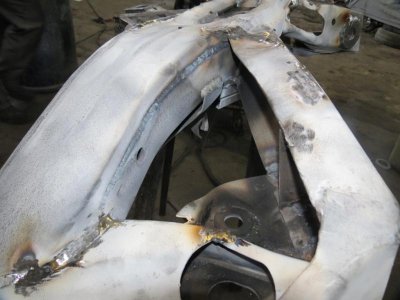
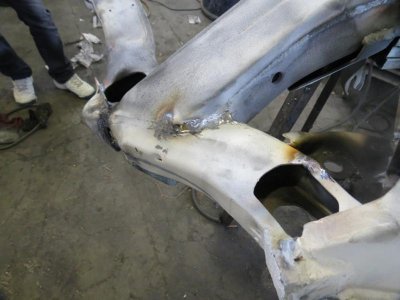
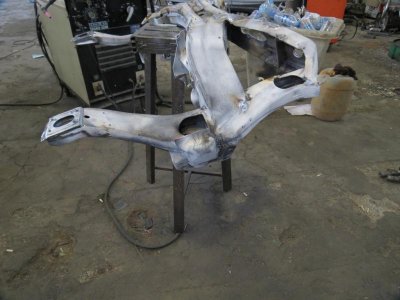
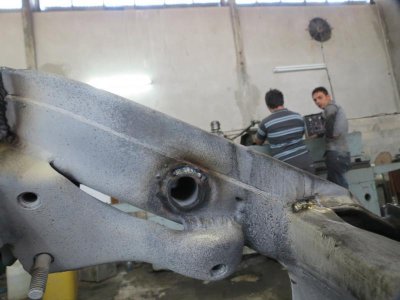
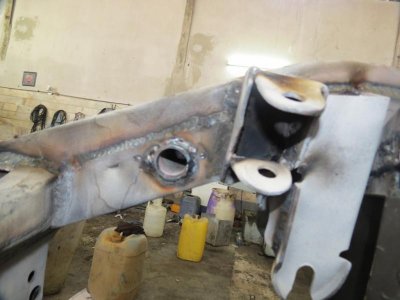
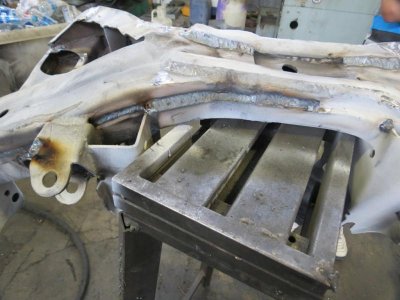
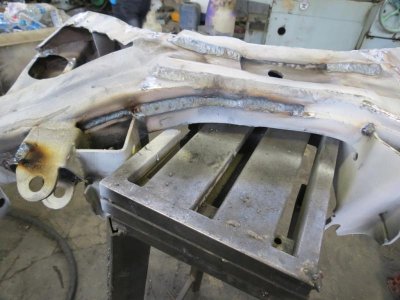
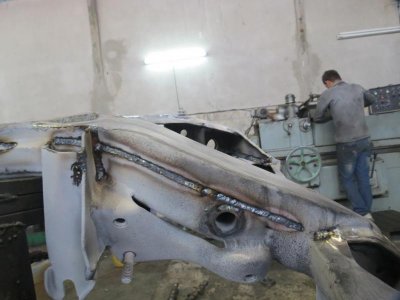
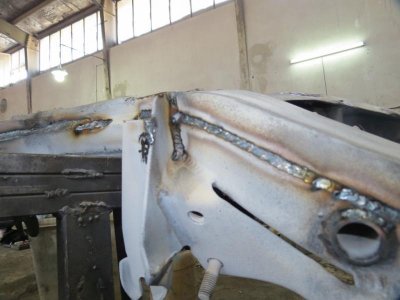
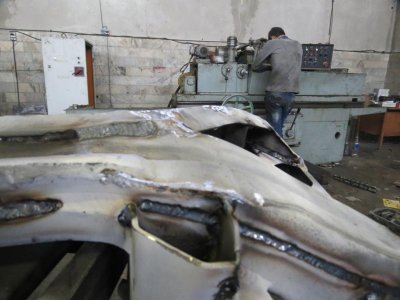
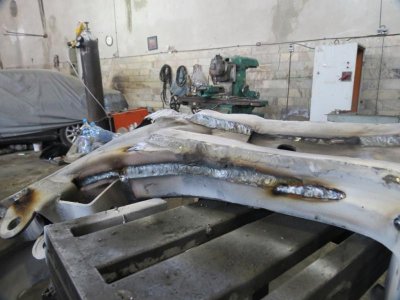
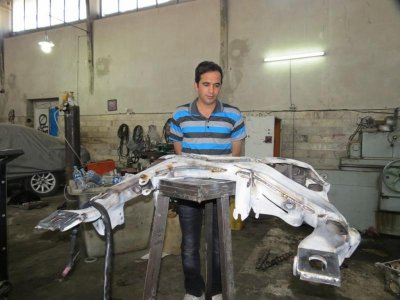
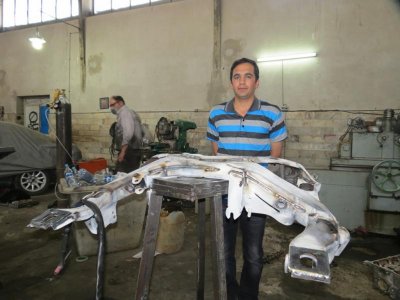
The most important matter to consider is that Iran is in critical economical conditions right now and the rate of USD is 3 times higher than what it was 4 years ago and it means I have to spend three times more money to get this car on feet again so I have to be very careful about the costs. As the very 1st step I am going to rebuild the K member. My cousin is a professional welding inspector and he inspected the part with UV device and we saw many micro tracks on its body. Does anybody have any idea about the steps on rebuilding the K member to tell me? I am able to tear it down completely and have it re-welded better than factory but what I am worrying about are the exact dimensions of the part. Is there any drawing or something that can help me perform this job clean? Here we are at ultimate lack of resources and parts so it is almost impossible to get spare parts and we have to pay the most possible attention and care to rebuild what we have. Your help is very critical to me and also highly appreciated. I took some pictures from the frame that can be found here: http://rapidshare.com/files/307072649/My-K.rar
I compressed them all in a file named my-k.rar for easier download. All the possible views and angles are covered for your review. It seems that this car had a very hard accident on the driver side because the K is completely teared apart and broken at that side and then re-welded very unclean
Yours - Pouria

