'72 Charger
Active Member
Work in progress:
Like everyone else on the site I'm chasing a dream. In my case that dream was owning a piece of muscle car history. It started when I source a 1972 Dodge Charger with 66,388 original miles. The car started out as a 318, with all the usual suspects; fender tag: R11, V7W, 26, H51, J25, J52, L31, M21, M25, V1W, U, B41, B51, G11, G37, FE5, S2XW, EW1, C10, 181880, E44, D34, WH23, G26, 149241.
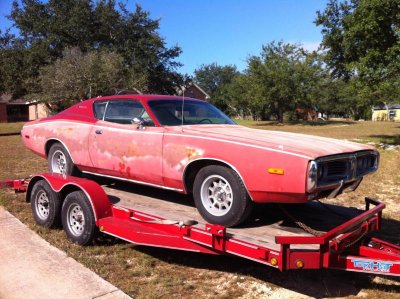
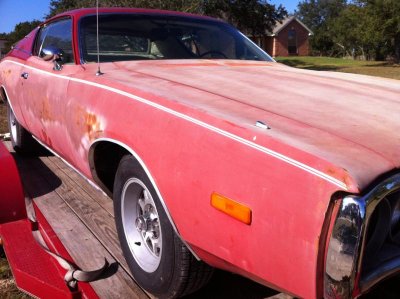
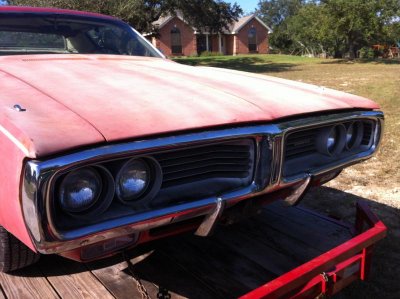
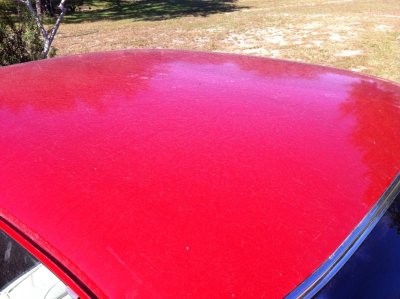
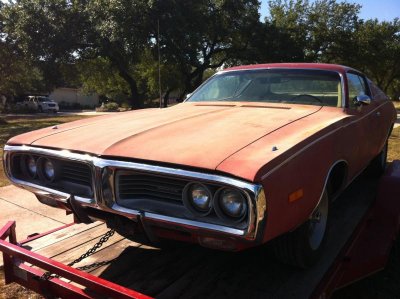
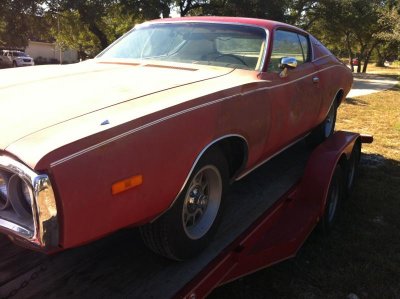
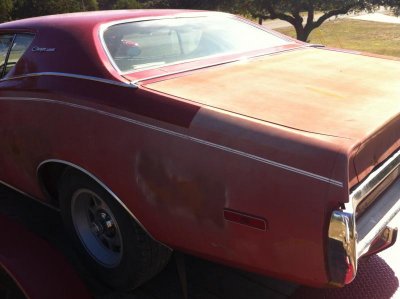
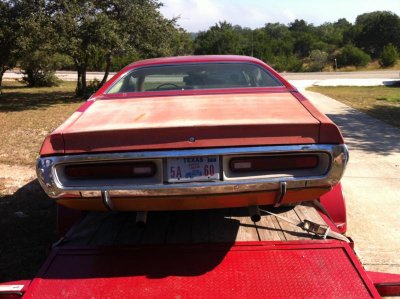
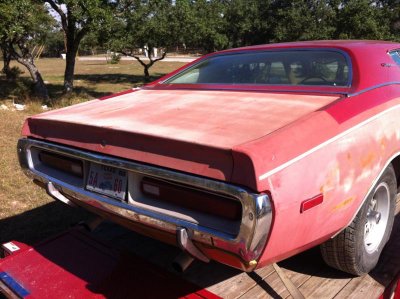
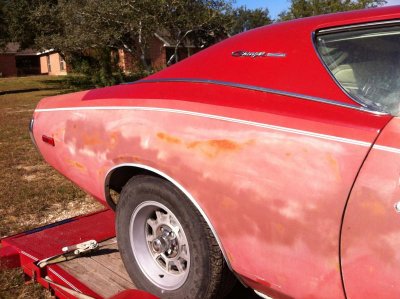
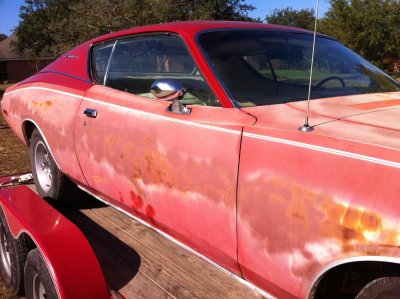
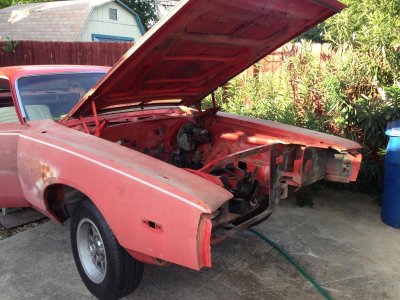
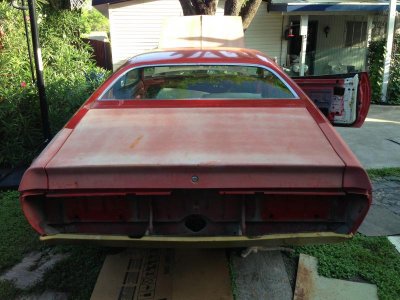
From the photos you'll see that the car was in impeccable shape given its age, to top it off this car had remained in the family of the original owner, I was technically only the third registered owner. Luckily for me the family thought it would be a shame to let the car waste away in a garage and sold it.
The car ran and handled just fine, with a few minor exceptions transmission gear slip, usual leaks due to neglect and maintenance items.
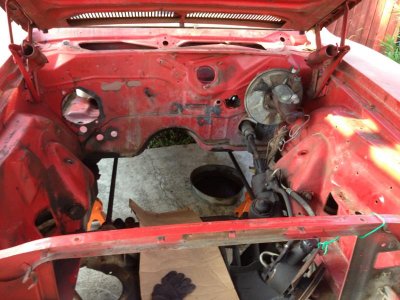
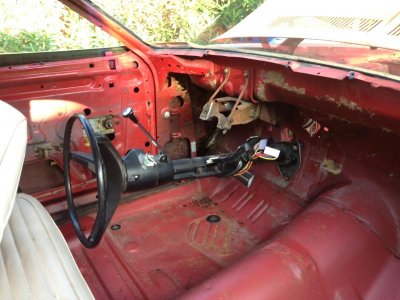
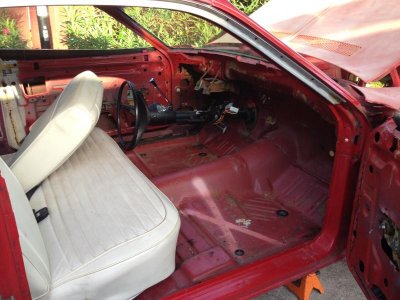
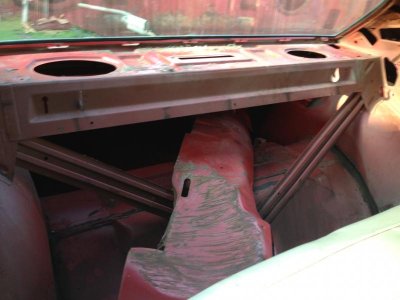
After a few highway runs the tear down and rebuild began. I sought out assistance with this build from the local Mopar Club in my area and meet a man who was considered by all members in the club to be the resident 3rd generation Charger expert, mechanic and now mentor to help with the project. Within just days of starting the project we had the car stripped and ready for the paint and body shop.
Here's where the waiting game starts. The painter was in the middle of leasing a new facility and would not be able to devote his full attention to my car. This didn't pose a big problem at the time and given the hefty price break for all the work that needed to be done, I welcomed without hesitation. As month after month went by I researched and purchased a plethora of parts to build, what I envisioned and describe as, the car I would want to drive. As you all well know from your own history with your own cars, it doesn't matter what anyone else thinks of your project, at the end of the day your satisfaction with the finished product is all that counts. Thus defines the direction of my build.
I wanted real power but wanted it steetable, comfortable to get out and cruise but welcomed at any car show or venue, classic lines with modern technology, in my mind I wanted something you don't see or hear of everyday.
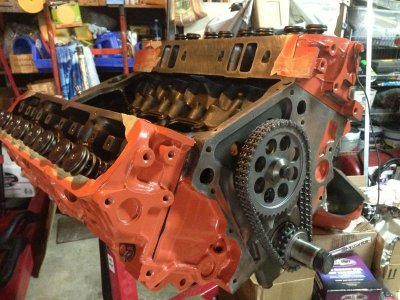
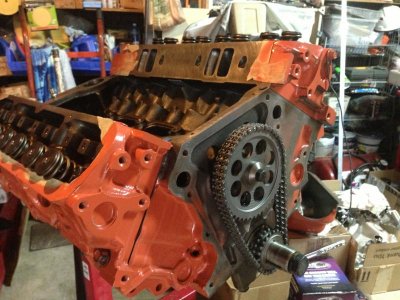
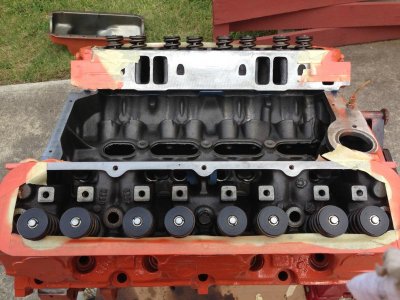
For the power plant I chose a Mopar crate 360 Magnum with 405hp at 5,900 RPMs and 400 lbs at 4,600 RPMs. Sure I know what your thinking, why not go bigger? Stick with me here, the 360 has its purpose. From my research I'd come to find out that of most of the Mopar engine the 360 Magnum nearly out of the box could efficiently support a turbo forced-induction application. To move even further from the norm I would mate this magnum with an Quick Fuel E85 blow-thru carburetor. Thats right, twin turbos and alcohol fed street beast. Now you know my end goal for the engine, here's my road map to 650-700hp, at the fly wheel of course. When you get down to the turbos you might think they seem a bit small, but I assure you, for this application they'll be perfect; extremely responsive, quick spooling right from the get go and strong through the power band of this 360 Magnum.
The extensive parts list:
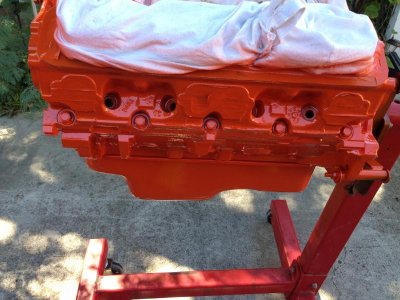
360 Magnum Mopar Crate Engine
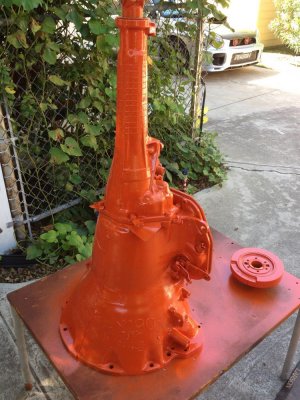
Joe Easley built Torqueflite 727 with Transgo Trans Action Stage 2 Street & Strip Shift Kit
Chelsea Transmission Gears and Kickdown Annulus
B&M Transmission Filter with Deep Pan Adapter
B&M SFI Flex Plate
Milodon Windage Tray & Extension Bolts
ATI Engine and Transmission Dip Sticks
Ported and Polished heads with valve job
Hughes Engines Magnum Whiplash Cam
Hughes 2 Degree +/- Sprocket Key
Rebuild Chrysler 8 3/4 rear-end 3.55 gears non-Sure Grip
NGK Iridium Plugs
Edlebrock RPM AirGap Intake
ACC-Boss Hog torque converter 2800
Quick Fuel 750 E85 Forced Induction Carburetor
Tuff Alternator 210 Amp
Mopar Thermostat and Housing
Mopar Alternator Bracket
ProComp HEI Distributor
ProComp HO Coil
ProComp Multipoint Ignition
ProComp Starter HO
Taylor Spiral Wound 10.5 plugs
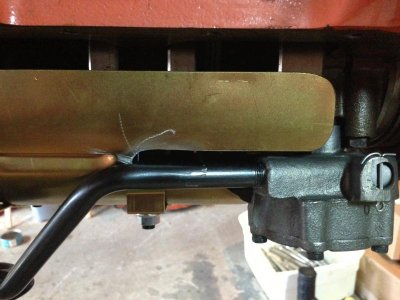
Milodon Oil Low-pro Pan
Milodon Oil High Output Pump
ProComp External Fuel Pump
Brodix Fabricated LA Valve Cover
ARP Engine Bolt Kit
Mopar Direct Connect Gas Tank with 3/8" tank pump and cap
Moroso 3 pass Aluminum Radiator with cap Flex-a-lite Dual electric fan with 30 amp relay
Billet Specialties 4 V-Groove Crankshaft Pullet
Billet Specialties Power Steering Pulley
CPP Electric Water Pump with 30 amp relay
Fel-Pro Intake Manifold Gasket
Mopar Distributor Retainer
B&M Thermostat 180 Degree
Twin Garrett GT3076R Turbochargers
Synapse Engineering 50mm Wastegate x2
Synapse Engineering BOV x2
ProComp Oil Filter Relocation
ProComp 6AL CDI Ignition & Limiter
ProComp Fuel Reg Dual Return
ProComp Fuel Filter
ProComp Throttle Linkage & Bracket
Jaks Oil Separator Catch Can
Jaks Radiator Overflow Tank
Right Stuff Brake Booster
Right Stuff Master Cylinder
Jegs Braided Steel Fuel Line Kit
K&N Air Cleaners
B&M Trick Shift Transmission Fluid
Royal Purple Engine Oil and Filters
Redline Power Steering Fluid
Redline Brake Fluid
1000 CCA Optima Battery
Battery Power Distribution Box & Relocation Kit
Moroso Relocation Battery Terminal Connectors
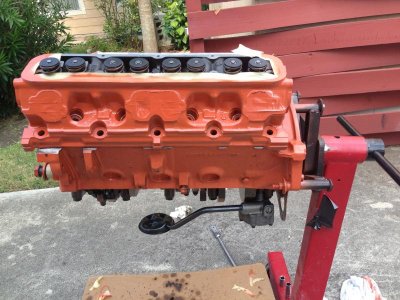
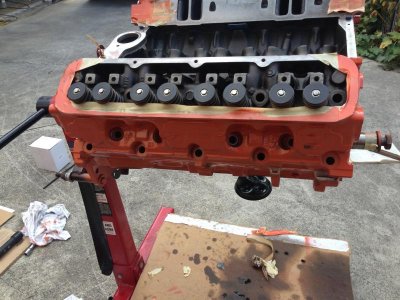
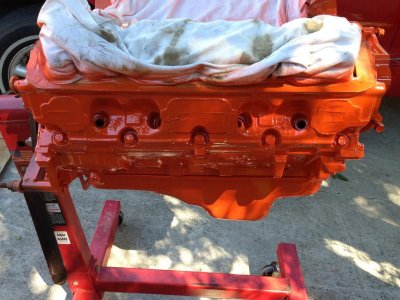
Eastwood Industries Ceramic High Heat Hemi Orange High Gloss Engine paint
Exterior:
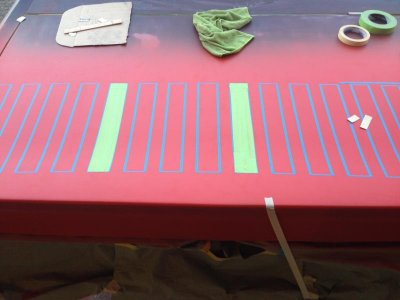
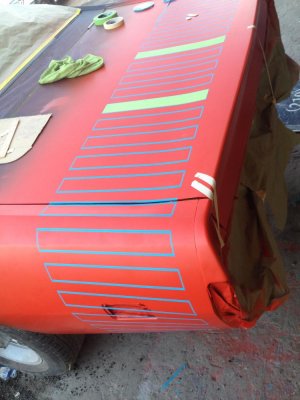
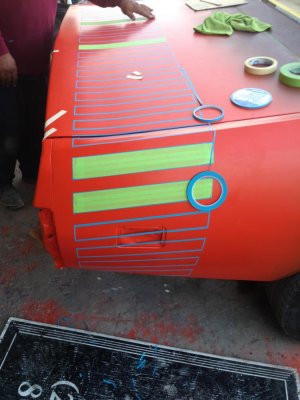
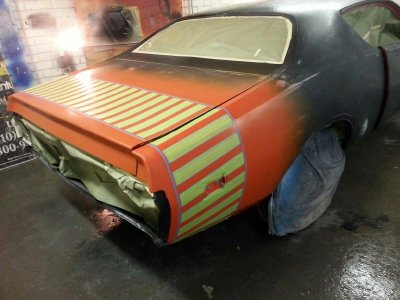
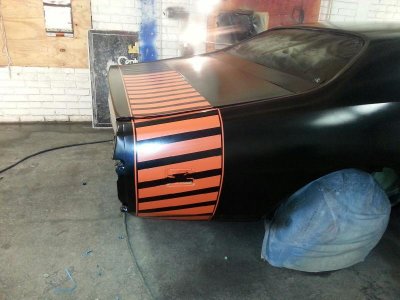
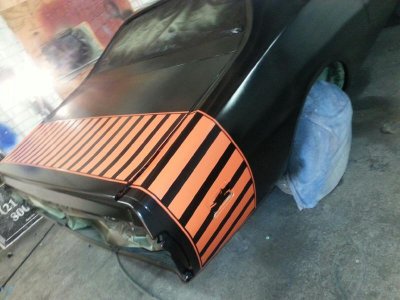
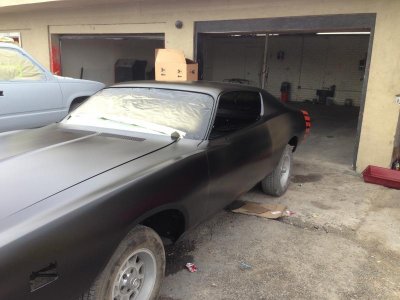
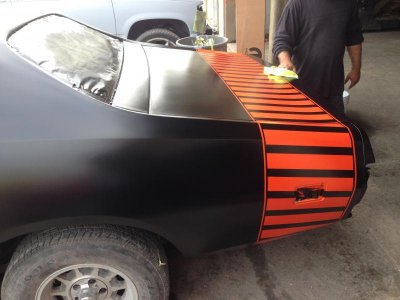
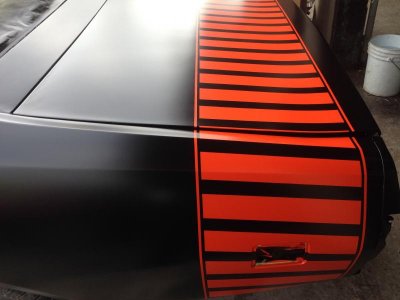
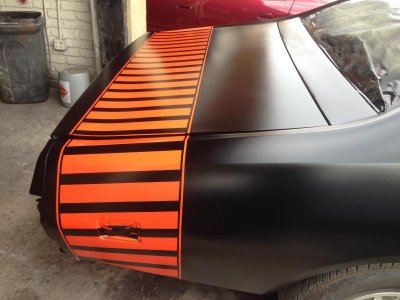
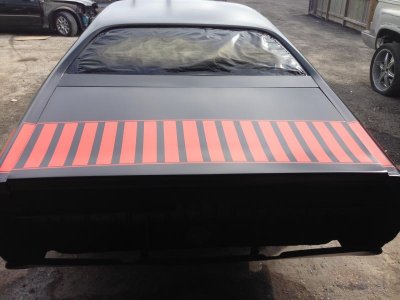
House of Kolors Hot Rod Eggshell Black with modified Eggshell Hemi Orange Tail Stripe
Four Stage Eggshell Clear Coat
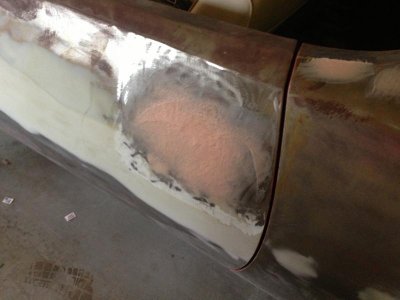
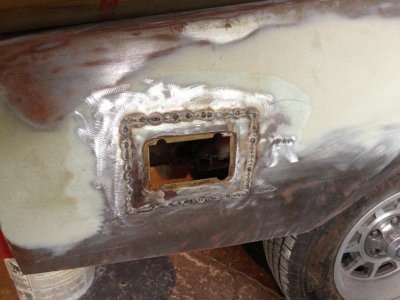
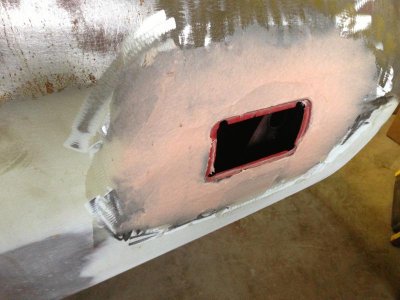
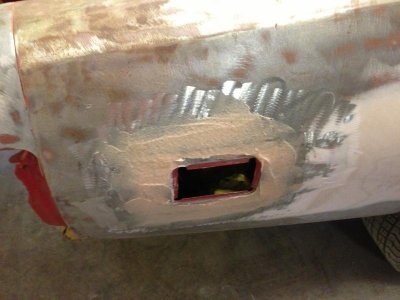
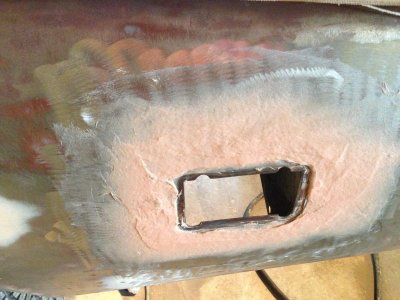
Shaved Exterior minus mirrors
Hyper flex Master Bushing Kit
Poly-Loc Transmission Mount Kit
Poly-Loc Motor Mount Kit
1971 Charger Hidden Headlights
1971 Charger R/T Tail Lights
1971 Charger front & rear signal markers
1971 Charger front chin spoiler
1968 Chrysler Hemi hood scoop
Mopar Leaf Spring Relocation Kit 3” inboard
Fabricated Subframe connectors front and rear and boxed 3/8" steel
Fabricated Cal-Tracs Suspension Traction Assembly
Mopar Super Stock Springs 3600lbs
Hellwig Front 7/8" and Rear 1" Swaybar System
Classic Industries Hood, Trunk, Roof, Door & Window Rubber Weather-stripping
Hella Halogen Headlights with blue low beams and yellow high beams
Hella Halogen Headlight Wiring Conversion with connectors
Stainless Steel Brake lines
Steel Braided Fuel Lines
Brake System Upgrade-UNDECIDED
KYB Gas Adjust Shocks
EDC Brake Rotors and Pads
Centerline ConvoFuel Wheels 15x7, 15x10
M/T Supersport SS Tires
Moroso Spiral Flow 3” Mufflers
Nascar-style Chrome Boom Exhaust Tips
Interior:
Electric Doors, Hood and Trunk Release
Auto Meter New Vintage Gauges
Classic Dash Thunder Road Gauge Panel
Toggle Equipment Panel
Hurst Quarter-stick Pro
2009 Dodge Charger front and rear seat with center console (retrofitted)
Air Condition System-UNDECIDED
The list adds up quick, almost as quick as the cost, but then again you all have been there as well. I know that some days I feel like Tom Hanks in the "Money Pit" lol
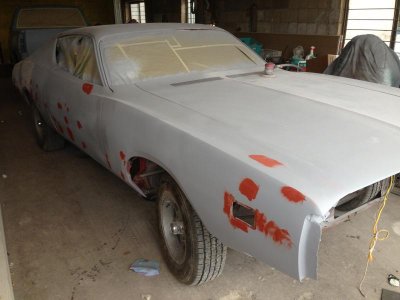
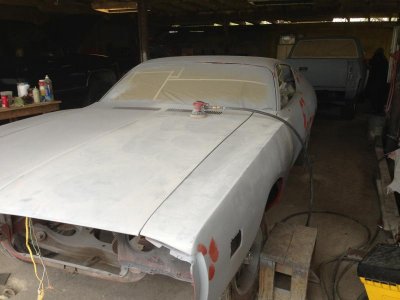
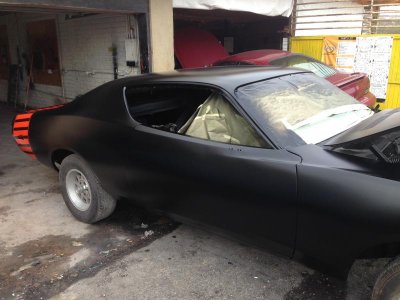
Nevertheless, 5 months at the paint shop gave me a great deal of time to research and plan 3 times over. Just this weekend the car is out of the paint shop, not finish completely but 98% there. I have to say that it was worth the wait. I was extremely satisfied with the paint job; there again I was going for something that went against the norm. No matte black or candy paint here, one-off House of Kolors Eggshell Black and Hemi Orange paint. Only a few items remaining at the paint shop, primarily the hood scoop and headlight touch-up.
Now the real work begins, taking all those parts and making them work together. All the engine and transmission work has been done, at least to the point that it could be without the car. I"ll keep updating the post as my build progresses.
Oh did I mention, sponsorship would be welcomed and appreciated.


Last edited:


