• When you click on links to various merchants on this site and make a purchase, this can result in this site earning a commission. Affiliate programs and affiliations include, but are not limited to, the eBay Partner Network.

1966 Dodge Coronet 2 door Sedan WE 21

Rodney

Well-Known Member
Local time
4:28 AM
Joined
Feb 19, 2010
Messages
124
Reaction score
69
Location
Central Or.
Here is a link to a photo album

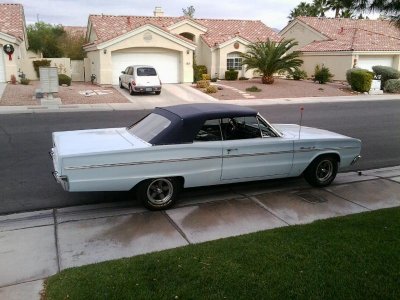
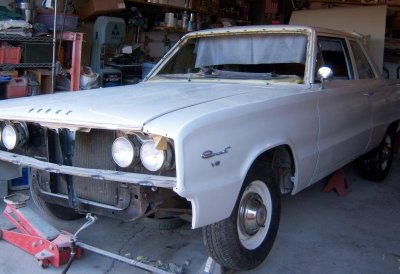
I will be cleaning up and doing some restoration to this Coronet. I've had this car for about 15 years and it's finally time to give her some past due attention. This isn't going to be a full blown every nut and bolt "over" restoration project. The car has 42,*** miles on the clock and is a pretty original for it's age.
The car came stock with a 273 AT 8 3/4 rear. I removed the 273 and small block transmission and dropped in a mildly rebuilt 400 with KB pistons and the 375 hp cam along with a set of 915 heads.
I did this many years ago and at the time didn't have the time to do any paint work on the car.
It's time to get to work on the 66 project and get her back on the road.
As they say a picture is worth a 1000 words so take a look at the photo album. hope it works for you to view.
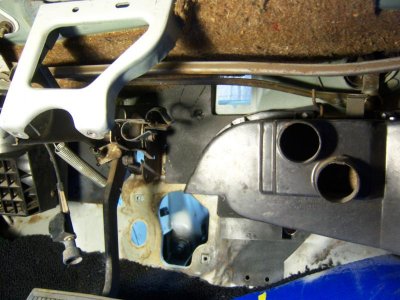
So far has been mostly disassembling the car and cleaning and prepping parts and seeing what I have.
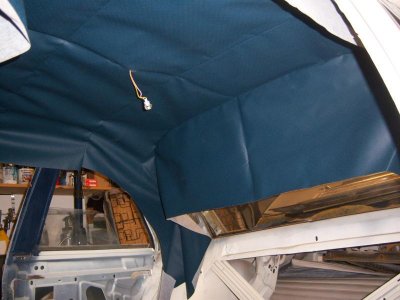
I welded in a piece of sheet metal to the driver floor to take care of the only real rust in the car other than the area around the battery. Next I removed the head liner, painted the trunk and floor boards, removed the fuel tank, and took the engine compartment apart for painting.
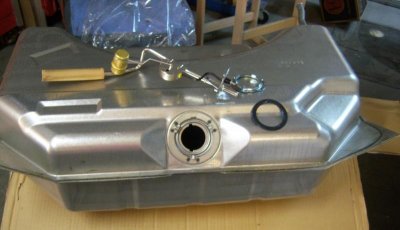
The Coronet will also be getting a new carpet to replace the OEM rubber floor mat and a new fuel tank and sending unit is on the way.
100_5233.jpg100_5259.jpg

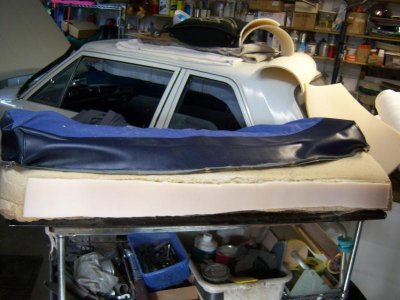
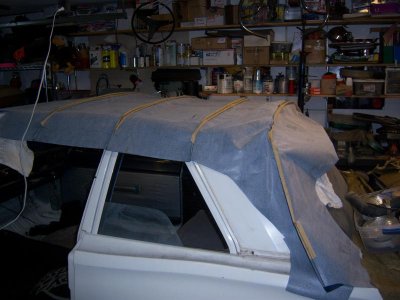
After gluing in some insulation to the inside roof panel the car is now ready to installing the headliner.

After receiving the headliner I inspected it and all looked good so I laid it over the roof of the car to relax some of the folds over night with the heater turned up. I then fit the bows to the liner and hung it in car after cleaning and painting the roof panel.
thanks for taking a look
 
your welcome Super B
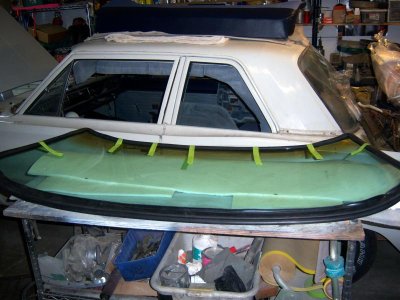
Finally got the fuel tank , 3/8 sending unit and windshield gasket now time to cut the glass out after I checked to see the gasket was correct for the 2dr sedan
100_5278.jpg100_5286.jpg
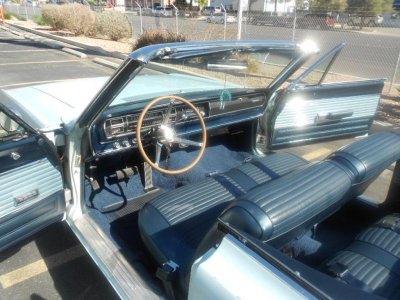
I also dusted off the ol' sewing machine and gave it a go building some covers for the seats100_5285.jpg
I got enough material to fix the front and rear seats for about 100$. this will get me by until I can afford the good stuff.
 
I need your door panels! I can't find any for the deluxe.. have you come across some at any point?

I love the project. Keep up the work it will be another cool post car.
 
I need your door panels! I can't find any for the deluxe.. have you come across some at any point?

I love the project. Keep up the work it will be another cool post car.


I could make you a pattern?
the rear panels are in pretty bad shape {just the vinyl} so am considering spraying some dye on them.. or even gluing some of the seat insert material on them. again if I had the $$ I'd get new one's but that is not in the near future.
 
Thanks but I don't really need a pattern. I have a set in my car and are in decent shape minus the engrained filth and the drivers side being cracked up. I may elect to re-cover them myself in the future if we don't end up selling the car.
 
Windshield gasket

I may be gluing some of the cloth I used for the seats on my door panels too? will see, not sure if I want to change the look of the interior that much. I don't see replacement panels in Classic industries so don't know where to get them?
It would be interesting to see the difference between the hardtop and post cars? I've never had them both to compare.
It took 10 extra business days to get my UPS shipment due to the roads, the parts were on the truck to my place all 10 days! Frustrating, they did the best they could I guess? Next time I will have parts shipped to the body shop I worked at before retiring, business's always come before residential. and boy they mean it..
I received the lacquer paint I ordered from Global, they mixed me a quart of W1. I am using single stage urethane for the interior, under the hood, trunk but for the exterior I want to keep it as original as possible and should have an easier time blending and touching up where it needs it. It's been a long long time since I sprayed any Lacquer, kind of fun, I spotted in the rt fender so far.

I fit the windshield gasket to the glass so the gasket will straighten out and stretch out which should make it easier to install when it's time to install the glass in the car. I've tried it both ways and what works best for me to have the gasket installed to the pinch weld then sit the glass in the gasket and lip the glass into the seal with a windshield bone and a little hand soap as i go around the glass.
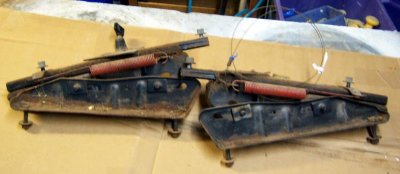
The seat tracks for the bench seat needed a little clean up but like about all the other parts I've been cleaning are in like new shape. I used a little brake clean to get the old grease removed, some comet and h2o with a tooth brush and painted after killing a little rust on one of them.
my wife thinks I am nuts out in the cold garage {it's been between 0 and freezing for weeks} working on my old mopar. I find it very therapeutic to get back to playing with these old cars.

100_5298.jpg100_5302.jpg
 
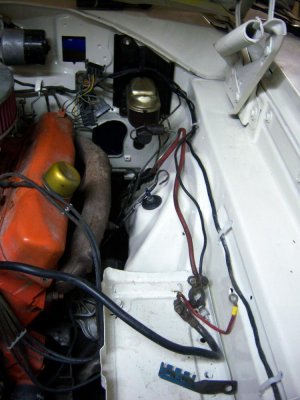
engine compartment preped and painted

engine compartment is now painted with single stage urethane after several hours of cleaning and prep with scotch brite, 400 grit then cleaned before painting.
After resealing the wiper transmissions parts will be going back on the car.
thanks for taking a look


100_5330.jpg100_5331.jpg
 

Attachments

  • 100_5332.jpg
    100_5332.jpg
    69.9 KB · Views: 512
Looking good! I really like the 66-67 cars. Where in central OR are you? I used to live in Klamath Fails myself.
 
Looking good! I really like the 66-67 cars. Where in central OR are you? I used to live in Klamath Fails myself.
I went to College in K. Falls back in the late 70's but have lived in Madras for close to 60 years.
 
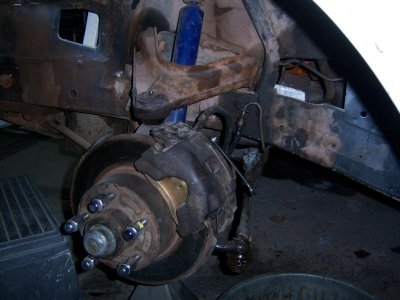
disc brake upgrade 1966 Coronet

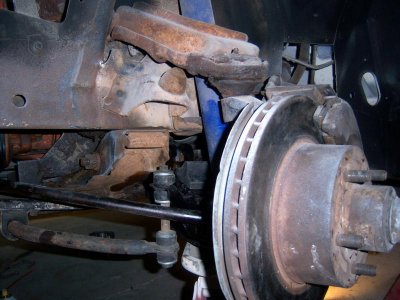
Installed a set of disc brakes and along with the lines and distribution block to upgrade to dual reservoir master cylinder.
all the parts were a simple bolt on project just needing a couple fittings to go from 3/16 to 1/4 flare.
the parts came off a 1976 Dart if I recall now time to do a little clean up and paint the parts.

100_5337.jpg100_5340.jpg
 
Hi Rodney,

Dig the car, subscribed - I have 2 '66 Coronets myself, 1 HT & 1 conv. I noticed that your steering wheel is not on the car. Do you have the original wheel? are you going to use it? If not would you consider selling it?

Thanks.
 
Hi Rodney,

Dig the car, subscribed - I have 2 '66 Coronets myself, 1 HT & 1 conv. I noticed that your steering wheel is not on the car. Do you have the original wheel? are you going to use it? If not would you consider selling it?

Thanks.

I'd like to take a look at your cars, do you have some pictures? I'll bet the convertible is a rare one!
The steering wheel is the next part I will be restoring, filling the cracks and gaps and painting.
I will look in my parts, I may have another wheel for you.
would you know if one from a 66 Dart would be the same?
I have a couple of those as parts cars.

- - - Updated - - -

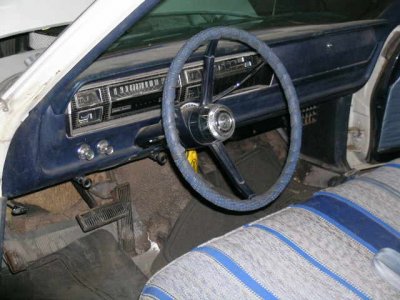
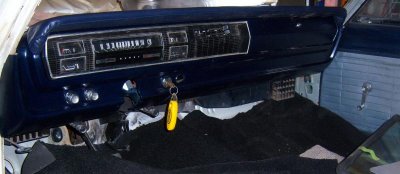
I pealed the old hard cracked vinyl from the dash pad, glued some 1/4'' foam to the existing padding to cover the ugly cracks after filling them with some latex calk {it was handy}. I then used some of the vinyl I had left over from the seats, sewed an upper and lower piece together and glued it to the pad. It would have been nice to buy a new pad but funds are limited so I did a poor mans restore on the dash. This is how we would have fixed it in the past before a new one was available. Even tho I am trying to save as much of the original paint I had to freshen up the paint on the dash as well using some under hood paint that was left over from a job at the body shop. I'd guess the total cost of freshening up the dash was under 20.00 and a few hours time. When the funds are available I will get a new pad but for now it is good enough. As I went back together all of the electric plugs got a good dose of dielectric grease to protect from rust and corrosion.
before
546.JPG

after
100_5342.jpg
 
I'm not sure if a Dart wheel is the same or not. I'm trying to find a nice original wheel, blue in color, I saw your interior and thought I'd ask. Mine is very badly cracked. Your dash came out nice. Here are some pics of mine -

DSCN0177.jpgDSCN0164.jpgnet.jpg@theline.jpg
 
Very Nice!
now I wish I had went with a blue carpet after seeing yours.
next time I am at the shop I will look at the wheels I have. they can always be painted blue.
I am going to be fixing mine and give it a coat of paint.
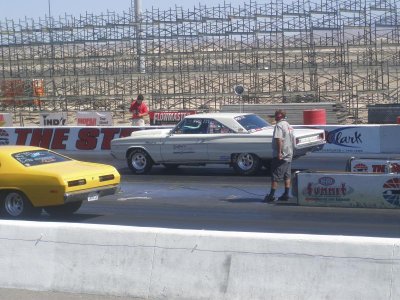
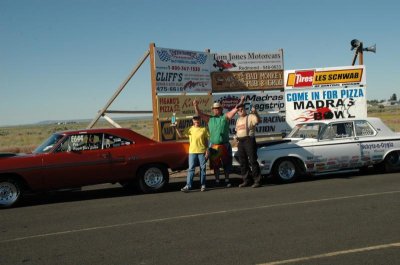
I see you have a race car expensive fun.. well some times fun?
he is my 63 with an Indy head 572 and a GTX I built several years ago now belongs Annie.
we both got lucky and won on the same day. Take that you Chebby's
DSC_3896.jpg
 
steering wheel restore

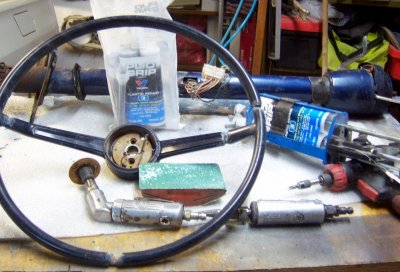
I first cleaned the wheel with wax and grease remover then windex.
using a die grinder with an aluminum cutter I "V'd" out the cracks and voids to accept the repair material
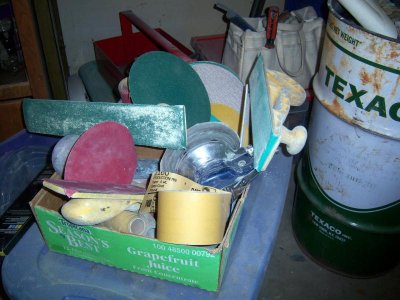
Valvoline Plio-Grip #3 is what I used, after it dried I sanded with 80 grit then 150, 220 and 400 before priming.
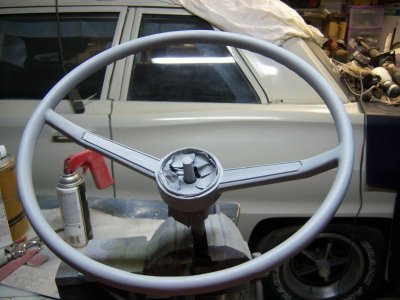
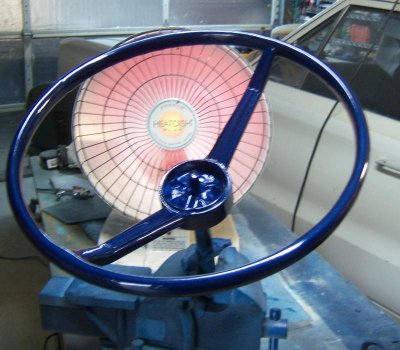
after the primer was dry I fill the smaller voids with plastic filler. sanded and primed again then painted with the paint I had left over from the dash. this seemed to be a successful repair, time will tell. cost about 20.$ and a few hours time.
100_5358.jpg100_5363.jpg100_5364.jpg
 
1/4 panel body work and prime

I have been fortunate that the paint on the car is in real good shape so stripping is not necessary and I am going to save as much of the OEM paint as possible.
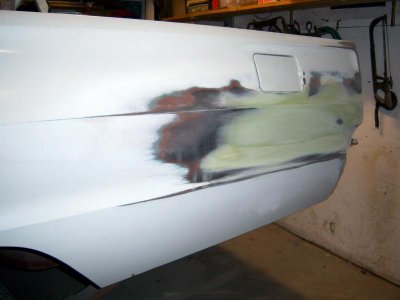
I sanded the paint off the repair area with 40 grit on an 8 inch feather edge pad.
after the scrape was dinged out I filled with plastic sanded with 40 then 80 grit using my sanding boards.
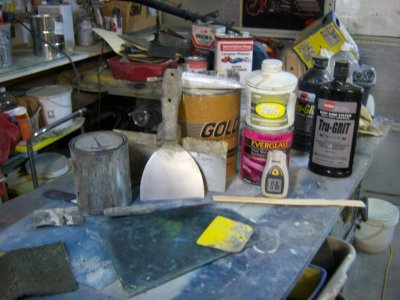
One of the most important tools on the bench is the digital thermometer to check the temp of the panels and materials I am using when working in the cold, even tho I have a pretty good forced air heater it doesn't warm the panels up enough for me. I use an infra-red heater and bring the panels up to around 70 degrees before applying any material.
I also check the temp of the plastic and carefully heat it up before mixing the hardener, this eliminates pin holes and makes the material go on nice and smooth. The smoother the plastic goes on the easier it is to finish.
after the repair was ready I sprayed a guide coat on the plastic and sanded with 150 to finish before priming.
The guide coat brings out any low spots and make finishing the style lines much easier.
I prefer the dry 3M guide coat product but was out of it so used a fast dry primer.
I sanded the broken paint edges with 150 then 220 stepping it out. Mask, cleaned and primed with Nason 2K primer.
Next will be block sanding with 400 and paint.100_5380.jpg100_5389.jpg100_5382.jpg100_5394.jpg100_5395.jpg
 
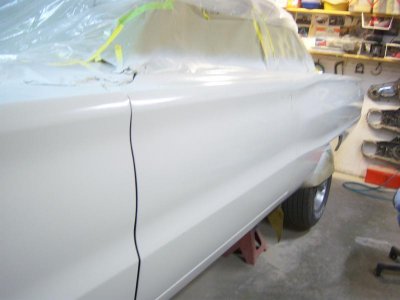
After a guide coat was sprayed on I blocked the primer and sanded the OEM paint with 400 grit masked and applied 4 coats of Lacquer paint from Global, let it dry an hour sanded with 800 grit wet and applied 4 more coats of paint.
I am using lacquer for ease of blending and to retain that OEM look and it is much less toxic to handle and spray.
My garage has an exhaust fan and I am using a shoot suit gloves and respirator when spraying all of the materials
If I were using a urethane 2 part paint I would not attempt spraying the exterior at home. I did using urethane on the engine compartment which is much more durable and will hold up much better but wouldn't attempt spraying much more area without a spray booth.
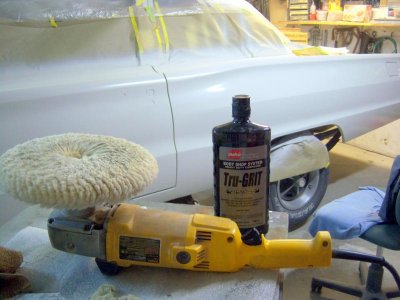
After the final coats of paint dried it was time to polish the paint, for this I am using a wool pad and Tru-Grit compound.
total time start to finish about 6 hours and an hour polishing, time to assemble and move on to the other side.
100_5398.jpg
100_5402.jpg
 
wheels and sway bar upgrade.

got the wheels cleaned painted and tires mounted.
100_5413.jpg

Sway bar install.
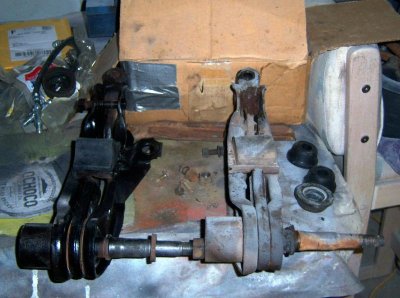
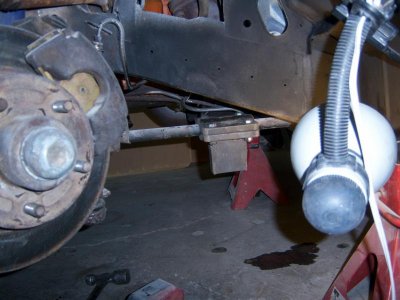
The lower control arms didn't have the mounts for a sway bar so I cleaned up and installed new bushings on a pair from a 1970 B body station wagon I parted out years ago.
100_5418.jpg

control arm installed
100_5424.jpg

I had to notch the K member {above the sway bar} for the sway bar to fit and drill 4 holes for the mounts to the K member. Pretty simple job with huge benefits for hwy driving and will help eliminate the front of the car from diving when braking hard.
100_5427.jpg

Torsion bar removing and installing tool mounted, a very handy tool I made years ago to remove and install those stubborn bars.
100_5423.jpg
 
Love the details you are giving us on the painting. Keep the updates coming. Love the post cars.
 
Auto Transport Service
Back
Top