• When you click on links to various merchants on this site and make a purchase, this can result in this site earning a commission. Affiliate programs and affiliations include, but are not limited to, the eBay Partner Network.

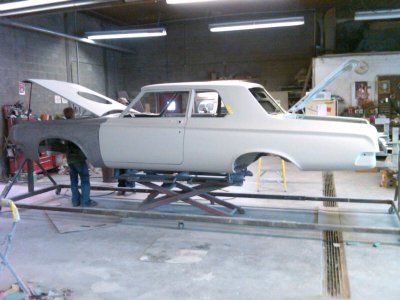
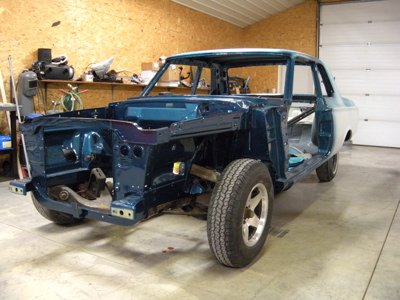
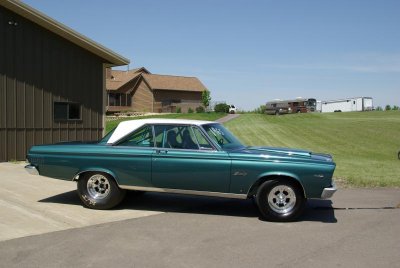
'64 330 Street Hemi build

This is gonna be a friggin' bad *** car when your done!! I'm jonesen for more pics, lol!


Thanks 5.7!

Funny, Just the other day was thinking maybe I was "over posting" on the pictures; then thought no, maybe it will help someone else tackle an element of a restoration. I've used this site a ton for reference, even if it's not the make/model/year. None of the stuff i'm doing is that tough. Just gotta shop the s**t out of stuff to get the best price/best product, read a ton of posts and articles, research the car ( which we all do anyway), get a little creative and ask a ton of questions. And honestly it's my opinion that 70% of restoration is cleaning, which anybody can do.
 
Everything looks great so far. Who did your chrome and were you happy with the job? Got a bunch of stuff I need plated and want to find a good shop to do it.
 
Everything looks great so far. Who did your chrome and were you happy with the job? Got a bunch of stuff I need plated and want to find a good shop to do it.


J&P Custom Plating in Portland Indiana. They have 4 levels of "quality", from basic plating (little repair) to "concourse" (there is no quote, it costs what it costs.) I went a notch below that. Basically the price doubles for every upgrade in finish.

http://www.jpcustomplating.com/

Best thing to do is call and talk to Eric. They won't quote you over the phone but he should be able to give you an idea for a basic part like a bumper. good luck with your project.

- - - Updated - - -

sorry didn't answer your second question, Yes, I am very happy with the result. They did a great job for the level I chose. Can't imagine what concourse would look like (or cost). The other thing I liked is; if they couldn't get a good plating or couldn't buff a portion of the part to look it's best, they tell you that and won't plate the part.
 
test fit the hood, deck lid, doors and not-finished fenders today.
 

Attachments

  • IMG-20130110-00500.jpg
    IMG-20130110-00500.jpg
    88.5 KB · Views: 891
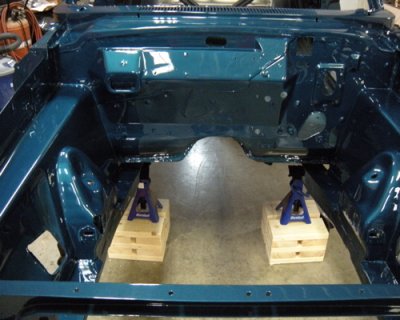
She's home for the beginning of "Phase II". gotta say that with reverb...
 

Attachments

  • home399.jpg
    home399.jpg
    37.1 KB · Views: 878
  • home400.jpg
    home400.jpg
    60.6 KB · Views: 868
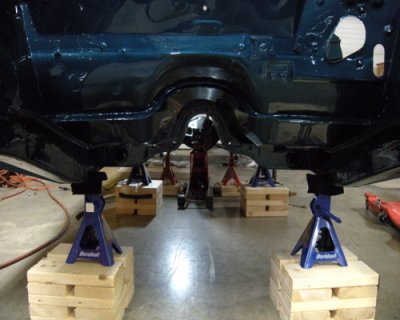
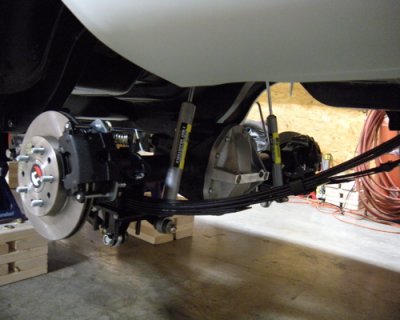
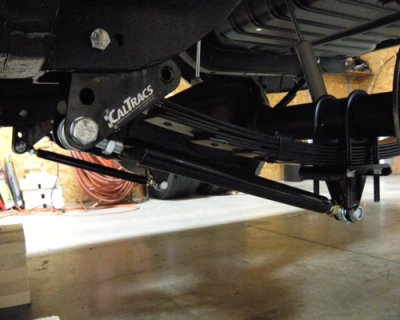
Spent the early afternoon (after Church; before the Game; Go Niners) dropping the temp. k-mem. and rear springs. The springs, u-bolts, shock/shackle plates and hardware needed to be painted. also noticed that the rear-end was offset about 3/8" to the passenger side. Measured a ton of stuff and found an 1/8" here and there that added up. after the Caltraks get here and mounted I'll "shove" everything to the Driver-side and synch it down. some closer shots of the starting point before the "hardware" begins to be installed.
 

Attachments

  • 1st phase2404.jpg
    1st phase2404.jpg
    93.9 KB · Views: 836
  • 1st phase2406.jpg
    1st phase2406.jpg
    80.5 KB · Views: 831
  • 1st phase2408.jpg
    1st phase2408.jpg
    83.9 KB · Views: 831
  • 1st phase2409.jpg
    1st phase2409.jpg
    80.9 KB · Views: 814
  • 1st phase2411.jpg
    1st phase2411.jpg
    77.9 KB · Views: 836
  • 1st phase2413.jpg
    1st phase2413.jpg
    80.6 KB · Views: 816
  • 1st phase2414.jpg
    1st phase2414.jpg
    96.4 KB · Views: 823
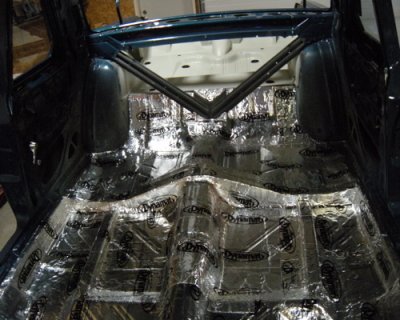
finished the rear quarter glass frame, regulators, channel seals and quarter glass install tonight. getting the new seals to not "roll" in the frame when rolling up the window is a b#$%h! but once the glass is seated in the pocket of the seal, they operate very well. very happy with the raise and lower smoothness of the windows. i figured i'd leave them in the up position for a couple of months to let the seals seat. next is the body plugs and the Dynamat....
 
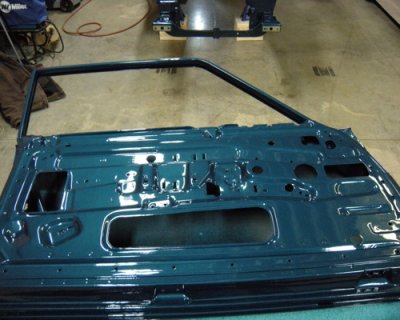
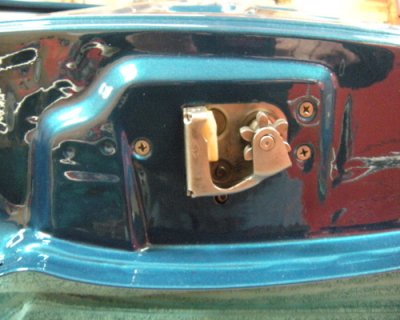
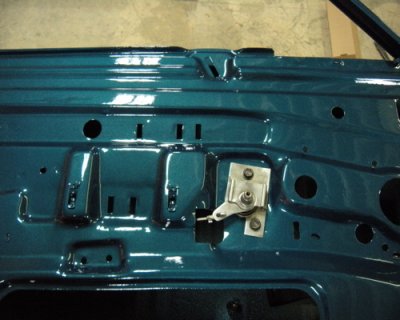
headlight seat and shells ready to go. door latch and handle mech. installed X2. wait for the final color coat to install widow regulators and glass.
 

Attachments

  • doorlatch415.jpg
    doorlatch415.jpg
    102 KB · Views: 751
  • doorlatch417.jpg
    doorlatch417.jpg
    92.5 KB · Views: 764
  • doorlatch418.jpg
    doorlatch418.jpg
    84.4 KB · Views: 765
i may not have said, it's Dodge '64 LL-1. Dodge called it Dark Poly Green if I recall. I think Plymouth called it some sort of Turquoise.
 
i may not have said, it's Dodge '64 LL-1. Dodge called it Dark Poly Green if I recall. I think Plymouth called it some sort of Turquoise.

Basically Dark Turquoise Poly. Nice color, it's going to look great! Thanks.
 
I think that color looks great on that car. Won't be long now, will it?

Thanks Chicken. Probably be another ~4-6 months. BTW Your '68 is amazing!

- - - Updated - - -

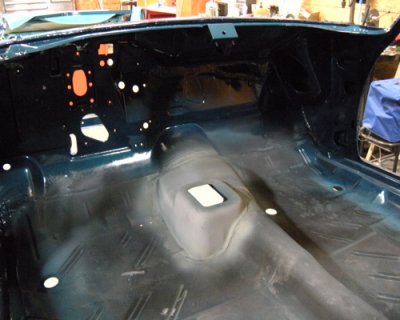
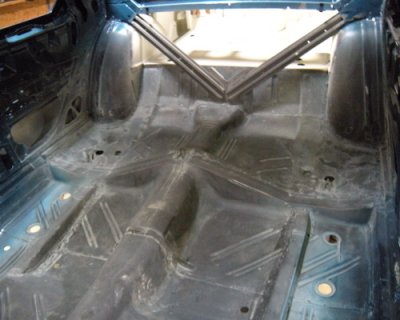
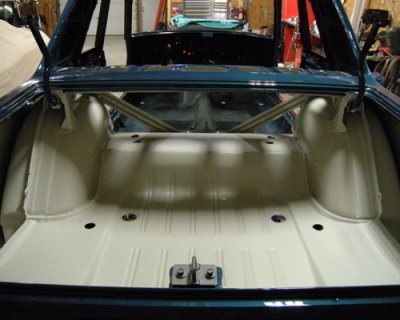
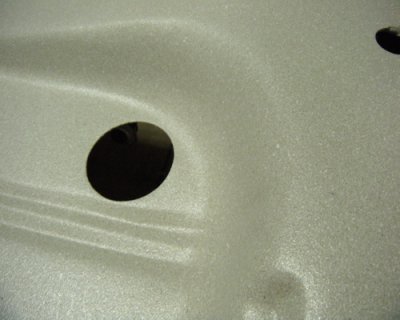
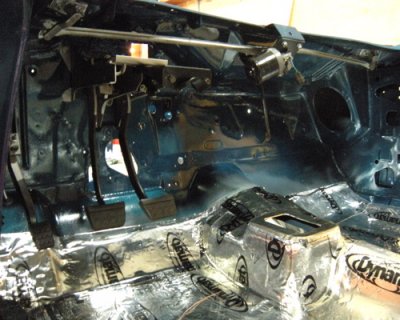
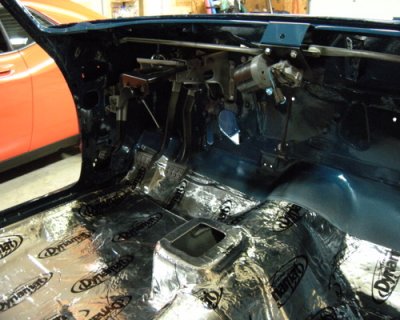
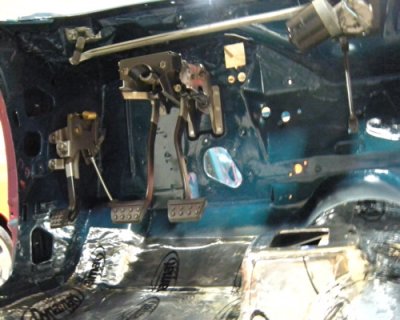
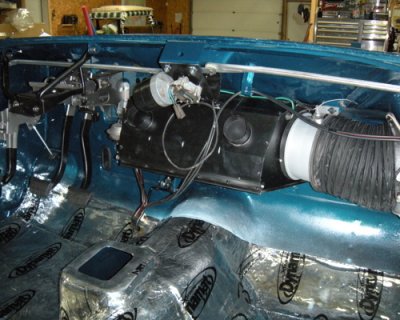
this weekends progress. dynamat, clutch/brake assy, master cyl., emergency brake, wiper assy mounted, cycled and indexed. all functioned well and very happy with the "re-install" fit. had to monkey around with the D/S wiper pivot a little but other than that....

- - - Updated - - -

Basically Dark Turquoise Poly. Nice color, it's going to look great! Thanks.
Yup.
 

Attachments

  • dynamat419.jpg
    dynamat419.jpg
    104.3 KB · Views: 729
  • dynamat420.jpg
    dynamat420.jpg
    109.4 KB · Views: 751
  • dynamat421.jpg
    dynamat421.jpg
    106 KB · Views: 756
  • dynamat422.jpg
    dynamat422.jpg
    91.9 KB · Views: 744
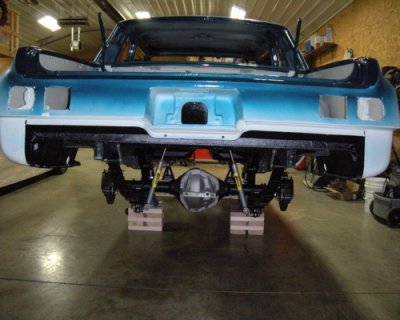
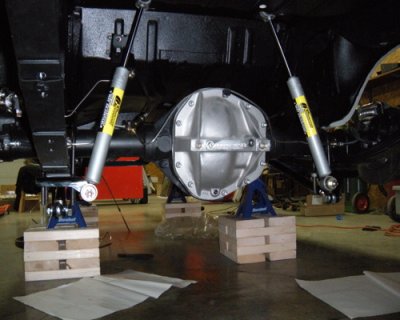
started this morning at 4:30. finished about 2:30. spent the last hour putting stuff away and cleaning. ended up with a 1/16" difference from side to side. think I'll call it good...
 

Attachments

  • dana435.jpg
    dana435.jpg
    87.4 KB · Views: 711
  • dana439.jpg
    dana439.jpg
    78.2 KB · Views: 702
  • dana440.jpg
    dana440.jpg
    83 KB · Views: 741
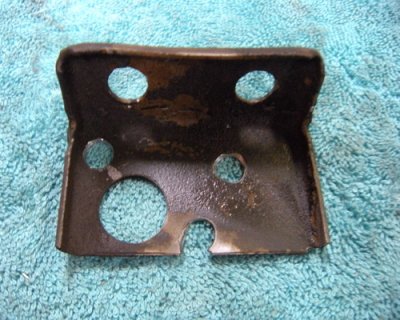
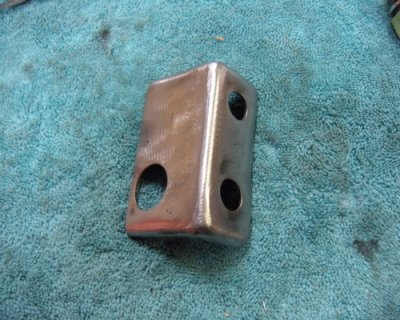
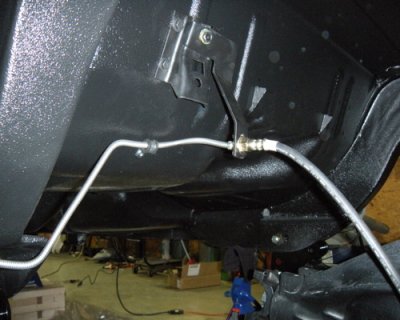
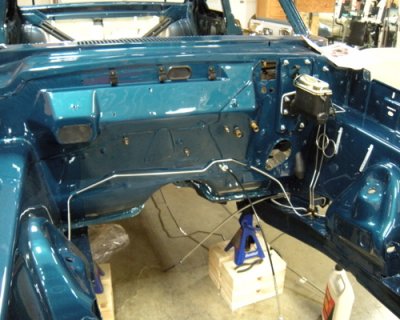
this sat. progress. couple things goin' on here. Robbed the rear brake hose brackets and E-brake brackets from a friends donor '64. just shows the before/after. installed the heater box, throttle assy. and rear brake lines.
 

Attachments

  • heaterbrake inst451.jpg
    heaterbrake inst451.jpg
    119.5 KB · Views: 663
  • heaterbrake inst453.jpg
    heaterbrake inst453.jpg
    121.4 KB · Views: 656
  • heaterbrake inst455.jpg
    heaterbrake inst455.jpg
    91.4 KB · Views: 707
  • heaterbrake inst457.jpg
    heaterbrake inst457.jpg
    85.6 KB · Views: 714
  • heaterbrake inst458.jpg
    heaterbrake inst458.jpg
    111.7 KB · Views: 639
  • heaterbrake inst460.jpg
    heaterbrake inst460.jpg
    106.6 KB · Views: 643
I just got caught up on your build. Other than the 1st gen Charger the 62 through 65 mopars are my dream cars. Your car is headed in the direction of being one of the best examples I have ever seen someone do. Keep up the great work. Thanks for keeping us up on the build.
 
keep up the good work on your restoration. reminds me of mine a few years back. i went with the same dark turquoise on my '65.IMGP1847.jpg
 
Auto Transport Service
Back
Top