'68 Coronet 440 to R/T Clone
- Thread starter Toxic Orange 493
- Start date
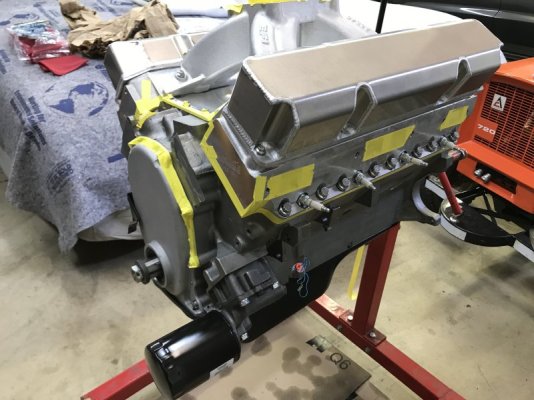
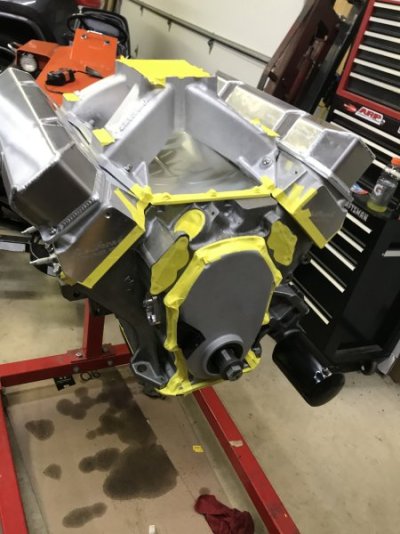
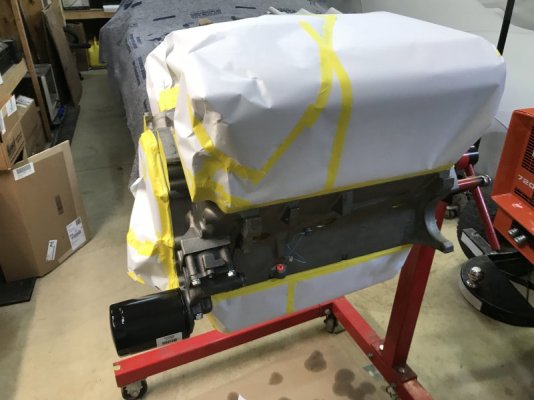
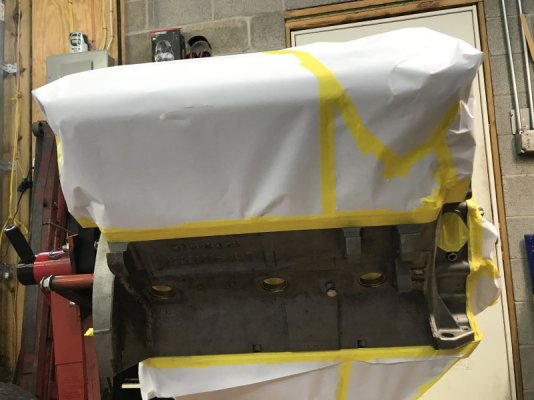
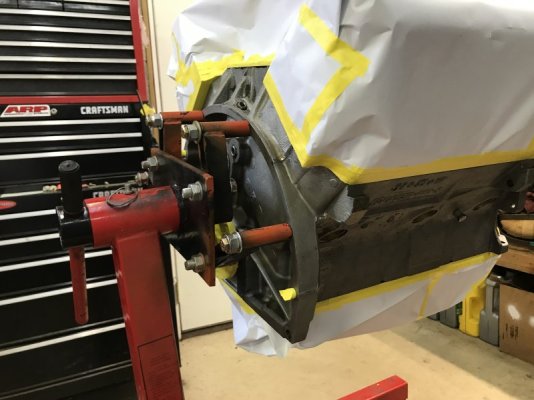
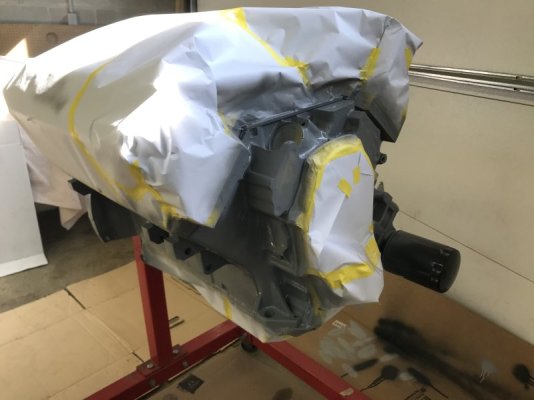
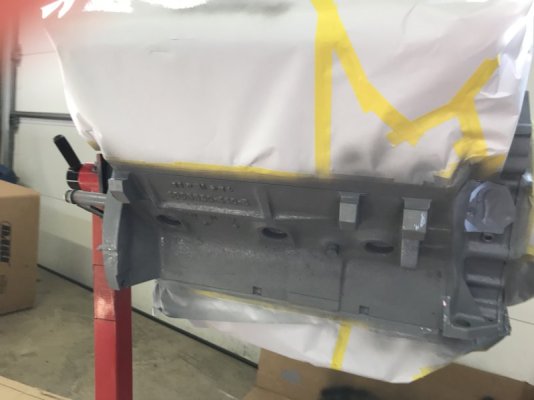
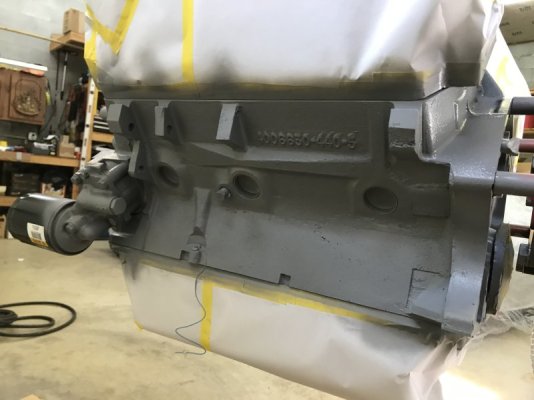
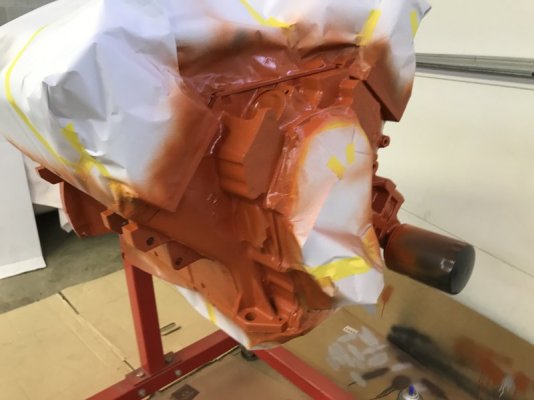
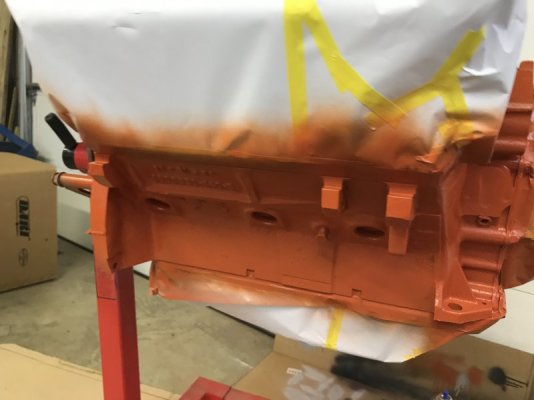
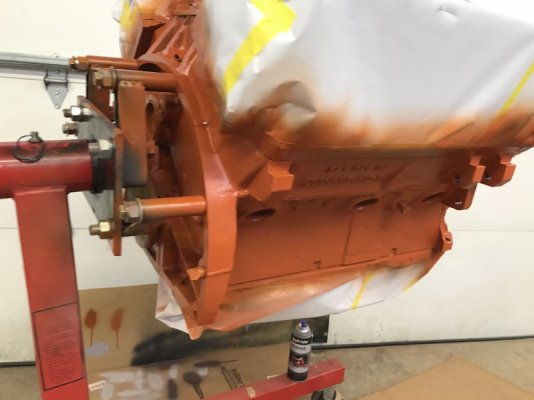
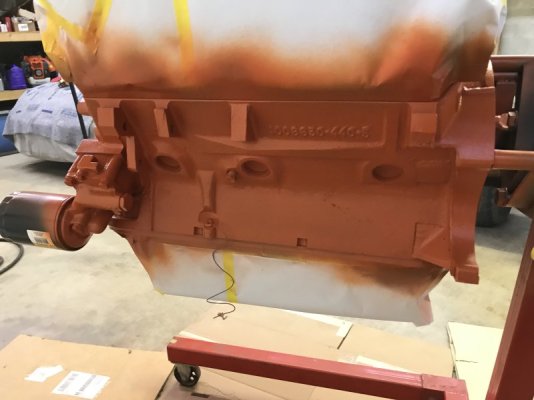
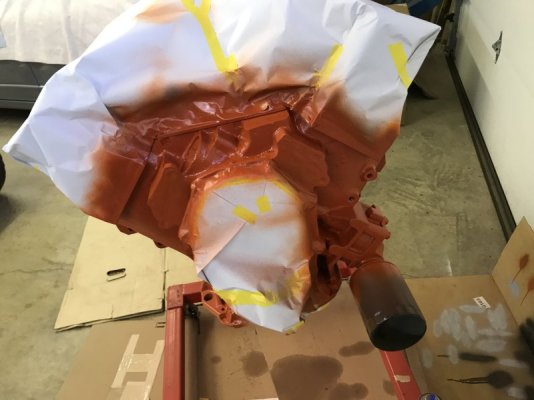
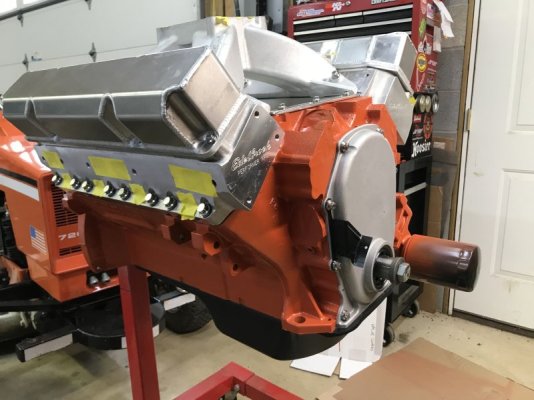
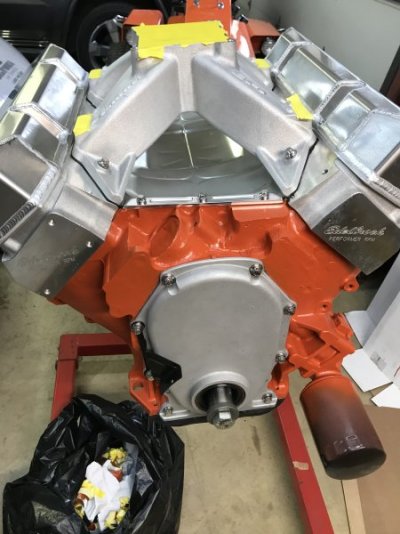
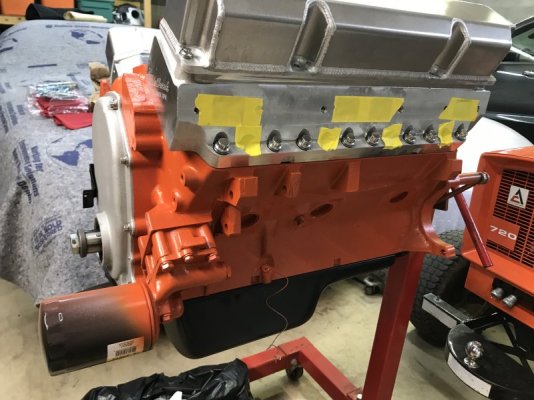
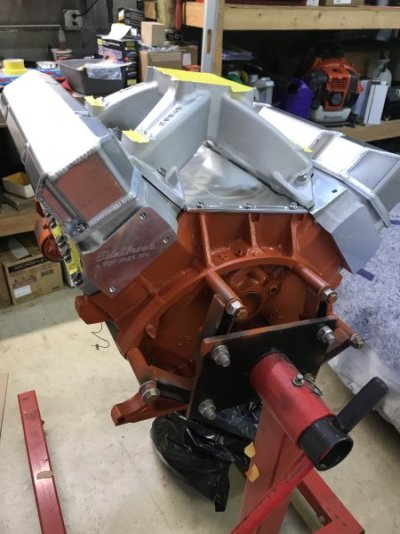
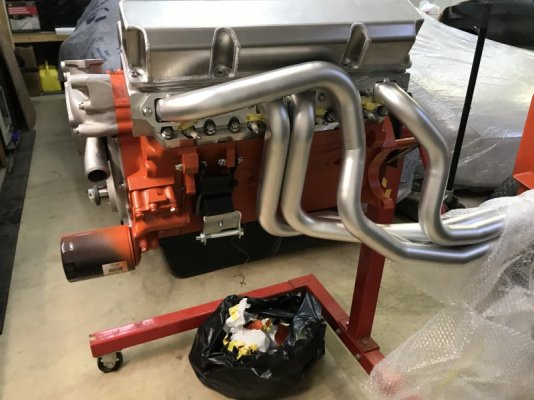
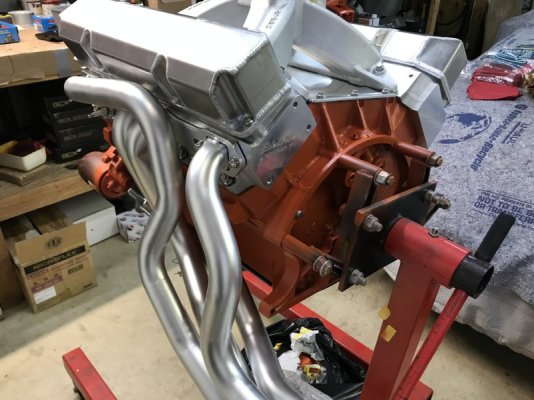
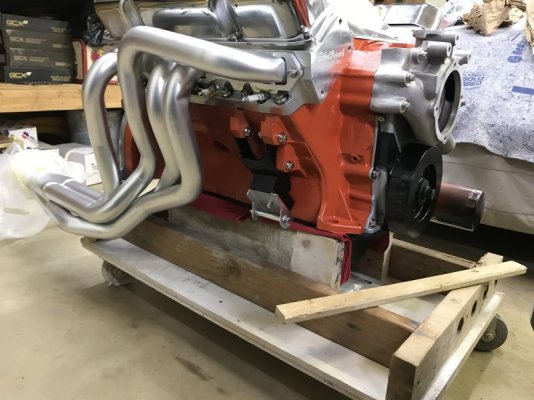
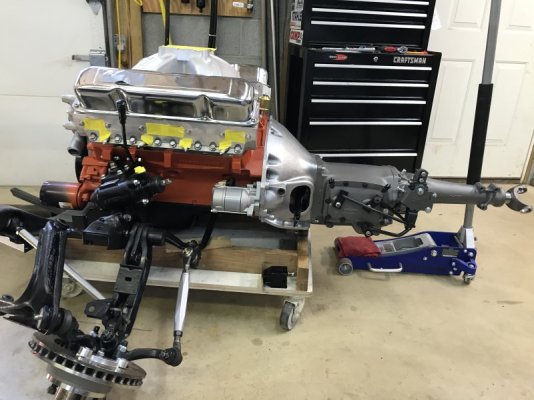
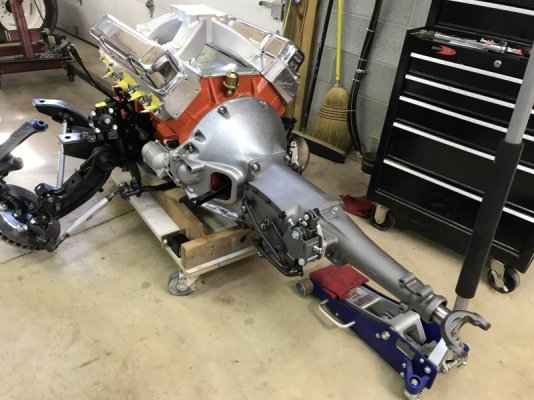
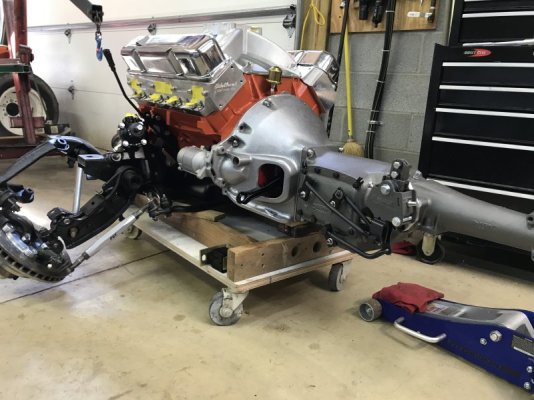
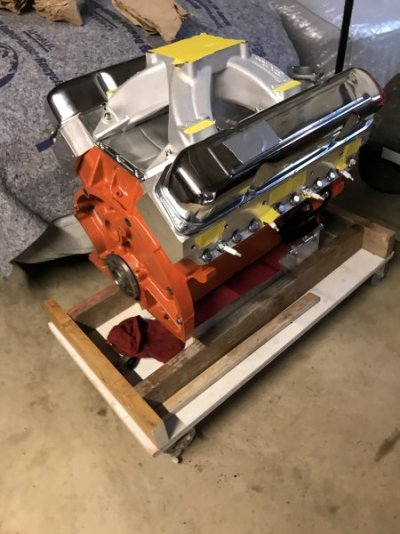
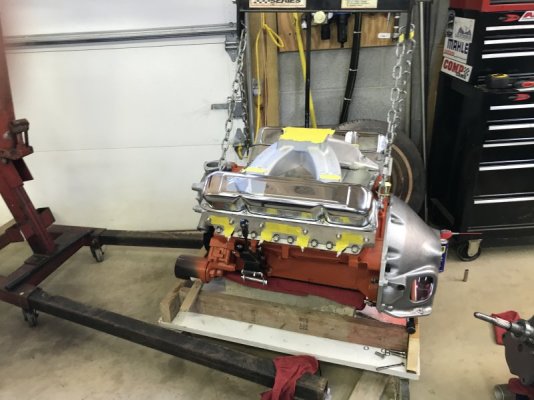
Next I had to build a little dolly to set the engine down on. It would also double as my dolly to set the K frame on as my plan was to install the engine from the bottom. The engine was not setting on the oil pan. It was sitting on supports that went up to the block where the oil pan bolts to the block.

Last edited:
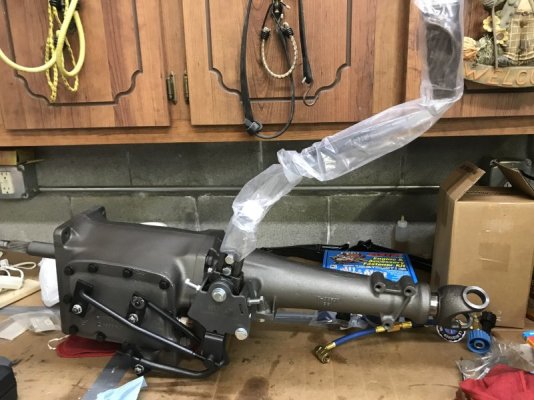
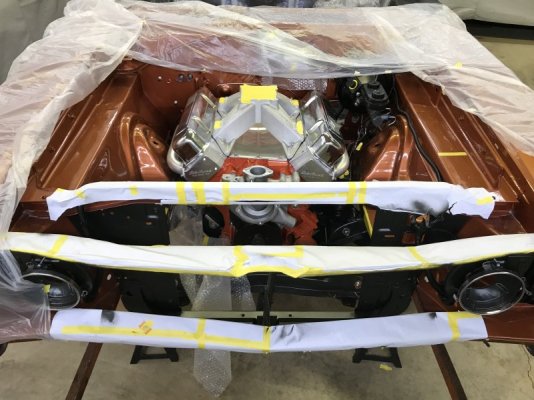
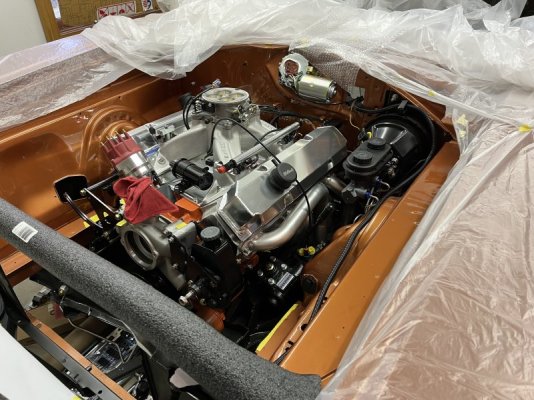
Then I spent the Memorial Day weekend 2022 getting the last few things bolted together and putting the engine in the car. After much reading on here about clutch options, I ended up going with a McLeod Super Street Pro kit.
11" flywheel, McLeod clutch and the 2892262 bellhousing installed.
Next step was removing the K frame from the car.
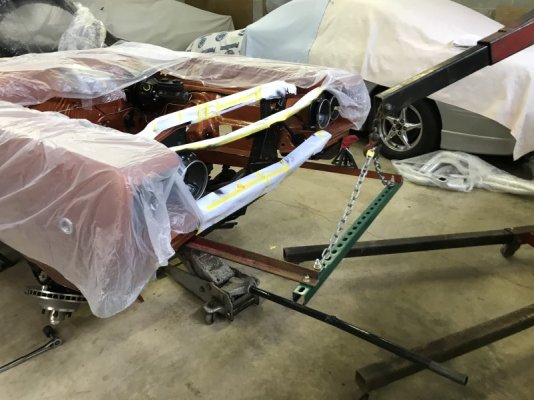
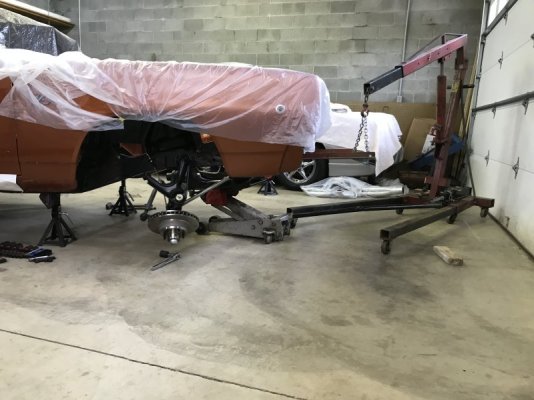
11" flywheel, McLeod clutch and the 2892262 bellhousing installed.

Next step was removing the K frame from the car.


Last edited:
Did it clear with the passenger side header bolted in place? I chickened out and installed mine after putting the engine in the car, it looked too close for comfort.
Did it clear with the passenger side header bolted in place? I chickened out and installed mine after putting the engine in the car, it looked too close for comfort.
It did clear. I agree with you it looked like there was not enough room, but there was. The engine just needed to be shifted toward the passenger side slightly once the header on the passenger side got up past the inner fender.
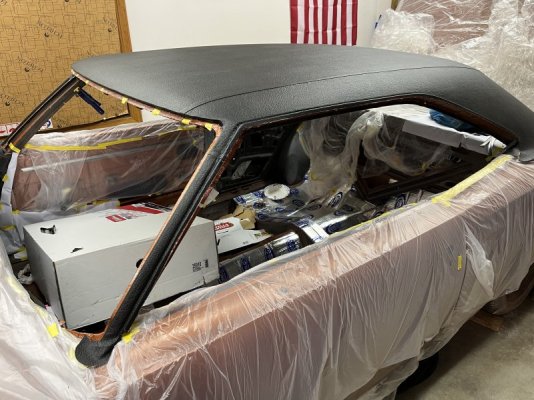
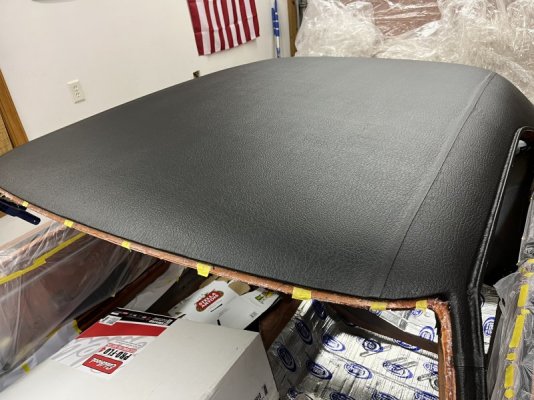
My next step was to install the vinyl top. It has been sitting wrapped up in the box from Legendary for almost 10 years. So I let it sit on the roof of the car for about a month so that the folds were close to being all the way out. I bought three cans of the DAP vinyl top glue in the aerosol cans.
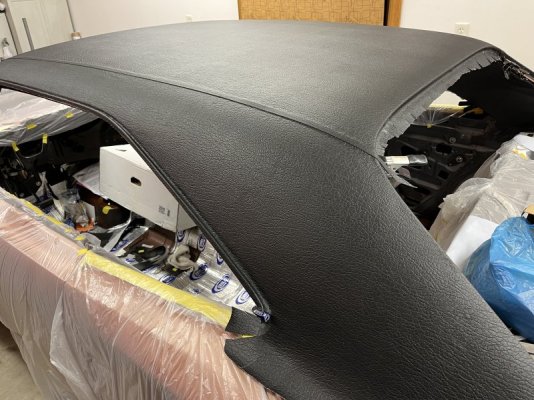
Once again, I didn't get pictures but I marked the centerline of the the vinyl top between the two seams. Then I marked the center of the roof. I lined up the marks on the top of the car and on the vinyl top, used some squeeze clamps to help hold it in place at the front and back window. Then folded back the drives side and started with spraying about a 6-8" wide stripe of glue on the roof of the car and on the vinyl top. Doing the small strip made it easier to ensure the vinyl doesn't move. Once I had that 6-8" wide strip was done, then I continued working the rest of the way to the drivers side. Then I went over to the passenger side. This was my first vinyl top install and I am very very happy with it.
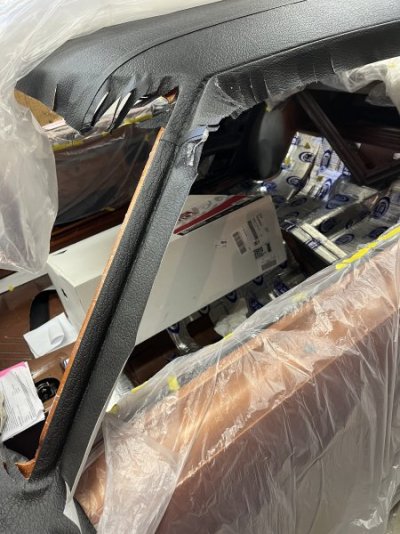
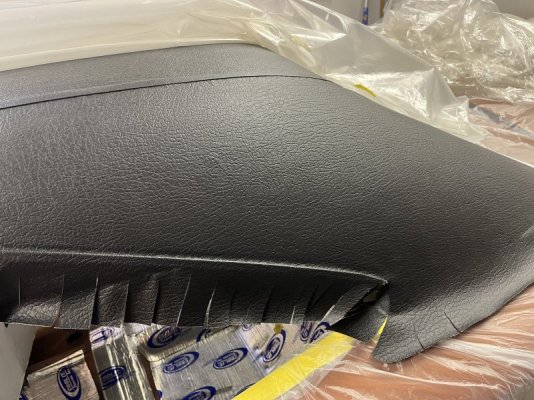
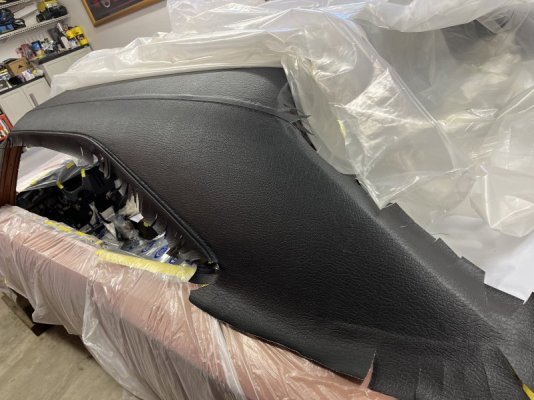
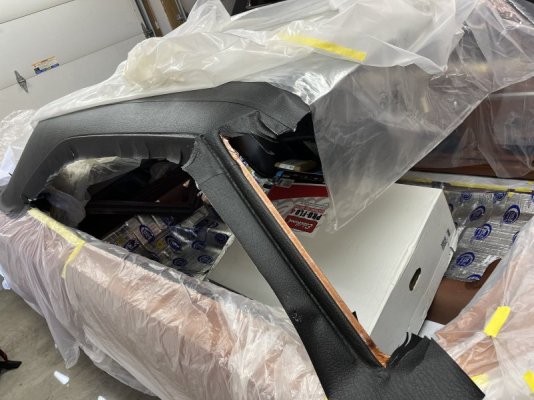
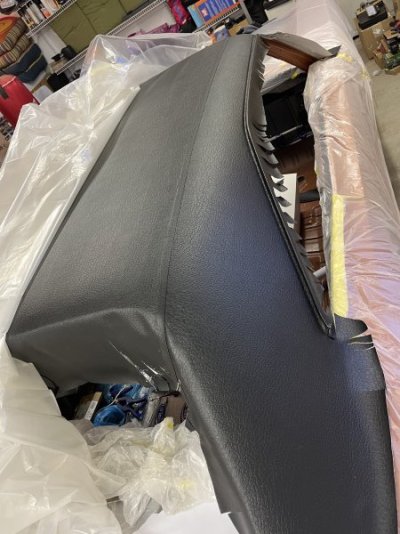
Once again, I didn't get pictures but I marked the centerline of the the vinyl top between the two seams. Then I marked the center of the roof. I lined up the marks on the top of the car and on the vinyl top, used some squeeze clamps to help hold it in place at the front and back window. Then folded back the drives side and started with spraying about a 6-8" wide stripe of glue on the roof of the car and on the vinyl top. Doing the small strip made it easier to ensure the vinyl doesn't move. Once I had that 6-8" wide strip was done, then I continued working the rest of the way to the drivers side. Then I went over to the passenger side. This was my first vinyl top install and I am very very happy with it.


That looks really nice!
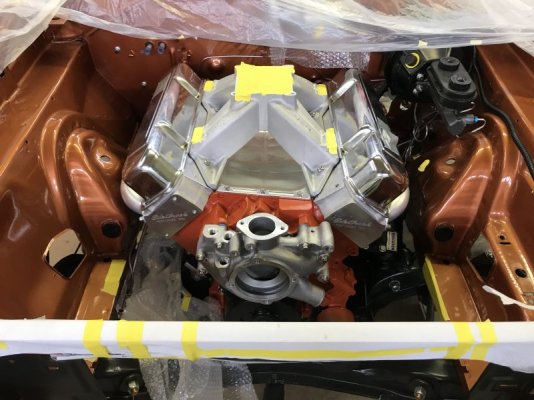
After about an 8 month wait, I finally received the Edelbrock Pro-Flo 4.
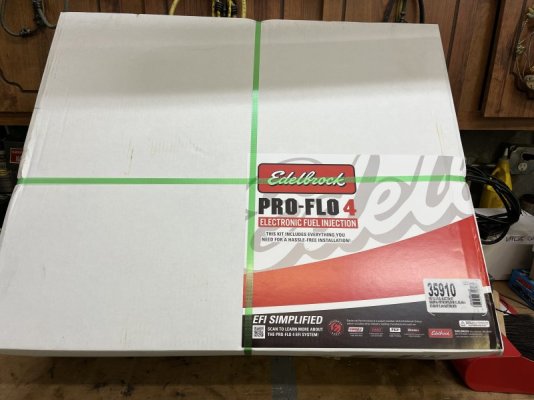
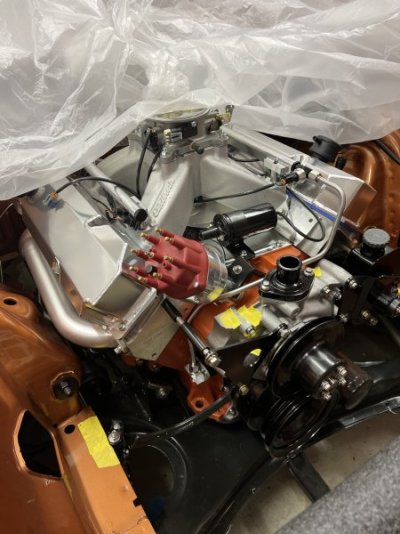
So then it was on to installing the Pro-Flo.
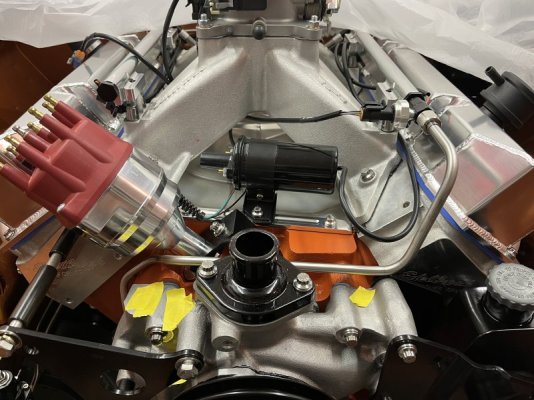
The distributor was first. I quickly found out that it doesn't fit the Edelbrock heads. I had to do a little bit of grinding on the head to get the clearance needed so that the distributor can be installed.
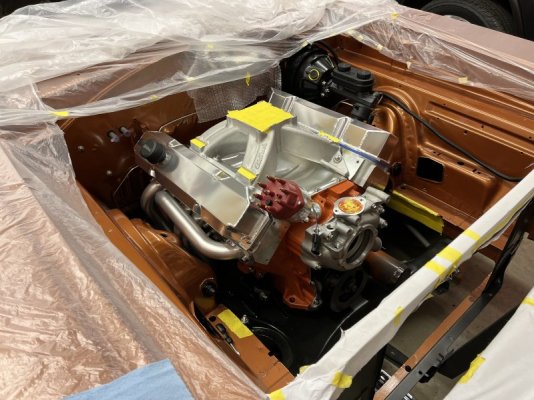
Long before they came out with the Pro-Flo 4 for the 440, I had bought the Victor manifold setup for the multiport EFI because I always wanted to do a multiport EFI on the car. So I just swapped the injectors, fuel rails and throttle body from the manifold in the kit over to the manifold on my engine.
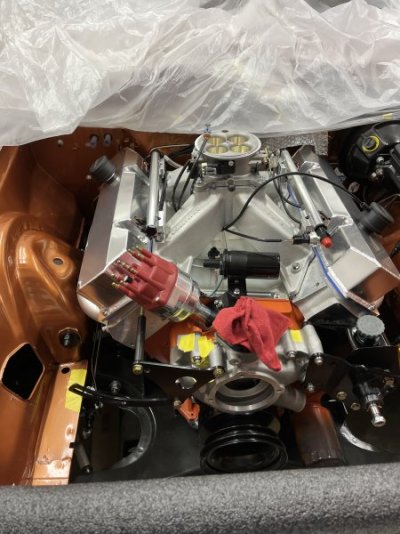
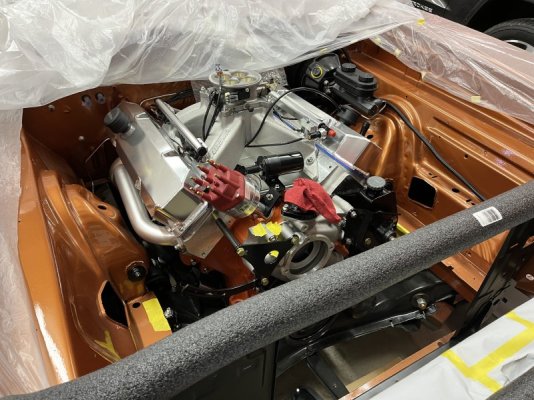

So then it was on to installing the Pro-Flo.
The distributor was first. I quickly found out that it doesn't fit the Edelbrock heads. I had to do a little bit of grinding on the head to get the clearance needed so that the distributor can be installed.

Long before they came out with the Pro-Flo 4 for the 440, I had bought the Victor manifold setup for the multiport EFI because I always wanted to do a multiport EFI on the car. So I just swapped the injectors, fuel rails and throttle body from the manifold in the kit over to the manifold on my engine.


1 Wild R/T
Well-Known Member
You would think if Edelbrock made the injection/distributor & Edelbrock made the heads the parts would fit together without having to grind on stuff..
That is exactly what I thought also. The other amazing thing is how they have the fuel rails on the intake in the kit. They have the rails so the fuel connection is either right behind the distributor or if you flip the manifold 180 the the connection at the drivers side against the firewall. I didn’t want the connection in the back and with it by the distributor there isn’t enough clearance to put fittings on. So I flipped the rails and put the fuel connection at the front drivers side.You would think if Edelbrock made the injection/distributor & Edelbrock made the heads the parts would fit together without having to grind on stuff..
1 Wild R/T
Well-Known Member
I bet the Chevy version is well thought out...That is exactly what I thought also. The other amazing thing is how they have the fuel rails on the intake in the kit. They have the rails so the fuel connection is either right behind the distributor or if you flip the manifold 180 the the connection at the drivers side against the firewall. I didn’t want the connection in the back and with it by the distributor there isn’t enough clearance to put fittings on. So I flipped the rails and put the fuel connection at the front drivers side.
Similar threads
- Replies
- 15
- Views
- 1K
- Replies
- 1
- Views
- 355
- Replies
- 4
- Views
- 667

