• When you click on links to various merchants on this site and make a purchase, this can result in this site earning a commission. Affiliate programs and affiliations include, but are not limited to, the eBay Partner Network.

'70 RR Air grabber assembly install

wwheel

FBBO Gold Member
FBBO Gold Member
Local time
8:32 PM
Joined
Aug 10, 2020
Messages
181
Reaction score
108
Location
Dallas, TX
Getting ready to assemble the entire air grabber assembly and then install the box on the hood. Question is what sequence do you do this in order to install decals on the side of the lid off the car. It would be difficult to install these triangular decals if the lid is mounted on the hood. The clevis pins are hidden behind decal on the lid and must be installed first with the arms fitted at the same time. Maybe I missing something?

Many years ago I install a similar A/G assembly and simply cut the decal so the clevis pins could be fitted later. Worked just fine but would rather not do this again.

Thanks.
 
It sucks but when I did the Hood on my buddies GTX i had to install the decals after. Because of the pins. In the end was not too bad. He wanted an electric actuator. So its a little different than the vacuum actuated one. Had to mock up a bracket to make it all work. But the airgrabber setup installed like normal.

 
Nice job. That does eliminate the issue with the vacuum actuator. My understanding is that the reproduction actuators do not last long. I had my original actuator rebuilt and hopefully will last awhile.

Thanks for the info. I may try to grind off the rivet that attaches the two arms. I would use a binding bolt to reattach. https://www.mcmaster.com/99637A301/ Then I can attach the upper arm to the lid and pin in advance without cutting the decal. Then once the lid and housing are in place, attach the two arms. Just a thought.
I forgot to add. He had 2 lids one that came with the hood and one that came with the metal ring. One was fiberglass and the other was diecast. He forgot to get the Diecast one painted so we put the fiberglass one on the car. The holes for the pivot pins were super tight and had to be sized for the pins.
 
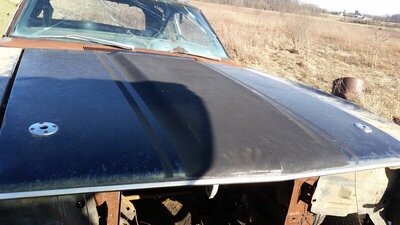
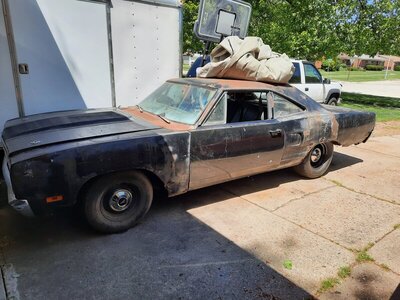
What's a beat up used A/G set up going for these days? I would like to add but keep the patina look to my Roached Runner.

20170311_163324.jpg 20210530_123448.jpg
 
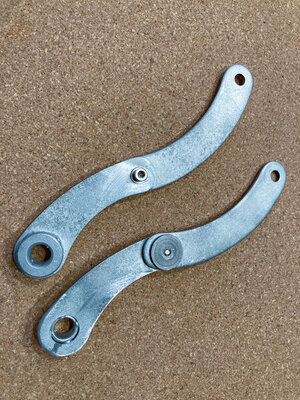
I decided to separate the two sections of the arms. Now I can install the one on the lid with the pin and put the triangular decal on with out cutting. The other will be installed on the shaft and be installed with the completed housing on the hood. How to rejoin the arms at the pivot point? I ground off the smashed end of the rivet and the separated the arms. I then drilled and tapped a 4mm through hole in the rivet. Using a 4mm SS Allen head screw and a SS wave washer, I reattached the assembly. I used 4mm because that is what I had laying around. The Allen head of the screw looks similar to the smashed end of the rivet. A #6 screw would work as well. I can now zinc plate the pieces while they are apart. Good as new and even better because I can take it apart if need be. Will probably use Loctite to secure the screw.

A-G lid arms.jpg
 
Auto Transport Service
Back
Top