Chris Many
Well-Known Member
- Local time
- 8:54 PM
- Joined
- Aug 20, 2018
- Messages
- 247
- Reaction score
- 490
- Location
- Highgate Falls, Vermont
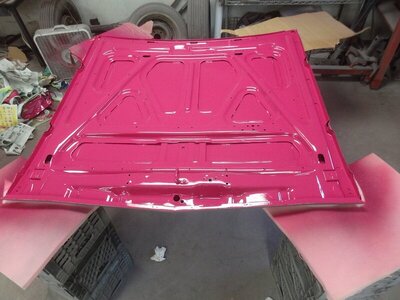
Before I do bad things to my hood, does anyone have some pictures and/or experience with squirting anti-flutter foam between the hood inner panel and outer skin? My panels aren't separated, I just need to replace all the foam that fell out, which is pretty much all of it.
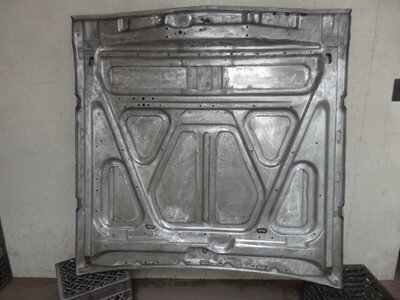
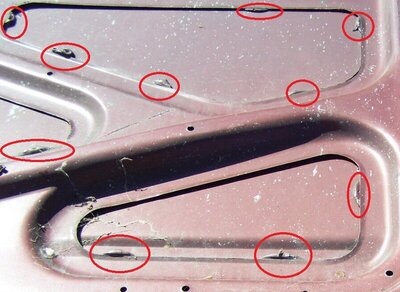
The first picture is of my hood before I primed it with epoxy primer. The second picture is of a random hood showing the locations were the anti-flutter foam was applied by the factory. I am trying to achieve this look. I suspect that all I need to do is just squirt X amount in-between the panels and it expands out.


The first picture is of my hood before I primed it with epoxy primer. The second picture is of a random hood showing the locations were the anti-flutter foam was applied by the factory. I am trying to achieve this look. I suspect that all I need to do is just squirt X amount in-between the panels and it expands out.


