• When you click on links to various merchants on this site and make a purchase, this can result in this site earning a commission. Affiliate programs and affiliations include, but are not limited to, the eBay Partner Network.

Filler Secrets 101

Bladecutter

"Pursuit of Shape"
Local time
6:28 PM
Joined
Nov 9, 2014
Messages
6,112
Reaction score
7,032
Location
USA
See 'Filler Secrets 101 in member projects & restorations.
 
Shoulda named this one 'Filler Secrets 201/Paint Prep' and put up some new ideas. :)
Well with two complete refinishes headed down the pike, which Pete will squirt, am going to have some real estate to do a close cut & polish on......so at that juncture, i'll delve into what i have learned on that gig.
A quick observation on that track.
Color sanding with a 6" D/A sander is dangerous when it comes to tight areas & approaching edges, BUT, a Good STRAIGHT D/A with NO wobble will get the paint flatter than manual blocking.....manual, one is only cutting in One direction per stroke.....the 360 degree cut of a D/A saws at the hi spots of dust heads, etc from the sides, rather than just rolling over them like in manual blocking.
Guard tape edges, around door handle inserts , etc, leaving between an 1/8" to a 1/4" margin.
I would start with 800 on D/A and sand major real estate out (dry) to bottom of orange peel, keeping D/A Off of guard tape edges. Then go to 1000 dry, & cut out the 800 fishhooks. Take the 1000 to tape edges without tearing up the tape. Roll back tape edges some & again, carefully sand w/ 1000 Wet, manually, to rolled back edge. Remove all tape. Then Manual, Wet w/ 1500 on a Firm but conformable sanding pad, with even, rythmatic, long strokes with Slight cross hatching, sand until all the 1000 grit machine marks(fishhooks) are cleaned up. Keep in mind, the D/A's cut is flat as hell, so the little margins at edges & tight areas take some careful dilligence to blend in......w/ the 1500 wet....
....You have to go Right to edge Without going Over!! Ready for the cutting buff. Tape directly on peaks if neccessary, to help prevent burning edges with polisher. Always keep polishing wheel rotating off, away from edge......Never into edge.

Earlier this year i saw a 70 Chevelle SS that i did this way 15 years ago.......i was surprised at how tight it still looks. Car is not a trailer queen either......sees about a 1000 miles a year. IROC blue with white rallies buried under clear........just TransStar production clear too......
Surprised hell out of me that the top surfaces were still holding out....not bleaching out & peeling, flaking.
 
Last edited:
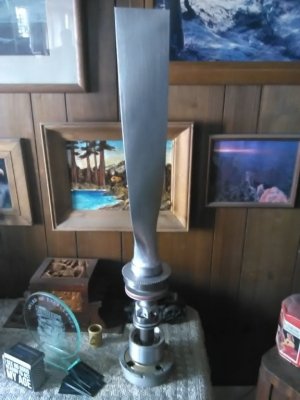
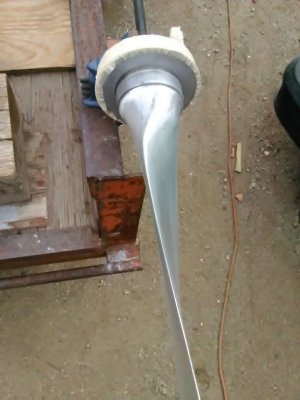
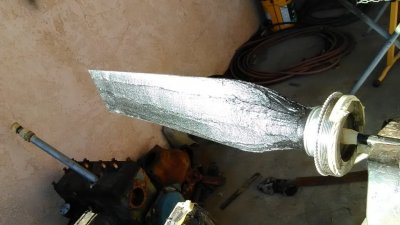
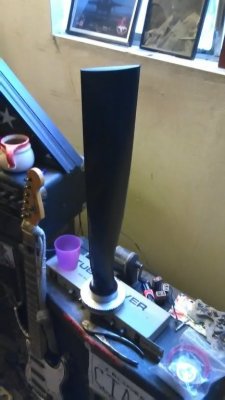
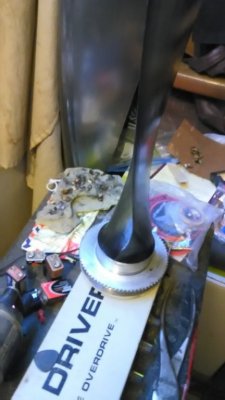
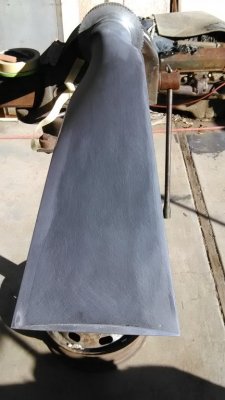
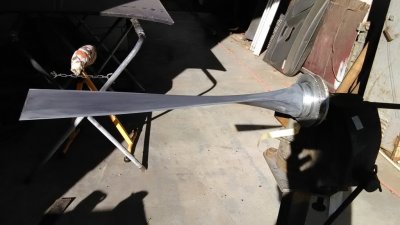
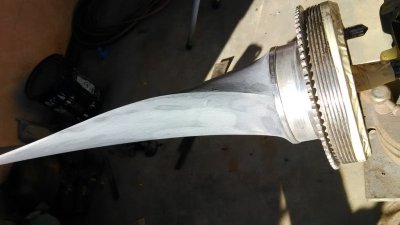
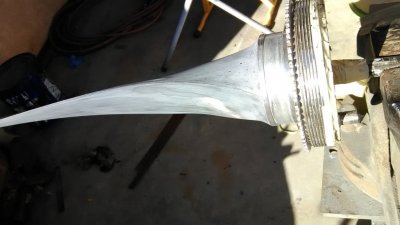
OK....something a bit different. This little blade is very thin, we added more pitch to it. But the molds were lumpy fux, the face lost its crown where blade begins to slope towards shaft,,,,lots of speed bumps, so i blocked the high spots down, then encapsulated entire blade(masked off one side @ a time)in my glass filler. 1st time around i made a thick, stiff batch & blocked her out in 80 grit. 2nd go round again both sides, but i leaned out the milled fiber & cab-o-sil, for a smoother, little less dense mix & blocked that out in 80, followed up by 120. 3rd shot i just used the epoxy res & some cab-o-sil(stiffener) just enough to keep mix static, & then did a very fine smear skim spread overall & knocked that down in 120, then did some dabs here & there & finished out in 150. I have some finger fuckin to do with shaft & collar gear, then the whole thing gets squirted in epoxy primer & wet blocked x 2....1st time in 220, 2nd in 360. Cure windows of 2 days with each prime before sanding. Then it gets shot in black top coat & that gets a week cure window, then wet block 600 to 1500 & polish out. Notice the beveled tip. This will be natural polish aluminum. During the cure windows i will be polishing natural the individual alloy parts in the tower.

IMG_20160824_111021.jpg IMG_20160922_101953.jpg IMG_20161130_135128.jpg IMG_20161213_070313.jpg IMG_20161213_070544.jpg IMG_20161219_135222.jpg IMG_20161219_135239.jpg IMG_20161219_135034.jpg IMG_20161219_135118.jpg
 
Last edited:
FYI.....the epoxy resin bonds to raw alloy quite well providing decent feathering. I prepped the aluminum in 40 grit.....spraying a piss coat of zinc prior, & scuffing with scotch brite will add more bite, but the feather on raw aluminum is plenty adequate.
Structural, waterproof, no shrinkage, long mixing & working windows, doesnt curdle up & roll out spreading large areas, until the kick starts, the advantage of stacking multiple builds before any sanding, the adhesion properties.....this **** is unfadeable. Oh & that the epoxy resin does not get nearly as hot as polyester resin in the kick, greatly decreasing the possibility of resin boiling in build ups.
 
Auto Transport Service
Back
Top