• When you click on links to various merchants on this site and make a purchase, this can result in this site earning a commission. Affiliate programs and affiliations include, but are not limited to, the eBay Partner Network.

Headlight Updates

‘66polycharger

Active Member
Local time
12:34 PM
Joined
Jun 12, 2024
Messages
25
Reaction score
27
Location
Michigan
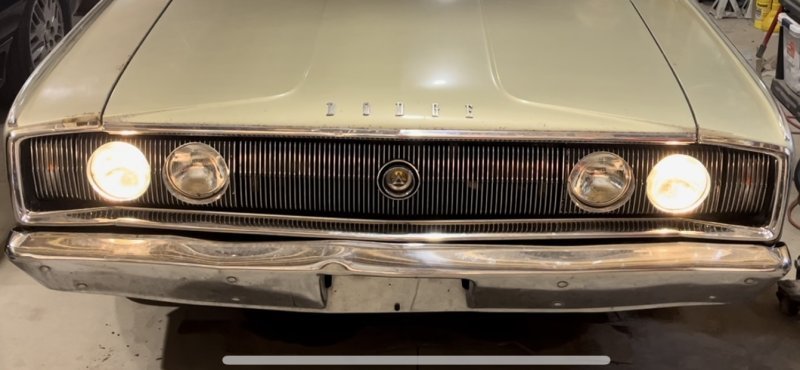
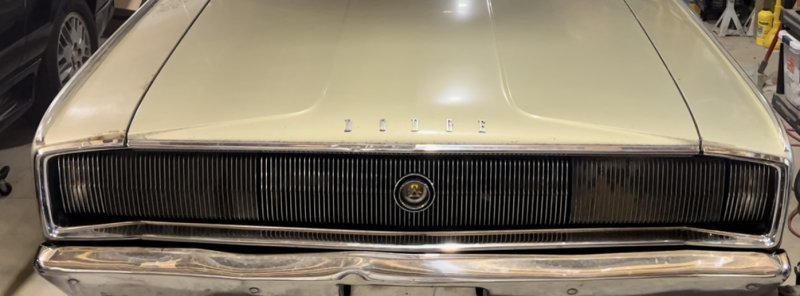
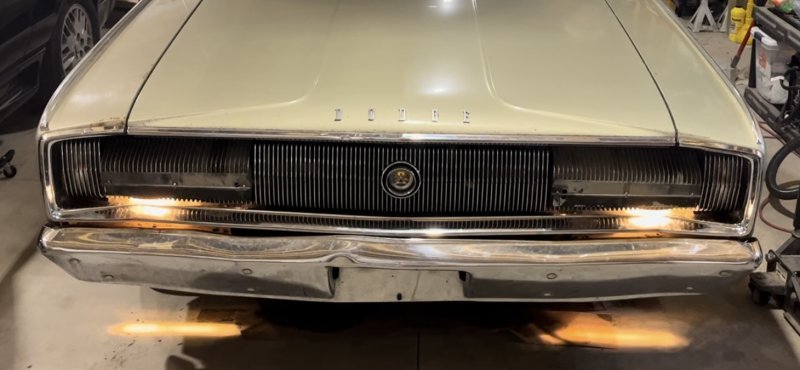
Finally took some time to get the headlights looked at closer other than with multimeter. Which didn’t lie, wiring, switches and relays all seemed to be working fine. I did have to modify one limit switch a touch. The button was worn down some and not exposed enough to allow the headlight bumper to compress it. Testing with finger proved it was still operational. So I bent the stop in on the switch just a touch to allow it to compress enough. I’m guessing this was the reason the PO unhooked everything. I’ll have to keep an eye out for another limit switch to have on the ready. Motors from sitting were a bit dirty, spent some time with steal wool some qtips and the air compressor and got them cleaned out well and spinning pretty fast. The “gear” drive in motor was not what I was expecting, neat little set up in there once I started realizing how it worked. But am glad to say we have operational headlights again, drivers side is a little slower than passenger but not bad. Need to clean up the closed side of light a bit more the paint between fins has some haze.
IMG_5592.jpegIMG_5593.jpegIMG_5594.jpeg
 
Perfect, thank you for the link. I’ll have to get some pennies saved and have a set on hand. I’ve a feeling my “fix” is only going to last so long if the switch was wearing in the first place. The bump bolt on that side was a little beat up and guessing that attributed to the wear. I tried adjusting it but between the worn slot and rust it didn’t want to move. So I quit while was ahead.
 
Great thank you. I did notice the difference in the connections between model years. I was just going to cut and splice in the appropriate connectors if I needed to. But would like to avoid that if possible. Next get those rough spots filed down on the bumper bolt (not sure correct name) a bit to keep it from eating away at the button more than it already has. Probably should have done that right away but was getting antsy for some seat time.
 
Yeah, if you can avoid that, that would be great since original 67 are a little scarce. I "fixed" a switch by Gorilla gluing a small piece of plastic to the end of the button. Do you have 67 switches? I would trade 66s for 67s.
 
I do not have any ‘67 switches. Just started looking for switches and of course started on eBay and saw a set of ‘67 style for the right hand side there. I need the left for my bad switch though. Good to know I won’t cut up any ‘67 switches, I don’t like the idea of wrecking hard to find parts. Great idea for the button wear too. I’ll probably do the same for my worn one. I noticed some cracks in the switches as well would gorilla glue be a safe filler to seal them up? Car won’t see much bad weather but would like to keep the elements out of them as much as possible. Hopefully that penetrating oil is doing its job and I can get the bolt loose to adjust its contact some. Would like to just replace it since it is beat up as bad as it is.
 
Hi. Sorry I do not have the hood return. I’ll try and get a minute to get a look at the switch I have that is worn. Just finished up a transmission rebuild and hoping to put some miles on it over the weekend to make sure everything holds up like it should. Appreciate the heads up on the switches. It will be a little bit of a project I have to get the worn bolt out. Have to figure that one out still. Assuming I don’t want to put much in the way of heat on the headlight.
 
Auto Transport Service
Back
Top