I was talking about a used OEM crank, and the rod journals do wear oval as the "Thrust" is where the crank pushes the rod up. Really, your asking me those question like I have no idea what I am talking bout??
You are using an out of date browser. It may not display this or other websites correctly.
You should upgrade or use an alternative browser.
You should upgrade or use an alternative browser.
Issues with main bearing clearance
- Thread starter TexasRoadRunner68
- Start date
dvw
Well-Known Member
Before the crank, bearing bores or bearings are measured the clearance variance is speculation. Obviously if you know about bearing bores you also know that getting them all dead on to the ,000X' is not always a "simple line hone". The crank journals may or may not be out of round. So how do we know it needs to be .010"/.010". As far as there is no .001" clearance for journal diameter. You never use this as a rule of thumb? Can you explain when this doesn't work? We still have not been told what the intended purpose of the original posters build is. It's always easy to tell someone that something has to be a certain way. When in fact what works in most instances may fall out of the ideal range.I was talking about a used OEM crank, and the rod journals do wear oval as the "Thrust" is where the crank pushes the rod up. Really, your asking me those question like I have no idea what I am talking bou
Doug
2quick
Well-Known Member
most if not all aftermarket crank manufacturers are going to want a different spec then factory. Don’t forget those factory specs are 50+ years old. Crank material along with advances in bearing material come into play. Do what you like but as another poster mentioned, I would never set a bearing clearance for any engine in any application at .0011 ever. That .0011-.0036 mentioned earlier is a very wide tolerance....Using the 0.001 per inch of journal like with rods, it appears the front two are tight...
There is no such rule, and I am not sure where you read that. The spec is what the manufacturer puts in their service manuals for their requirements. Chrysler says that they want to see 0.0011" to 0.0036" for main bearing clearance and 0.0009" to 0.0034" for rod bearing clearance. While I like to see 0.002" to 0.0025" for the mains, I wouldn't be afraid to run up to 0.0035" for the mains.
I have seen that rule for piston clearance, but even they give the actual amount to multiply by bore size to determine the clearance, AND if you are using any "power adders", that number changes.
There is an established industry standard for the sizes of all parts. They can't just make a crankshaft, or any parts for that matter, to a different size because they want to. The connecting rod bore is made to an established size, the bearing is made to an established size, AND the crankshaft is made to an established size so that when the parts are assembled, the bearing clearance is correct. The only place where different materials dictate different clearances are with pistons due to the different alloys being used having different expansion rates and different piston machining techniques.
You are correct, he hasn't stated his usage model yet, and still hasn't, which I haven't gone further, but he has said that the crank is new and I can tell you for a fact that the measurements he stated in post #5 do not represent a new crankshaft. Either the crank is defective, or he incorrectly measured it. He needs to go back and remeasure the crank mains and if he gets the same measurements, the crank needs to be returned as it is defective.Before the crank, bearing bores or bearings are measured the clearance variance is speculation. Obviously if you know about bearing bores you also know that getting them all dead on to the ,000X' is not always a "simple line hone". The crank journals may or may not be out of round. So how do we know it needs to be .010"/.010". As far as there is no .001" clearance for journal diameter. You never use this as a rule of thumb? Can you explain when this doesn't work? We still have not been told what the intended purpose of the original posters build is. It's always easy to tell someone that something has to be a certain way. When in fact what works in most instances may fall out of the ideal range.
Doug
I stated that the crank needed to be ground 10/10 because the measurements he posted and the due to the fact he had never previously mentioned that it was a new crank, the only obvious assumption was that it was an OEM crank and needed to be ground. A new crank will measure on the high side of the spec, and accurate with todays modern CNC technology.
I stated that there are no more 0.001", 0.011", 0.002", and 0.0012" oversize main bearings for stock motors from Clevite/Mahle or Federal Mogul. While there are 0.001" available for the CB527P rods, I would never use them. If you are in that far, do it right and grind the damn crank, not band-aid it. Also, HP EPWI rods can be had it 0.001" and Std, but I have yet to find ANY 0.001" mains, OEM or HP, anywhere for Mopar.
I am not going to argue these points any longer as it gets tiring, and.... Pointless
justcruisin
Well-Known Member
King do 0.001" either side of standard for BBM.
Scat also cut the rod journals at low side for their BBM 3.75 crank.
Scat also cut the rod journals at low side for their BBM 3.75 crank.
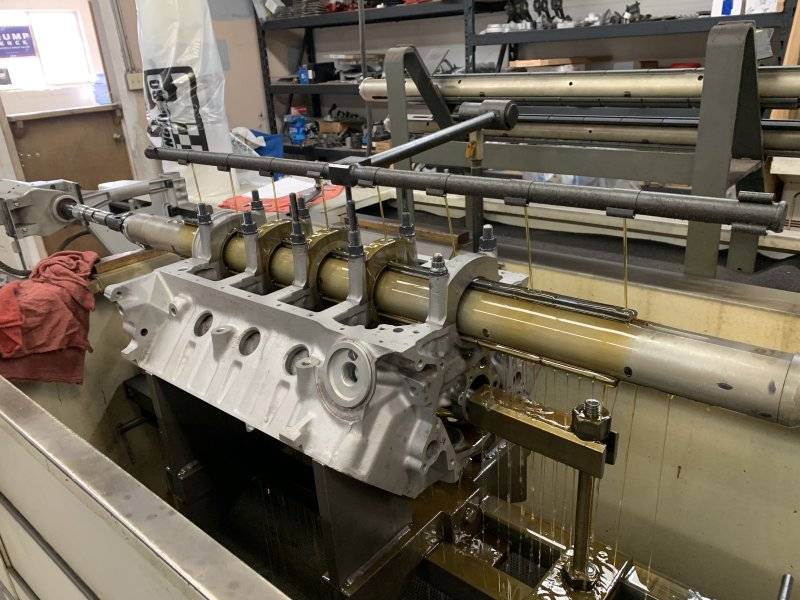
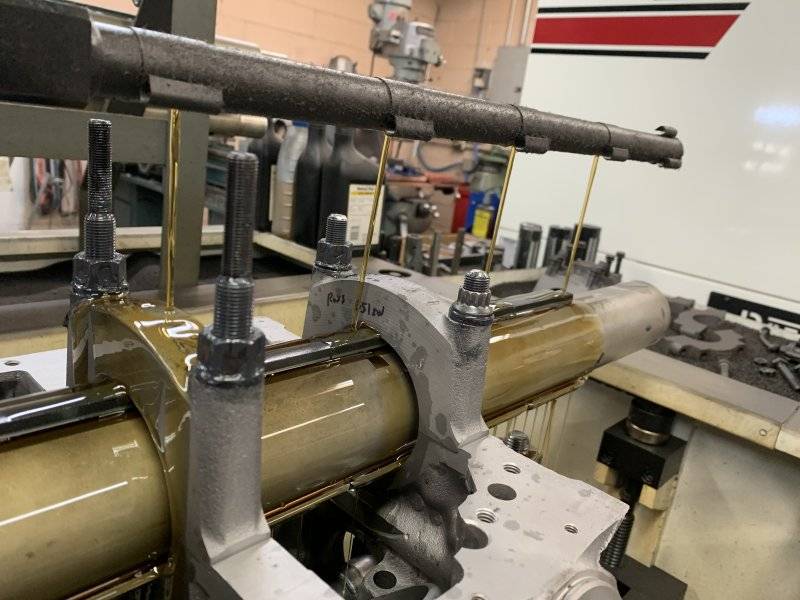
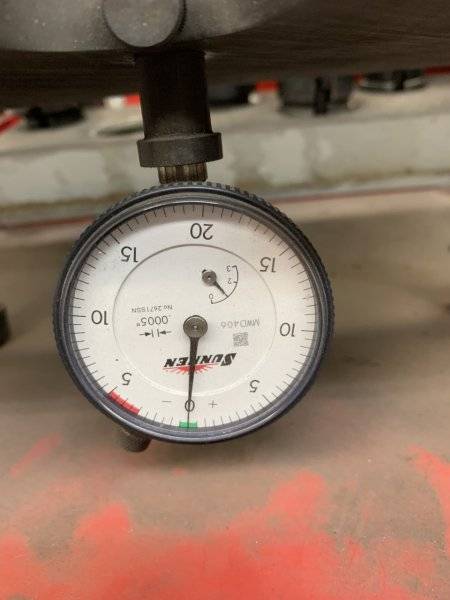
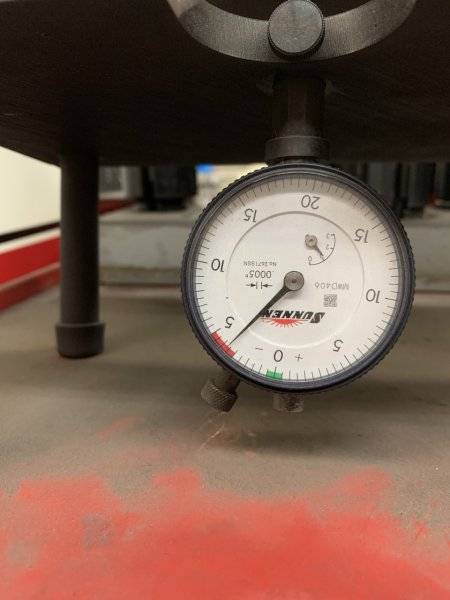
Did you torque up the block and check the housing bores without the main bearings? Crank looks ok if the measurements are accurate. My guess is it’s just a little tighter on 1&2 housing bores. A good machine shop can easily touch up the block if that’s the case. Did you set the bore gauge up off the same mic you used to check the crank? When your measuring things to the 0.0001 it’s always good practice to do so. Looks like a simple issue.
Last edited:
TexasRoadRunner68
Well-Known Member
Yeah,Did you torque up the block and check the housing bores without the main bearings? Crank looks ok if the measurements are accurate. My guess is it’s just a little tighter on 1&2 housing bores. A good machine shop can easily touch up the block if that’s the case. Did you set the bore gauge up off the same mic you used to check the crank? When your measuring things to the 0.0001 it’s always good practice to do so. Looks like a simple issue.
I think my initial readings are off slightly. The standard with the set (NOS Mitutoyos) had some rust on it that I think could have affected the accuracy of zero. I did set the dial bore gauge off that mic after taking readings. They do appear to be consistent. I spoke with MAHLEs tech support, and they recommended using OEM clearance ranges. They said the 0.001 per inch of journal is a rule of thumb from the 50s, which doesn’t necessarily apply with modern technology/metals and oils. Even for 700 hp, they would consider it a standard use of the bearing. I guess race is in the thousands of HP for them.
Basically, I’ll double check and if they’re all within the factory spec I’m going to mock it up and check to see how it spins. If everything looks good, I’ll just send it.
dvw
Well-Known Member
In this case It looks like this engine should be fine. To me the issue with running tight clearance depends on the quality of the parts being used vs. the load placed on them. Lets face it. We are not running Pro Stock, Nascar, Formula One quality parts. Parts flex. Cranks twist. Rod bores don't stay perfectly round. Rocker arms and push rods flex. Pistons change shape. When using old O.E. parts, oil and technology don't change this fact. Granted newer design parts can and should be better. Synthetic oils provide better film strength. What I do know, is that when metal touches metal things go bad in a hurry. We've successfully run a factory cast crank, stock block 360 to close to 850hp. But it's taken some creative clearances and band aids to make it happen. I'll bet the crank looks like a spaghetti noodle under heavy boost. Yet with enough clerance it's endured years of abuse.
Doug
Doug
TexasRoadRunner68
Well-Known Member
Oddly enough, MAHLE/Clevite refers to OEM for most things. The tech support agent asked my untended purpose, and didn’t seem super worried about it being too tight as long as it was within tolerance. He was like, “if that was mine I’d be bragging about it, but for the use of these bearings we could consider that standard/factory application use.” He also mentioned that clearances for some newer engines are less than a thousandth.
I plastigauged it as well. Everything seemed within spec. I’m going to torque it all down tomorrow. Seems to spin great.
Unfortunately it all will need to come back out apart to grind for clearance before cleaning and final assembly. But it’s cool to see it coming together.
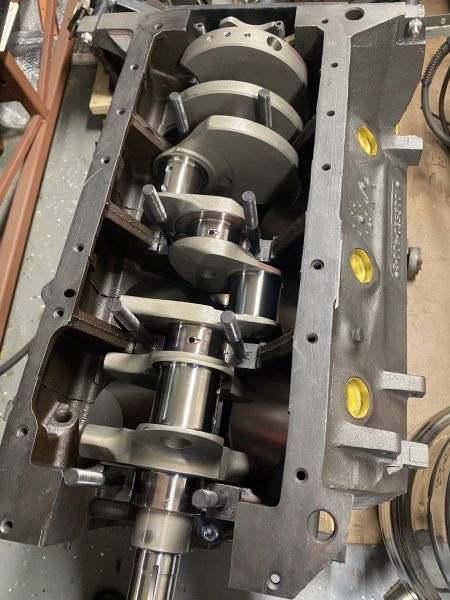
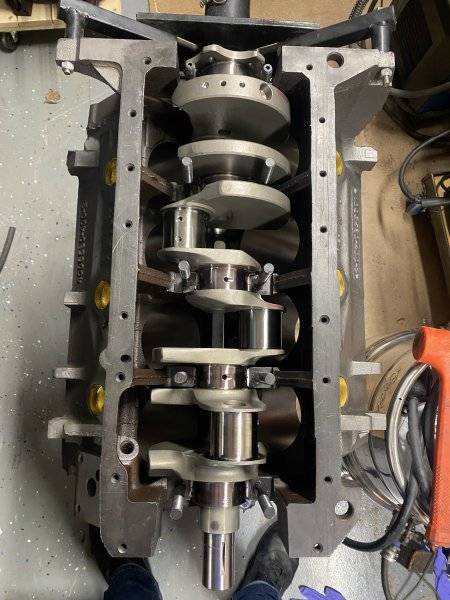
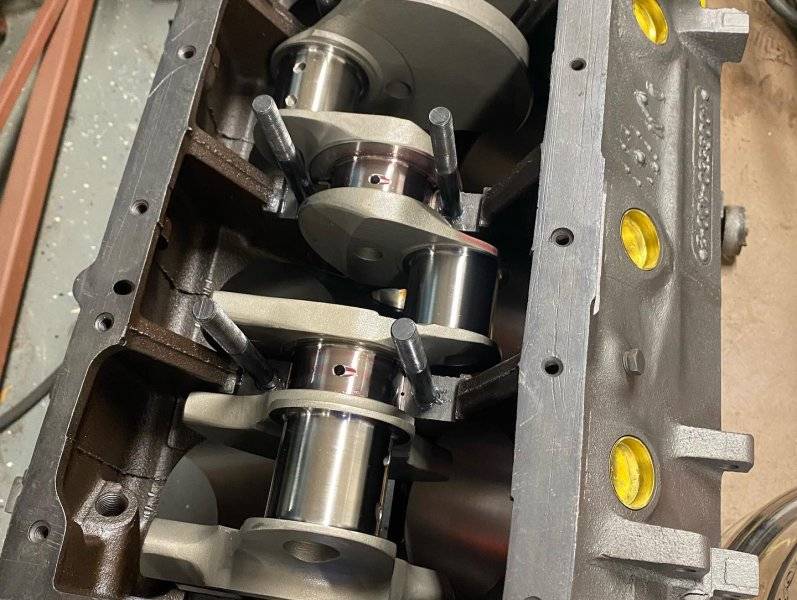
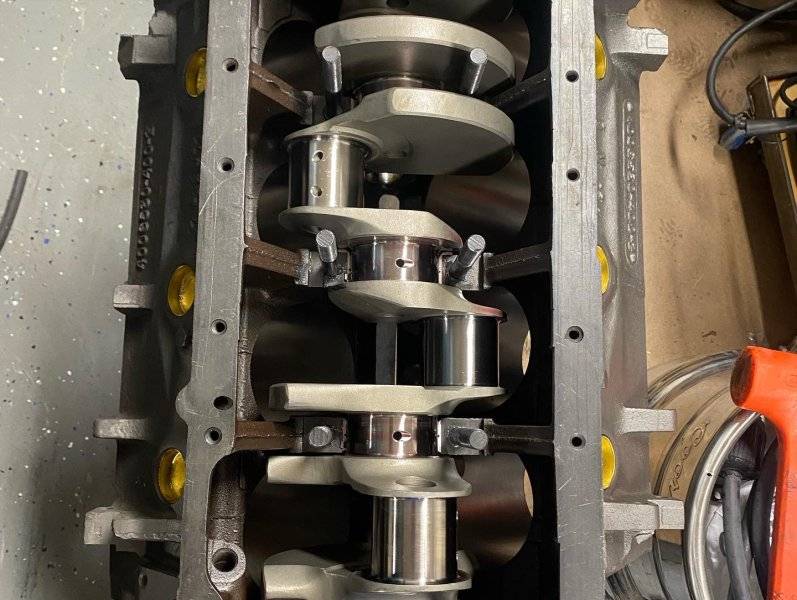
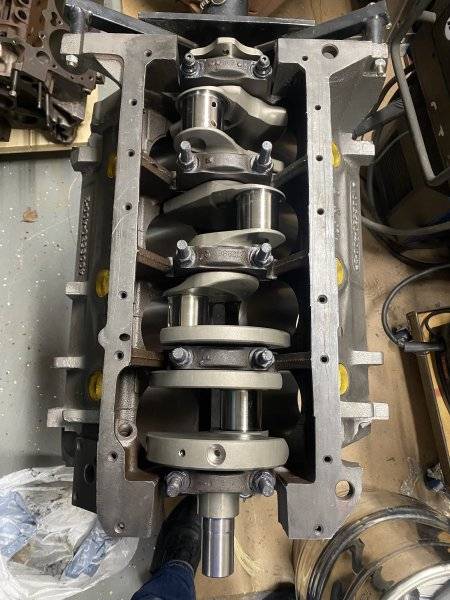
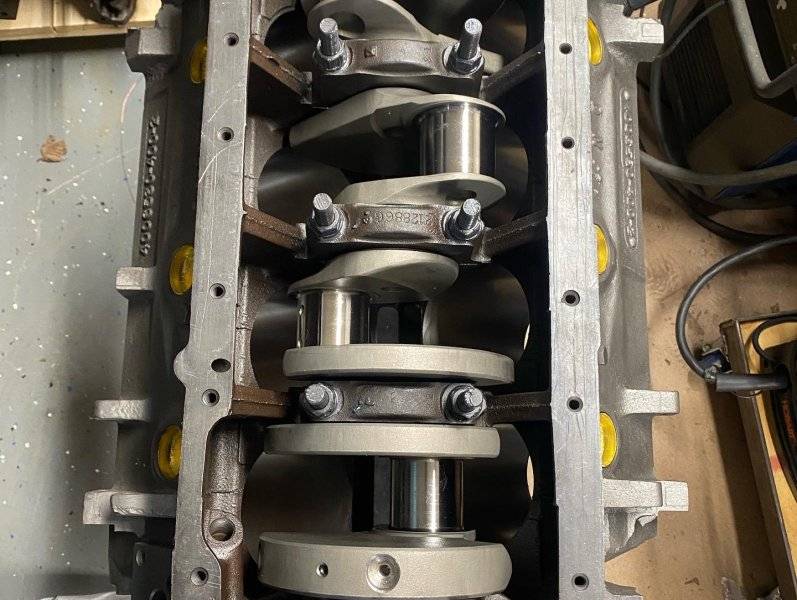
I plastigauged it as well. Everything seemed within spec. I’m going to torque it all down tomorrow. Seems to spin great.
Unfortunately it all will need to come back out apart to grind for clearance before cleaning and final assembly. But it’s cool to see it coming together.
TexasRoadRunner68
Well-Known Member
Took it apart after my initial mock up, and there are some other wear areas. Nothing you can feel with a fingernail. These were pretty well coated in assembly lube. Pretty normal?
These are in order from 1-5.
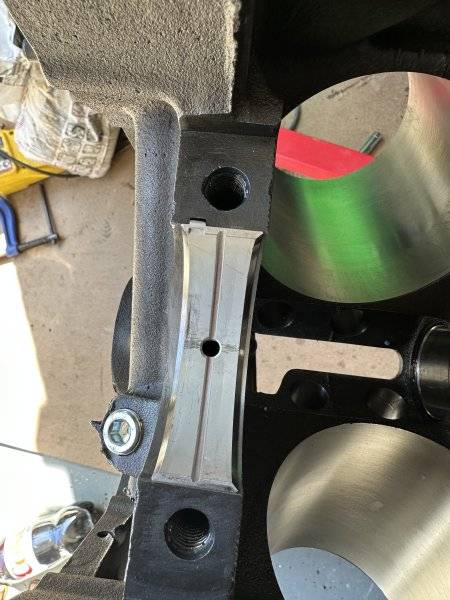
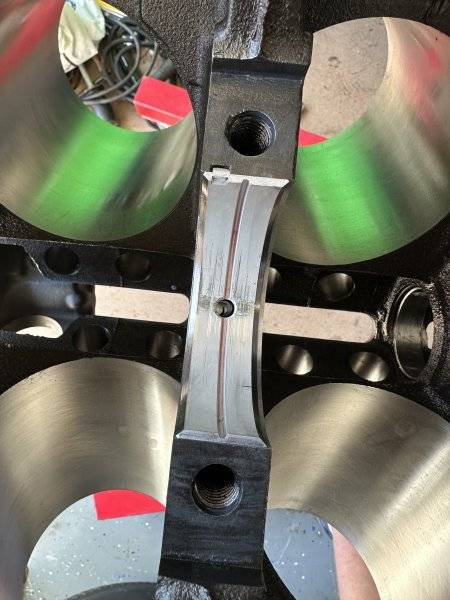
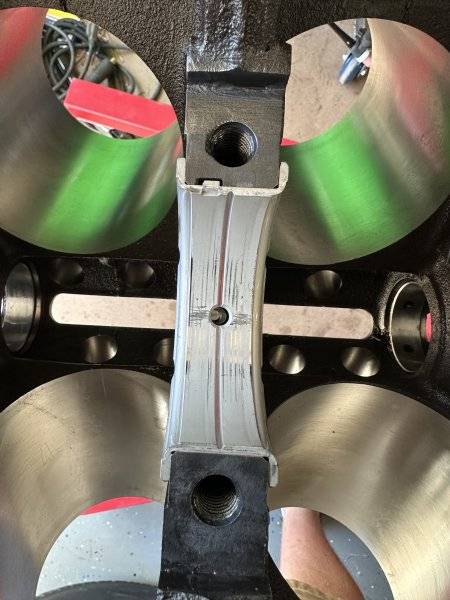
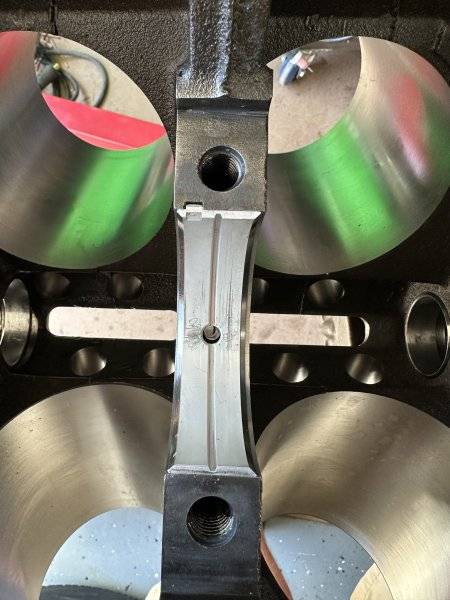
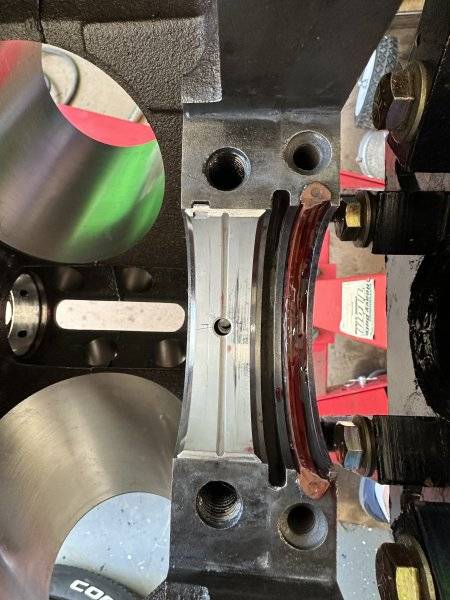
These are in order from 1-5.
Similar threads
- Replies
- 20
- Views
- 705
- Replies
- 7
- Views
- 737
- Replies
- 7
- Views
- 2K
- Replies
- 30
- Views
- 4K

