• When you click on links to various merchants on this site and make a purchase, this can result in this site earning a commission. Affiliate programs and affiliations include, but are not limited to, the eBay Partner Network.

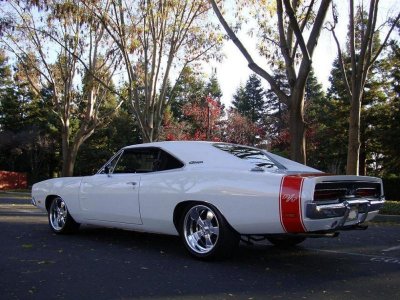
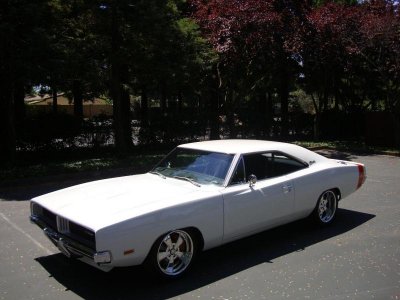
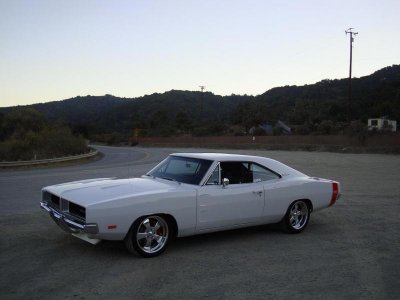
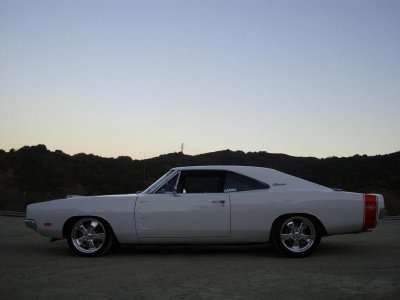
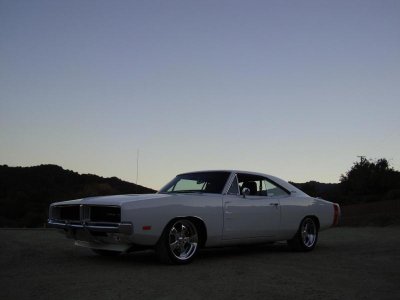
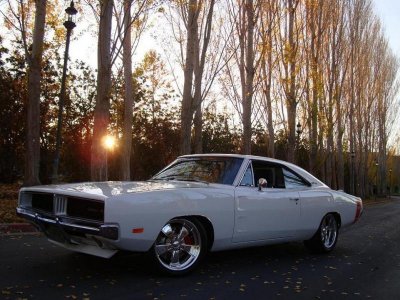
My 69 Charger pro-touring build

Red Stripe

Well-Known Member
Local time
1:14 AM
Joined
May 24, 2013
Messages
80
Reaction score
66
Location
california
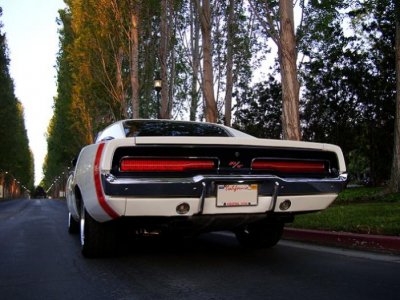
Hey guys! I haven't posted too much about my car other than in the welcome thread a while back so I figured it was about time I posted up some updates and photos.

Some prior work done has been:
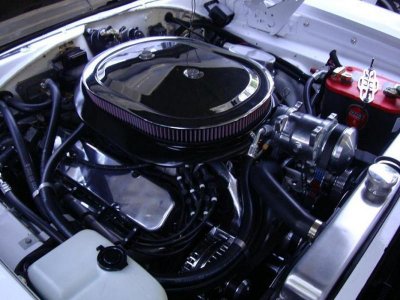
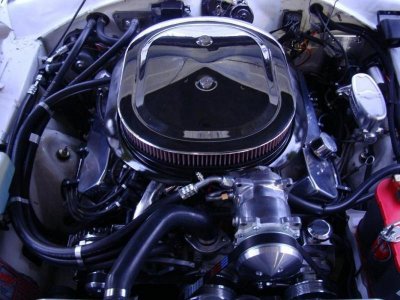
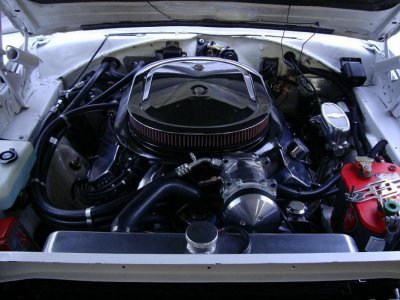
Mild 440 with ported heads, edelbrock RPM intake, purple shaft cam, stock valvetrain, TTI headers, edelbrock thunder carb, 727 trans, 8 3/4 rear with 3.55 gears.
Full hotchkis TVS suspension
Firm feel stage 3 steering box
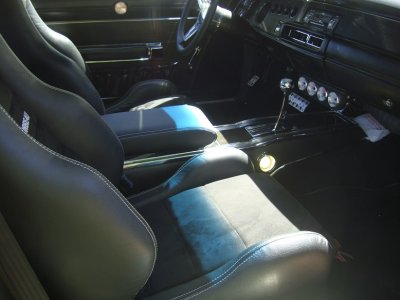
Corbeau seats with 3 point seatbelts
Car was originally a column shift but I added a console with a B&M shifter
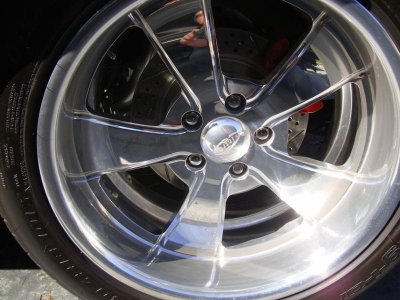
Intro wheels
Baer brakes
Hydroboost master cylinder

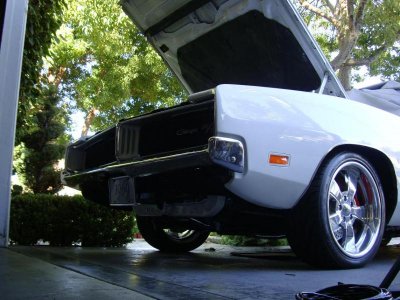
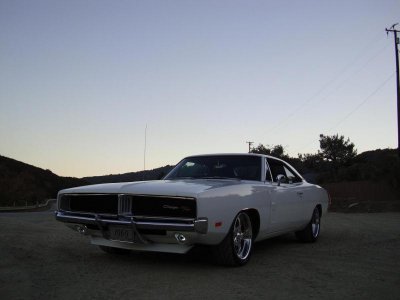
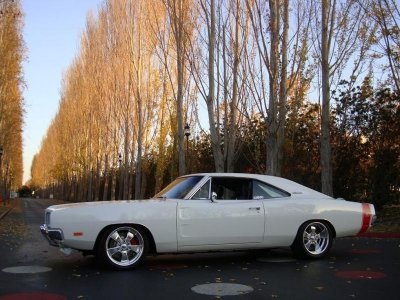
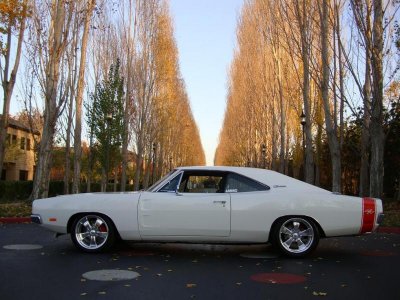
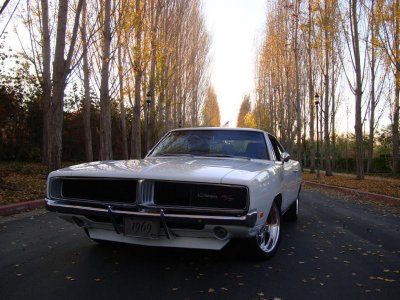
Here is the car as of Jan 2013. I had done a ton of work prior to this but I figured this was a good starting point for this thread.
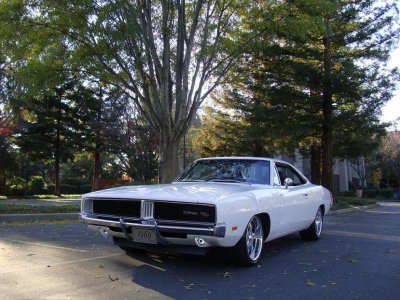
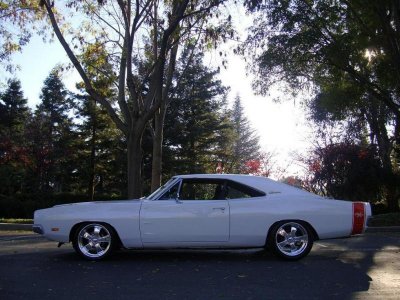
jan2013 014.jpgjan2013 012.jpgjan2013 1009.jpg

- - - Updated - - -

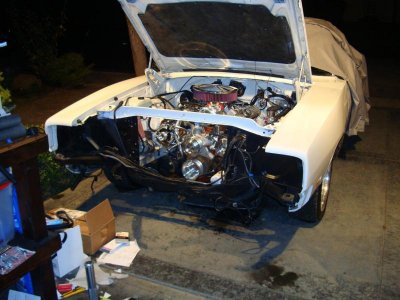
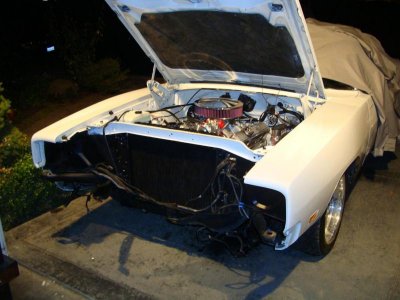
Right after those photos were taken I decided to tear apart the front end and repair/replace some of the worn out parts. Parts I added were a march performance serpentine pulley setup, mancini racing water pump housing, new water pump, 100 amp alternator, new power steering pump, electric fans, new aluminum valve covers, new modern sanden a/c compressor, classic auto air a/c condenser kit, and new hoses.

It took a bit of tweaking and ran into a bunch of fitment and cooling issues so it sat for a few months while I saved up the money to finish it up. But in the end I swapped to a new griffin radiator and tried out different pumps and thermostats and finally got it running nice and cool.
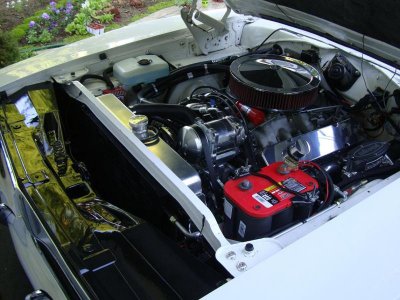
oct 16 014.jpgjanuary 2013 engine work 036.jpgjanuary 2013 engine work 029.jpg

- - - Updated - - -

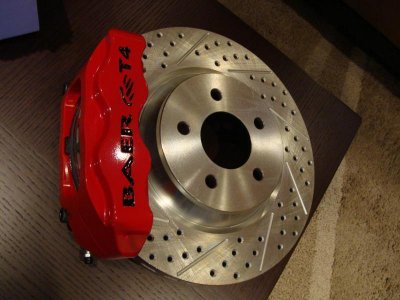
Right after the engine bay I moved on to the brakes.

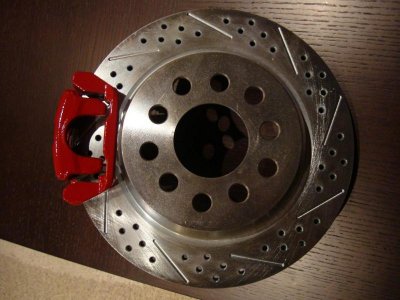
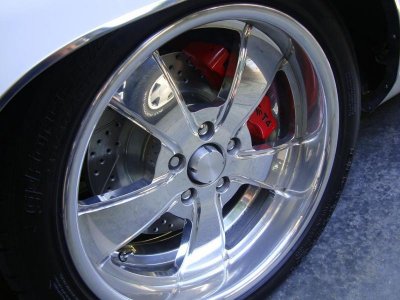
I went with Baer 13" Track 4 fronts and Baer 11.75" ironsport rears

Brakes turned out amazing but it was real close with the clearance of the front calipers.
baer 016.jpgbaer2 007.jpgJune brakes 012.jpgJune brakes 005.jpg

- - - Updated - - -

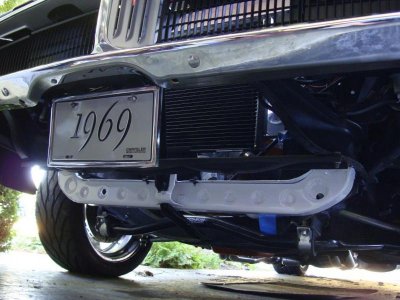
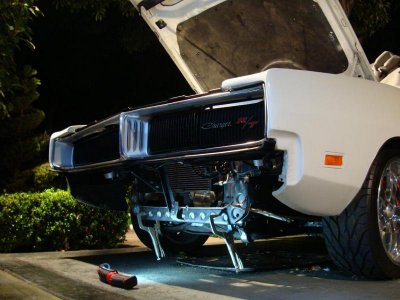
Back in October I added a US car tool lower radiator brace and painted it to match the car.
radiator support 0024.jpgradiator support 929 016.jpgradiator support brace 929 015.jpg
 
Whoa, there, red stripe, that is one PURDY ride you have there.
 
Nice car! Where did you get the brake set up? What the costs for the brakes and hydroboost? Do you think this set il will work as good as power brakes? So for all the questions
 
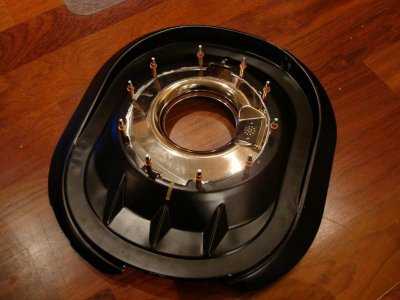
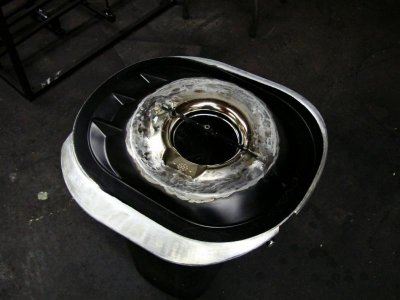
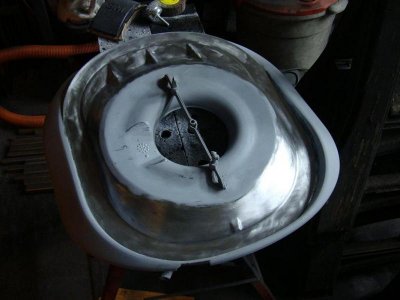
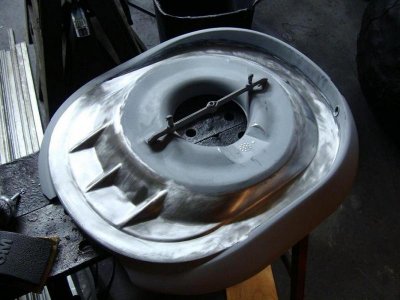
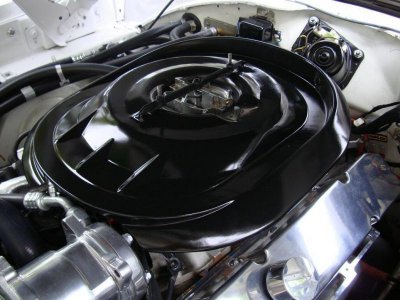
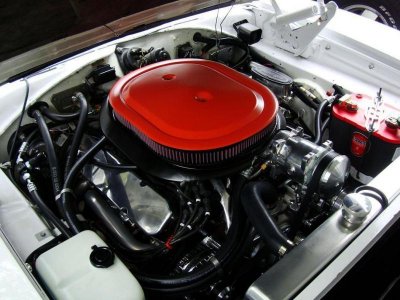
I had gone through about 6 or 7 different air cleaners over the years and wanted to do something a with a bit more "mopar" style and decided to modify an air grabber lid to work with the RPM intake.

With the intake being taller than stock I decided to cut out the base of the air cleaner and use a flat K&N base to bring the whole thing down about 2 inches. Also had to make a pretty big notch to clear the a/c and 2 speed wiper but after a bit of welding, filler, and paint it turned out pretty good. Had the lid chromed to match up with the rest of the engine bay.

air grabber 425 10.jpgair grabber 425 12.jpgair grabber 425 13.jpgair grabber 425 6.jpg

- - - Updated - - -

finished product

air grabber 425 1.jpgair grabber 425 2.jpgair grabber 425 3.jpgair grabber 425 4.jpg

- - - Updated - - -

Also got a good deal on another lid so I have a classic looking lid.

air grabber 425 5.jpg
 
I've seen your car on here before but I'll say it again, THAT IS BAD ***. I really like everything about it "sweet".
 
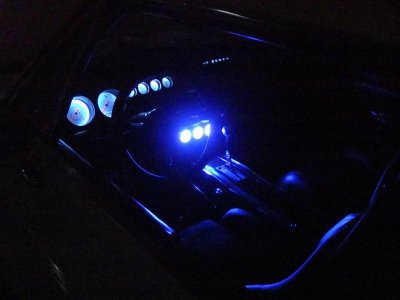
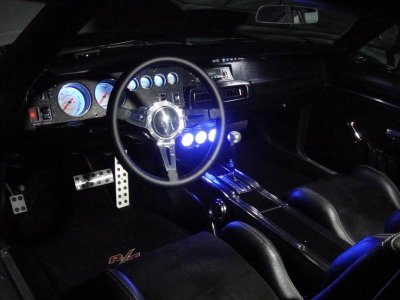
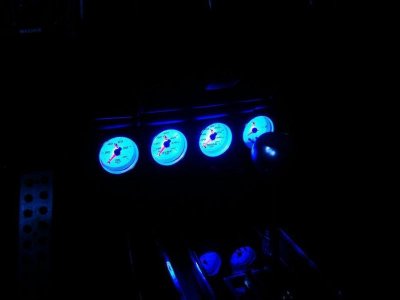
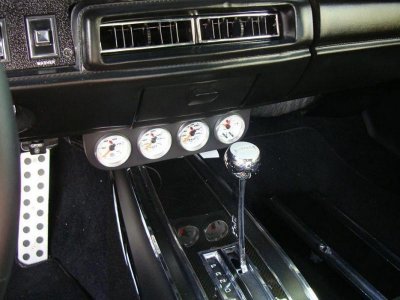
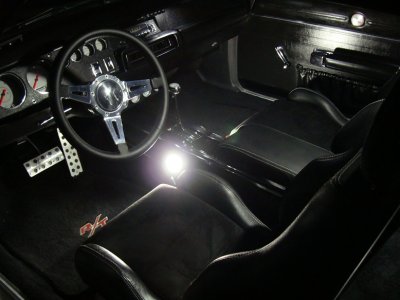
Here is some shots of the LEDs and gauges

led lights 0001.jpgled lights 0002.jpgtrans guage 3.jpgtrans guage 1.jpg

- - - Updated - - -

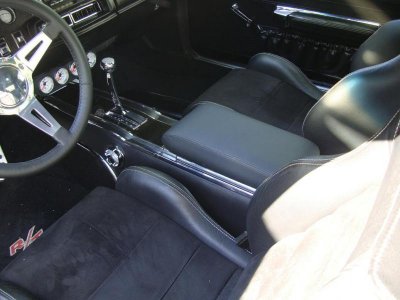
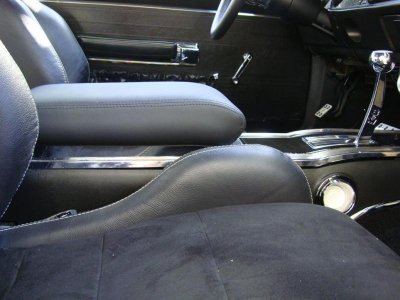
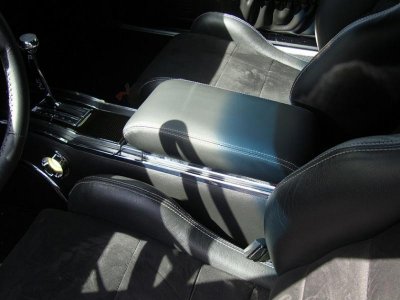
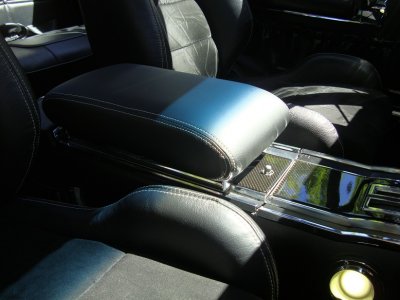
Always wanted an armrest so I got a 67 charger console and had the armrest wrapped in leather to match the seats.

april 18 004.jpgapril 18 015.jpg

- - - Updated - - -

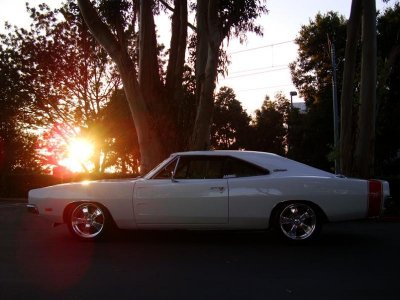
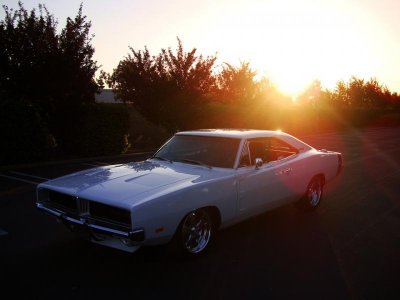
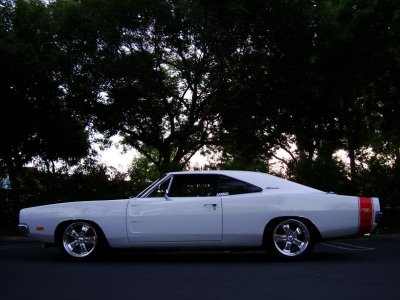
Here are some of the latest pics

july 25 010.jpgjuly 25 012.jpgjuly 25 019.jpg

- - - Updated - - -

more

nov8 021.jpgnov8 029.jpgnov8 032.jpgnov8 036.jpg

- - - Updated - - -

last ones for now

nov8 016.jpgnov8 015.jpgnov8 012.jpgnov8 013.jpg

- - - Updated - - -

Thanks guys!

Nice car! Where did you get the brake set up? What the costs for the brakes and hydroboost? Do you think this set il will work as good as power brakes? So for all the questions

Fronts directly from Baer and the rears were from Jegs, fronts were about $1400 and the rears were around $500. The rears came black and I painted them to match the fronts. And the hydroboost came from Reilly motorsports and was about $1000 for everything.

Waaaay better than power brakes. I always had problems with the power booster and my old set of wilwoods. If you have a larger cam with no vacuum it's the best choice. I still had a 10.75" set of wilwoods on the fronts when I did the hydroboost swap and it was a major improvement even wit the drums still out back. Adding the Baers improved on it even more.

led lights 0001.jpg led lights 0002.jpg trans guage 1.jpg trans guage 3.jpg april 18 004.jpg april 18 015.jpg july 25 010.jpg july 25 012.jpg july 25 019.jpg nov8 021.jpg nov8 029.jpg nov8 032.jpg nov8 036.jpg nov8 016.jpg nov8 015.jpg nov8 012.jpg nov8 013.jpg
 
Red Stripe what you have is essentially my dream car. Love everything about this build. I have too much into my RR to ever consider giving it up and starting over but if I had the $$ or someone made me an offer that I could walk away happy from my RR I would build damn near exactly what you have there!
Love every aspect of appearance, the custom air cleaner is wicked (with both lids how cool is that!), pulleys and that interior is just clean and sick looking! (looks like someone else likes to blind himself with LED's! haha)

Cheers and respect brother I love your ride!
 
Red Stripe what you have is essentially my dream car. Love everything about this build. I have too much into my RR to ever consider giving it up and starting over but if I had the $$ or someone made me an offer that I could walk away happy from my RR I would build damn near exactly what you have there!
Love every aspect of appearance, the custom air cleaner is wicked (with both lids how cool is that!), pulleys and that interior is just clean and sick looking! (looks like someone else likes to blind himself with LED's! haha)

Cheers and respect brother I love your ride!

Thanks HYRDGOON! Love your roadrunner and with your new motor you've got me beat.

I had the dim stock lights for years that looked like they were barely on, so the extra light is always welcomed. :eek:ccasion14:
 
Nice job on the air cleaner "looks sharp", the arm rest turned out really good too. Love the pics
 
Here's some of the projects I've been working on lately.

Didn't really feel the look of the all black arm rest so I did another with some white stitching.

may 2014 011.jpgDSC04925.JPGDSC04928.JPGDSC05049.JPG

- - - Updated - - -

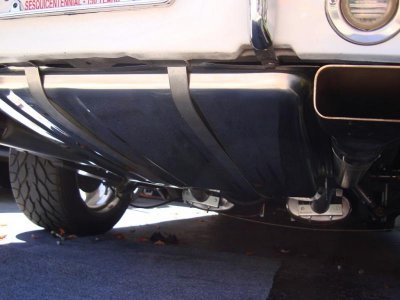
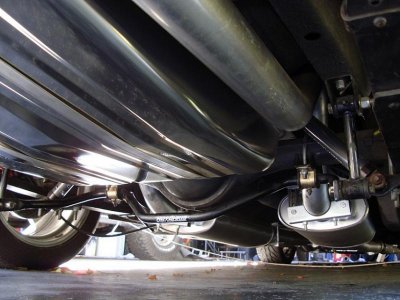
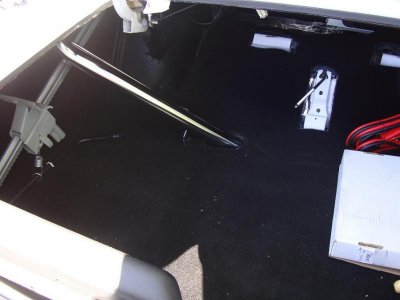
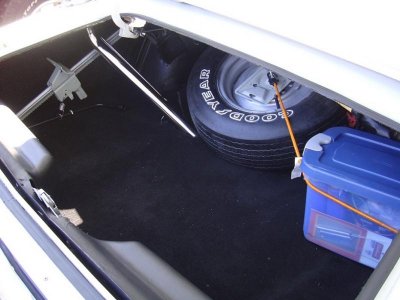
Also just added a stainless steel gas tank and new filler neck.

new tank 1.jpgnew tank 2.jpgnew tank 3.jpg

- - - Updated - - -

filler neck.

new filler neck 1.jpgnew filler neck 2.jpg

- - - Updated - - -

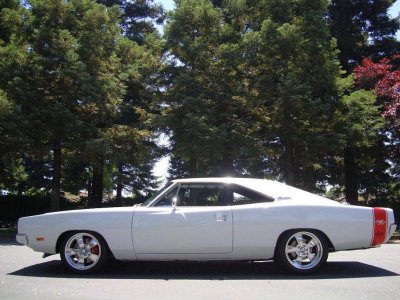
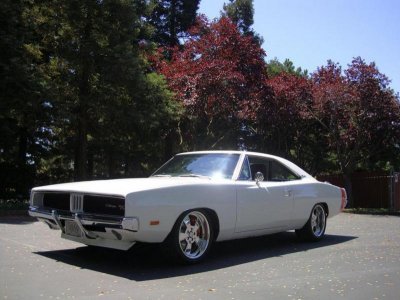
Here's a couple recent photos.

DSC049730001.jpgDSC049800002.jpgDSC050160004.jpgDSC050030005.jpg
 
That's a beauty! Great job on the air cleaner,and I love the bumperettes!
 
Beautiful car! And some good info for some parts! Thanks! :)
 
NOICE, another pro tour charger, seen you over on pro touring.com
 
great looking car. couple of questions:
1. how did you get the carbon fiber look on the center console?
2. what did your front seats come out of ?

thanks,
 
Nice ride - thanks for sharing the pics and work details.

Keep up the good work.

TU.jpg
 
I like the chrome lid better now that it is all done lol :VB toast:
 
wow me likes is all I can say :headbang:
 
That's one beautiful Charger you've built and the white stitching really sets off the interior. It looks like you're not bad with a camera either.
 
Auto Transport Service
Back
Top