GassMann
Well-Known Member
Hey all,
My 1966 Charger front fender chrome has some challenges. The LH side was damaged. The RH side was gone. I just finished painting it and could not go back, cut, weld and close all the chrome.

So I made a model of what I think are original shapes.

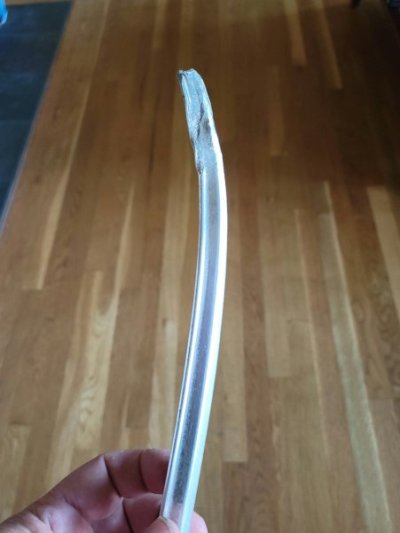
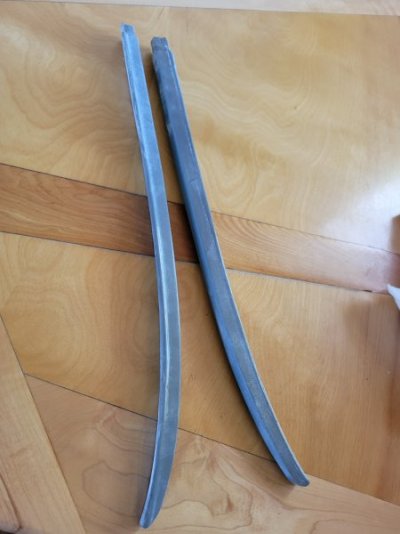
And cast new ones in Aluminum.

There's a small porosity spot on one side that I will most likely recast. The one on the left is fresh-cast. The center is the original that I have, the one on the right is ground, sanded and polished.
I think it look better than the one I have and FAR better than the one I am missing. Next, I need to mark holes, drill/tap and mount studs to I can mount them to the fenders.
I have the core models. If anyone is interested, let me know and I will cast some more.
Cheers all...

My 1966 Charger front fender chrome has some challenges. The LH side was damaged. The RH side was gone. I just finished painting it and could not go back, cut, weld and close all the chrome.

So I made a model of what I think are original shapes.

And cast new ones in Aluminum.
There's a small porosity spot on one side that I will most likely recast. The one on the left is fresh-cast. The center is the original that I have, the one on the right is ground, sanded and polished.
I think it look better than the one I have and FAR better than the one I am missing. Next, I need to mark holes, drill/tap and mount studs to I can mount them to the fenders.
I have the core models. If anyone is interested, let me know and I will cast some more.
Cheers all...


