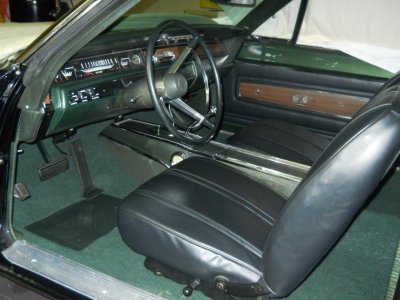
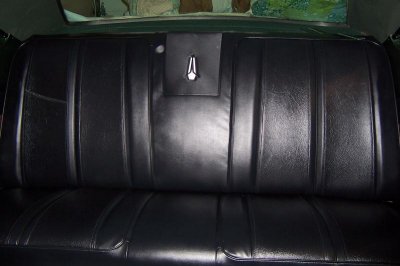
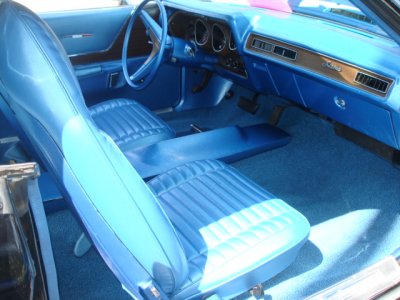
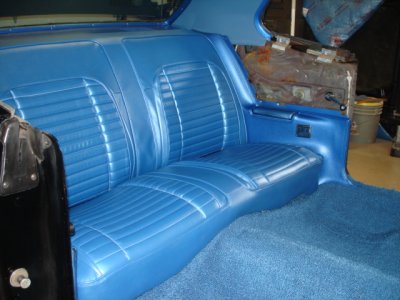
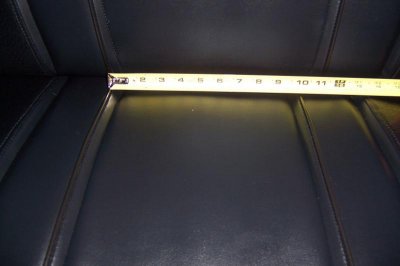
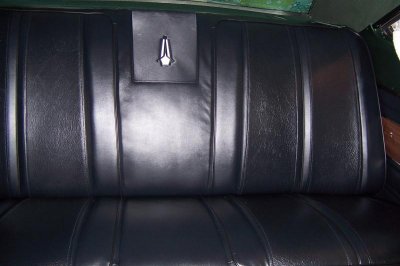
hi gurus....im in the process of redoing the interior of (...,lets just call it the " orange car" ). if i order repro seat covers from legendary....does the foam padding ( stuffing ) come with it or is that sold separately?
Q2 ....... i have never reupholstered anything and is this something that an extremely mechanically inclined person do themselves ??
Q2 ....... i have never reupholstered anything and is this something that an extremely mechanically inclined person do themselves ??