Great work and i like your wall art!Hood is fitted up now and also the grille. Blackout stripes done. Another thing to watch for with these repop hoods is the inserts do not fit right, they need to be whittled on a little bit. The mount holes for the Plymouth emblem are crooked too.
Found some nice tail light bezels on EBAY and buffed out the lenses, they look pretty good.
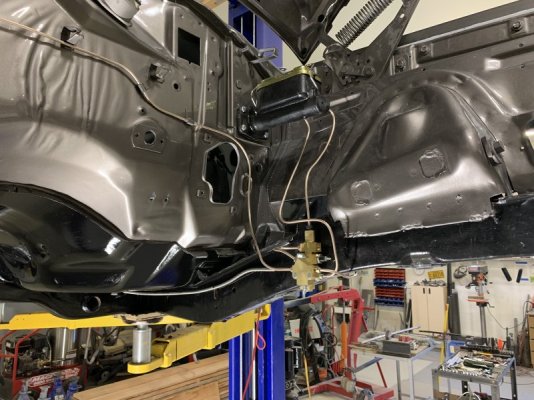
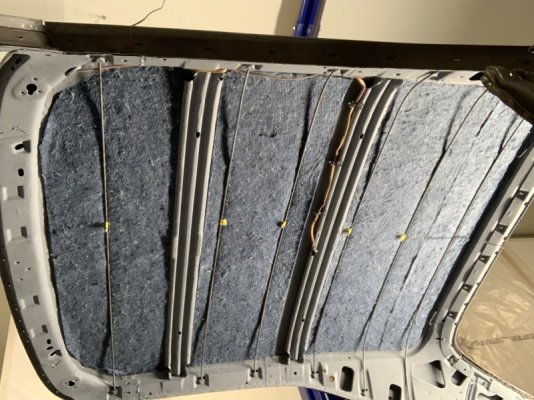
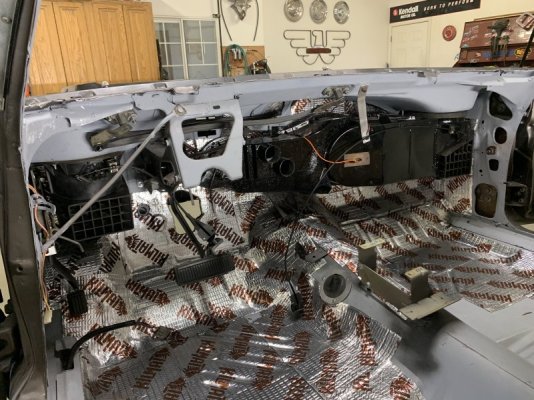
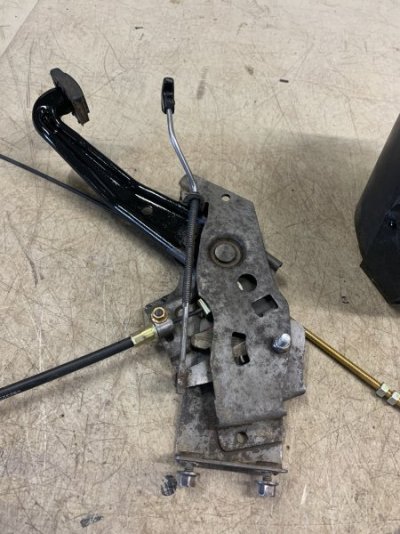
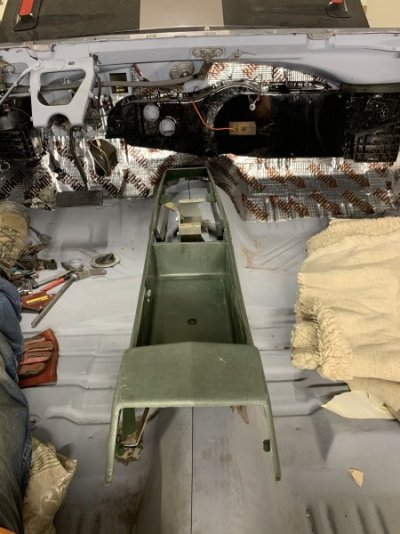
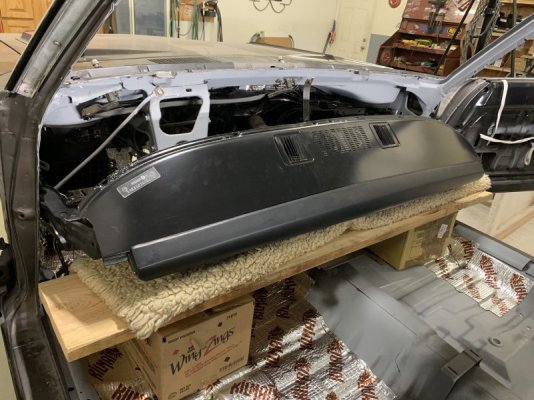
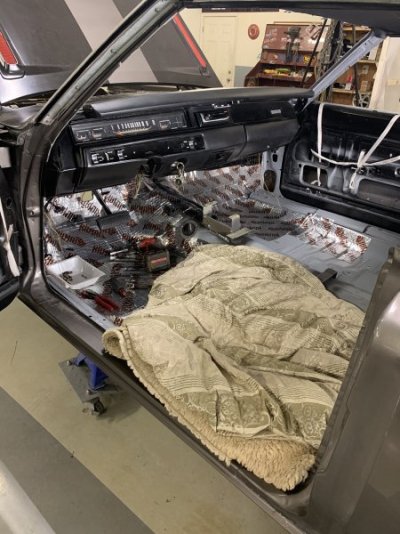
So I am going to quit staring at the body now for awhile, and restore the wiring, dash, steering column and HVAC box.
View attachment 1644837View attachment 1644838
You are using an out of date browser. It may not display this or other websites correctly.
You should upgrade or use an alternative browser.
You should upgrade or use an alternative browser.
Rocky's Red Road Runner Restoration
- Thread starter RJ Squirrel
- Start date
ckessel
Well-Known Member
if you end up wanting an oe hood.
1969 - 1970 Plymouth Roadrunner Air Grabber hoods -very good original - auto parts - by owner - vehicle automotive...
1969 - 1970 Plymouth Roadrunner Air Grabber hoods -very good original - auto parts - by owner - vehicle automotive...
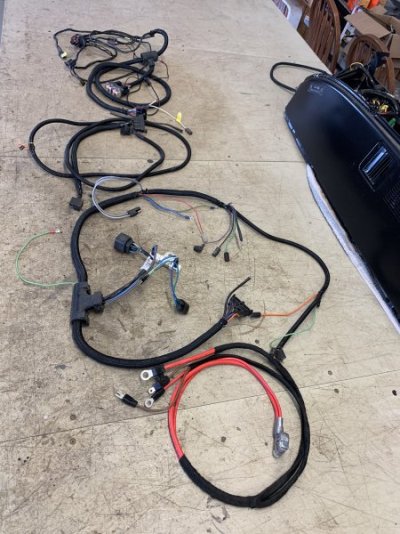
Finished up rebuilding/restoring the electrical system and dash this weekend. Main modifications done were removing the charging system loop through the bulkhead and replacing the ammeter with a voltmeter. I connected the alternator B lead directly to the starter relay battery post. Power to the dash harness (old ammeter black wire) is connected to the same post as well as the power to the headlight relays.
The goal of course is to have minimal current flow through the bulkhead connector. The old wiring was pretty melty.
For the engine harness I made a completely new one and added ecu, solid state adjustable voltage regulator and proper wiring for newer 2 field alternator. Headlight harness is mostly new with relay wiring and re-used headlight socket wiring. Tail light harness needed only connectors cleaned and new wire loom.


Last edited:
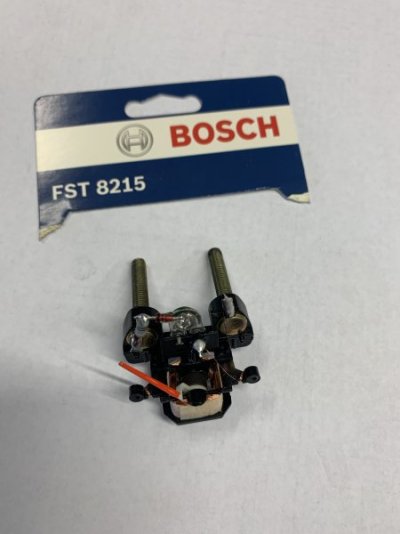
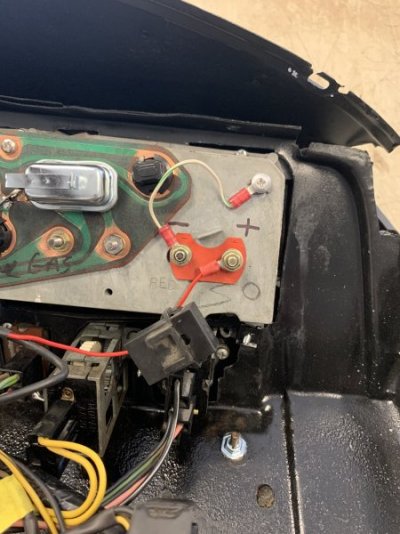
The voltmeter conversion was pretty easy, I followed a write up I found on the net using a cheap Bosch gauge for a donor and attaching it to your existing faceplate. The new gauge centers up pretty good at 14.5 volts. The old ammeter feed wire was used to connect it via an inline fuse.
The connector pins on the cluster circuit board were falling out, so I soldered a 10 pin connector to it and the corresponding wiring in the harness.
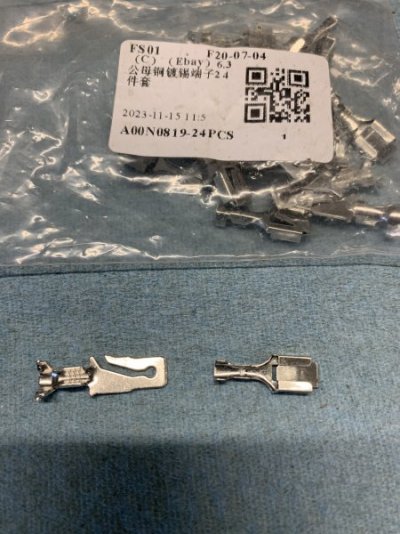
I disassembled all the switches, cleaned and greased. These old switches are pretty simple and easy to take apart. I cleaned all the connectors in the harness by soaking them in water/muratic acid solution for a couple hours, then neutralized and greased.


Last edited:
JJ383RR
Well-Known Member
Beautiful work!
The primer I used on the interior is a good oil based product thinned with VMP/naptha and applied with a long skinny brush that can put paint in areas that spraying can not do. I reached my long skinny arms in and got as much as I could inside the wheel well area too. Did the same with the Corroseal rust converter before priming and after wire brushing the surface rust off.
Too bad nobody makes a redlead primer anymore.
Too bad nobody makes a redlead primer anymore.
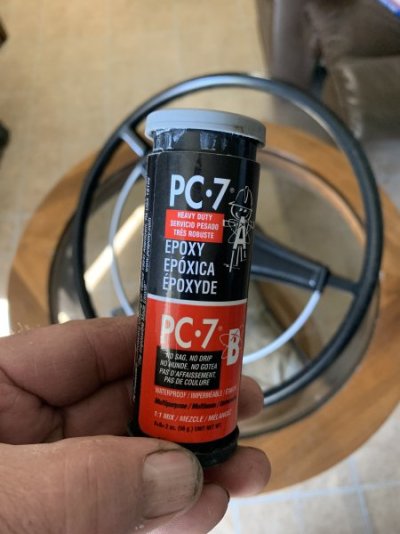
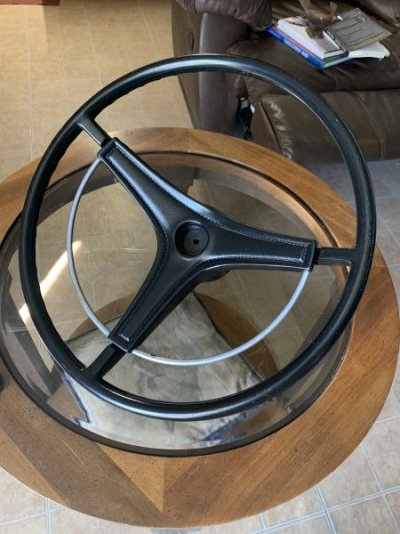
I found a great epoxy for repairing plastic parts, PC products PC-7. Working time is several hours, and the next day till it is sandable. It stays somewhat pliable after it cures. I repaired some holes in the lower dash pad and restored my steering wheel that was cracked/deteriorated with it and had very good results. The wheel is painted with SPI epoxy, and the center piece SEM Landau black.


So put all the electrical stuff away, gonna do something different for awhile. The next goal is to get some wheels under it, just need something to bolt them to. I have most of the parts rounded up and painted. Going to use this 440/727 for now and rebuild the original 383 later on. The 440 is from a 78 truck, it was rebuilt in the late 90’s and has been sitting.
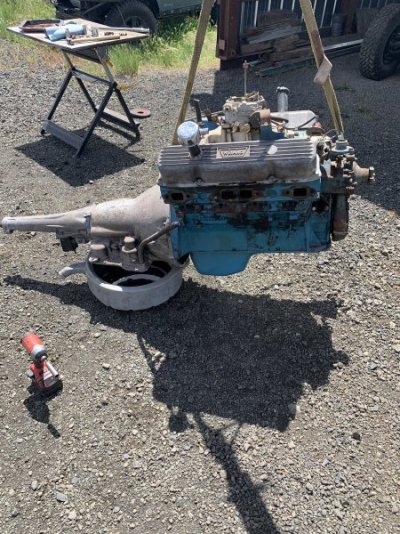
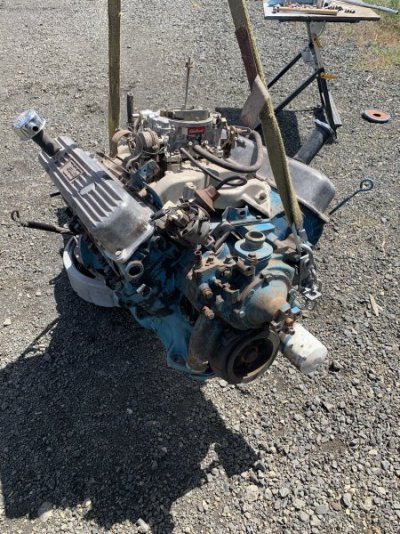


The HP exhaust manifolds are in the molasses tank, ordered some Hi-Temp gray POR-15 paint to put on them, and some street hemi orange for the engine. The shell has been sitting on the stands/skates all through the body work and paint process, rolled it in and out of the paint jail a few times, but now that it is all painted purty I have to admit the setup is making me a little nervous. So now I want it on its own wheels!
Pretty funny, a friend of mine has an in-law with heavy Russian accent. I asked her to say "Moose and Squirrel"
She did not know what was so funny, just thought I was nuts!
- Local time
- 7:19 AM
- Joined
- May 14, 2011
- Messages
- 17,453
- Reaction score
- 32,966
- Location
- On the Ridge, TN
Pretty funny, a friend of mine has an in-law with heavy Russian accent. I asked her to say "Moose and Squirrel"
She did not know what was so funny, just thought I was nuts!

Similar threads
- Replies
- 17
- Views
- 1K
- Replies
- 4
- Views
- 773
- Replies
- 15
- Views
- 2K

