• When you click on links to various merchants on this site and make a purchase, this can result in this site earning a commission. Affiliate programs and affiliations include, but are not limited to, the eBay Partner Network.

Satellite72's Build Thread - 72 Satellite Sebring Plus Resto

Satellite72

Well-Known Member
Local time
3:25 PM
Joined
Mar 15, 2011
Messages
142
Reaction score
15
Location
Western Kentucky
I've been wanting to start a build thread for some time now, but Just haven't made to much progress up until the last month or so. With my busy life, and the fact that I've got little ones (and I mean little), I've slowly been able to occasionally get out in the garage after they go to bed and fix some rust.

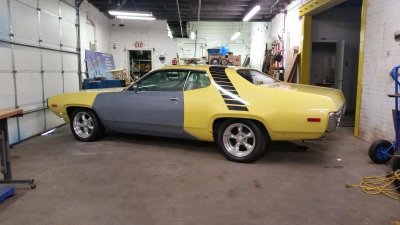
So here it is...my 72 Satellite that I've had for 18 years now. Years of Ohio valley humidity and shoddy bondo work from back in high school have taken a toll on the old girl, but now it's time to do it right! In the following post, I'll try to post some pics of my work that so far has spanned a year or longer. The goal....to help other newbie welders or bodymen like me that are concurring similar rust problems, to learn from others that have experience, and to inspire other fellow mopar lovers to get out there and take on their projects regardless of the lack of time they have (like myself).
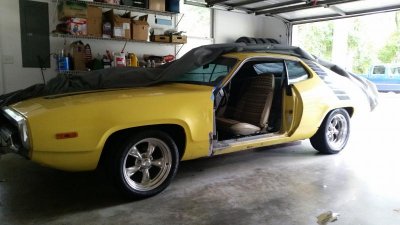
20140906_160952.jpg

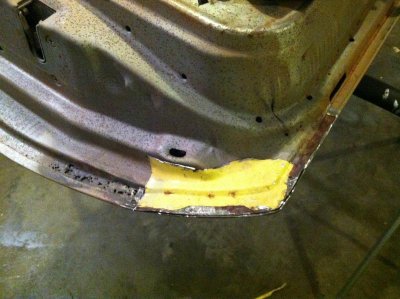
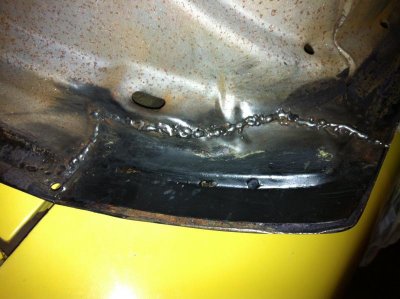
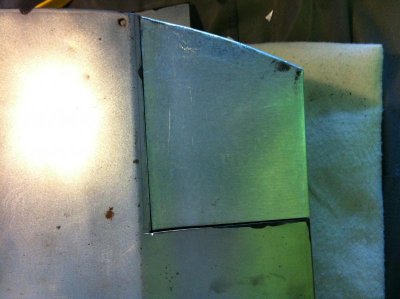
The first thing I've dug into is to fix is a little bit of lower driver-side rust on my donor door. What stinks though is...the back bottom corner has some rot and will require some splicing from the original door...
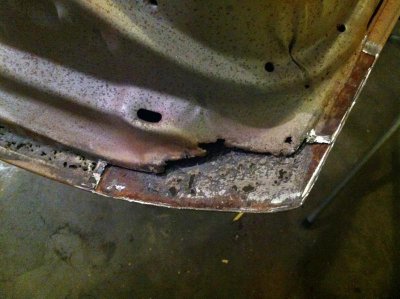
IMG_0401.jpgIMG_0403.jpgIMG_0441.jpg

Once welded into place, I ground the welds down, sanded and treated any nearby rust and coated it with some Eastwood rust encapsulator until epoxy primer time.
 
Last edited:
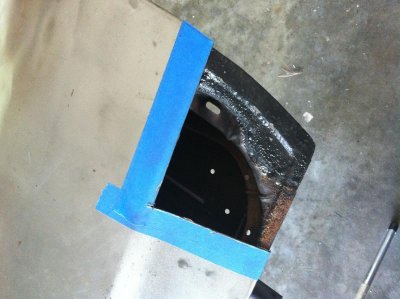
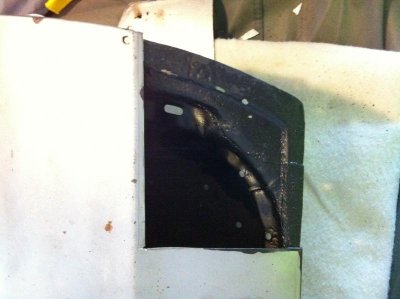
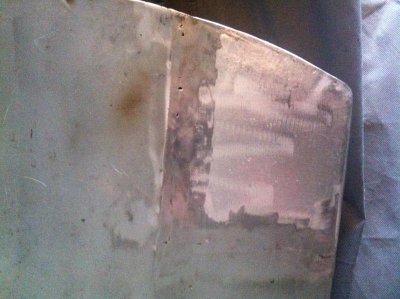
Now to take care of the opposite side of the door. I had to cut out the rusted area to fabricate my first exterior rust patch. the curves of this bodystyle car made for a bit of a challenge for a first timer on bending and stretching the metal.

IMG_0481.jpgIMG_0525.jpgIMG_0526.jpgIMG_0578.jpg
 
Great project bud!!! I remember your car from past posts, looks like you are right on track with the metal work and welding! Best of luck and hope you enjoy this part of owning the cool old cars.. :)
 
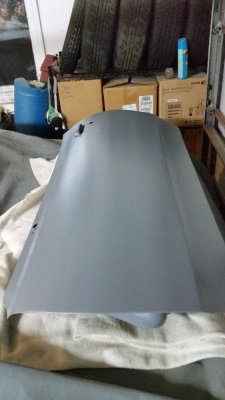
Finished doing some touch-up welding on my door and then it was on to some light body filler work. This door had been blasted but got some surface rust from humidity, so after a good sanding with 60/80 grit it was back to rust free metal. Once all that was done, I sprayed a coat of Epoxy Primer on it. Once I get the windows and locks moved from the other door to this one, It'll be ready to set on the car.

20150608_230624.jpg
 
Looking good, I thought about doing a 70's Satellite. It will be nice to watch your progress.
 
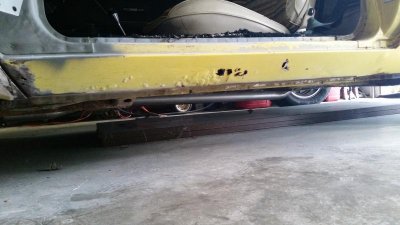
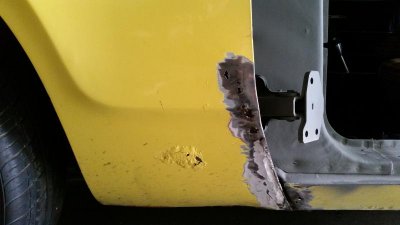
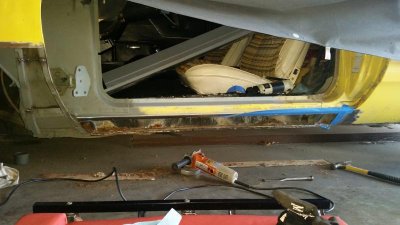
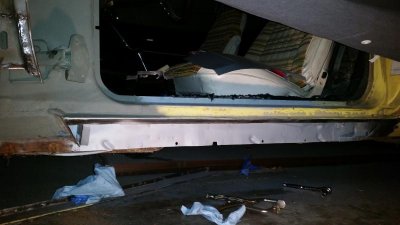
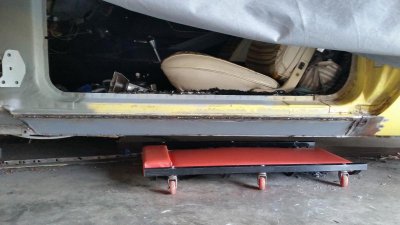
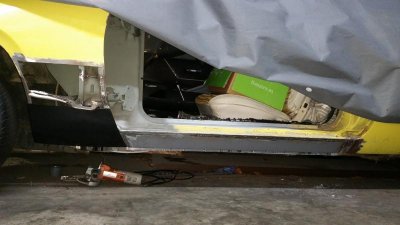
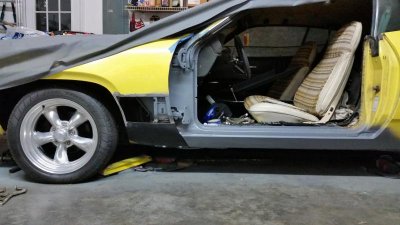
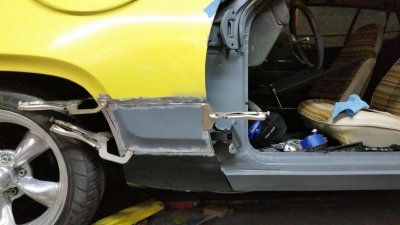
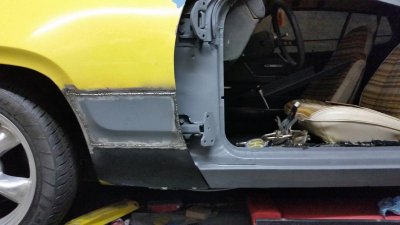
Now on to the drivers-side rocker panel and lower fender. I guess while I'm taking the time to do this, might as well just replace the entire rocker.

20140906_161021.jpg

This fender is going to require some attention.... A complete lower patch panel is in order.

20140906_161007.jpg20140923_212411.jpg

- - - Updated - - -

Bought some new metal on ebay for the repairs.... Gosh they don't really re-pop much out their for this car like they do the 68-69s.

DSC02687.jpg
 
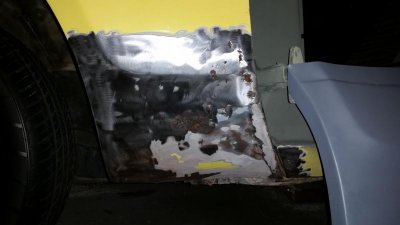
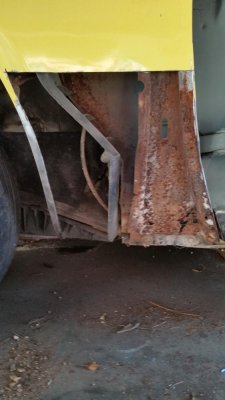
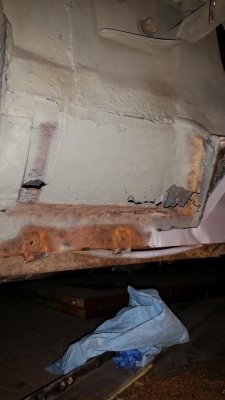
Cutting out the fender revealed some rot to the fender support frame (assuming that's what it's called). I could also tell that lurking behind the frame was a portion of the rocker panel that had some pretty soft metal.

20141008_080812.jpg

There was no doubt in my mind that my fender patch alone wasn't going to take care of this and would need an AMD fender patch to take care of the bottom portion....With that said, it was on to cutting that out as well. I just love surprises :icon_neutral:

20150131_180119.jpg20150131_180726.jpg

I'm wondering if this is a common problem area with these cars? I had to come up with some "stratergery" for how and where to cut out this portion of the rocker....keeping in mind that most of the rest of the rocker panel was getting ready to be cut and welded in too. Ended up cutting the area out, cleaning up the area and treating with some weld-through primer.

20150131_194138.jpg

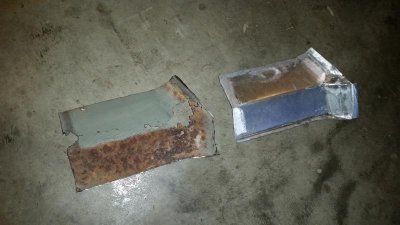
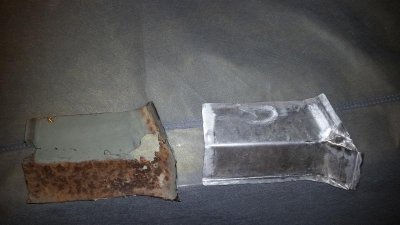
Fabricating this portion of the rocker was a bit of a challenge (at least for me). But I ended up taking an office file folder and tracing out the part while using it's folds to help with areas that needed to be bent into shape.

20150208_172639.jpg20150208_172738.jpg
 
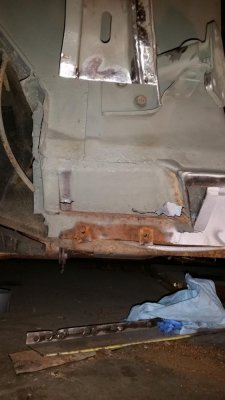
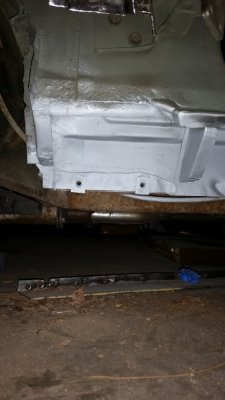
Thank the Lord for Galvanizing from the factory! I was afraid that with all this other rust, I'd find plenty more on the inner rocker. After cutting out the main portion of the outer rocker, it was just minor rust that could be sanded and treated. This car originally came from southern Illinois and it's 20+ years of salt-treated winter roads have took it's toll on the old girl.

20150124_160203.jpg20150131_180047.jpg

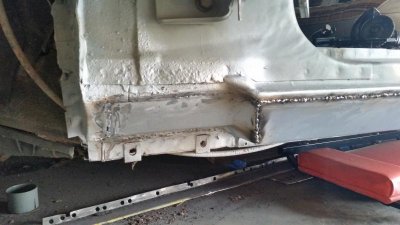
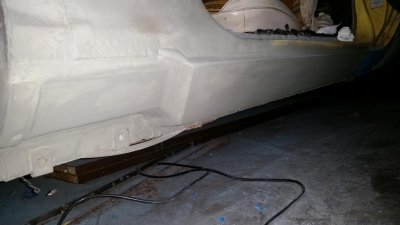
Next I had to weld in that hideous portion or the rocker that I had to fabricate (which no-one will ever end up seeing anyways).... Then do a ton of stitch-welds for the main portion of the driver's side rocker panel. Couple of evenings of work on those. Oh and I do realize that my welds look bad on this picture, but I promise I went back and fixed it where needed. :D

20150323_122712.jpg20150323_122751.jpg

While we're currently in this area, (and because it's the only picture I took of this section) this pic just shows where I cleaned up the welds and put a little filler in as well as some etching primer despite the fact that no one will ever see it. I later came back in and epoxy primer'd this area before welding in the fender patch.

20150523_202208.jpg
 
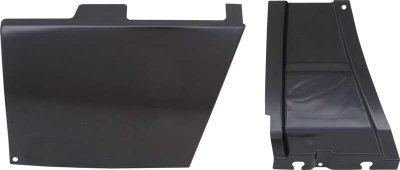
Since the original sheet metal patch for the front fender didn't have the structural component, I got one ordered from Classic Industries. I'm very pleased with the quality of the sheet metal...it's a shame that it doesn't extend beyond the body-line. Otherwise I would've just bought this one from the get-go.

MM1978.JPG

A little test fit prior to welding....

20150328_230010.jpg

Now to cross my fingers and weld it in. This actually was a bit more challenging that i thought it would be.... There's a bit of finesse needed in order to keep the body line curvature correct.

20150608_230500.jpg

Next to cut, test-fit, and finally to weld the original ebay patch panel. I think I'm starting to get a slight bit better with my stitch welds by this point...

20150609_220305.jpg

20150609_231516.jpg
 
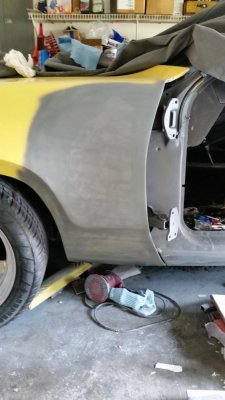
After grinding the welds down, I did several passes of filler and sanding as doing multiple patches in one place seems to make it impossible to get the contours dead-on and completely correct. Then followed up with a rattle can etching primer so it doesn't rust overnight.

20150624_110020.jpg20150624_184826.jpg
 
Looking nice and straight!!! Your doing a great job on this ride.....
 
Looking nice and straight!!! Your doing a great job on this ride.....

Thanks Ron for your kind words and encouragement. It's lead to some tiresome evenings but getting her back on the road is worth it!

- - - Updated - - -

Yay!!! The door is finally back on!

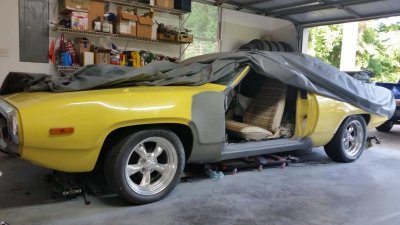
My Satellite has been parked in the garage and not driven since last fall because of the door being off and my snail pace work during the winter and spring months. I guess that's part of it during this phase of life. Once I got the door on I roughed up all the area needed and shot it with a coat of Eastwood/Kirker Epoxy Primer...By the way, thats some pretty good primer as it sprays and sands well.

I've noticed that there still is some adjusting to do and a few imperfections to fix on my body panels that I hadn't seen or felt, but at least for now I can finally take her out for a spin again. I got this all done the day before my birthday, so it was an excellent birthday treat to take it out for it's first drive in a while. My little boy loves this old car and loves riding in it....I think this evening we're going to cruise on down to the DQ for an ice cream cone!! He'll love that!

20150701_100231.jpg
 
Great job! Take your time and do it right! Looks like you're welds are getting better as you go :headbang:. Car looks great.
 
Auto Transport Service
Back
Top