• When you click on links to various merchants on this site and make a purchase, this can result in this site earning a commission. Affiliate programs and affiliations include, but are not limited to, the eBay Partner Network.

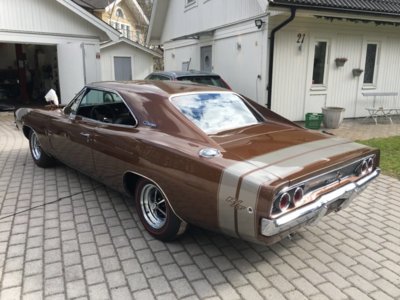
Thomas 1968 Charger project

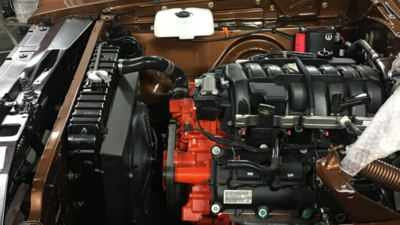
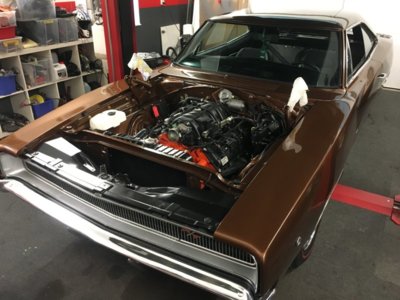
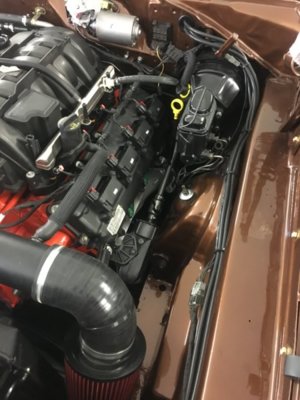
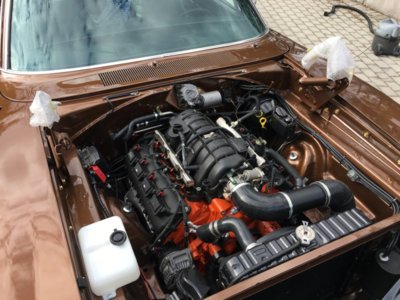
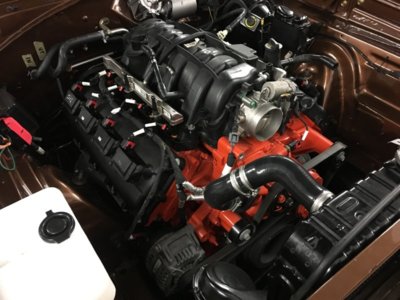
Engine is now running as it should:thumbsup:
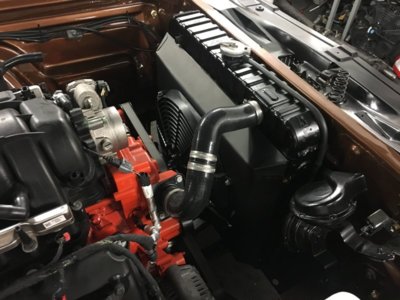
Connected the radiator and filled it with coolant and everything seems to work.
Made one new upper radiatorhose from two new silicone ones in different dimensions.
The OE upper hose that came with the engine fitted perfect in the lower position.
Next weekend will see fabrication of a fanshroud and installing a electrical cooling fan.
Also connected parts of the electrical system in the car and now have working parkinglights front and rear and brakelights.
Next in order will be connecting the backuplights and high/lowbeam headlights.
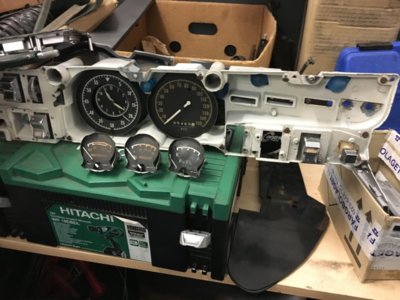
A big worrie is the instrumentcluster witch is in a pretty sad state.
Will probably end up investing in a complete cluster from Dakota Digital.
file106.JPG file107.JPG file108.JPG
 
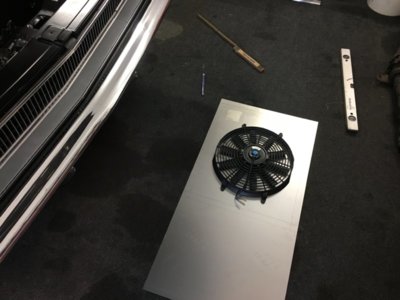
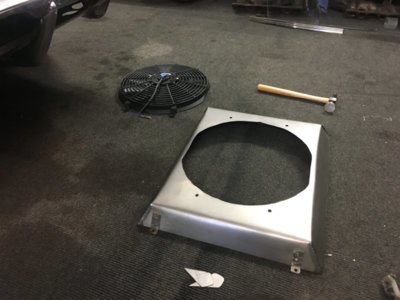
Since i have a radiator from a unknown Mopar i decided to fab my own fanshroud instead of trying to source an existing one.
Made it from some sheetmetal i had laying around and fitted an electric fan previusly used on my sons driftcar. Thae fan will be controlled via relay in the PCM that is a part of the Crate kit from Mopar performance.

file111.jpg file112.JPG file113.JPG file114.PNG
 
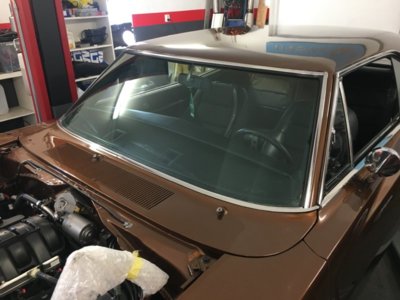
Received new rubber, clips and screws for the windsheild and mouldings.
Laid the windshield in place to help the rubber to find its shape.
Now waiting on the carglass expert to do the fitting.

file115.JPG
 
Awesome build really like the color also
And killer work, Thank you for sharing the journey!
 
Windsheild now installed (by a professional) together with all the stainless.
Didnt want to risk breaking the glas and wanted to make sure there will be no leaks

file130.JPG
 
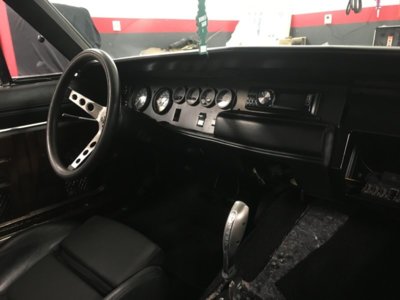
Had to make a temporary instrument cluster because the stock one was beyond saving.
Have to bulid some more funds before I can buy a new one from Dakota Digital
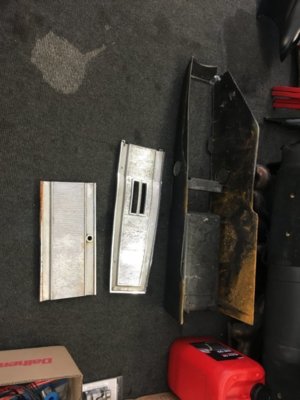
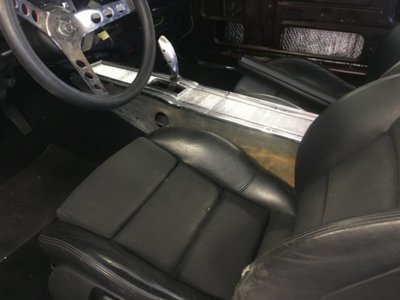
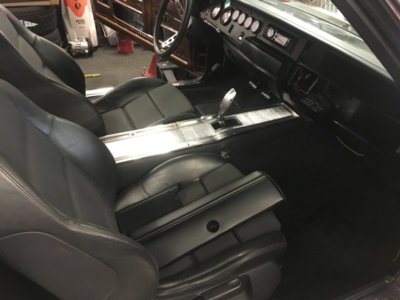
Also got my hands on a center console in a pretty sad state.
Its an auto console from another -68 Charger.
So after extensive cutting and rebuilding I was able to make a perfect fit for my lager trans tunnel and shifter location

file123.JPG file124.JPG file125.JPG file126.JPG
 
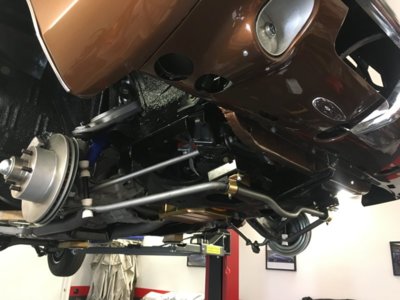
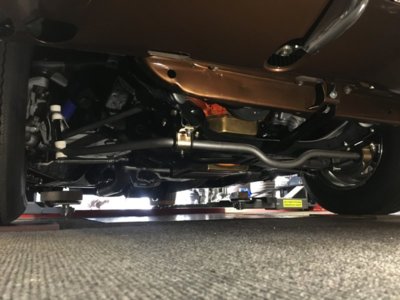
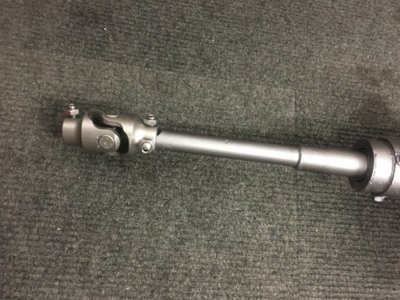
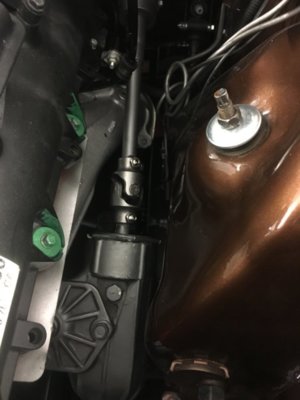
Finished up the last details on the front suspension.
The coupler on the steering column was very worn so desided to swap it for a Borgeson unit in stainless instead. Now I have absolutly ZERO play in the steering witch feels very nice.

file121.JPG file122.JPG file131.JPG file132.JPG file133.JPG
 
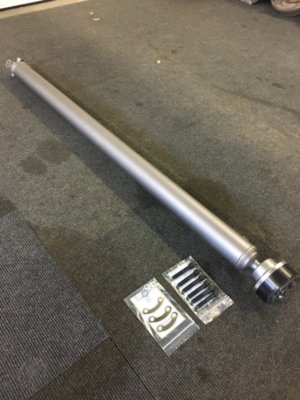
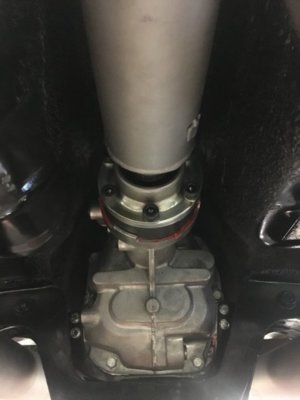
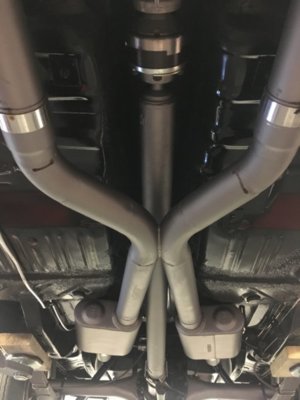
Finally got my custom 3" driveshaft and got in place and it fits perfectly.
It has an 108mm CV joint with slip function in front to match up against the modern Tremec 6060.

file127.JPG file128.JPG file129.JPG
 
So, only thing missing now before the first testdrive is a hydraulic clutch line witch I have ordered from ECS

file134.JPG file135.JPG
 
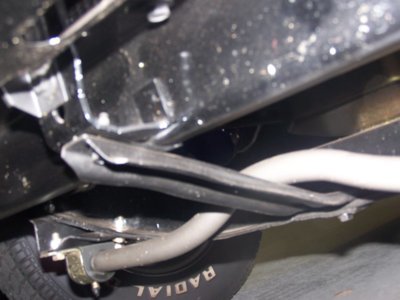
Nice work on your build. However, Your front sway bar is in upside down.
Yes, I´m aware of that. I tried to mount it the other way around but it interferes with the brace between K-member and core support. Maybe because of the aftermarket swaybar mounts?
 
One of the first thing I did was to order the following parts from the states.
- Mopar Performance PCM Kit for the gen 3 hemi
- Mopar Performance 45 degree Oil filter adapter
- Milodon mid sump oilpan
- TTi Motor mounts
- Front disc brake conversion kit including spindles
- Headliner(Black)
- Carpet (Black)
- 15 x7 Magnum 500:s
- F70-15 Firestone Red Line tires
- 3" Flowmaster Super 44:s
So while waiting for these parts I thought I´d start with assembly on the body to assess what parts are missing.
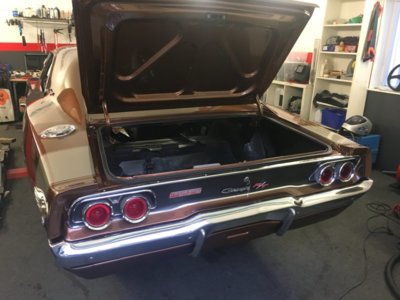
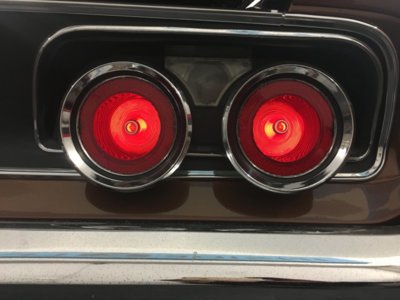
Started by test fitting rear bumper, tail lights, chrome and fuel filler cap.
Rear bumper is not perfect but its ok for now. Also refurbished tail lights before mounting.
All the chrome seems to be in really good shape!
New quarter extensions and a new lock for the trunk was included.
Everything seems to fit ok although the trunk lid needed some alignment.
Also found a nice little aluminum sign that I think was screwed to the rear panel by the original dealer (Boedeker/Verner) in Dallas? I think I will put this back on the car to :)
Need to black out the panel between the taillights.

View attachment 689676 View attachment 689677 View attachment 689678


....you're going to love this.....my first Mopar, 1974 Dodge Dart 4 dr, 318 A/C car was bought new from Boedecker-Verner. I got it from the original owner in 89'. Here's the Dealership today. Found this online....but will probably go get a fresh pic for you....

5699639837_f815bc1daa_b.jpg
 
....you're going to love this.....my first Mopar, 1974 Dodge Dart 4 dr, 318 A/C car was bought new from Boedecker-Verner. I got it from the original owner in 89'. Here's the Dealership today. Found this online....but will probably go get a fresh pic for you....

View attachment 939829
Ha ha... wonderful. I reinstalled the Boedecker-Verner dealerplate in its original position on the taillight panel just for fun :)
 
Ha ha... wonderful. I reinstalled the Boedecker-Verner dealerplate in its original position on the taillight panel just for fun :)
Those plates are like gold, my friend. A connection to the past that often gets tossed aside. Mopar DNA.
 
Yes, I´m aware of that. I tried to mount it the other way around but it interferes with the brace between K-member and core support. Maybe because of the aftermarket swaybar mounts?
Huh! I have the same aftermarket brackets as you but mine fits without rubbing. Close though. I wonder if you possibly have the wrong sway bar or maybe mounted that brace backwards. As far as I could see, the aftermarket brackets mount the sway bar in the same place as the factory ones did. I just checked mine and took another pic. a good quarter inch clearance.

100_9405.JPG
 
Huh! I have the same aftermarket brackets as you but mine fits without rubbing. Close though. I wonder if you possibly have the wrong sway bar or maybe mounted that brace backwards. As far as I could see, the aftermarket brackets mount the sway bar in the same place as the factory ones did. I just checked mine and took another pic. a good quarter inch clearance.

View attachment 939903
Yes, thats how i wanted it to fit. Your bracket seem to have a slight bend to it witch mine doesent have, maybe thats what causing the interference?
Will make another atempt at turning it around thou.
 
Huh! I have the same aftermarket brackets as you but mine fits without rubbing. Close though. I wonder if you possibly have the wrong sway bar or maybe mounted that brace backwards. As far as I could see, the aftermarket brackets mount the sway bar in the same place as the factory ones did. I just checked mine and took another pic. a good quarter inch clearance.

View attachment 939903
Have turned my swaybar the otherway now. It clears but only by 1/4" so hope there will be no interference as the suspension moves up and down.
 
Auto Transport Service
Back
Top