VFilms
Well-Known Member
I've searched and read a number of posts about the trim clips but none seem to be definitive.
So here's what I believe and I'm hoping someone can either confirm my thoughts or help with the proper application of these trim clips for a '66 Satellite.
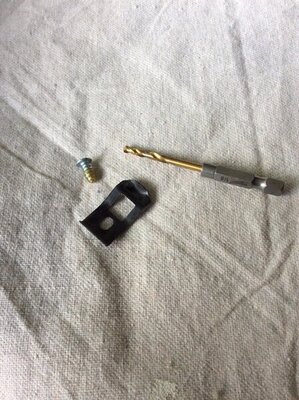
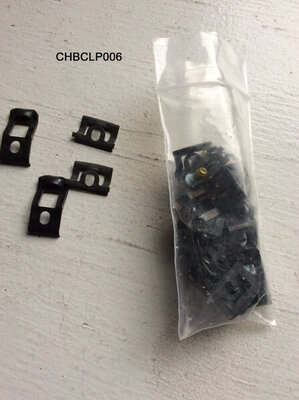
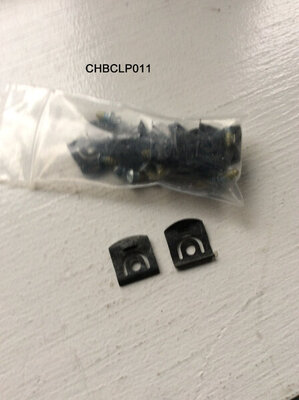
I received 2 bags of trim clips from Vans, CHBCLP011 & CHBCPL006. However there are no part numbers on either of the bags.
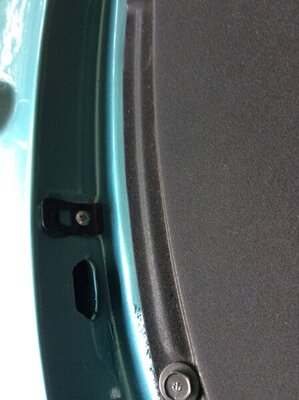
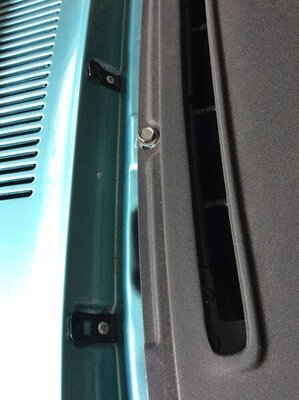
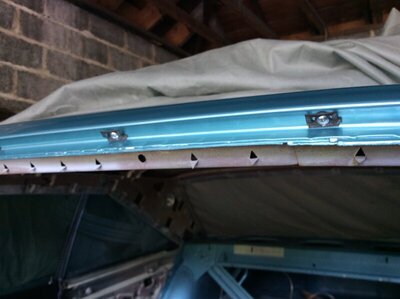
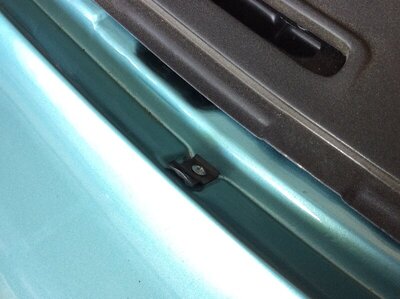
Regarding CHBCLP006, I believe these are the windshield trim clips. There are both large and small clips. 9 Large and 14 small. After looking at the car, I believe the 9 large clips screw into the lower windshield channel at the cowl. However, there are 8 holes in the cowl and 9 clips. Was I sent one extra or is my assumption as to their application wrong? The 14 small clips I believe attach to the A pillar and the roof. Is this correct?
I also believe the CHBCLP011 clips are for the rear glass as there are the correct number of clips to the number of mounting holes on the car. Is this correct.
I apologize if these questions are elementary but the clips need to be installed before the glass is installed so I want to be 100% sure their installation is correct.
Thanks for the help.


