JHyatt14
Well-Known Member
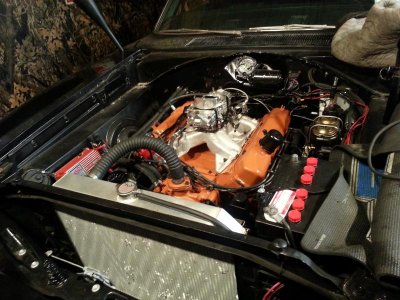
Alright fellas... it's been about three weeks since my last post. What a headache I went through regarding the intake / air cleaner clearance. I see that H2E is currently going through a similar issue with the RPM intake. I really wanted to use the stock dual snorkle air cleaner to give it that original look so I just said the hell with it and replaced the intake. I sent back the RPM High Rise and ordered a Torker. Unfortunately, when the Torker got here it was a manual choke set up and did not work correctly with my Holley 750 Double Pumper with electric choke. The fuel rail was hitting the base where the manual choke sets up on this particular intake. Soooooooo I had to send that one back and get the correct one. She's all back together now with plenty of clearance for the stock dual snorkel air cleaner and although it was a pain in the *** I am glad I did it.
We fired her up and she ran strong. Honestly I'm not too impressed with the Dynomax mufflers in comparison to the Flowmaster 40's I'm used to using on my other builds. I hope they sound better outside the garage once they are broken in. I ran a Lunati cam in this build and they send two different springs with the cam. You have to run the motor with the single spring for about a half hour to break in the cam.. if you run the motor with the double spring it will wipe out the lobes in the cam according to the folks at lunati. So we ran it, took the valve covers back off, took the rockers off, pulled the springs one at a time, inserted the second spring, and reattached. She's all buttoned up now and ready to go. I will be posting a video and some photo's soon.
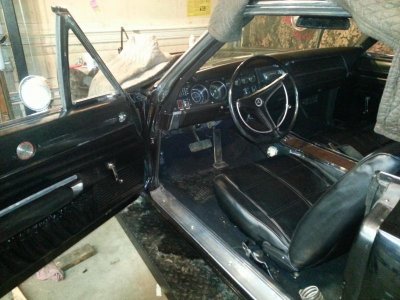
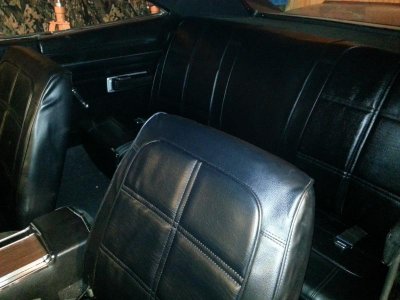
While we were playing the waiting game with the intake we got the seats all upholstered. Now just waiting on a local guy to install the headliner so we can start cracking on the interior. Stay tuned, pics to follow.


