• When you click on links to various merchants on this site and make a purchase, this can result in this site earning a commission. Affiliate programs and affiliations include, but are not limited to, the eBay Partner Network.

1969 Charger R/T resurrection

You are doing a great job. I did all my RoadRunner by my self and it took me 8 yrs. to get it done but I have been enjoying it a lot since then. You will get to enjoy yours before long too at the rate your going, again congrats on a excellent job.
 
Yeah, I am enjoying it so far. I am shooting for a 2 - 2 1/2 year project from when I started last summer. I do know one thing though, these Chargers have alot more pieces to them than my Road Runners. Both metalwise and trim parts.
 
Just curious because I found it funny haha. But whats up with the swastika in the 2nd picture in post 158?
 
The way your coming along Elk, you may beat your deadline! Great work for sure bud!
 
Just curious because I found it funny haha. But whats up with the swastika in the 2nd picture in post 158?

Well that would have been made by the kid helping with the metal work. He seems to think that quarter is evil or possessed or something, because of the fitment issues. Within a day of me removing it, he draws it back on. I finally said screw it and left it on. Guess I didn't realize it showed in the picture.
 
Figured I better update this thread so nobody thinks I've given up. Since all the major rough welding is done we decided to take a couple weeks off. The kid helping needed a break to get some other things done and I had a bigger project come up with the day job.
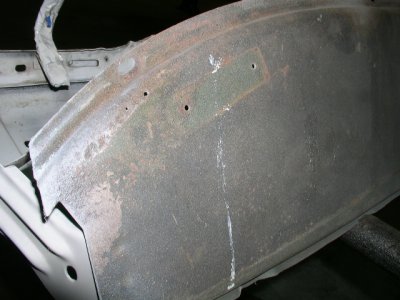
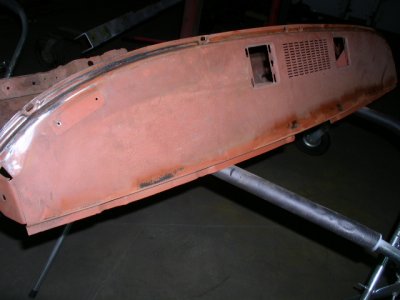
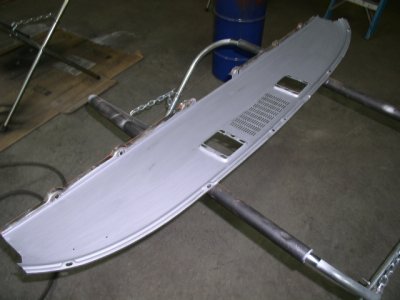
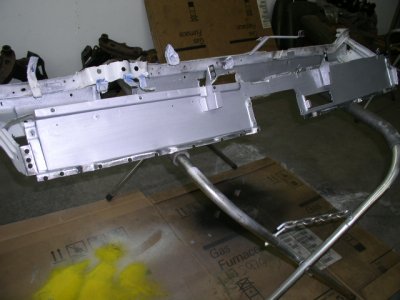
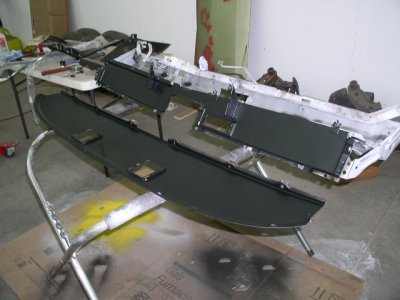
I had a weak area below the VIN tag location, and didn't want to weld in a patch and have body filler in this spot. I found a nice dash from a 1970 Coronet and drilled out the spot welds to seperate the top, cleaned up the interior sides, applied a couple coats of rust bullet, and then some flat black paint. We will get this welded back up and it will be as good as new.

P2100310.JPGP2100311.JPGP2110313.JPGP2110314.JPGP2150317.JPG

- - - Updated - - -

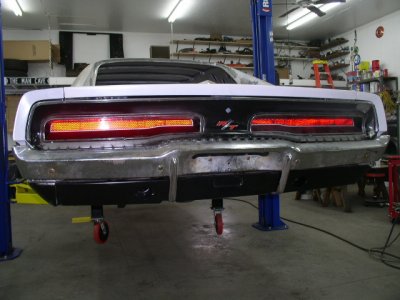
I've also spent some time getting the holes drilled in the tail light panel for the R/T emblem, and chrome molding. Making sure these parts, the deck lid, quarter extensions, and bumper all will fit before it is to late to adjust them easily.

P2150318.JPG

- - - Updated - - -

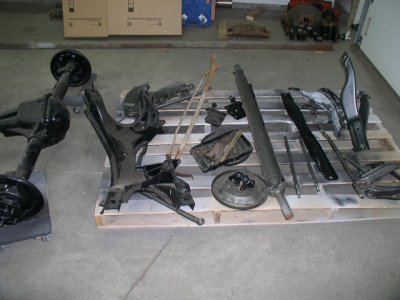
Going through the process of fitting parts to the car, I found out I made a big mistake in my rush last fall to get all these parts painted before the snow came. I had them all sand blasted, and then sprayed them with epoxy primer. They sat for about a month, and then I lightly rubbed them with a scotchbite pad. I then spent quite a bit of time painting them up nice and pretty in the colors I wanted. Now several months later I am test fitting things and am finding out that the adhesion of the paint to primer is no good. A light bump or scratch will remove the topcoat. The epoxy bonded to the bare metal fine and is tough as cement. After talking to a body shop I learned that the epoxy needs to be really roughed up with 180 or 220 grit before topcoating if it has sat for more than 5 days. It gets so hard that nothing will bite into it. So I am to the point that I will have to pay to have all these parts resandblasted and start over. I am not to thrilled about this, but it was my fault in the first place. I am not to proud to admit I made a mistake and am posting this so as to maybe save someone else from going through this. Education costs money anyway you get it I guess.

P2150315.JPG
 
Man that sucks having to redo all the parts you had sandblasted. The dash looks good though.
 
Everyone needs a break sometimes, catch up with other things and some R and R before heading back into one...I bet that was a great feeling looking at the Charger R/T with those tail lights sitting in there! Its all looking sweet and like a great solid car in the making!
 
Yes , a break away from it is actually feeling pretty good. I am very happy with the metalwork so far, and I know for certain that there is absolutely no rust or weak areas anywhere on the car. This was very important to me and one of the reasons I wanted to do a restoration like this instead of buying a done car.
 
just curious as to what rivets your going to use to reinstall the vin tag?
 
just curious as to what rivets your going to use to reinstall the vin tag?

I got a set of the expensive repops which look original.
 
Everyone needs a break sometimes, catch up with other things and some R and R before heading back into one...I bet that was a great feeling looking at the Charger R/T with those tail lights sitting in there! Its all looking sweet and like a great solid car in the making!

Thanks Ron, Yeah it is finally starting to resemble a solid car. Something it hasn't been for many years.

- - - Updated - - -

In other words................ "doing it the right way" :thumbsup:

Trying my darnest Will.
 
Sry to hear about your paint problem hunt, but I sure thank you for telling us about it. I am just now at the point with mine of deciding what to prime and paint my parts with. I did some small stuff with some Walmart Krylon spray-can(primer & paint in one). I'll be able to carry a can in the trunk for touch-up, lol.
Not sure if you have seen this or need it but here is a nice looking product I ordered some of, I had been trying to think of a way to paint/treat the inerds> http://www.eastwood.com/internal-frame-coating-w-spray-nozzle.html

I have used that Internal frame coating on my other 2 cars after they were painted. I was very pleased with it. I am spraying it in this car also - everywhere I can't get a regular spray gun, can, or Rust Bullet into. Like the cowl, a pillars, rear sail panels. I am also going to do the frames and rockers for some extra protection.
 
Kid google is your friend!

New metal I would use this inside frame rails
http://www.qclubricants.com/tectyl_506.htm
OR
Will (propwash) used rust bullet extensively on his resto and I'm going to follow his example ,he also used bedliner.
Quote"
As far as Rust Bullet. It is a product like POR 15. I personally think it works much better. I've used it for years now with great results. It can be brushed, rolled, or sprayed on and is completly sandable/paintable. It converts oxidation to a hardened solid that becomes part of the coating. It also inhibits rust from forming as well as encapsulating. Guaranteed not to rust for 10 years in all conditions. Started seeing it in the automotive world back in the 90's. I first used it in the Air Force with our F-15's on certain internal components with great resolve. Started seeing in more and more at body shop's and other classic car ownwers rides after that. Now I see it commercially at power plants, paper mills, refineries, shipyards, and structually. It is just amazing what the stuff holds up to in all the enviroments i've seen it in. "
 
Last edited:
Since I am going to strip and redo my k-frame, upper and lower control arms, sway bar, and steering linkage, I'm wondering if I should have it all powder coated instead of painting. Anybody have an opinion or used this on your car? Is it tougher than paint like people say? How does it stand up to oil, grease, brake fluid, antifreeze?
 
Auto Transport Service
Back
Top