chgr1
Well-Known Member
- Local time
- 11:45 PM
- Joined
- Feb 5, 2013
- Messages
- 77
- Reaction score
- 173
- Location
- Cedar Creek Near Austin Texas
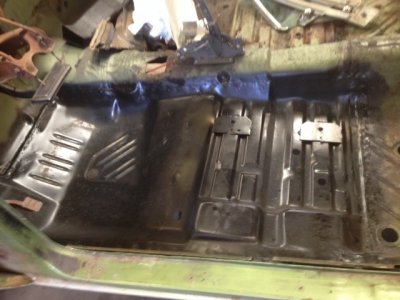
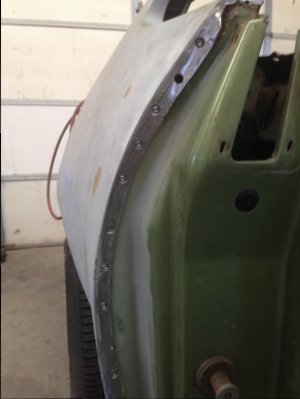
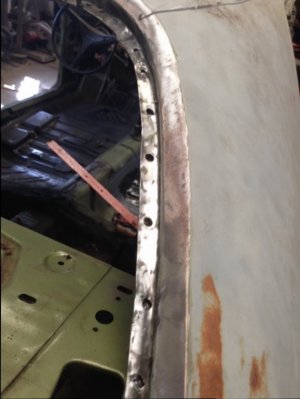
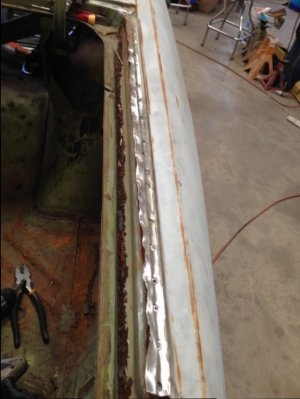
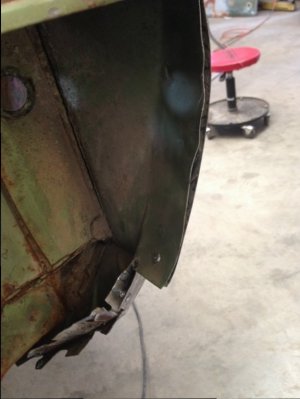
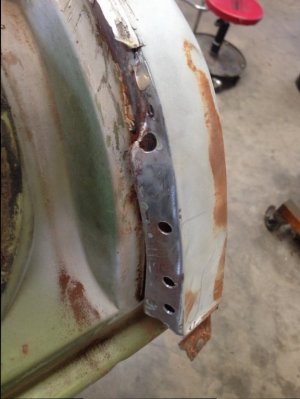
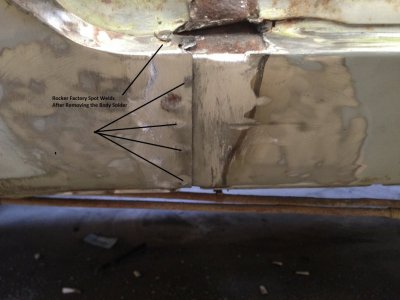
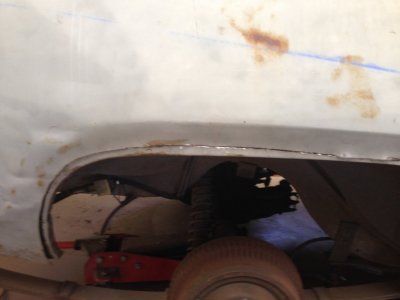
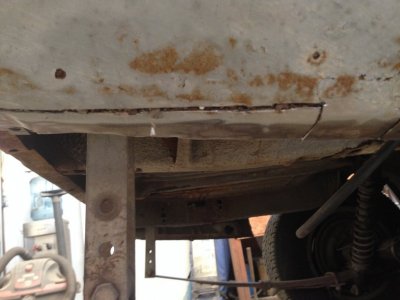
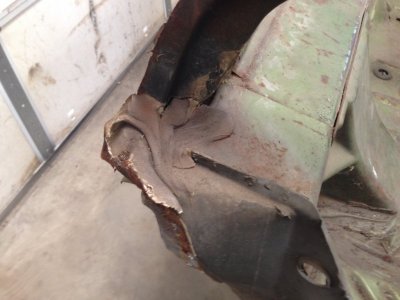
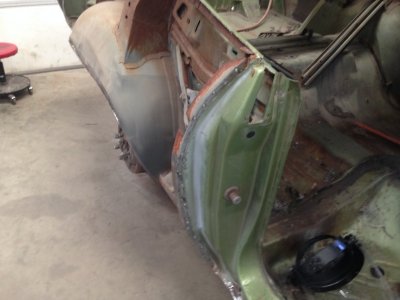
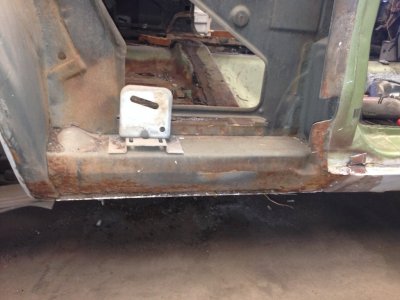
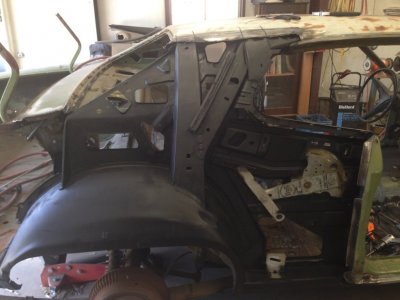
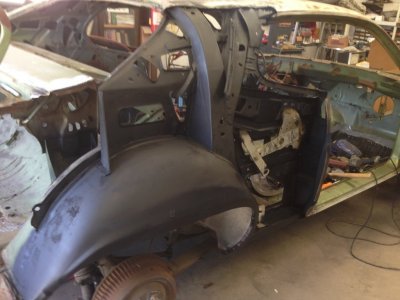
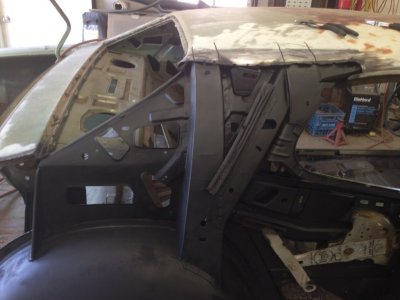
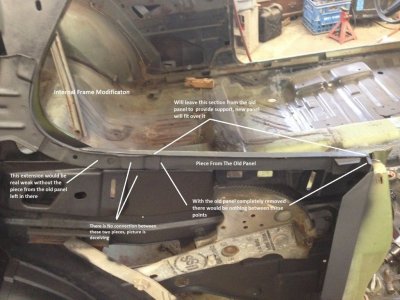
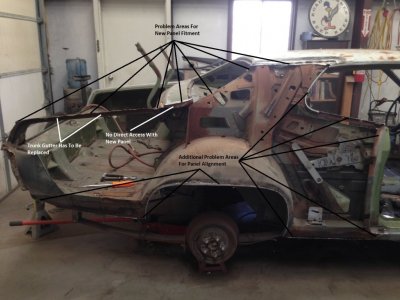
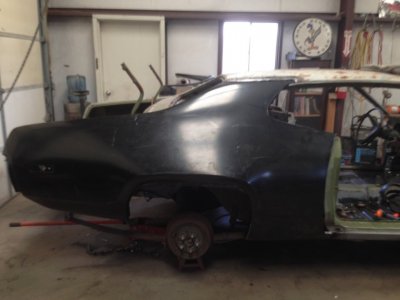
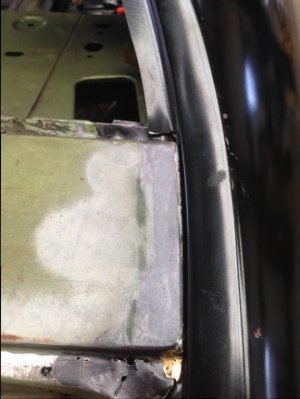
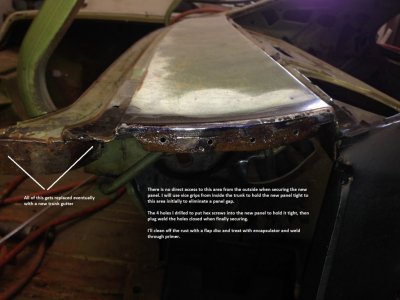
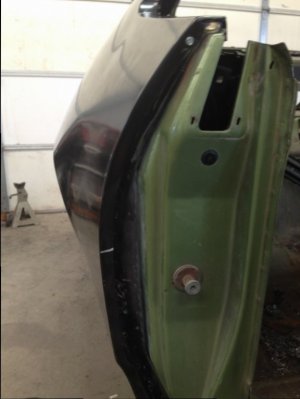
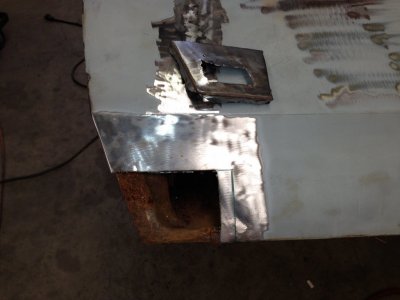
Hello from Bastrop Texas. We are doing a lot of body metal work on this project. Replacing floor pans, right rear fender, left rear wheel housing, both front fenders getting repair and so forth. I have a lot of pictures of the work we are doing.
Replacing the left and right front floor pans. I wrote up a 5 part presentation for the local Mopar club and a local mixed car club.
Part 1 Getting Started.
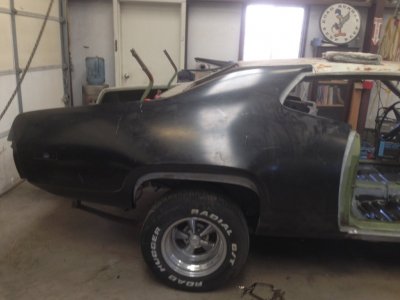
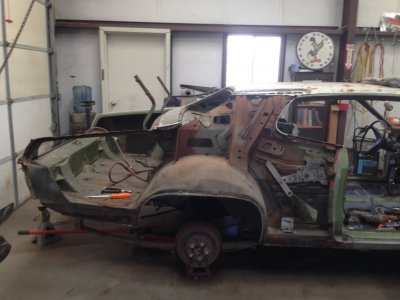
This is a 72 Plymouth Satellite / Road Runner that will end up as a GTX clone.
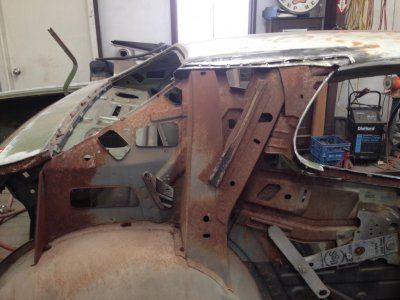
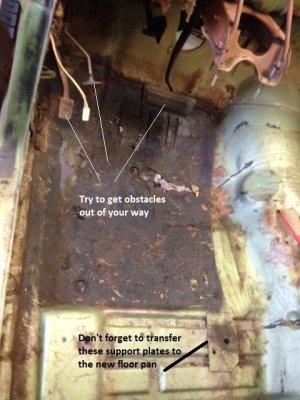
This car is stripped getting a full restoration, no engine, trans, interior, doors, glass and dash have all been removed. This will make it easier to replace the floor pans. It is more difficult if car is still in one piece because there are more obstacles in the way and more things to be concerned about when cutting out the old floor pan, but the process is still the same.
If the dash is still in the car you will have to work underneath it. Protect it or other things not removed from cutting sparks and welding sparks by using a welding blanket. Protect wiring.
Replacing floor pans is a huge and labor intensive task, so be prepared. Some tools you’ll need, cut off tool air or electric, chisel air or manual, drill & bits, spot weld cutter is great to have, gloves, face shield and a breathing mask. A good mig wire feed welder with appropriate welding helmet and welding gloves.
Your first action is to determine how much of the floor pan needs to be replaced. Usually they rot out in the foot well area because of water leaks. You can use a pick body hammer for this purpose.
Your second concern is maintaining structural integrity of the car while you are replacing the pan. The floor pans help tie a unibody vehicle together, you cut out too much of the floor pans all at once and things like sub-frames and rocker panels will start to move. The car will start to sag in the middle. In Mopar torsion bar vehicles, the bars are under heavy torque especially if the engine and trans are still in the car. You cut out too much of the floor pan at one time and the torsion bar cross member will flex and move.
Also if you have to cut away and remove any outside body panels DO NOT leave them off and try to replace the floor pans at the same time. You are guaranteed to get body, frame and sub-frame flex. Replace panels one at a time.
If you have to replace the complete floor pan, side to side and front to back you will have to keep the car level and support the vehicle frame and sub-frame to keep it from flexing and moving. However, Most often you can get by with using a sectional replacement pan. Flexing and moving of sub-frame parts with a sectional pan replacement is minimal because the rest of the original floor pan will hold things together. That is what this presentation will deal with, a sectional pan replacement.
It is my recommendation to never, ever cut out the old floor board until you have the new replacement panel in hand.
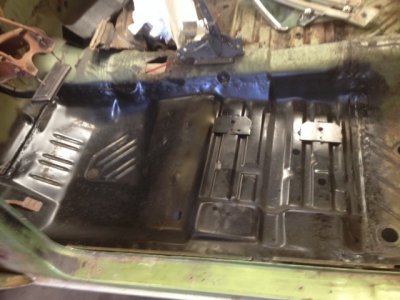
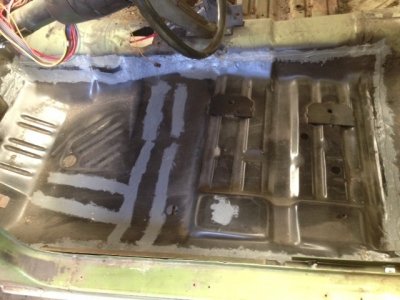
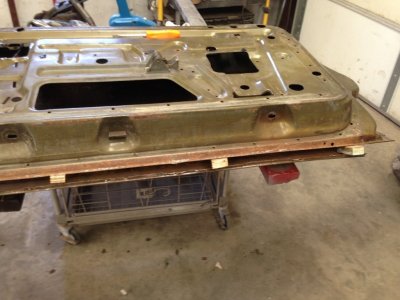
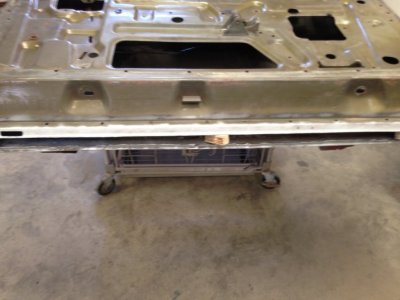
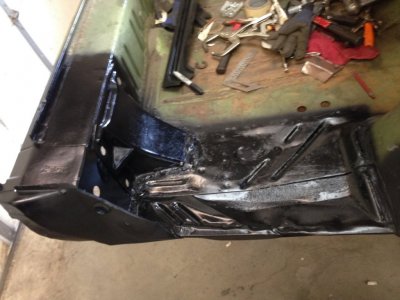
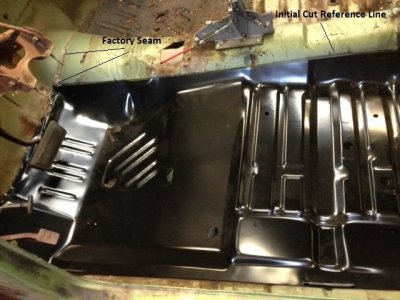
As you see in the second attached picture, this panel is a driver’s side sectional replacement from AMD (Auto Metal Direct) and comes coated with a protectant coating. When you get the replacement pan make sure it is the correct pan for your application. Compare the replacement with your original floor pan to make sure. If its correct go for it.
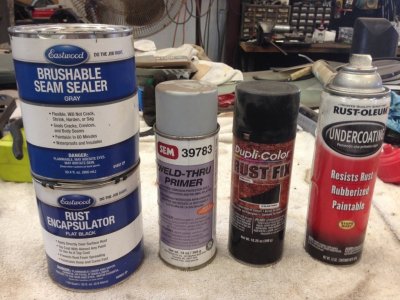
If the new replacement pan is bare metal you will want to paint it using an epoxy or self-etching type of paint before you start installing it. Paint it and it can be drying while you cut out the old pan.
Next print out a picture of the replacement pan, usually you can get this from the web site where you bought the pan, blow it up to nearly an 8x10 size or there abouts. Set the replacement pan into place, note on your picture where the factory seams are. Scope out how well and where the replacement pan will fit and where the factory seams are. Ideally you want to replace the pan at the factory seams. Replacement pans won’t just drop into place and fit like a glove, expect to have to do some trimming and fitting to make it mate up nicely, make notes on your picture.
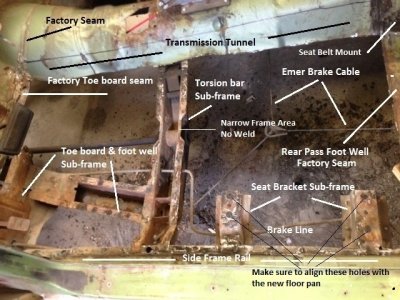
Next get under the car and draw on your picture what is going to be in the way of cutting out and welding in the new pan. Things like sub-frames, brake lines, brake cables, fuel lines, brackets, linkage and so forth. Draw them on your picture for future reference. If it is easy to remove these items and get them out of the way, so much the better. Also make notes on your picture or the replacement pan itself, holes in the pan that will have to line up with holes on the frame and sub-frame. Things like seat bracket mounting bolt holes.
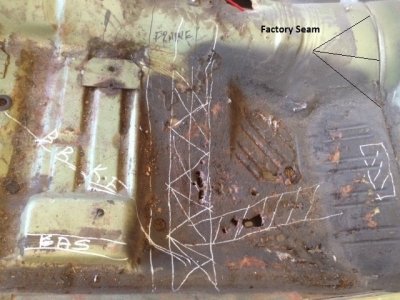
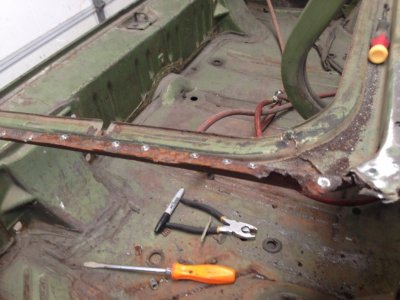
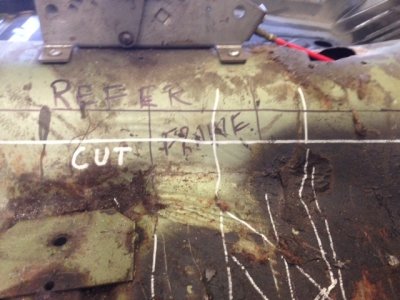
With the replacement pan set in place over the top of the old floor board, use a brightly colored marker and trace around the parameter. In the attached picture you can see I have started to do this with a black marker across the trans tunnel. This will be your cut reference line.
Now I use a pan overlap method. That means the replacement pan will overlap underneath or below the cut reference line by at least 1 inch or more. I do not start on the cut reference line. Once I have the reference line established I measure in or below this line an inch or 1.5 inches or more. You can always cut off more if you need to. Once you have cut out the old floor board, the new replacement will set lower so don’t cut yourself too short.
If you cut out the old floor board right on the cut reference line you will have to butt weld a lot of the parameter of the panel. Nobody is that good of a butt welder and you will wind up burning holes at the butt joint.
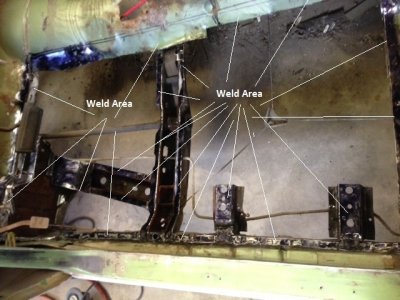
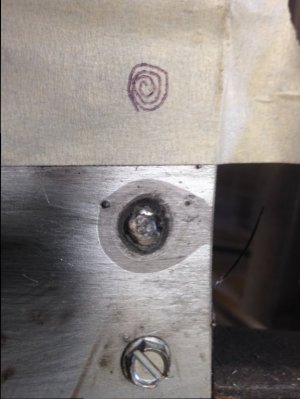
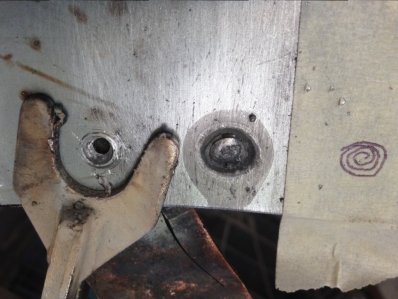
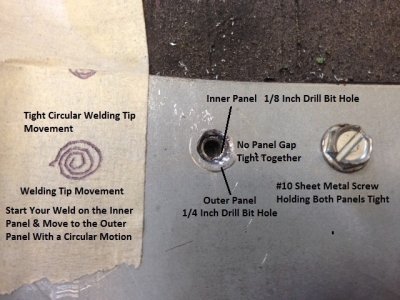
Using an overlap method you will be plug welding every inch or 1.5 inches instead of butt welding the entire length of the panel. However, Use whatever welding method you want.
Next part cutting out the old floor pan.


