73runner
Well-Known Member
I've been posting some of the repairs associated with the resto of my silver frost 73 road runner on other threads but decided to create a new thread just for this project.
This car has been with me for almost 18 years and was cosmetically restored about 2 years after I got it.... Prior to this car I had bought my dad's 73 SSP that I had cloned into a road runner in high school and through college.
I was 10 years old when my dad brought the brand new silver frost SSP with raised white letter goodyear polyglas gt's and a white interior with console and rally dash home and I fell in love with it.
As I grew up I would spend endless hours making it look great, studying its design and how it worked. When I was 14 he sold it to my cousin and I bought it back from her when I was 16 for $500 but to me it was priceless.
After I got married, it became obvious that my old satellite would need a lot of work to make up for its nine years of faithful service. New engine (318 had almost 200k miles) lots of body work (it was breaking out in rust all over) and lots of repairs from my own follies of youth (cut doors for speakers, lots of bad wiring repairs, cut up dash for a series of radios over the years, three cheap paint jobs, hand painted stripes) were all in my future.
Thats when fate stepped in by way of a neighbor a few blocks away.
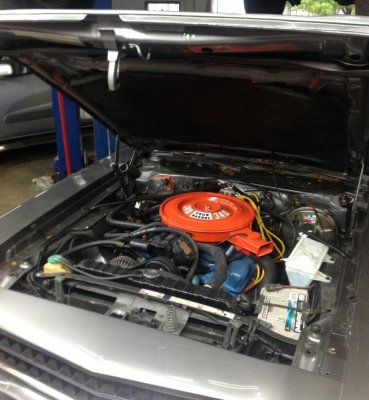
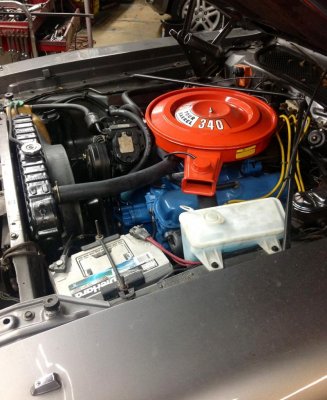
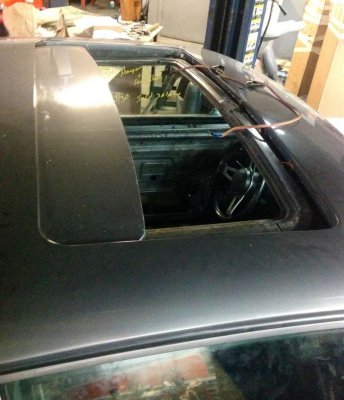
Coming home one day I spot this silver frost 73 road runner. Needless to say, I stopped and inquired if it might be for sale. It was just a running shell with no interior except for he seats..but it was a numbers matching 340 that someone must have special ordered. It came with a good 340 (recent valve job and head work) that pulled really well, limited slip diff with 3.55 gears, power windows, a/c, sunroof, 727 that turned out to be pretty fresh. The sunroof was stuck and had a good bit of rust in it and along the roof where the sunroof mounted but the floors and trunk were in good shape. And I had the old SSP for the interior parts and all the little stuff that were missing. 18 years ago, no one made parts for these cars so having the needed parts clinched I for me.
A little haggling with my neighbor and $1500 dollars later I brought it home and went to work.
Car came out great and I enjoyed it for the next 8 years when the engine started smoking and the tranny went belly up. In addition, the car started to develop a moldy smell that I couldn't find the source for until one day I was washing it and saw the the dash was dripping. The cowl had rusted through in a few spots.
So this brings me to the current resto. When I finished it the first time it was mainly a paint and rust repair project. This time it was a more complete tear down and restoration.
I found this forum after completing the body work and engine rebuild. And it has been a great source of information as well as a great place to share some of the useless knowledge that comes with one of these projects.
So here's what's completed to date, today's progress and a list of what's left to do:
Enjoy and feel free to comment, especially if you see something thats not right... You won't offend me..
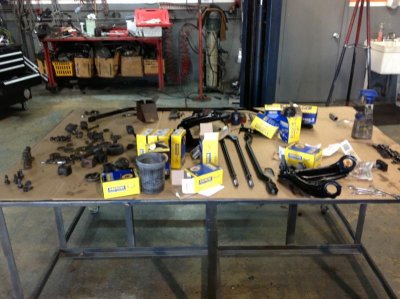
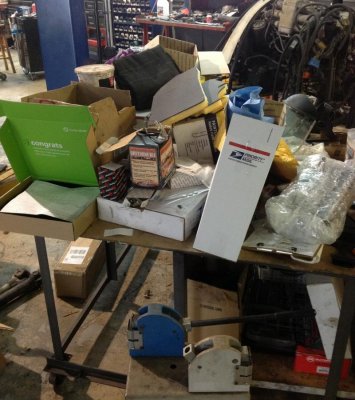
My work bench just before we started rebuilding the front end
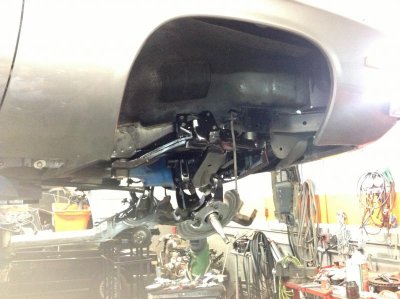
Here you can see the k frame installed after new poly mounts. Frame was in excellent shape with minimal rust. I have seen these rusted through at the mounts but that was not the case here. A little wire brush and paint made it like new. Ar you can see the body work was almost done by this time. Most people would have done this part before the bodywork.
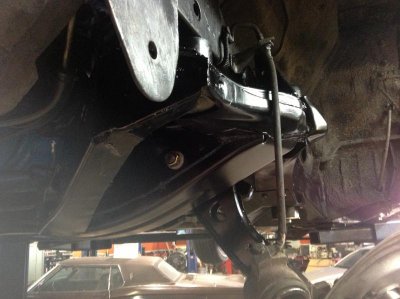
Here's a better view.... Yes, the brake lines are shot too.
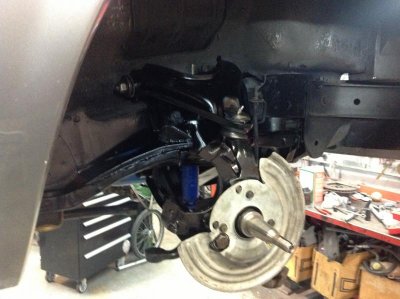
Almost done.... New brake lines and calipers to go.
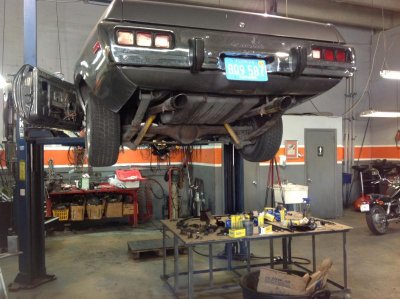
Next came the rear end, spring mounts and new gas tank. This is a before view.
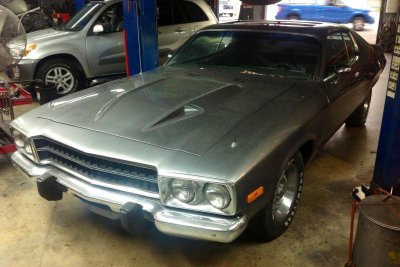
Front end and rear suspension complete. Had to adapt front sway bar bushings for the rear. Still need alignment to finish but will do that when the new tires get put on. Riding on tires that Goodyear stopped making five years ago or more is totally uncool. Good enough to roll on in the shop.
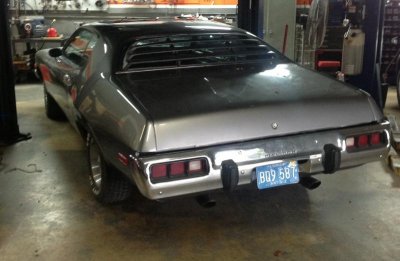
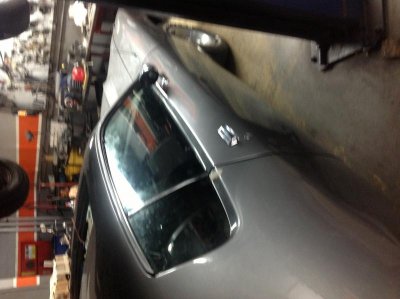
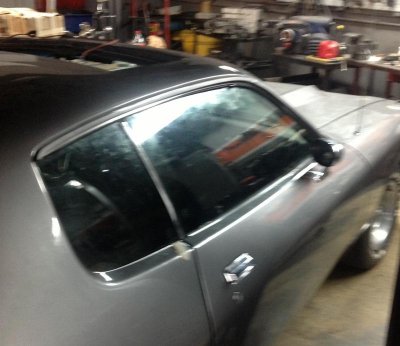
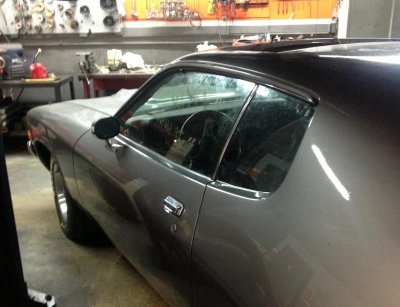
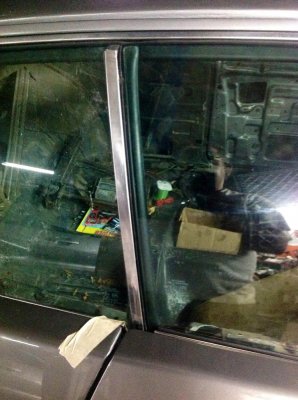
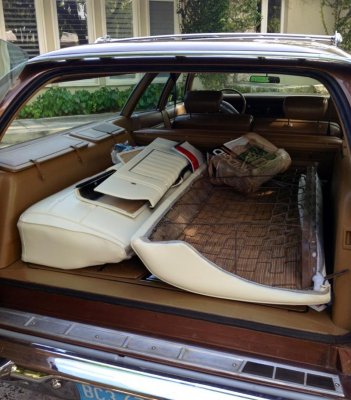
Heres a view of the rear with window shade.... Totally ghetto shade but still haven't even seen a correct period one. She's sitting very fine on her refurb'd suspension. Still need to installed re-chromed rear bumper and trim. Actually found someone who re-popped the filler for the center on eBay. Tips are old but still in great shape. Today's job was to reinstall the power windows.
This car has been with me for almost 18 years and was cosmetically restored about 2 years after I got it.... Prior to this car I had bought my dad's 73 SSP that I had cloned into a road runner in high school and through college.
I was 10 years old when my dad brought the brand new silver frost SSP with raised white letter goodyear polyglas gt's and a white interior with console and rally dash home and I fell in love with it.
As I grew up I would spend endless hours making it look great, studying its design and how it worked. When I was 14 he sold it to my cousin and I bought it back from her when I was 16 for $500 but to me it was priceless.
After I got married, it became obvious that my old satellite would need a lot of work to make up for its nine years of faithful service. New engine (318 had almost 200k miles) lots of body work (it was breaking out in rust all over) and lots of repairs from my own follies of youth (cut doors for speakers, lots of bad wiring repairs, cut up dash for a series of radios over the years, three cheap paint jobs, hand painted stripes) were all in my future.
Thats when fate stepped in by way of a neighbor a few blocks away.
Coming home one day I spot this silver frost 73 road runner. Needless to say, I stopped and inquired if it might be for sale. It was just a running shell with no interior except for he seats..but it was a numbers matching 340 that someone must have special ordered. It came with a good 340 (recent valve job and head work) that pulled really well, limited slip diff with 3.55 gears, power windows, a/c, sunroof, 727 that turned out to be pretty fresh. The sunroof was stuck and had a good bit of rust in it and along the roof where the sunroof mounted but the floors and trunk were in good shape. And I had the old SSP for the interior parts and all the little stuff that were missing. 18 years ago, no one made parts for these cars so having the needed parts clinched I for me.
A little haggling with my neighbor and $1500 dollars later I brought it home and went to work.
Car came out great and I enjoyed it for the next 8 years when the engine started smoking and the tranny went belly up. In addition, the car started to develop a moldy smell that I couldn't find the source for until one day I was washing it and saw the the dash was dripping. The cowl had rusted through in a few spots.
So this brings me to the current resto. When I finished it the first time it was mainly a paint and rust repair project. This time it was a more complete tear down and restoration.
I found this forum after completing the body work and engine rebuild. And it has been a great source of information as well as a great place to share some of the useless knowledge that comes with one of these projects.
So here's what's completed to date, today's progress and a list of what's left to do:
Enjoy and feel free to comment, especially if you see something thats not right... You won't offend me..

My work bench just before we started rebuilding the front end

Here you can see the k frame installed after new poly mounts. Frame was in excellent shape with minimal rust. I have seen these rusted through at the mounts but that was not the case here. A little wire brush and paint made it like new. Ar you can see the body work was almost done by this time. Most people would have done this part before the bodywork.

Here's a better view.... Yes, the brake lines are shot too.

Almost done.... New brake lines and calipers to go.

Next came the rear end, spring mounts and new gas tank. This is a before view.

Front end and rear suspension complete. Had to adapt front sway bar bushings for the rear. Still need alignment to finish but will do that when the new tires get put on. Riding on tires that Goodyear stopped making five years ago or more is totally uncool. Good enough to roll on in the shop.

Heres a view of the rear with window shade.... Totally ghetto shade but still haven't even seen a correct period one. She's sitting very fine on her refurb'd suspension. Still need to installed re-chromed rear bumper and trim. Actually found someone who re-popped the filler for the center on eBay. Tips are old but still in great shape. Today's job was to reinstall the power windows.
Attachments
Last edited:

