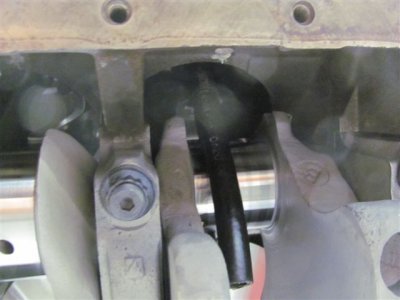
I was going to but thought with the rockers & lift it might collapse the lifter.
You are using an out of date browser. It may not display this or other websites correctly.
You should upgrade or use an alternative browser.
You should upgrade or use an alternative browser.
69 gtx
- Thread starter 69 GTX
- Start date
Derwud
Well-Known Member
Nice.... Can't wait to be able to post pictures of my engine..
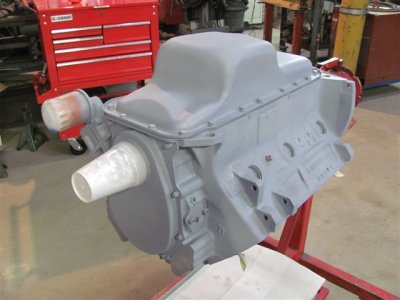
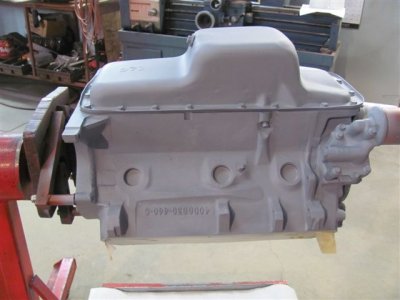
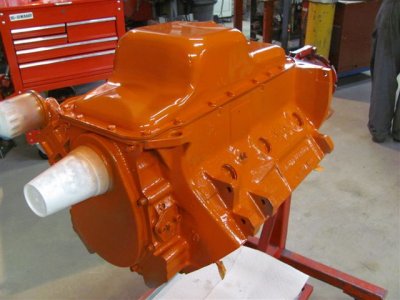
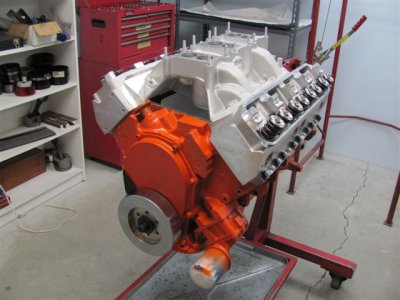
I'm very happy with Jims work & attention to detail on this build.
usaroadrunner
Well-Known Member
Hemirunner
Well-Known Member
I'm very happy with Jims work & attention to detail on this build.
You're in good hands with Jim and Cody. What did the chambers CC at? Close to the advertized 78cc?
IQ52
Well-Known Member
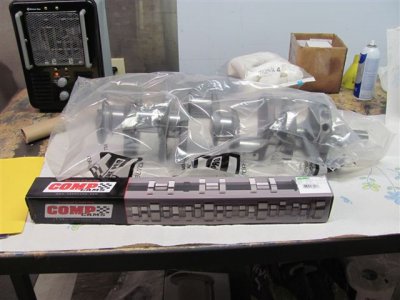
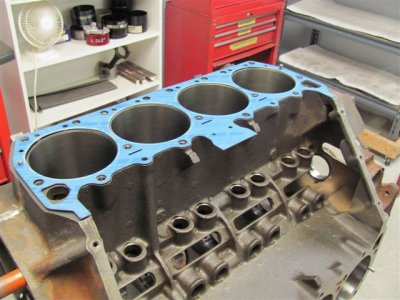
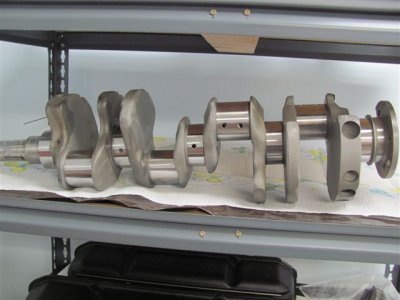
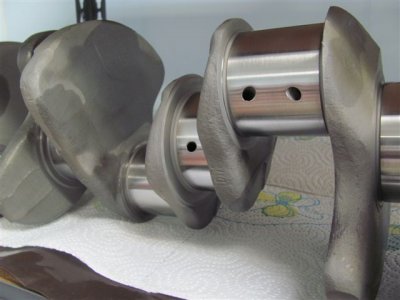
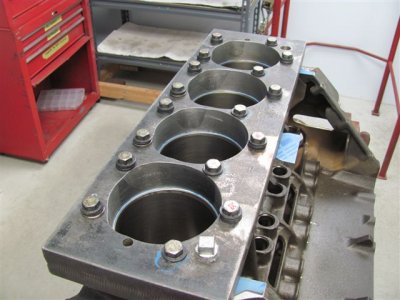
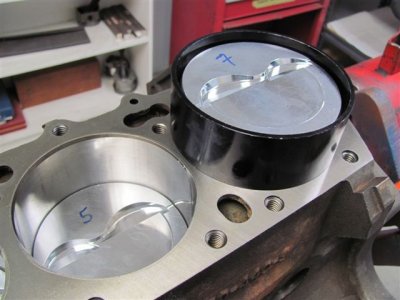
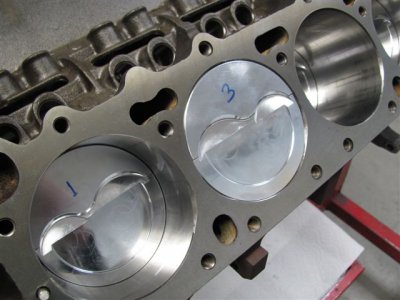
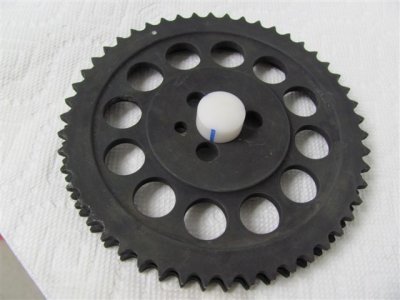
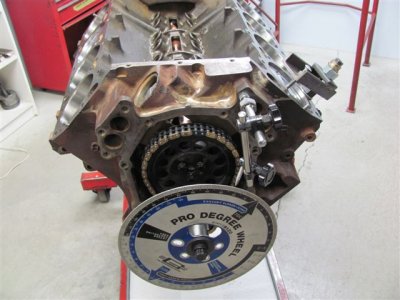
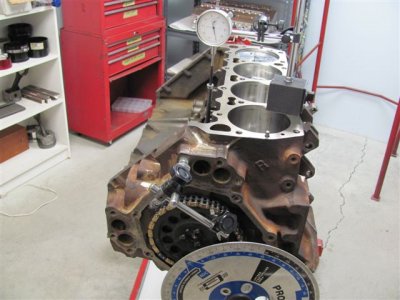
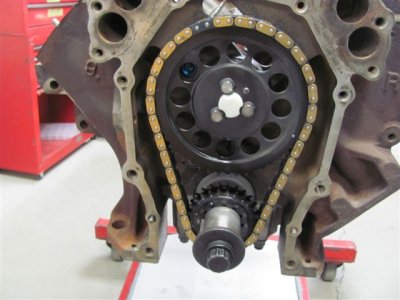
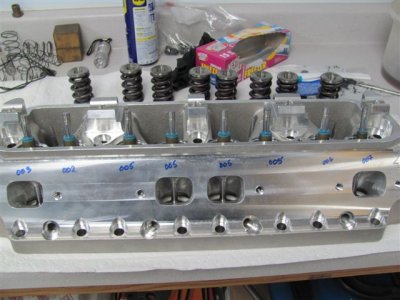
This is cool stuff that I haven't told the ol' 69 GTX yet. This mostly a street car so I was shooting for a good safe 10.0:1, We got 9.9:1, I might try 87 octane.......might. Then we did something on the sneaky side, kinda like this guy did to his wife when she went in for a breast augmentation, told the doctor to put in one size larger (told to me as a true story). Well, he got one size longer cam. We put in a solid roller 238/242 @ .050, the equivalent of a 232/236 @ .050 hydraulic. Man it should idle good but a 3" exhaust will rattle the china in the display case.
We have .240/.309 piston to valve clearance (couldn't believe it so I checked it three times) so I guess I should have gone 276/280 @ .050".
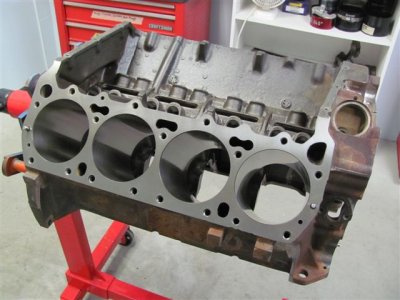
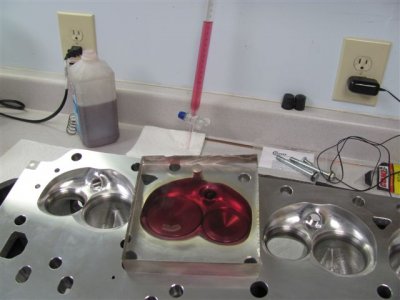
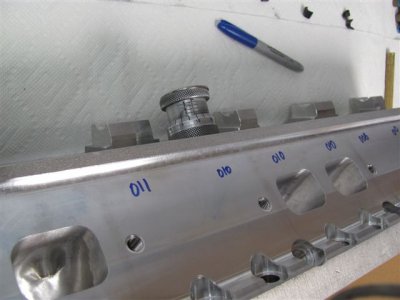
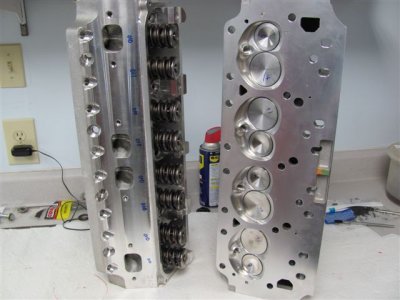
Head cc's.....
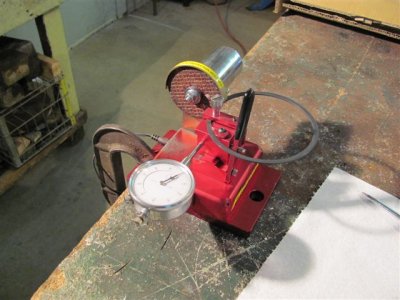
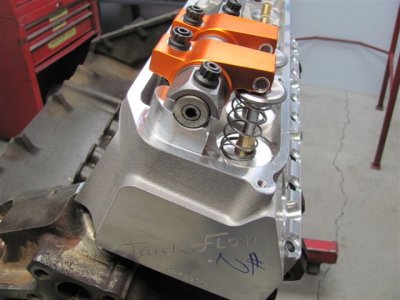
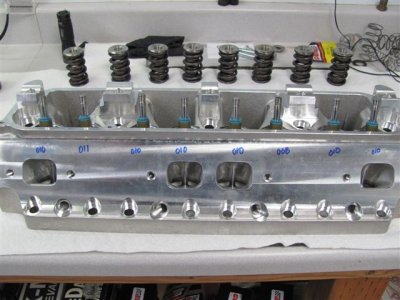
Smallest 77.4 and biggest 77.6. The valves only varied + or - .0015 in length and one was .001 out of round. The seats in the heads were round to .0015" so I left them alone. I was able to set the installed heights by shifting the retainers and locks around so that the installed heights varied by no more than .009", 1.987 to 1.996. Didn't even bother to use any shims just put the strongest springs on the longest and the weakest springs on the shortest.
Didn't like the .0006/.0007 valve to guide clearance so we upped it to .001/.0012, that's just me.
pwtjr
Well-Known Member
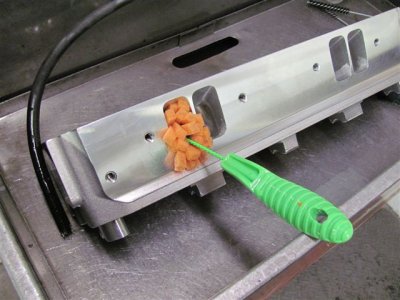
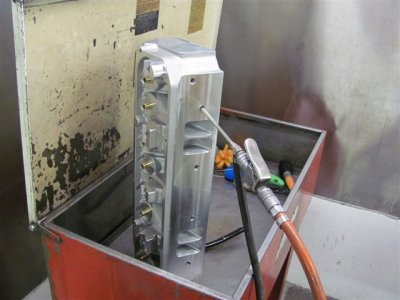
Hard to tell from the pictures, but it looks like you smoothed out both the intake and exhaust ports correct?
I also like the idea of a little more valve guide clearance. I will be sure have that checked out on my heads.
Can't wait to see how it fairs on the dyno.
I also like the idea of a little more valve guide clearance. I will be sure have that checked out on my heads.
Can't wait to see how it fairs on the dyno.
Thanks for the update Jim! We all are just holding our breath to see what #s it will put up on the first session on the dyno. Any predictions from you Jim????
Derwud
Well-Known Member
580
I'm hoping for 550, anything above that will be gravy!!!!
Derwud
Well-Known Member
I am hoping for 600 on my 540, sort of hoping it stays below 630ish... it is another step up in cash over 630...
HYRDGOON
Well-Known Member
- Local time
- 12:29 AM
- Joined
- Apr 20, 2013
- Messages
- 3,375
- Reaction score
- 2,746
- Location
- Breslau, Ontario, Canada
Engine **** is right! Nice sneak move on upping the cam IQ. Can't wait for dyno session either
Jim also has a thread going on this engine here http://www.forbbodiesonly.com/moparforum/showthread.php?107369-Trick-Flows-on-the-440
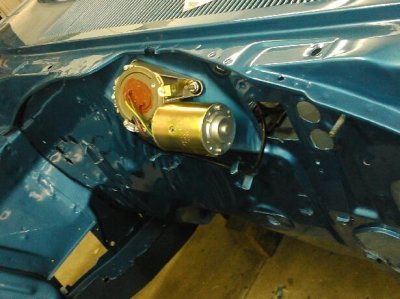
So I did get a little done over the weekend. Put the new wiper motor on.
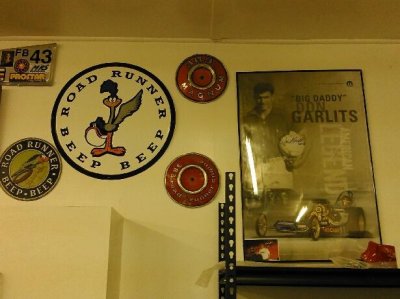
While I was digging for parts I found a couple old aircleaner piepans. So I put them up on the wall for artwork.
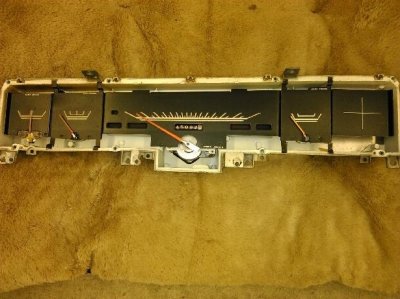
Started taking the dash apart to restore. I was thinking I may use the empty spot on the right side of the speedo to make a light for the OD when on. It would mirror the high beam indicator. Do you think green would be a good color for that guys?
- - - Updated - - -
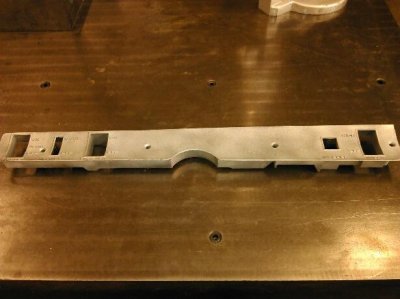
I was thinking of copying the washer button and putting right next to it on switch panel.
- - - Updated - - -
The overdrive button that is.

While I was digging for parts I found a couple old aircleaner piepans. So I put them up on the wall for artwork.

Started taking the dash apart to restore. I was thinking I may use the empty spot on the right side of the speedo to make a light for the OD when on. It would mirror the high beam indicator. Do you think green would be a good color for that guys?

- - - Updated - - -

I was thinking of copying the washer button and putting right next to it on switch panel.
- - - Updated - - -
The overdrive button that is.
So I got some bling last night in the mail. SS and for 3" exhaust.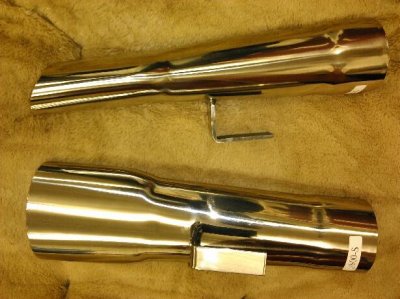
So I started getting motor mount stuff together and took a closer look at the Schumacher motor mounts I ordered. WTF is this! Why is the hole .7 for a .5 bolt!!!!
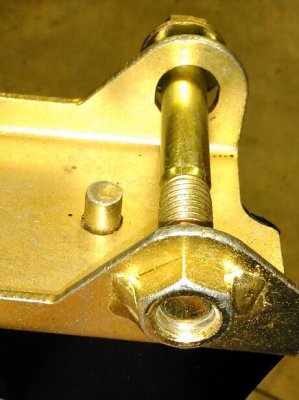
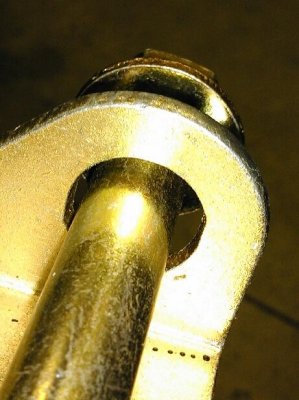
Looks like I'll be making some bushings to fill up the gap. I'd expect a lot better than this for the price I paid. With the HP Jim's going to make with the engine I don't want these being sloppy. Anyone else notice this before?

So I started getting motor mount stuff together and took a closer look at the Schumacher motor mounts I ordered. WTF is this! Why is the hole .7 for a .5 bolt!!!!


Looks like I'll be making some bushings to fill up the gap. I'd expect a lot better than this for the price I paid. With the HP Jim's going to make with the engine I don't want these being sloppy. Anyone else notice this before?
HYRDGOON
Well-Known Member
- Local time
- 12:29 AM
- Joined
- Apr 20, 2013
- Messages
- 3,375
- Reaction score
- 2,746
- Location
- Breslau, Ontario, Canada
I like what you're thinking on the Overdrive light and button. Will be a custom piece retaining a stock look and I'm a fan of that.
I have the same 3" tips and happy to see you're going with 3" Exhaust because I'm pretty sure Jim is giving you a heavy breather!
As far as the Schumacher mounts that is disappointing. I'd be contacting them instead of making a bushing given the cost. I went with the Mity Mounts from 440 Source and a Schumacher torque strap. In fact I may part with the torque strap since I'm not sure how it will incorporate now that I'm going aftermarket K Frame.
Goon I also plan on electric cutouts for pissing off the neighbors.
Similar threads
- Replies
- 7
- Views
- 914
- Locked
- Replies
- 1
- Views
- 895

