Thanks, think I'll zinc it.
You are using an out of date browser. It may not display this or other websites correctly.
You should upgrade or use an alternative browser.
You should upgrade or use an alternative browser.
69 gtx
- Thread starter 69 GTX
- Start date
Well I got some good work done over the weekend. Started putting the front suspension back on. Got the K member in place.
- - - Updated - - -
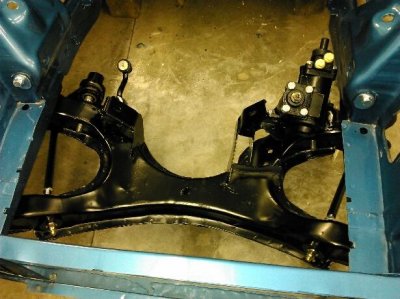
The borgson steering unit bolted right in with no problem. Although I need to call them as the pitman arm seemed about .2 from full spline engagement. Next I put the PST front struts in.
- - - Updated - - -
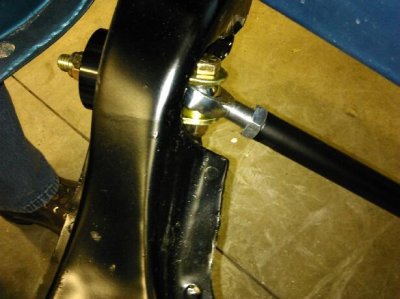
I liked these. My thinking was that these would move a lot easier allowing more front end movement/travel for the Cal Tracs. Looked like nice pieces.
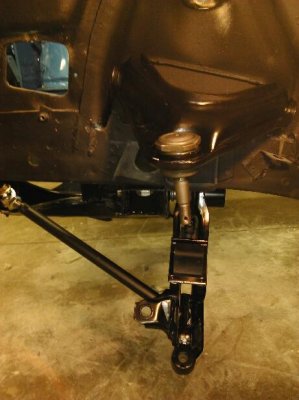
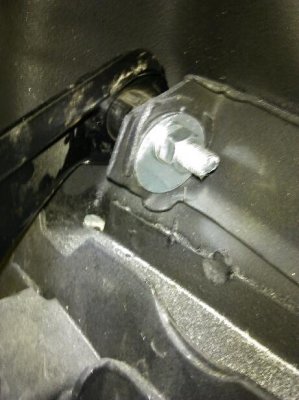
Then I worked on the upper and lower control arms getting them installed. When installing the cam washers on the inside I put the rounded side on the mating side so that they would move a little easier when adjusting.
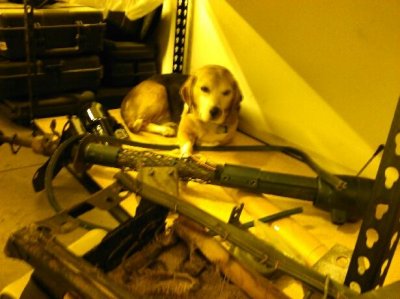
And as always I had my buddy Coach out helping, well maybe just guarding the parts pile.
- - - Updated - - -
I did read somewhere that you shouldn't tighten the upper & lower control arms until you have the vehicle on the ground. Can anyone confirm/deny that?
- - - Updated - - -

The borgson steering unit bolted right in with no problem. Although I need to call them as the pitman arm seemed about .2 from full spline engagement. Next I put the PST front struts in.
- - - Updated - - -

I liked these. My thinking was that these would move a lot easier allowing more front end movement/travel for the Cal Tracs. Looked like nice pieces.

Then I worked on the upper and lower control arms getting them installed. When installing the cam washers on the inside I put the rounded side on the mating side so that they would move a little easier when adjusting.

And as always I had my buddy Coach out helping, well maybe just guarding the parts pile.
- - - Updated - - -

I did read somewhere that you shouldn't tighten the upper & lower control arms until you have the vehicle on the ground. Can anyone confirm/deny that?
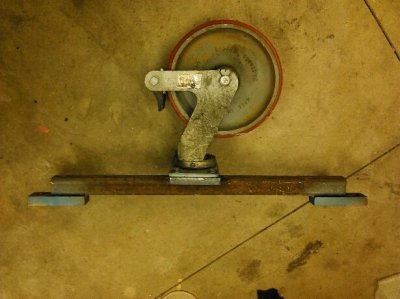
BTW for you guys that follow/help with my thread I'll be offering you first chance at my "extras" before I list them. So here is the first, I used this bolted to the rear K member bolt holes while doing work on the car before I got the suspension under her. It's about 24" in height. 20$ you come get it. It's a little heavy & big to ship. Also I have the front strut bushing & rubbers as the rear shackle set from PST for sale. I'll wait about a week before I post it on the for sale forum.
Derwud
Well-Known Member
Do not final torque the Lower Arm pivots or strut rods until it is fully loaded and at ride height..
So my paint guy is a little slow, so didn't get my torsion bars ect painted so I tried to get some things done anyway.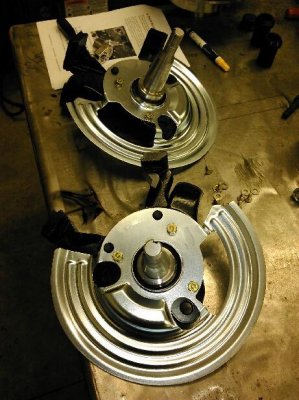
Put the dust shields and caliper brackets on the spindles
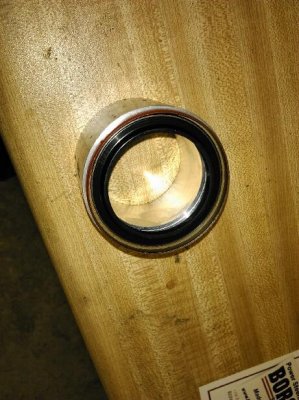
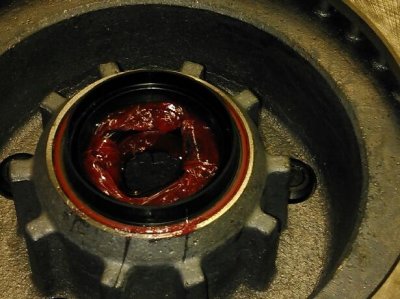
Packed the wheel bearings and made a seal driver for the inside seal. You can tap them in with a hammer but I like a driver better. It keeps them square and you can control the depth you set them.
- - - Updated - - -
I noticed while doing the work that the outside snout where the dust cap goes was larger than OEM.
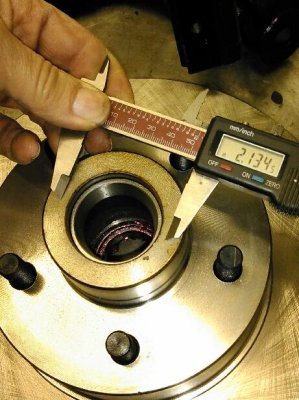
So I double checked my wheels to make sure they would fit. All looked good. So I dodged a bullet there. By the way these are the Right Stuff brake kits. They were the cheapest ones out there and so far I have been happy with the kits. I've tweaked a few things but only because I wanted to, nothing critical.

Put the dust shields and caliper brackets on the spindles
Packed the wheel bearings and made a seal driver for the inside seal. You can tap them in with a hammer but I like a driver better. It keeps them square and you can control the depth you set them.


- - - Updated - - -
I noticed while doing the work that the outside snout where the dust cap goes was larger than OEM.

So I double checked my wheels to make sure they would fit. All looked good. So I dodged a bullet there. By the way these are the Right Stuff brake kits. They were the cheapest ones out there and so far I have been happy with the kits. I've tweaked a few things but only because I wanted to, nothing critical.
Hemirunner
Well-Known Member
Great read! Car looks great. I can relate on the cheater glasses, lol. You must be close in age. I graduated in 86.
Thanks Hemi runner, Class of 80
Well good news, Jim says with some luck the 440 will get on the dyno for the first session late next week. I'm really looking forward to seeing what kind of #s it going to produce!:hello2:
- - - Updated - - -
I haven't put much info about the motor on here yet. I was going to do it all at once so it would be contained to 1 or 2 pages. So you guys could find it all in one spot, instead of scattered throughout the thread.
- - - Updated - - -
I haven't put much info about the motor on here yet. I was going to do it all at once so it would be contained to 1 or 2 pages. So you guys could find it all in one spot, instead of scattered throughout the thread.
Derwud
Well-Known Member
really watching this now..
Outlaw525
Well-Known Member
Nice work! Car looks great. This is my favorite part of a build- when you can finally start putting things back together.
daytona kid
Well-Known Member
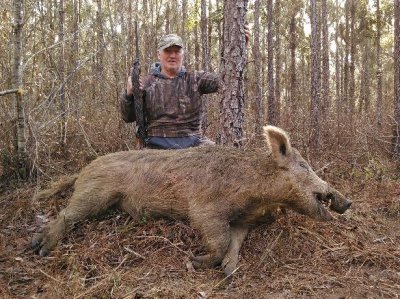
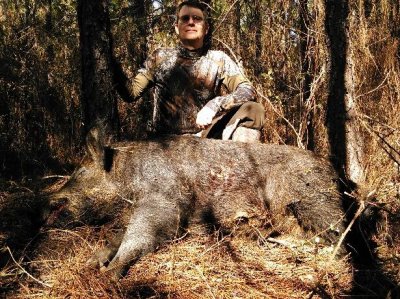
Daaaammn! How much do those bad boys weigh? Hate to have one coming after me.. A friend gave me some boar sausage one time, I could barely eat it and my dogs wouldn't.
HYRDGOON
Well-Known Member
- Local time
- 1:05 AM
- Joined
- Apr 20, 2013
- Messages
- 3,375
- Reaction score
- 2,746
- Location
- Breslau, Ontario, Canada
Just had a chance to go back through this thread it's been a while since I checked in. Car looks great can't wait to see the motor and the results of the dyno session.
Cheers!
Cheers!
moparfanUSA
Well-Known Member
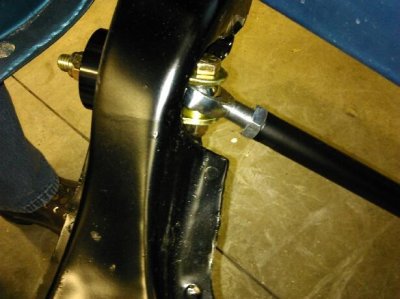
How did you install the PST strut rods in the k frame? The stock rods have threads on both ends, looks like the PST's have clip on one end? do you have a picture of that end installed in the K frame?
Kid
I think they were about 225-250 big ones for sure and tough. I shot mine @ 150 yards with 257 Weatherby mag. He ran about 75 yards through the thicket. I waited till daylight the next day to go find him. Chucks hog took a 180 gr 30-06 to the shoulder @ 50 yards and didn't even go all the way through. his went about 20 yards.
Goon
Thanks for checking in. I'm thinking about 2-3 weeks, I'll be out to pick it up. I'm being realistic on the build and hoping for 550, but hoping for closer to 600. Not many of the trick flow head motors out there yet.
Mofan
The PST struts have a U bracket with with a welded bolt to go through the K member with the spherical rod end bolted to that. I went with them cause I thought it would let the suspension have less resistance of movement. Better front end travel for the cal tracs.

moparfanUSA
Well-Known Member
does the other end have threads on the end to lock it into place?
Yes, tube has a threaded I.D. for allen head bolt.
Derwud
Well-Known Member
Yeah, waiting for my Builder to get everything to get my engine done and running.. What Cam are using?
Custom Comp Cams solid roller, 230s duration and 640ish net lift with 1.6 rockers Tried to get as much lift as possible with a smooth idling cam. Jim should have it on the dyno for it's first pulls next week. Can't wait for the first #s
Derwud
Well-Known Member
I am going Hyd Roller cause I don't want to screw with it after it is together...
Similar threads
- Replies
- 7
- Views
- 914
- Locked
- Replies
- 1
- Views
- 895

