• When you click on links to various merchants on this site and make a purchase, this can result in this site earning a commission. Affiliate programs and affiliations include, but are not limited to, the eBay Partner Network.

69 Super Bee Long Time Coming

you guys that find your sheets suck :icon_fU::icon_biggrin:
that looks like a completly different car. i know what you mean on the trim clips. when i got mine, it had a brand new windshiled, and half of the clips were broke, and they reused a tore gasket. when my body guy pulled the rear glass to fix the corners, he found out they hd had the rer glass out, andagain half the clips were bad.
Your Bee has come a long way, looks great!

Thanks Basket Case! Can't wait to get it back on the road! Man that would drive me nuts, why take the time to replace the windshield and not replace clips that are $20 a set and take 10 minutes to replace??

Given all the rust I assumed the build sheet would've been mush long ago but got really luck. There were remnants of another WHxxxxx buildsheet (R/T maybe, hope not) but barely any of it legible and crumbled when taking it out. Was under the same rear seat cushion so no idea why it was there.
 
Great project. and docs. I like the Super Bees. your second BS is from a Coronet 440 (WH).....(WS) is from a Coronet R/T. my 69 500 had it's original BS and one from a WS under the same rear seat.
 
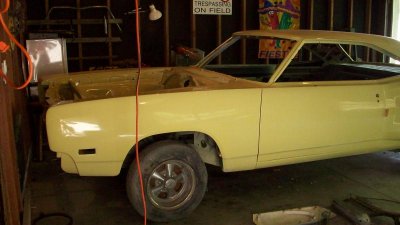
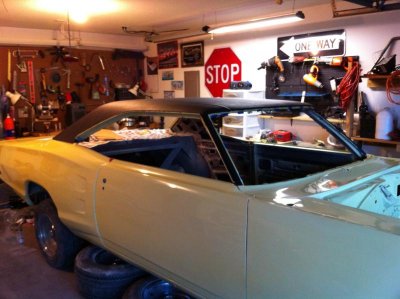
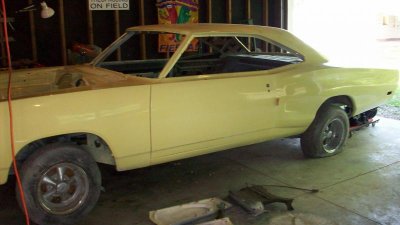
Time to get serious, pulled the motor/tranny & found a local shop to touch up the questionable spots on the body and lay down the paint.

Dr Sd 5.08.jpg

Fr drvr sd 5.08.jpg


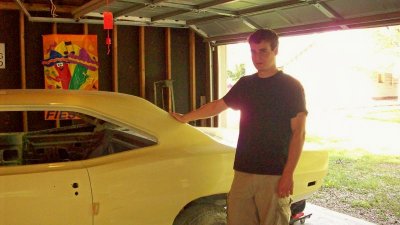
Not sure what I ate that day but my face doesn't look to be in agreement.

me w bee 5.08.jpg

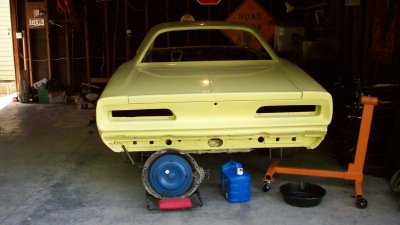
Butt end of it, even though the first guy had pulled the tank to replace the pan, the gas tank ended back on (minus the filler neck :angryfire:) before the guy painted it. Had the 727 rebuilt with I believe a 1800 stall converter but need to dig out the paperwork to verify.

Rear 5.08.jpg

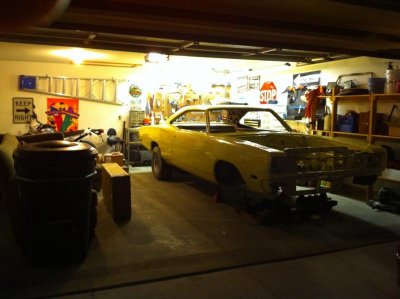
It looked a 1000x better than the rusty mess it began as but still a long way to go. One thing the paint guy didn't do was pull the front fenders despite my multiple requests. Said I could bring it back in but my budget was shot and would have to wait until down the line.
 
I've posted these before but want to keep it all in order.

Not too long after getting the car back from the body shop I ended up graduating, started a new job, got married and bought a house so the car did some more sitting.

Super Bee.jpg

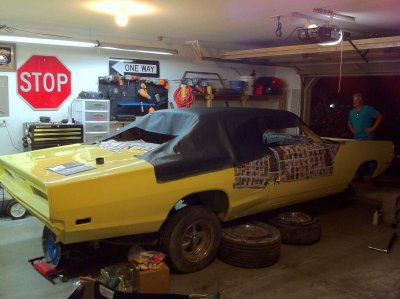
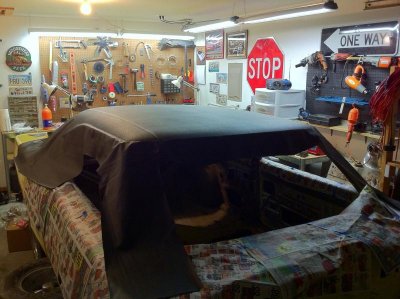
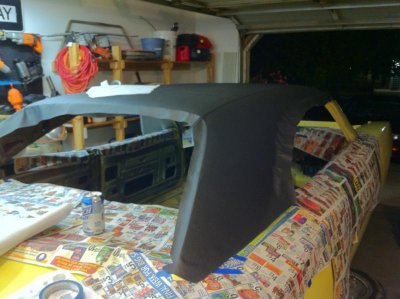
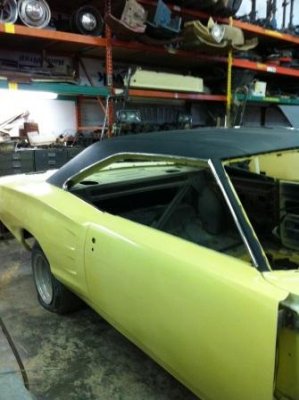
My dad came to town to help out on the vinyl top. Neither of us had ever messed with one before but if you're patient and measure twice & cut once it really isn't very bad. Used a sharpie to find center (maybe not recommended on a light colored top- not sure if bleed through would be a problem) and worked our way from center out to the edges, pulling it tight and making sure no bubbles were left before moving on. Used 3M Super Trim Adhesive, a smoothed wedge of wood, and a couple of plastic trim removal tools to get it tight in the corners. Just don't use anything sharp or abrasive.

Once the contact cement starts to set, it's very unforgiving to try and peel back up so try to avoid if at all possible.

Top Install.jpg

Getting there!

Top Install Front.jpg

Final trimming, beer is optional.

Top Install Rear.jpg

Back side done

Super Bee w Top Rear.jpg

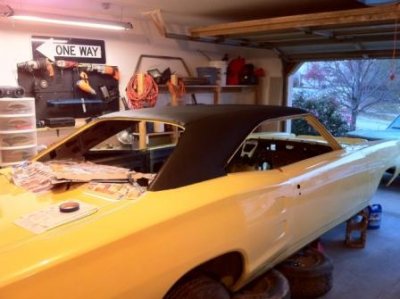
And the front

Super Bee Top Finished.jpg

Makes it easier come the time to mark all of the front & rear window trim clip holes before gluing the top in the channel. Just went back with an awl and poked each hole afterwards instead of having to hunt for them. Would recommend having the drip rail trim ready to put back on soon after installing the top. Speaking from experience- it ended up being quite a bit of time before I did get my trim back on due to polishing and fixing dings in the old and the top did peel up very slightly on the edges. Used an old model car paint brush to apply some more cement prior to putting the trim back on.
 
very nice what a difference... keep it up
 
the vinyl looks good and seeing that you and your dad did it shows that the average person can do it with time and patience.
 
nice job thanks for sharing your updates :headbang:
 
Been awhile since I've updated this!

Got a few small items knocked out while waiting for funds to move on to the bigger stuff.

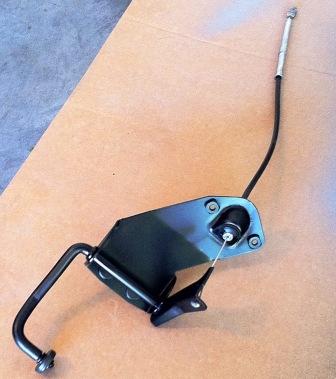
The first body shop that worked on it sprayed primer & painted my interior yellow which made a mess of the accelerator & parking brake assemblies. Bit of acetone, wire brush and a coat of high temp enamel & it's back looking like new. Used graphite to lubricate the cable.

Before
Accelerator Pedal Before.jpg

After
Accelerator Pedal Finished.jpg

- - - Updated - - -

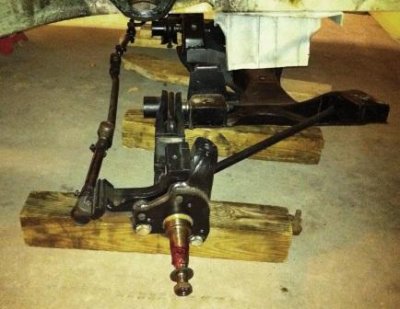
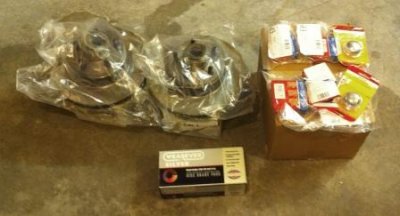
Front suspension, redone with PST parts. Those LCA bushings are not fun! Did convert to 73 Duster front discs, went with the cheapy Advance Auto pads as had a 30% off coupon...will definitely upgrade down the line.
Have a front sway bar and plan on adding a rear though it did not have one from the factory.

Front Suspension.jpg
Front Brakes.jpg
 
Forgot to post the pic with the trim back on!


Top Trim on.jpg

- - - Updated - - -

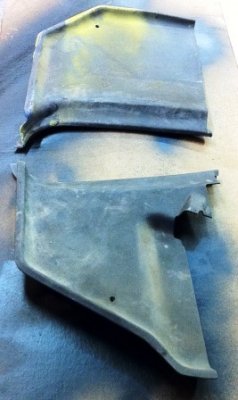
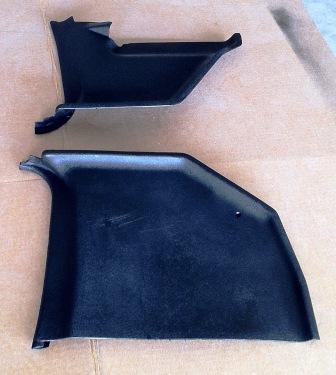
Kick panels, nope they didn't pull those out either. Glad I pulled the dash myself or sure it would have been covered in overspray.

Used SEM Landau Black rattle can after spraying with the vinyl cleaner & adhesion promoter. Couple of scratches show on the driver side but once back in the car I'll probably forget about them.

Kick panels before.jpg
Kick panels after.jpg

- - - Updated - - -

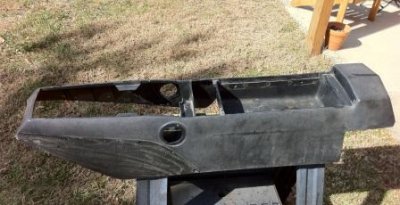
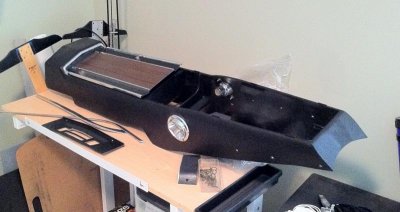
Had to replace my original console, friend had a used one with a hairline fracture along the back edge. Fixed that and used the landau black on that also. Still need to pick up the carpet for it and redo the console wiring harness and it will be ready.

Console Before.jpg

Console Fixed.jpg
 
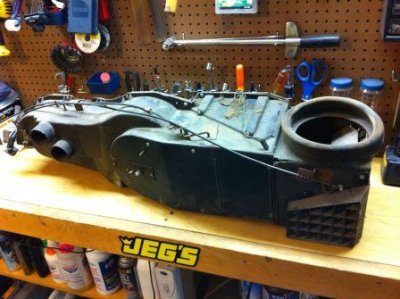
Next up was my heater box.

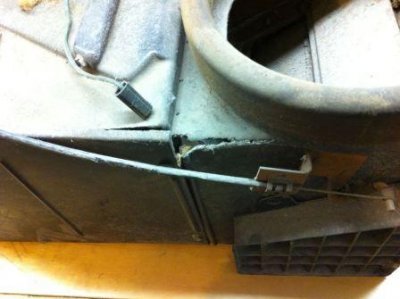
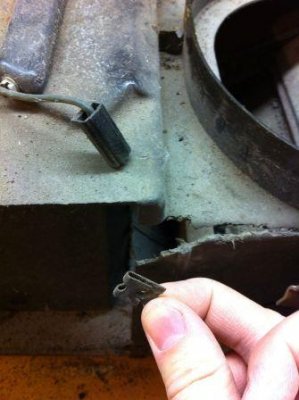
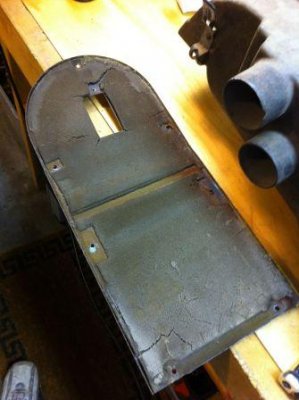
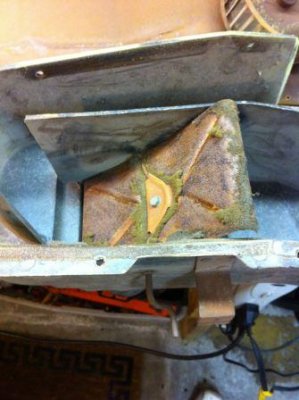
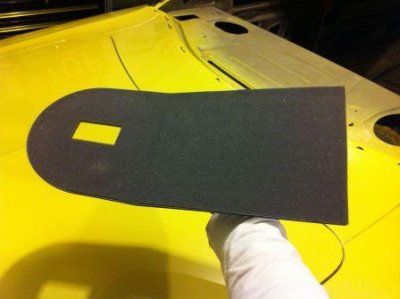
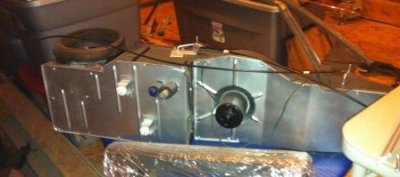
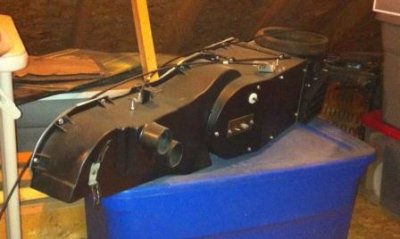
Had a couple of cracks to fix with fiberglass, tore it all down then cleaned and repainted all the components. Blower motor was still going great, replaced the heater core and then used a kit from DMT to replace all the foam.

Heater Box Before.jpg
Heater Box Crack Before.jpg
Heater Box Crack Clip Placement.jpg
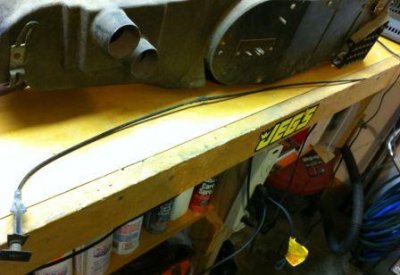
Vent Cable Melted.jpg
Heater Box Back Plate Before.jpg
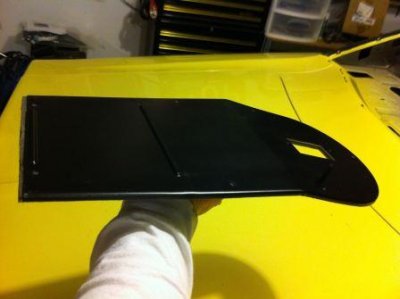
Heater Vent Gate Before.jpg
Heater Box Back Plate After.jpg
Heater Back Plate After 2.jpg
Heater Box Firewall Sd After.jpg
Heater Box Int Side After.jpg
 
Coming along nicely, all the attention to detail sure is nice when your crawling around under the dash or car and everything looks nice and new (makes it inviting to work on).
 
It's definitely taken much longer than had in mind but would rather do it all one time versus having to pick away at small issues later down the line.
Next up fixing headlight buckets and probably respraying the front fenders but having trouble coordinating with the guy who owns the building the car is currently residing in so may be working on the smaller items until that's resolved.

Have the dash frame & trim with the exception of pad finished up, waiting for the next Year One 30% to pick up the dash harness and get that knocked out and toying with the idea of reworking the original AM radio for FM & aux input/ potentially bluetooth. I work in the fire safety industry so have this lingering nightmare is having the car finished and have some old worn out wiring light her up like a roman candle.
 
Auto Transport Service
Back
Top