You are using an out of date browser. It may not display this or other websites correctly.
You should upgrade or use an alternative browser.
You should upgrade or use an alternative browser.
69 Super Bee Rebuild (my way)
- Thread starter hunt2elk
- Start date
hunt2elk
Well-Known Member
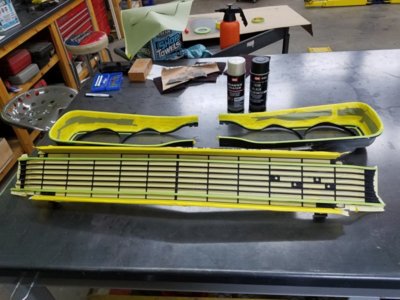
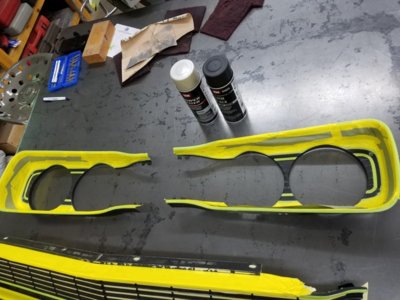
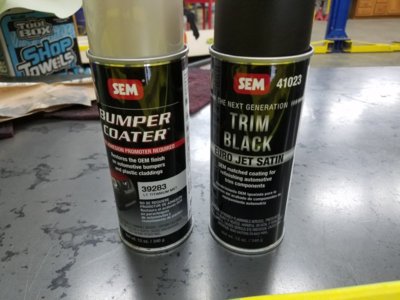
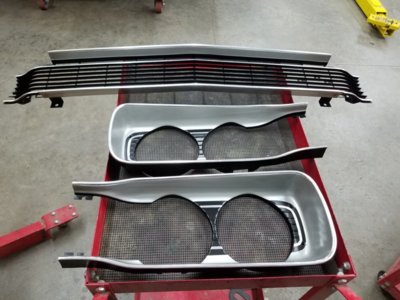
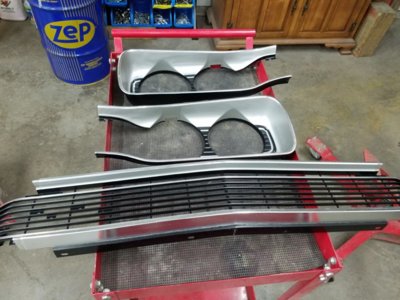
Since my grill wasn't in terrible condition, I decided to try to clean it up with a scuff and repaint. I really like SEM paint and went with their trim black and titanium silver. I think it turned out ok for a driver and if the small scuffs in the anodizing bother me later, I can always send it off to get restored correctly.


Nicely done!
- Local time
- 4:05 AM
- Joined
- Jan 29, 2018
- Messages
- 22,686
- Reaction score
- 81,752
- Location
- Midland Ontario, Canada
WOW... I should have just shipped mine off to you to do!! 
hunt2elk
Well-Known Member
No thanks, one grill tape off job is enough for me for awhile. After reading about all the time you spent restoring your tailpanel, I sent mine to a guy in Michigan to take care of for me. That needed the anodizing redone, so he got that and my wheel well moldings.WOW... I should have just shipped mine off to you to do!!
Last edited:
showard
Well-Known Member
Grill looks great!
Last edited:
I know what you mean Hunt. The GTX grille had silver, dark argent, red, black, and silver. Taping the thing off takes almost as much time as anything else!
Last edited:
hunt2elk
Well-Known Member
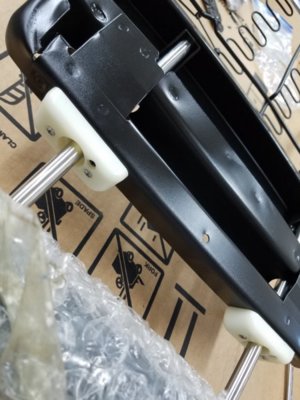
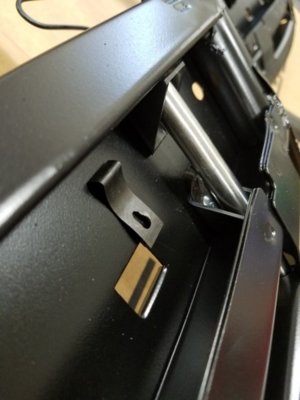
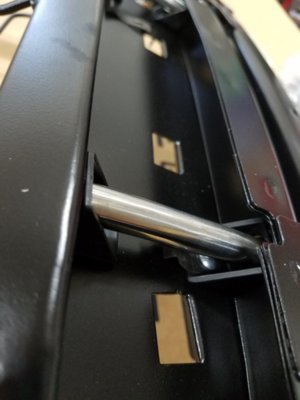
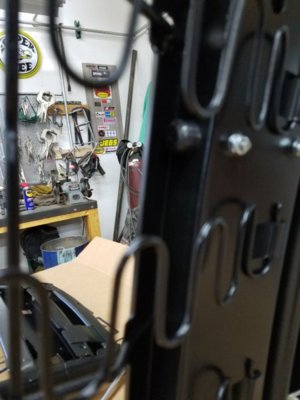
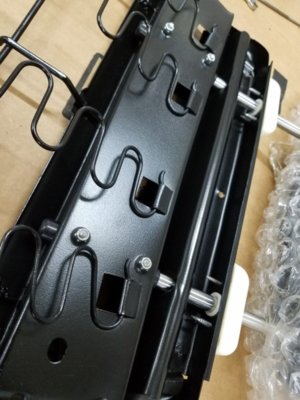
Took a little time to get the headrest mounts fitting nice. I had to elongate the holes in all 4 spring clips so as they would grab into the notches of the posts. Also had to file the holes in in the black plastic pole supports as well as the large hole of the metal frame on one of the seat uppers. Mounting hardware for some reason doesn't come with hardware. I believe they originally would have been fastened with sheet metal screws, but after making the holes bigger in the plastic supports, I felt better using some 8-32 screws and nylock nuts.


hunt2elk
Well-Known Member
Cool !
showard
Well-Known Member
Great! Keep up the good work.
hunt2elk
Well-Known Member
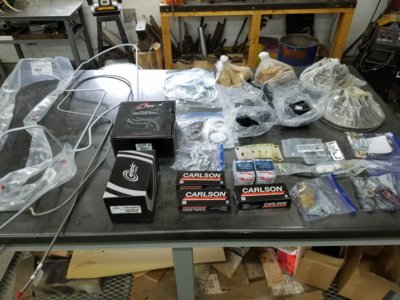
Been like Christmas around here this week. Boxes coming everyday from an order placed with Dr. Diff last Friday. Decided to go with the stage 2 disc conversion with the bigger rotors as well as a 15/16" bore master cylinder, both being a first for me. Waiting to order the Strange S60 from him and hoping Strange runs a special on black Friday like they did last year. Cass is the best . Wish every vendor would copy his business model.

What rims are you going to run? Just front disc's?
hunt2elk
Well-Known Member
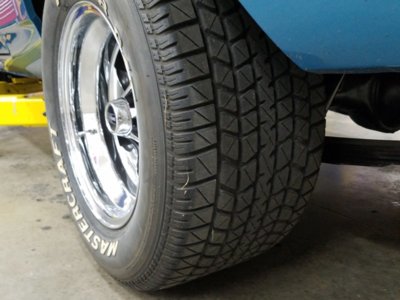
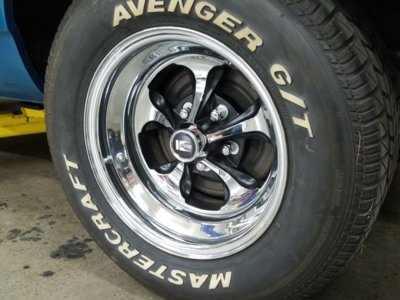
Yes, front disc/rear drum. Not exactly certain on wheels yet. Had my mind made up to go with the Keystone Klassics I already have. But 2 of my 3 boys are now thinking they would like black Steelies with white letters out. They thought I was nuts when I told them that's what I was putting on our Duster. Now they really like that look. Unfortunately that may change what color rump stripe I go with. I like the white stripe with any chrome in the rims, but with black wheels, a black stripe may look better. Decisions, decisions.......What rims are you going to run? Just front disc's?
How wide in back?
hunt2elk
Well-Known Member
hunt2elk
Well-Known Member
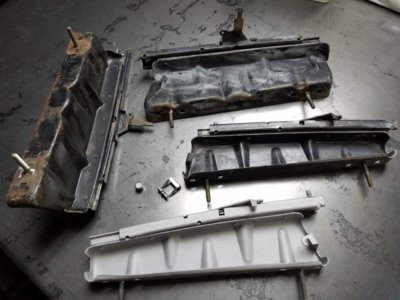
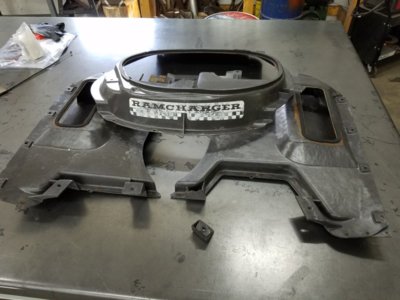
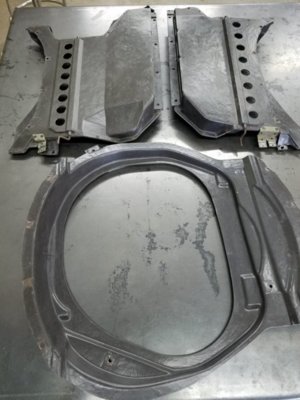
Dug out my Ramcharger ductwork. Cleaned it up with Simple Green. I think it looks really good for 50 years old. Couple of easily repaired minor cracks. One mounting tab that was already broke when I got the car. The car was taken apart 15-20 years ago and went through 2 owners and several moves. I am certain this tab got busted somewhere in that time period. I kind of like the patina and dont want to paint these parts if possible.


hunt2elk
Well-Known Member
Thanks to @Photon440 for the recommendation of a fix for this tab. Had 2 nice contact points left so glued it in place with plastic welder.
I'll let this set for a day and then the plan is to use fiberglass resin to fill in the hole and I think I will build it up on the back side for added strength.
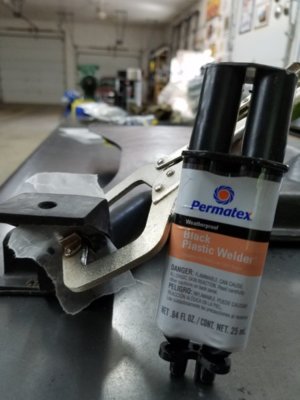
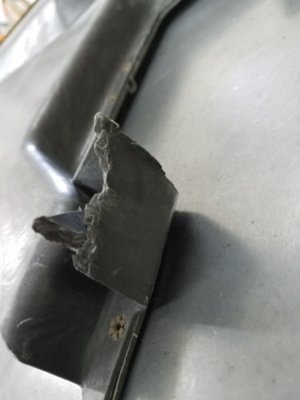
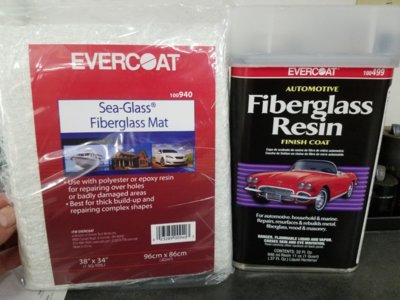
I'll let this set for a day and then the plan is to use fiberglass resin to fill in the hole and I think I will build it up on the back side for added strength.


Similar threads
- Replies
- 10
- Views
- 587
- Replies
- 107
- Views
- 7K
- Replies
- 9
- Views
- 865
- Replies
- 50
- Views
- 4K

