• When you click on links to various merchants on this site and make a purchase, this can result in this site earning a commission. Affiliate programs and affiliations include, but are not limited to, the eBay Partner Network.

70 RR Fix-up

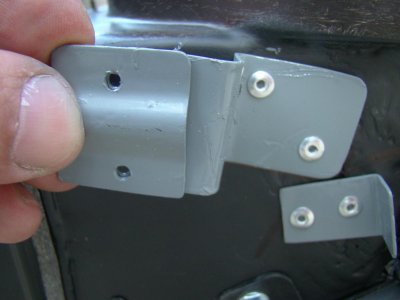
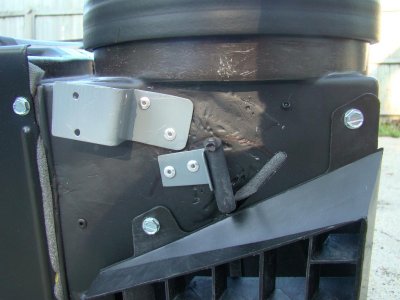
I made the bracket for the vent cable, and the cable stop as it was MIA when I got the box. It's not like the original, but it works good.
 

Attachments

  • DSC02838.jpg
    DSC02838.jpg
    64.4 KB · Views: 244
  • DSC02825.jpg
    DSC02825.jpg
    105.9 KB · Views: 236
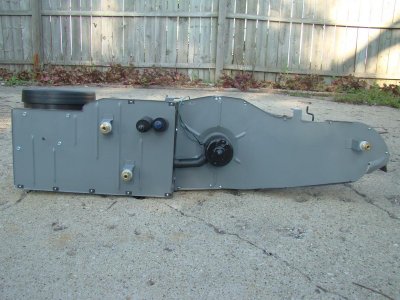
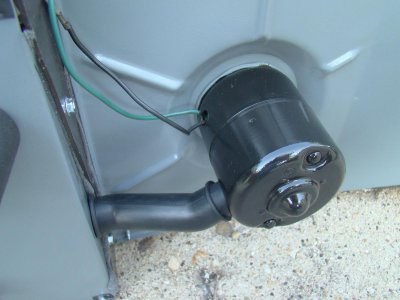
Finished heater box!
 

Attachments

  • DSC02817.jpg
    DSC02817.jpg
    166.1 KB · Views: 263
  • DSC02821.jpg
    DSC02821.jpg
    94.8 KB · Views: 233
  • DSC02823.jpg
    DSC02823.jpg
    179.6 KB · Views: 254
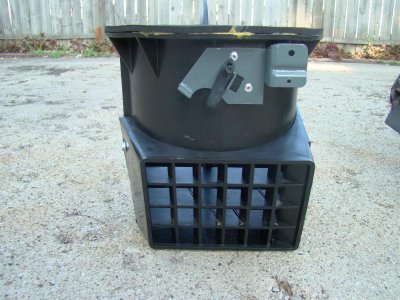
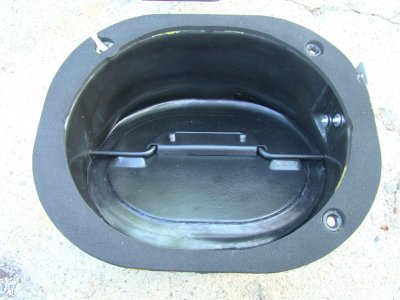
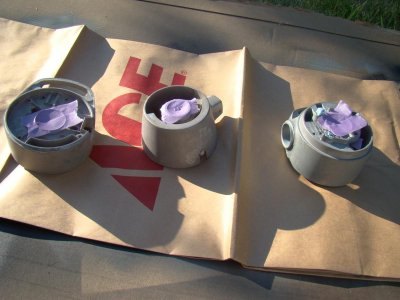
Refinished the driver's side vent box with new seal, stripped and repainted the cable bracket and added the new foam seal up top.
 

Attachments

  • DSC02836.jpg
    DSC02836.jpg
    176 KB · Views: 244
  • DSC02834.jpg
    DSC02834.jpg
    125.6 KB · Views: 243
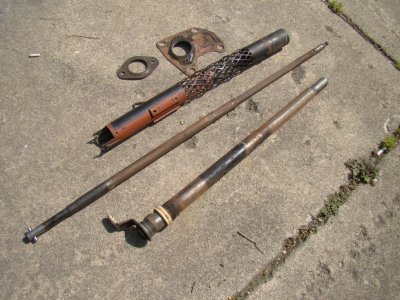
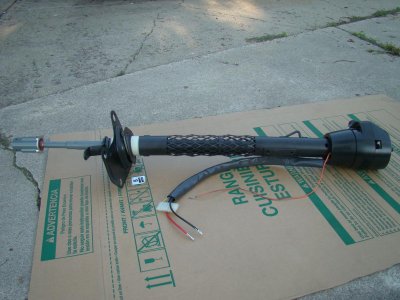
Here's the steering column resto part...installed new upper and lower bearings, ignition ant turn signal switches, coupling joint.
 

Attachments

  • DSC02593.jpg
    DSC02593.jpg
    195.7 KB · Views: 234
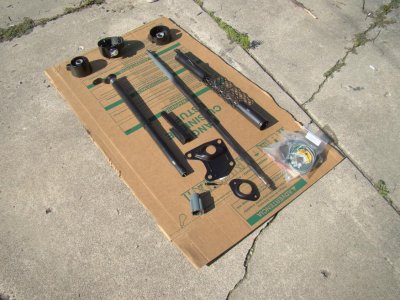
Here's the stripped upper column parts that I had dipped, rather than trying to sand all that aluminum, and risk scratching the surface, and keeping the shavings out of the fine threads.
 

Attachments

  • DSC02807.jpg
    DSC02807.jpg
    115.3 KB · Views: 248
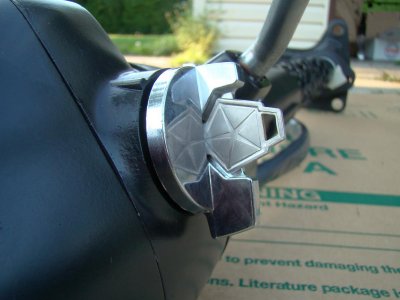
Here's the refinished parts....all ready for re-assembly.
 

Attachments

  • DSC02839.jpg
    DSC02839.jpg
    196 KB · Views: 251
Before and after of the gear selector needle.
 
The finished product -
 

Attachments

  • DSC02862.jpg
    DSC02862.jpg
    85.2 KB · Views: 240
  • DSC02847.jpg
    DSC02847.jpg
    145.2 KB · Views: 241
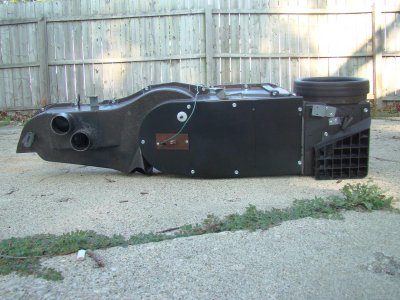
Finally time to install something on this heap! Vent box on driver's side, and heater box are ready and fully operational!!
 

Attachments

  • DSC02903.jpg
    DSC02903.jpg
    161.8 KB · Views: 244
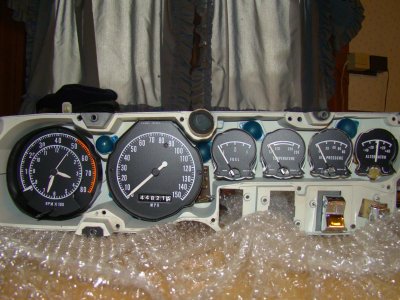
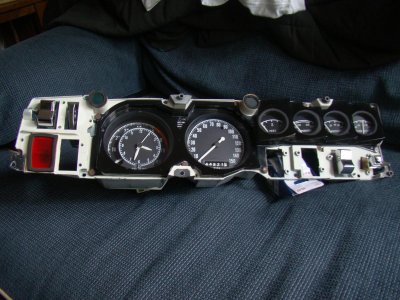
Here's the instruments after they've been gone through, and of course, I had to add in the tic-toc-tach!
 

Attachments

  • DSC02872.jpg
    DSC02872.jpg
    159.1 KB · Views: 233
  • DSC02889.jpg
    DSC02889.jpg
    163.3 KB · Views: 250
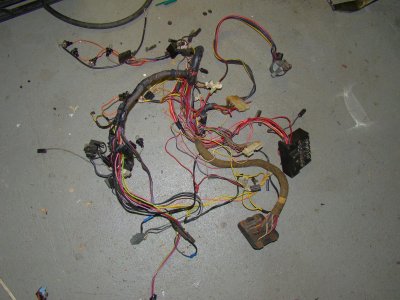
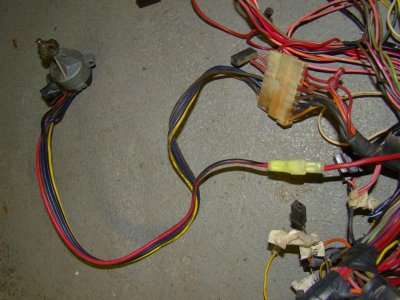
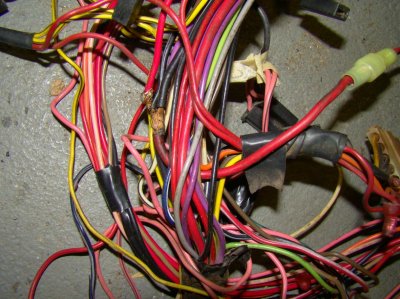
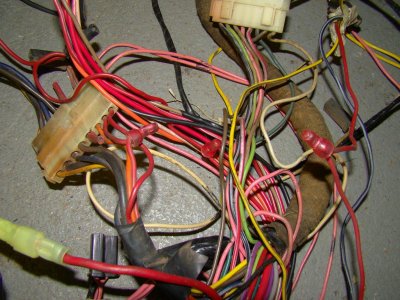
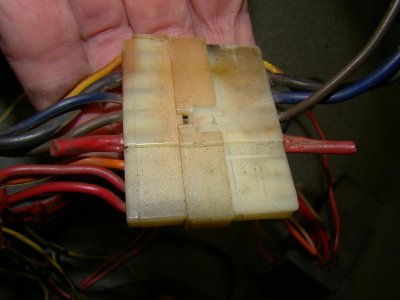
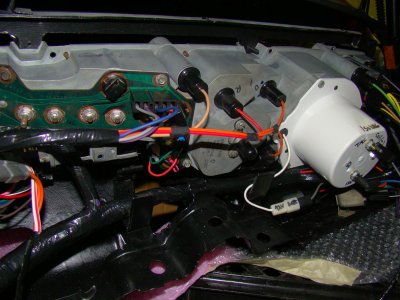
The dash harness was a rat's nest, and I'm surprised everything worked before, and more importantly, that the car didn't have a fire with all the BS work done to it.

FYI the thich red wire was bypassed on the coupler, and soldered directly into the harness. Also, notice the red plastic connectors all over this mess!
 

Attachments

  • DSC03380.jpg
    DSC03380.jpg
    155 KB · Views: 235
  • DSC03381.jpg
    DSC03381.jpg
    163.1 KB · Views: 241
  • DSC03383.jpg
    DSC03383.jpg
    196.2 KB · Views: 251
  • DSC03384.jpg
    DSC03384.jpg
    193.2 KB · Views: 233
  • DSC03386.jpg
    DSC03386.jpg
    85.4 KB · Views: 232
New dash harness is installed and ready for some voltage!
 

Attachments

  • DSC02895.jpg
    DSC02895.jpg
    136.4 KB · Views: 244
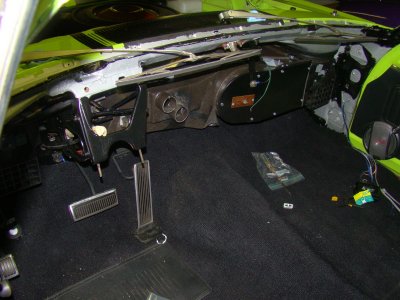
Dash frame installed with the instruments in there, wiring harness and new dash pad, too. I installed most of the parts on the frame out of the car and installed it as one assembly that way, rather than trying to do it all inside the car.
 

Attachments

  • IMG_1823.jpg
    IMG_1823.jpg
    101.7 KB · Views: 238
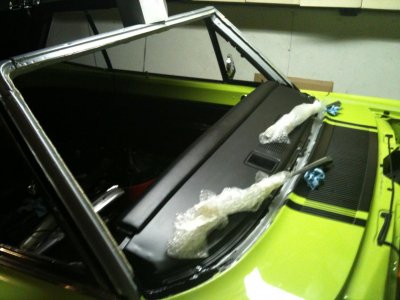
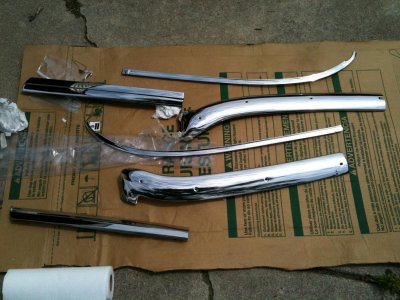
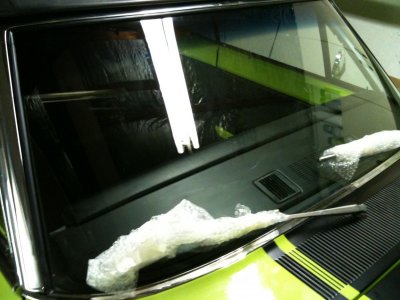
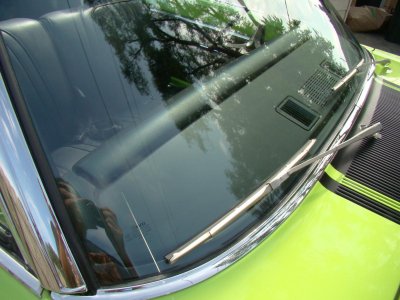
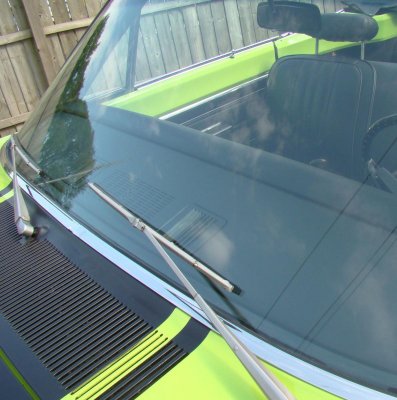
Front stainless windshield trim professionally polished to a chrome-like finish, and dings removed along with the glass/trim installed.
 

Attachments

  • IMG_1840.jpg
    IMG_1840.jpg
    149.7 KB · Views: 244
  • IMG_1842.jpg
    IMG_1842.jpg
    112.6 KB · Views: 226
  • DSC03043.jpg
    DSC03043.jpg
    133.5 KB · Views: 244
  • DSC03038.jpg
    DSC03038.jpg
    156 KB · Views: 238
Here's the finished dash. I liked the way it turned out!
 

Attachments

  • DSC03035.jpg
    DSC03035.jpg
    140 KB · Views: 233
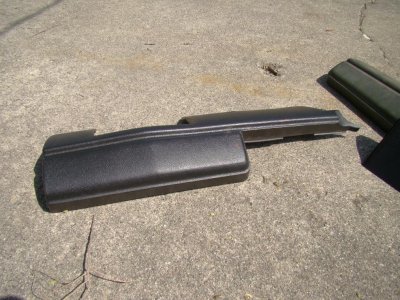
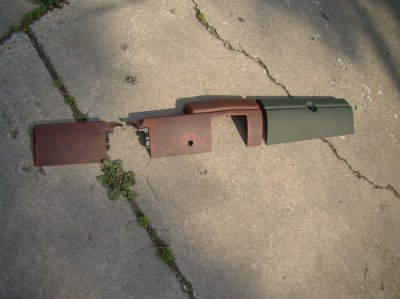
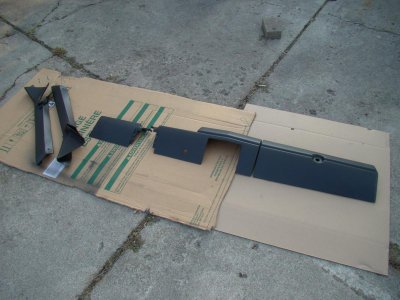
Here's the lower dash trim pieces, before and after.
 

Attachments

  • DSC02587.jpg
    DSC02587.jpg
    197.6 KB · Views: 223
  • DSC02586.jpg
    DSC02586.jpg
    194.5 KB · Views: 236
  • DSC02599.jpg
    DSC02599.jpg
    195.4 KB · Views: 222
  • DSC03002.jpg
    DSC03002.jpg
    139.8 KB · Views: 236
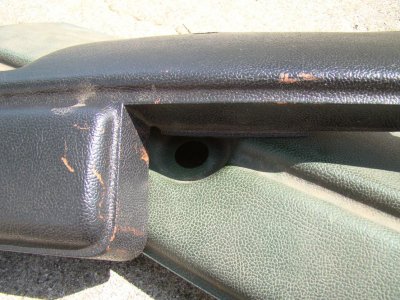
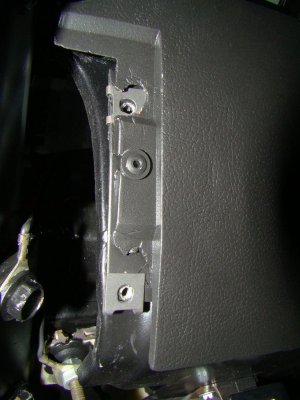
Had to do some repairs to the lower pieces as the tabs that held in the clips for the center section, under the column, were broken off. So what I did was added a piece of plastic in there behind it that I rivted in, and drilled for the holes for the clips. Hope it's not too half-assed!
 

Attachments

  • DSC03015.jpg
    DSC03015.jpg
    134 KB · Views: 229
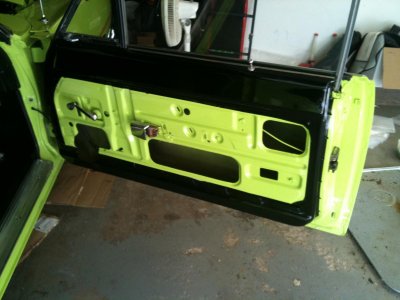
Time to get rid of the BS lime paint on the door frames and the rear door panels! Car was sent to a friend of a friend's for the paint work.
 

Attachments

  • IMG_2352.jpg
    IMG_2352.jpg
    94.3 KB · Views: 228
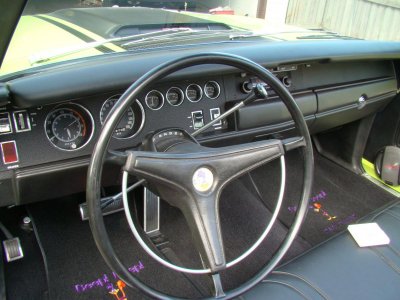
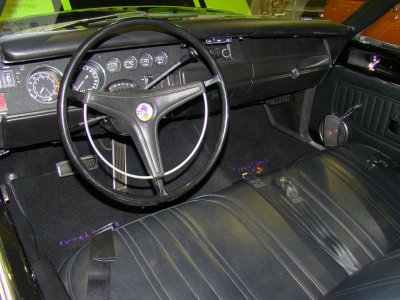
Here's what the interior looks like all done...note that I still need to address the steering wheel as that's a 69 earlier part. Something to do in 2012!
 

Attachments

  • DSC03179.jpg
    DSC03179.jpg
    161.8 KB · Views: 226
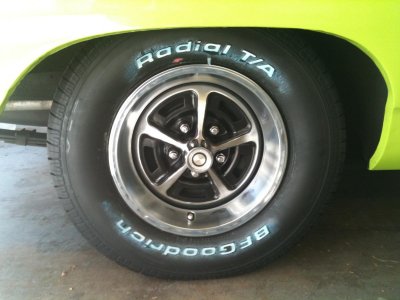
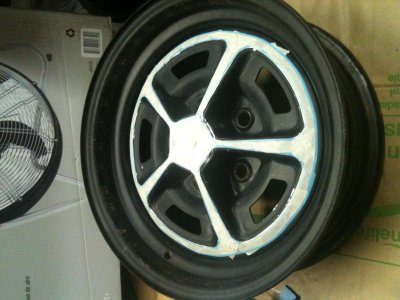
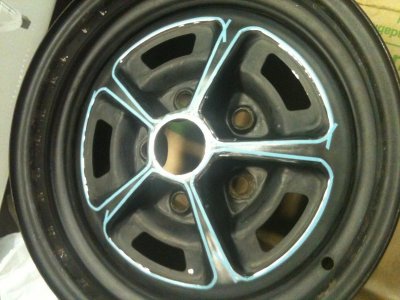
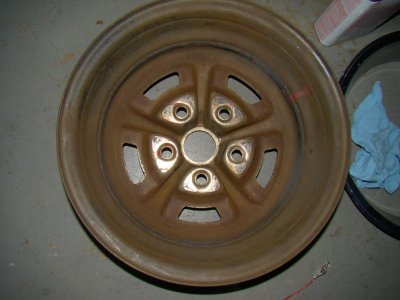
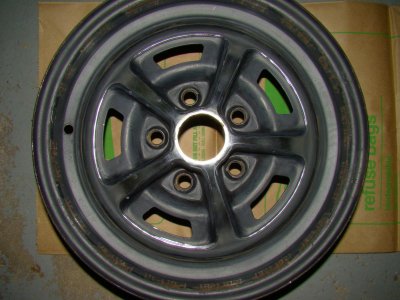
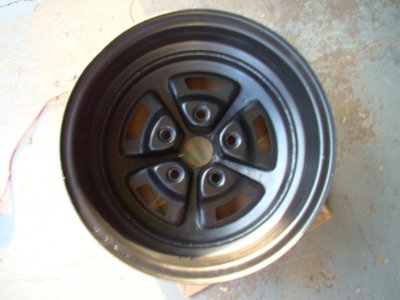
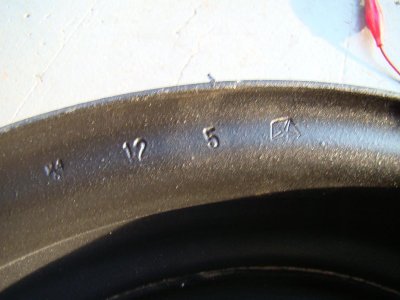
Here's the wheels with lots of imperfections and the masking job I did by hand, and painted.
 

Attachments

  • IMG_2354.jpg
    IMG_2354.jpg
    98.7 KB · Views: 233
  • IMG_2320.jpg
    IMG_2320.jpg
    119.9 KB · Views: 220
  • IMG_2319.jpg
    IMG_2319.jpg
    132.2 KB · Views: 218
  • DSC03093.jpg
    DSC03093.jpg
    103.1 KB · Views: 225
  • DSC03089.jpg
    DSC03089.jpg
    129.5 KB · Views: 228
  • DSC03098.jpg
    DSC03098.jpg
    87.2 KB · Views: 237
  • DSC03099.jpg
    DSC03099.jpg
    107.9 KB · Views: 211
Auto Transport Service
Back
Top