• When you click on links to various merchants on this site and make a purchase, this can result in this site earning a commission. Affiliate programs and affiliations include, but are not limited to, the eBay Partner Network.

71 Superbee Build

NWA Super Bee

Active Member
Local time
6:22 AM
Joined
Mar 7, 2019
Messages
28
Reaction score
26
Location
Arkansas
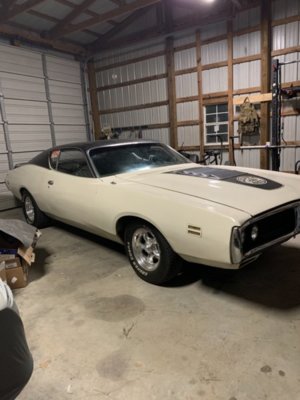
Okay, I guess it’s finally time to start recording the build progress of my 71 Superbee.

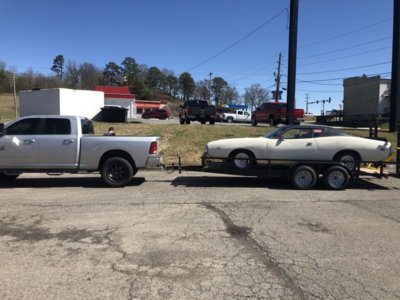
For those that don’t know, this car has been in my family since the late 80s, it was my grandfathers daily up until about 2013-2014 and sat for a very long time when his age no longer allowed him to drive something that required so much work. My grandfather passed away a couple years back, and me and my uncle couldn’t fathom letting my grandpas prized possessions (many cars) go to estate auction, so we coughed up the cash and walked away with three of his favorites.

I took the 71 Superbee (my childhood dream car), and the 72 Barracuda

My uncle took my grandpas drag car. A 56 Ford Fairlane Club Sedan that’s been mopar powered it’s whole life and is a legend around Arkansas drag racing. Bright yellow massive car that did wheelies down a 1/8 mile with ease.
 
Okay, so when I first got the car, it was in horrible shape. Leaked like crazy, had many many electrical ghosts, bad ignition, Romex under the dash, mice in the trunk, but the car still cleans up good, is virtually rust free except for a spot under the hood where brake fluid splashed on paint. It hadn’t run reliably in almost a decade, I had my work cut out for me.
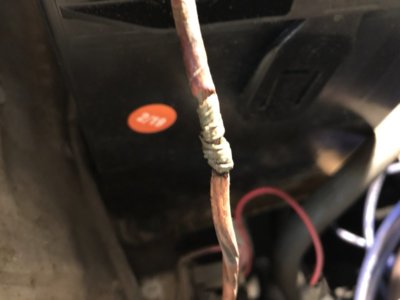
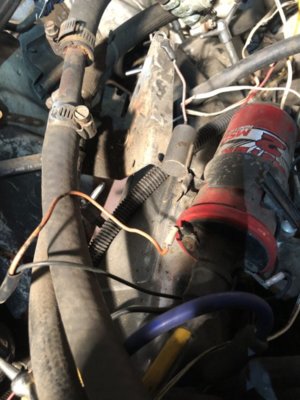
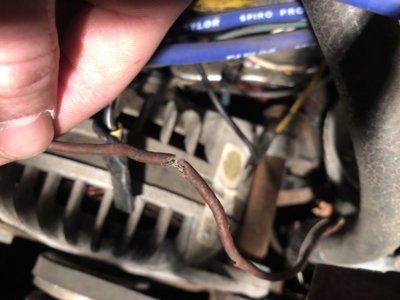
First thing in order was resolve some of the wiring issues. I spent about 40 hours in a week just cutting out old wire and putting in new wire where old stuff was dry rotted or poorly connected. I really didn’t have a good plan at the time, and didn’t understand as much about old Mopar ignition systems as I thought it did. I became a quick study of points ignition lol.....

A0BF679C-C535-4D18-ABCD-9E5713E62112.jpeg D539149D-FEC2-4044-B444-32CCCE79DE85.jpeg F2826564-C582-4FBF-827E-4DEED167139D.jpeg 8933BFC5-E349-42CB-82F1-AAC7FDE3C9E5.jpeg EC066D02-31C1-4C5A-A753-9B7F02F8AE39.jpeg
 
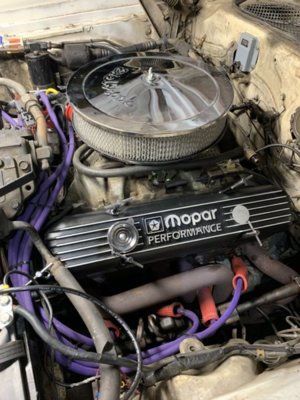
At some point, my grandpa put in a mildly modified 400 in the car. It’s a 73 block, and it’s actually a very strong motor. This however caused a lot of issues along the way sourcing the correct parts. Every time I went to parts stores or called vendors I had to explain the swap, and then just Jane them look up parts for a 72 and then
Make sure myself nothing had changed regarding mounting locations. Over a few months, I had rallied up a pretty big lists of replaced parts.

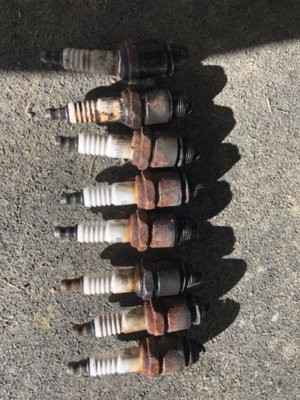
complete ignition system - MSD Ready to Run Distributor, B2 coil, streetfire spark plug wires, new plugs, voltage regulator bypass with single wire alternator (more on that later)
New eddy AVS2 650 carb, fuel lines, fuel tank and filters
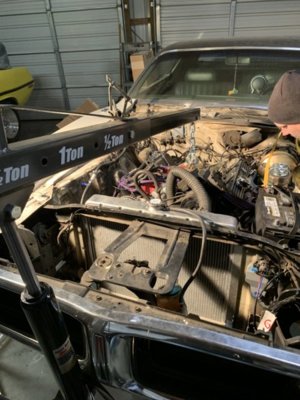
New radiator and electric fans - went with engineered cooling products. Can not recommend these guys enough, amazing system and super easy to install and program
Proper fitting wheels and tires, Grandpa always said the tires he had were too big and that’s why it rubbed over bumps, but the car actually had the wrong BS wheels on it. Now has Torque thrusts.
New 727 Transmission with heavy duty internals built by Johnny Vickery in Prairie Grove Arkansas.
That’s a short list of the major things done last year before winter hit.

View attachment 923138
 
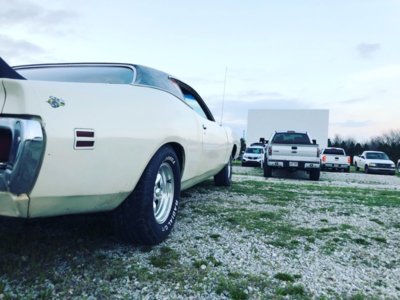
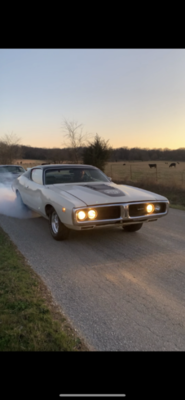
This picture was taken during the maiden voyage for the Superbee. My daughter wanted to go to the drive in and take it. Car ran great on the way there, but at the time I had convinced myself that I had a slow battery draw even though I could find no evidence of that through electrical testing. I later that night figured out my charging system was actually the culprit because on our drive home my headlights got so dim that the car was unsafe to drive. I called my wife and daughter an Uber and I slept in the car that night until It was daylight enough for me to safely drive her home.

Shortly after this I started down the LONG road of fixing my charging system. I ended up ordering a Single Wire 130amp alternator from Tuff stuff, and that’s where all my problems started.

The alternator sat for about 4 months while I was overseas doing some protection work, and when I got home and finally got it installed I could not get voltage above 11 volts from it. Turned out to be a bad voltage regulator, or I thought anyways.

So I ordered a new voltage regulator from tough stuff for the alternator, wired it up, the car charged for about 30 seconds and it fried again. I was frustrated to say the least. I ended up removing the internal voltage regulator and re-wiring the dodge 3 wire firewall mounted setup, the alternator would charge but it was kicking out 17 volts at 3000rpm, battery no like.

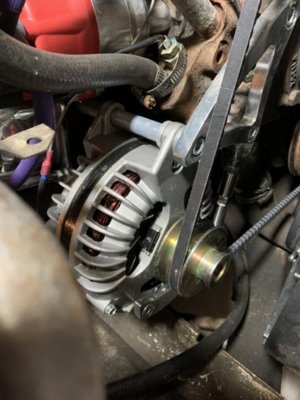
Now before I go any further, the guys at Tuff Stuff are awesome, they fixed the alternator and shipped it back in a hurry, but it’s still sitting in the shop in the box because in the meantime I made my own bracket for a GM single wire 100amp and it’s working amazingly. It’s blasphemy having it on my engine, but until it stops working I may not remove it, I haven’t decided yet.

7234CC04-2CB9-481C-AE21-3A42566FAB62.jpeg 9482F411-55CE-4DF1-AE18-8B8A2E07ACBC.jpeg
 
Okay, so the car I running awesome as of two weeks ago. Threw the first nasty peg leg burnout in it, it starts first turn every time, what can go wrong?

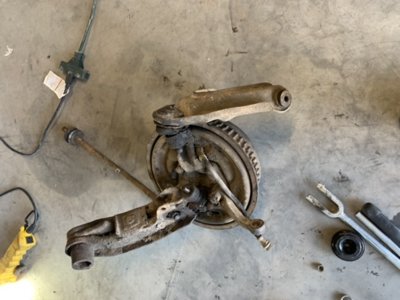
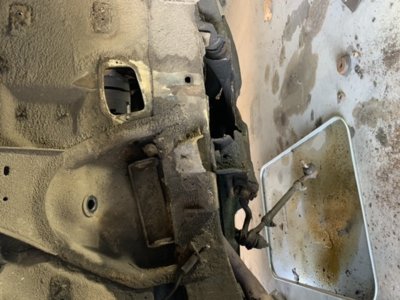
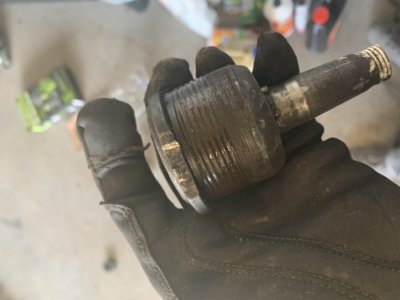
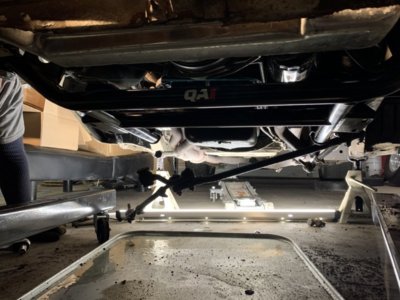
well, I’m at a cruise night with a buddy, and he looks in his passenger rear view and notices that my front passenger wheel is wobbling. Now I knew I had a steering shake, I assumed it was the factory steering and suspension linkage, but man this was bad. I decided to tear apart the front end and rebuild it, and that’s where all the problems started. Let’s just clear this up. I’m an idiot and didn’t research the fact that Chrysler UCA ball joints are screw on. My 12 ton press doesn’t like me, and the UCA doesn’t either. I’d also like to point out, that the factory designed lower control arm bushings are HORRIBLY designed. Having to weld a washer in place to remove (attempt should be used here as I never got one of them out) is a bad bad bad design. All in the world is good though, this frustration finally made my mind up to spend a bunch of money I don’t have and buy a full QA1 front suspension and K member setup, and a hotchkis rear suspension. These are currently awaiting shipment but man I can’t wait to start dropping this stuff in. Everything I’ve read on here says it changes everything about the car.

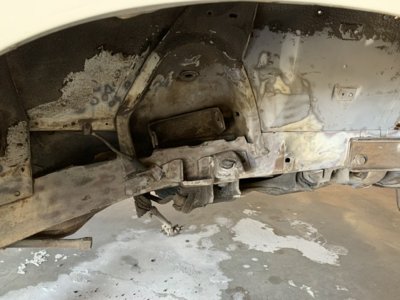
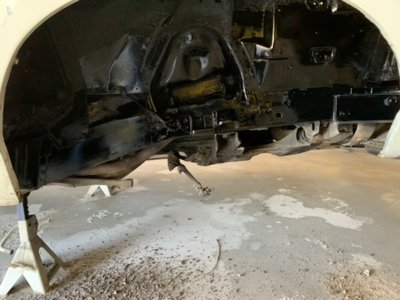
Before I put in the new stuff, I also decided to clean up 50 years of road grime and dirt from the fender wells and frame rails...wow what a job that was. Took 4 days of scraping and wire wheeling. Looks great now though.

34A80B1F-313C-44BF-9C01-46F72100A470.jpeg C8E6B934-E5A7-47F1-95BD-794078482FC4.jpeg A9902AF6-4A51-4F7C-9D69-95E92EAC1D05.jpeg C8E08375-383B-4768-9308-DB012D2E9303.jpeg 06D52DFF-4EFC-4A9D-80BA-E15C03F40A19.jpeg 21F34B29-294E-4A65-94B7-BB57F29D3366.jpeg
 
Last edited:
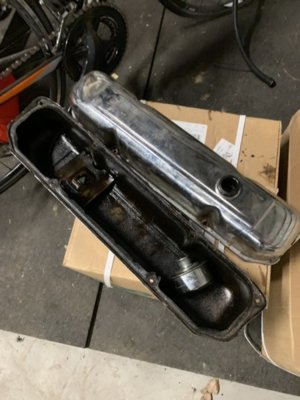
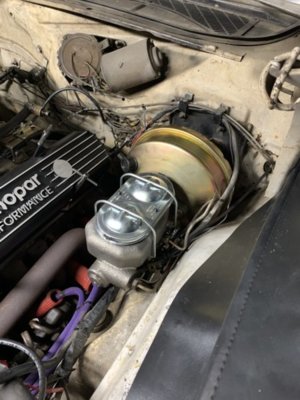
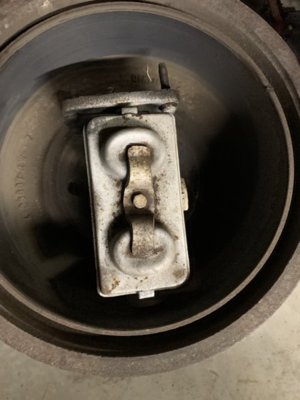
At some point last year, I ordered a full front disc brake kit from Classic Performance and some Mopar Valve covers. I finally got around to installing them and the covers look great. Converting the car from manual
To power brakes wasn’t hard, but the connecting rod that goes from the brake pedal to the booster had to be modified about 2.5 inches to fit the application. Also, the fittings are backwards for the M/C. The original front fitting fits the back on the new cylinder, and vise versa. I think this will present problems so I will probably drop in some new lines when I do the front discs during the front end assembly.

80126483-5CD4-4D46-9271-40376C130F56.jpeg 791FD48A-AAAD-4214-A347-978B40E33CE5.jpeg DD5FAAC5-38E5-4963-BD58-7FAF0A3512D5.jpeg 31938EE7-D296-464F-A0AC-7CB73AA83D9A.jpeg
 
Just for fun.

Also on the soon to be ordered list, the car has a 8 1/4 rear end with 2.71 gears. It has a ton of power with those tall gears, so I can’t wait to see how it drives once it has a 8 3/4 with 3.55s under it. Looking for recommendations on a good company for the complete rear end if anyone has one.

2DAEBF34-1133-484C-8CD5-615C238A43B8.png
 
I’ve also been working out some timing and lean mixture bugs I’ve been experiencing. I have a nasty header leak, which I think is due to old warped headers not sealing, so I’ll be ordering some Dougs or TTIs very soon, and I’ve got a hole in the exhaust tubing you can stick your fist in near the collector. I think this may be causing an exhaust pop when I let off the gas at high rpm.

I’ve been dabbling some with the engine timing and the car seems to really like about 18 degrees of initial, 21 mechanical, bringing it all in at 39 degrees with another 12 or so vacuum advance. The car does have a cam, and it sounds pretty choppy, but I need to get the engine apart after this driving season and get a full rebuild up so I know what I’m dealing with. Anyone with a 400 run that much timing with success? Would it be possible the car is stroked and I’m not aware of it? It has a lot of seat of the pants power for 2.72 gears. I did find out the heads are the cast 516 heads, but I don’t know if any work was done to them. The car does not perform like a stock 400 should, it certainly has more than 250 horsepower. Just curious about any thoughts.
 
I’d also like to point out, that the factory designed lower control arm bushings are HORRIBLY designed.
Perhaps you don't understand the construction.
The pin that goes through the K member is pretty easily pressed out from the back side where the torsion bar inserts.
I just used a scrap piece of 2" exhaust tubing slip it over the pin and a 5/8" bolt for a drift pin. I used my log splitter at idle and pushed them right out.
There is nothing wrong with the factory setup.
Looks like you are doing a nice job on it.
 
Last edited:
Perhaps you don't understand the construction.
The pin that goes through the K member is pretty easily pressed out from the back side where the torsion bar inserts.
I just used a scrap piece of 2" exhaust tubing slip it over the pin and a 5/8" bolt for a drift pin. I used my log splitter at idle and pushed them right out.
There is nothing wrong with the factory setup.
Looks like you are doing a nice job on it.

I understand the construction just fine. I had no issues removing the pin, it’s the bushing that cannot be removed. Even the factory service manual calls for using a hammer and chisel and basically destroying the old bushing. The fix for as long as I can remember on all the B and E bodies has been to weld a washer on and press it out, this has been discussed MANY times and is a common sticking point for many when rebuilding their front end.
 
it’s the bushing that cannot be removed
I understand it's not real easy, but I don't see it as justification to go to all aftermarket replacement parts.
There's a guy that runs a 66 Charger at the Autocross at Carlisle.
He runs nearly stock front end parts with a couple stiffeners and upgraded bushings.
He's won a couple times, nearly always in the top 3.
 
Okay time for some updates. I decided to go all out this year on the charger. I got a big bonus and tons of time on my hands because of this whole Corona crisis, so here’s a ton of updates.

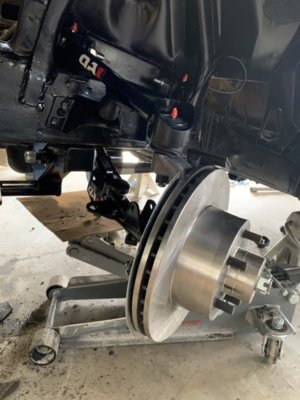
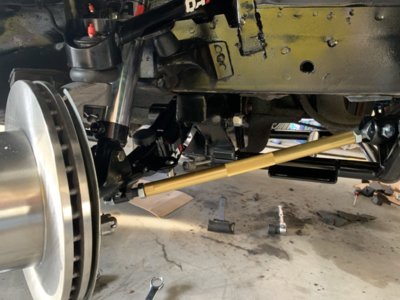
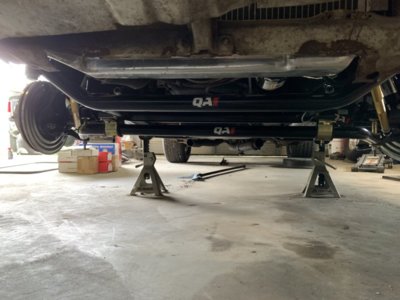
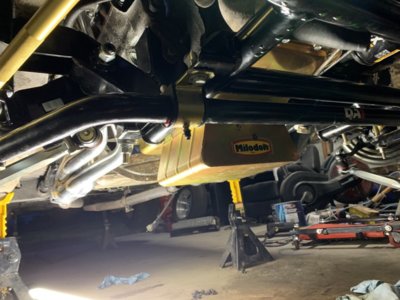
Entire front suspension including K member has been replaced. I went full QA1 tubular stage 3 kit, and man I am so impressed. Everything with the kit was a super easy install. K member bolted right up, the front sway bar was a bear to get in place, but once it bolted up it looks awesome. Also ordered some hotchkis sport torsion bars to compliment the kit and hopefully give a better ride than stock.

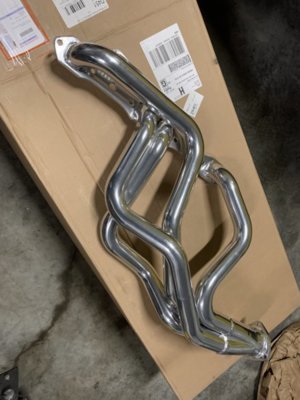
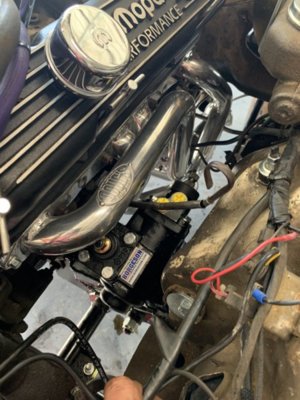
Doug’s headers were my final choice, and I was not disappointed. I had to make one tiny dent where the #5 tube was contacting my mini starter, just a little massaging and everything buttoned up nicely.

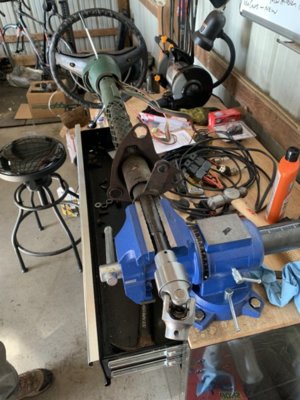
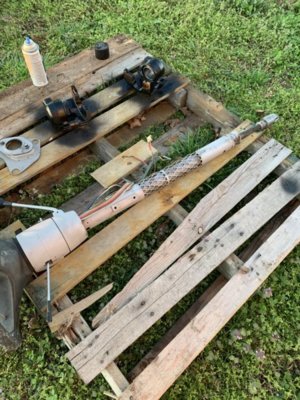
I’ve had a nasty power steering leak for a while, so I decided to go full on Borgeson box and pump on the car. Everything went fairly smoothly cutting the steering shaft and attaching the coupler, I even decided to media blast the steering column and repaint it while I had it out. Borgeson even sends a drill bit to drill the shaft for roll pins. Very impressed. The only hiccup I’ve had is that I have big electric fans, and the power steering pump is contact the fan housing, so I need to replace my drivers side fan with a low profile unit, not a big deal.

Disc brakes are on the car from Classic Performance, very nice entry level kit. Bolted up nicely, came pre attached to the spindle and went right on the new QA1 kit.

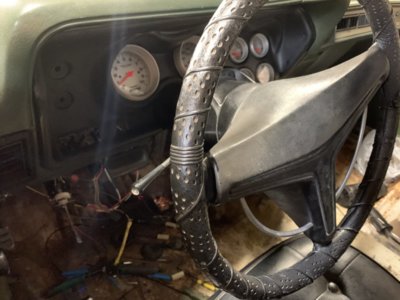
I also decided to update my gauge cluster since mine wasn’t the original that came in the car and get something more modern. Ordered the Autometer kit with white faces, currently in the process of installing and wiring and will report back.

Another addition was a hidden Bluetooth radio in the trunk, super nice setup that’s completely operated by your phone so there’s no need to cut my new dash bezel for a radio. Also replaced the shot dash speaker and rear shelf speakers.

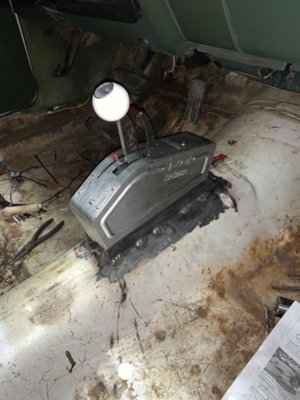
Couple more things to go on soon. Converting the car to a floor shift, have a nice B&M ratchet shifter. New carpet. Milidon pan with bigger oil capacity, new Eddy Performer RPM intake. TTI full bolt on exhaust with electric cutouts. 8 3/4 rear end with 3.55 gears from Driveline works out of Florida. And a Holley EFI system (haven’t landed on a model yet). Going to be a great year for my Charger!! Here’s some pics of the progress.

A1595540-2514-42B8-832C-3B77CC703D25.jpeg A69C8117-1D83-400E-8EC4-B4F393F6E67C.jpeg FF24A8FC-A842-4264-A5FF-7D85EF7E36E9.jpeg 97FFC3D6-72A0-4105-B584-B7698FE3A89C.jpeg CE45BE89-7B53-4CAB-AF7D-4A7766ADA761.jpeg B55AC8E8-9327-4356-939C-5E1E2FCDC98D.jpeg 54F18EF6-178E-4614-8E1A-D06BB8A41E9D.jpeg EFFEC2E0-BE1B-4403-AD00-4CDE75401C76.jpeg 2F93C182-3FD1-4F88-BA61-073848521956.jpeg
 
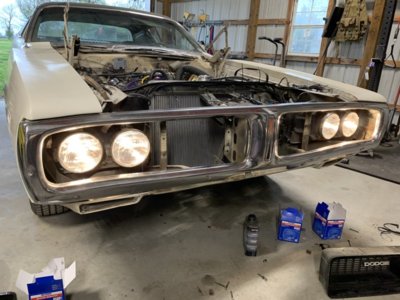
Been a while since I’ve sent updates on the Charger! Still wrenching away steady. In the last week and a half, the Milodon Pan and Windage tray and high capacity pickup went in the car. The Autometer Dash has been installed, hidden Bluetooth radio, and a ton of engine wiring cleanup. I also installed the headlight relay modification and had to work some magic to get my B&M ratchet installed into the trans tunnel. All of the good mounting locations provided poor mounting surfaces and the shifter set lower than I liked so I built a riser for the shifter and welded it to the trans tunnel.

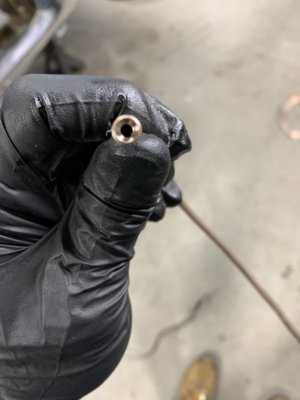
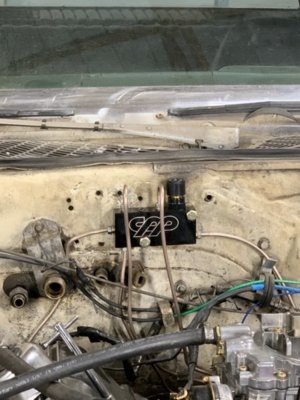
I needed to get my proportioning valve installed, and I decided to go with the CPP block and valve to replace the entire factory setup since I will soon have rear disc brakes to add with the new fronts when my axle arrives. This required me to bend all new lines for the front of the car. Was quite the process, I’ve never really done a lot of double flares, but I did find that the Titan flaring tool makes easy work especially of nicop. Highly recommend it.

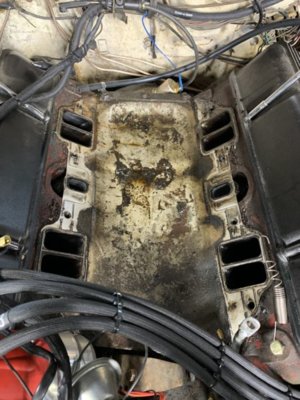
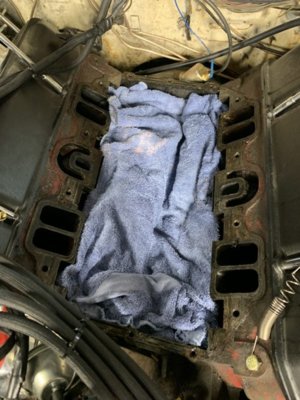
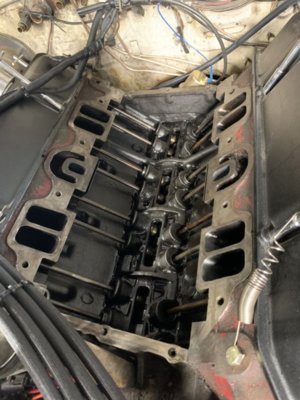
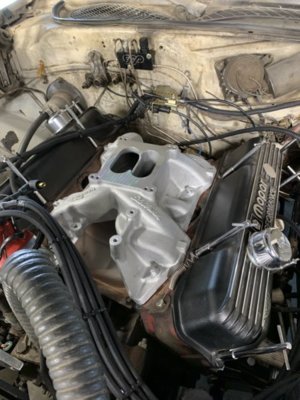
I was going to take the car for an alignment Monday, but had a vacuum leak I haven’t been able to track down. Finally sourced it to the old Eddy Performer intake and old rusted windage tray. I replaced the intake with an Eddy Performer RPM with a new windage tray and blocked off the heat crossover since I don’t really do any winter driving and it gets pretty hot here during car season. Lots of work! Still need exhaust, decided to let a local guy build my exhaust instead of ordering TTI. I am going to use some nice electric cutouts and Magnaflows mufflers. Here are some progress pics!

E0562765-4EE1-4BB3-ABCA-D7687C4EFB1C.jpeg 36E08F29-D558-4C34-9BAE-BFFEA1A57E89.jpeg DD68A2CA-EAFD-4CB3-9509-401129101D38.jpeg 6D513D8A-ECB5-4932-9E12-B0DC9BA276BF.jpeg C95CE0A2-D395-4601-9D7A-5405A1B1F8C8.jpeg 2C9667DF-F3BF-49F6-892E-2430DBE6065D.jpeg EDE22251-C857-486C-8946-658CEBF0A05B.jpeg 8574A94E-B4E7-482A-81F6-01C1E76518B2.jpeg 61527BF0-CA19-452D-93EE-E96947BFB3F8.jpeg 641DE708-BCBE-481A-BD0C-5BC427FE9E6A.jpeg
 
Auto Transport Service
Back
Top