• When you click on links to various merchants on this site and make a purchase, this can result in this site earning a commission. Affiliate programs and affiliations include, but are not limited to, the eBay Partner Network.

Blown Injected Hemi

Ordered the Rims, tires and Headers yesterday also started the age-old battle of; how am I going to keep this thing cool?!. I talked to Bob at GlenRay yesterday and he was hesitant to commit that one of his best 22" radiators will get the job done on ~850HP. I appreciate his honesty. He said if I had the opening for the 26" Next Generation it would be no problem. He did say that I would need about 3500 CFM to get the job done and suggested I give Wizard a call. I have a call into them. he also told me that in a heads up comparison, with ALL things being equal, there is only about a 1% difference in cooling between Aluminum and Copper/brass radiators. The obvious advantage is weight with Aluminum.

So here's where I'm at; I hate like hell to modify the radiator support in any way. I'm going to see what Wizard has to offer. I'm going to wait until I get the engine and driveline installed in order to see what kind of space I have to work with. From the water pump pulley flange it will be what I have now, what I don't know is the forward space that will be eaten up by the blower drive pulley/belt/idler...

As always, input/suggestions/comments greatly appreciated.


Wizard is Top Shelf and easy to deal with. If you give them the specs they'll build something that will get the job done.
 
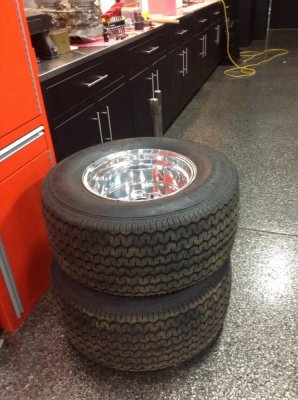
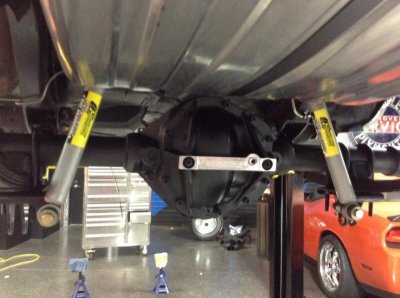
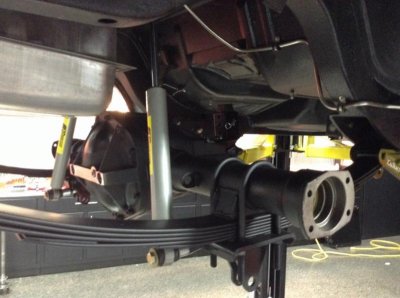
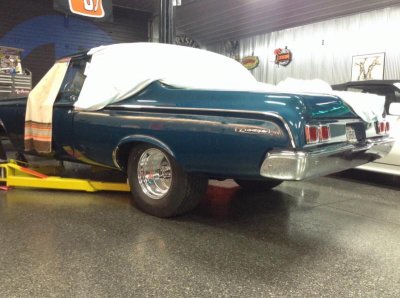
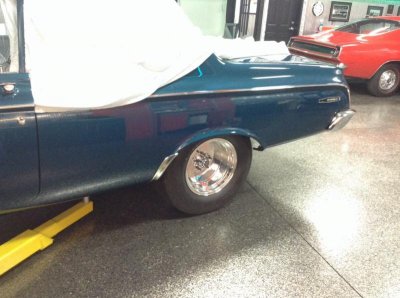
Picked up the rear end from Moser a week ago. Had them clock the housing 4 degrees ( had it wedged previously to get correct pinion angle) install 3.54:1 gears, box the perches, swap to 3" studs and install new o-ring axle bearings. Decided to mount it this afternoon and dry fit the new tire/rim combo...
 

Attachments

  • image.jpg
    image.jpg
    107.9 KB · Views: 351
  • image.jpg
    image.jpg
    60.1 KB · Views: 342
  • image.jpg
    image.jpg
    56.9 KB · Views: 346
  • image.jpg
    image.jpg
    69.1 KB · Views: 362
  • image.jpg
    image.jpg
    64.6 KB · Views: 342
Got a call from David Barton today. Engine is going to the Dyno Next week then, (if all goes well), will be on it's way to me. Decided on Aeromotive Fuel Supply system. #17125 kit, 16306 pump control, 18650 sump in the tank. Will buy it through Barton and have it shipped in the engine crate. In the meantime I can get the spare tank prepped at the radiator shop. Dipped, Cleaned, etc. Getting closer....
 
I hope all goes well,
post up some photos or videos when you get her in...

good luck, should be impressive as hell
 
I hope all goes well,
post up some photos or videos when you get her in...

good luck, should be impressive as hell

Thx Bud... Getting anxious. I'm sure there will be a vid... DW gets interested. (even though she pretends not to) Ya just can't ignore something that big. yes; I'm compensating.
 
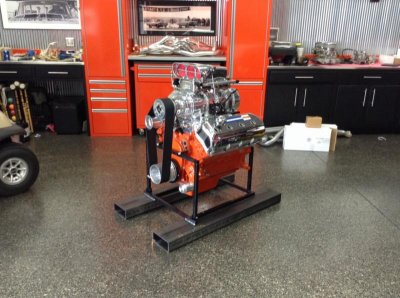
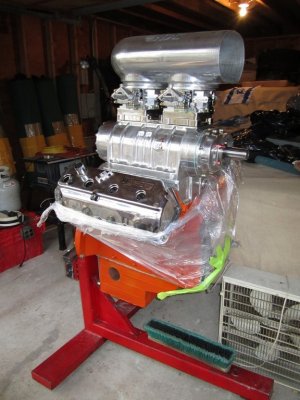
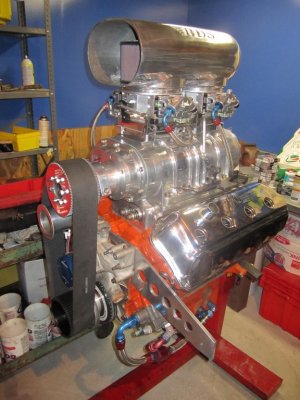
Made it to the farm. In raw form, still a ton of work to be done.
 

Attachments

  • image.jpg
    image.jpg
    79.3 KB · Views: 301
Damn that's sexy...LOL
 
Damn that's sexy...LOL

certainly is. to quote my daughters boyfriend; "that's the stuff dreams are made of..." LOL. I guess one could look at it that way. David said it made 820hp. I haven't seen the print out yet. I'll get that the first of the week and send it off to Rick at A&A trans. so he can start the 727 build.

Now the fun begins. I need to "dress" the engine, figure out the harness connections for the EFI, find the necessary modules to hook it up, strip the car's interior including the dash, mod and run the fuel system, etc. etc.

I post picts as I go. The EFI is a Holley Dominator system. 95% tuned on the dyno, the rest will have to be done in the car when road ready.
 
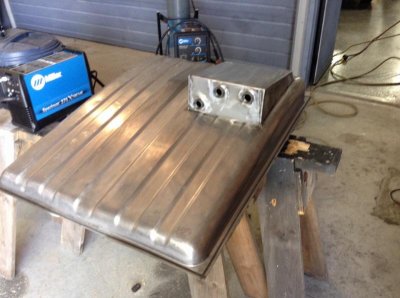
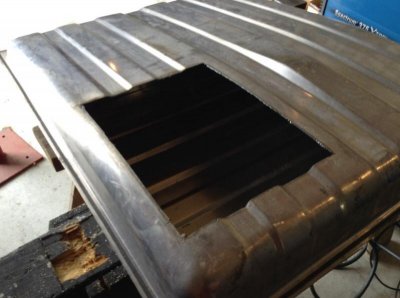
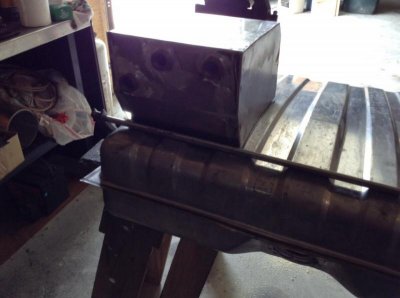
Cut tank. Tacked in the sump. I'll have the guys at work tig in the peremeter. I know my limitations. Set it towards the deeper front of the tank with fill holes drilled. Couple reasons. First this is not a race car, second, departure angle. Closer to the axle less chance of dragging or getting smacked by a opossum.

BTW: plasma cutter, best tool ever!
 

Attachments

  • image.jpg
    image.jpg
    57.2 KB · Views: 258
  • image.jpg
    image.jpg
    46.9 KB · Views: 268
  • image.jpg
    image.jpg
    42 KB · Views: 262
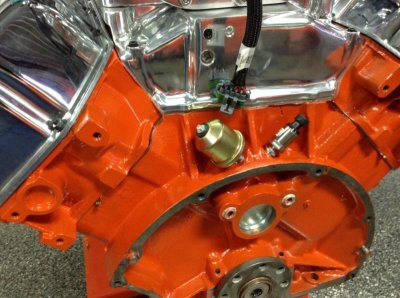
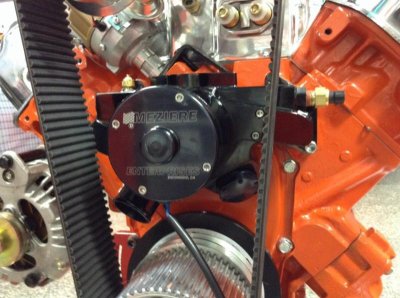
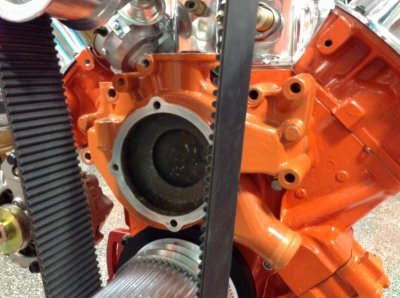
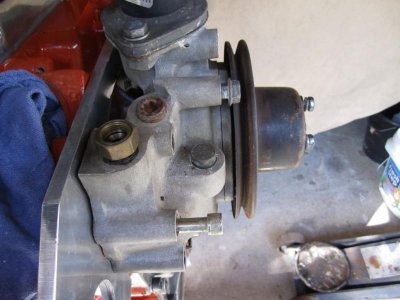
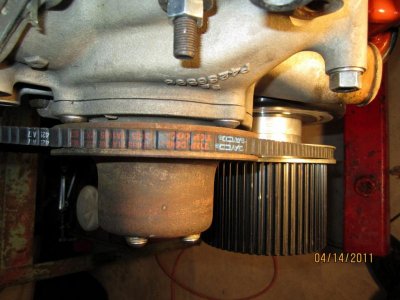
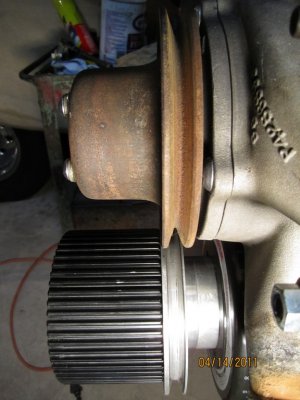
Started to dress the engine. Ordered an electric water pump but it won't work. The radiator hose nipple runs into the blower belt no matter which side I have on. Looks like the stock housing will work with a tiny bit of grinding along the bottom to clear the damper. I'll buy an electric pump motor/ impeller.
 

Attachments

  • image.jpg
    image.jpg
    77.2 KB · Views: 244
  • image.jpg
    image.jpg
    71.6 KB · Views: 248
  • image.jpg
    image.jpg
    47 KB · Views: 247
  • image.jpg
    image.jpg
    70 KB · Views: 253
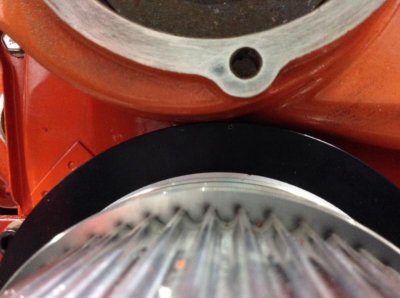
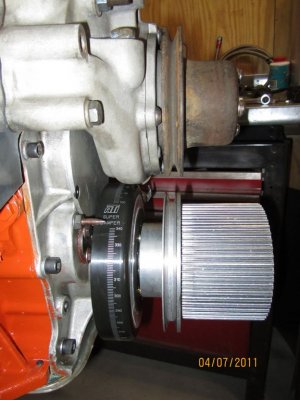
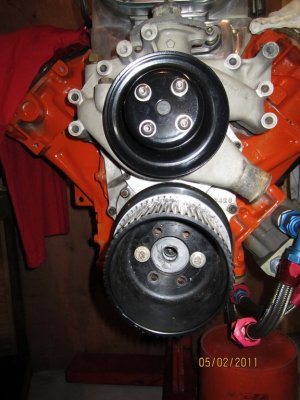
Was able to get out in the shop for a bit this morning. With some light grinding on the housing and the water neck, I was able to get about .025 between the damper and the pump housing. I know that sounds close but in this case "a miss is as good as a mile." The Super Damper isn't going anywhere, nor is the pump housing. Just for peace of mind, I threw a breaker bar on the blower drive and rotated the engine 360, of course nothing changed.
 
Few questions,,,,,,what boost level on the dyno, is the wp iron or aluminum? I use an ATI superdamper and had no clearance problems.
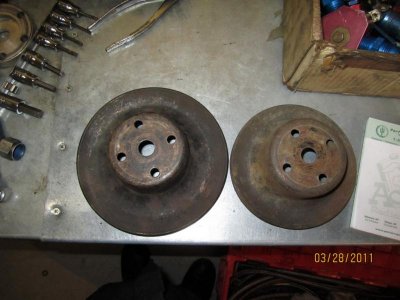
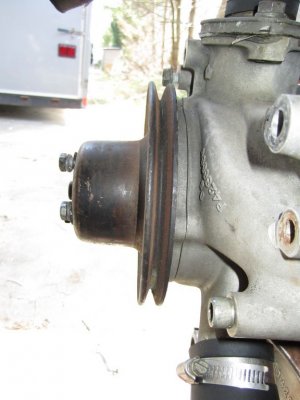
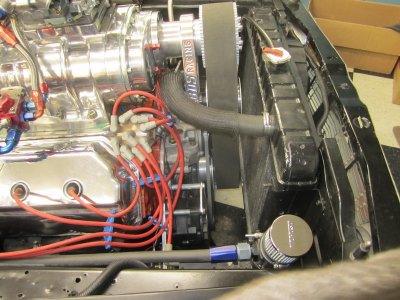
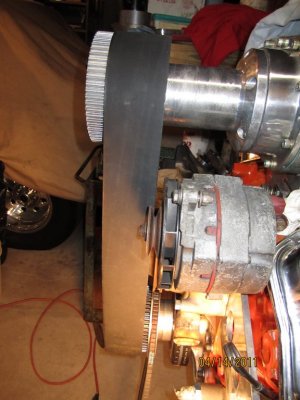
Here's a few pics during mock up and spacing.I did need a smaller wp pulley as it did not clear.
 

Attachments

  • 4.7.11 (6).jpg
    4.7.11 (6).jpg
    117.7 KB · Views: 235
  • 3.28.11 (2).jpg
    3.28.11 (2).jpg
    57.6 KB · Views: 231
  • 3.20.11 (10).jpg
    3.20.11 (10).jpg
    96.4 KB · Views: 231
  • 3.20.11 (9).jpg
    3.20.11 (9).jpg
    55.7 KB · Views: 236
  • 3.16.11 (11).jpg
    3.16.11 (11).jpg
    131.2 KB · Views: 227
  • 3.29.13 015.jpg
    3.29.13 015.jpg
    151.8 KB · Views: 232
  • 5.2.11 (5).jpg
    5.2.11 (5).jpg
    126.4 KB · Views: 223
  • 8.16.11 (5).jpg
    8.16.11 (5).jpg
    134.4 KB · Views: 232
  • 4.14.11 (3).jpg
    4.14.11 (3).jpg
    64.4 KB · Views: 225
  • 4.14.11 (2).jpg
    4.14.11 (2).jpg
    117.1 KB · Views: 233
Few questions,,,,,,what boost level on the dyno, is the wp iron or aluminum? I use an ATI superdamper and had no clearance problems.
Here's a few pics during mock up and spacing.I did need a smaller wp pulley as it did not clear.


Hey AL. Thanks for the picts. Honestly I never asked what boost at dyno. The housing is aluminum. I also have a ATI damper, the difference in this case is there is a larger diameter portion of the damper that holds the triggers for the EFI. Thats the part that barely clears. Pretty sure everything will be ok. I did pick a few pointers from your picts on the alternator mounting. I need to get the engine on the k-frame for clearances before I start the alt. set-up.

thx,
Mike

- - - Updated - - -

http://www.forbbodiesonly.com/mopar...-for-Hemi-New-Never-Used&highlight=powerglide I now the guy selling this setup ,it was purchased to go behind one of ray barton's hemi's he's selling if for a mutual friend of ours that has fallen on very hard times if your going power glide this is the way to go.

sounds like the trans is snapped up... :) I have Rick Allison down at A&A starting the TF build. Talked to him Friday to iron out the last of the details.
 
Will you use an engine plate or motor mounts? Before I shortened the snout,the alternator was mounted on the water pump where the power steering pump would normally be mounted.
 

Attachments

  • 4.14.11 (14).jpg
    4.14.11 (14).jpg
    123.1 KB · Views: 204
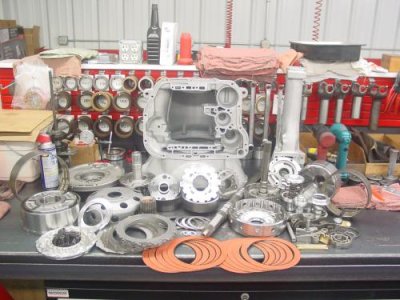
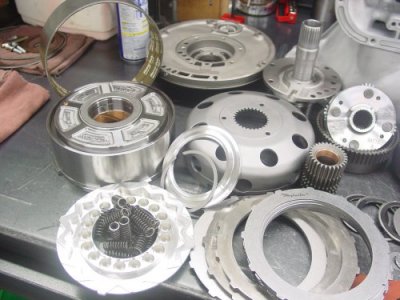
TF guts at A&A ready for assy...
 

Attachments

  • trans__1434722420_51622.jpg
    trans__1434722420_51622.jpg
    41.4 KB · Views: 194
  • trans1__1434722536_17175.jpg
    trans1__1434722536_17175.jpg
    48.3 KB · Views: 181
Auto Transport Service
Back
Top