• When you click on links to various merchants on this site and make a purchase, this can result in this site earning a commission. Affiliate programs and affiliations include, but are not limited to, the eBay Partner Network.

CDN72SE's Restoration Thread

Started doing a few things, trying to get the boxes to slowly disappear that are filled with parts. Just installed my 20+ year old hood pins.
Pretty simple, was just cautious when drilling to make sure the drill didn't slip.

38555311792_4f2b6b823f_z.jpg


24715701738_e5a0ea2ff6_z.jpg
 
Had a bit of a mild spell the other day, so I dug up my trunk weatherstrip that I had kicking around for quite some years. Watched a few YouTube videos to aquatint myself. My biggest challenge was trying to figure out what side glues to the body. Figured that out and applied a thin film on the weatherstripping and on the body of the car. Have to say that 3M adhesive is very good.

38531044666_03f5c8998f_z.jpg
 
Thanks Glenwood!

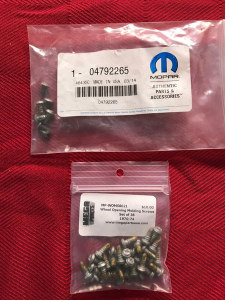
Some purchases from MegaParts.

Don't think I actually need the door body plugs as I can't see where I can actually use them.
Also don't need the spoiler brackets as they do not work with my spoiler that I had bought in the late 80's.
And still debating about the headlight decal.

24578972788_5ee78f83ce_b.jpg


Then I placed an order with Year One, haven't purchased from them in years, thanks to the 30% off I purchased the following:
Door weatherstrip was from Metro - Supersoft
The Jack sticker and Hidden Headlight decal (wanted the green one) both came from Dale's Cuda Shop.

26848427799_512dfe5bbc_z.jpg
 
Door Assembly
I've got the two doors in the basement where I started installing the door weatherstripping. Used some more of the 3M Weatherstrip Adhesive.

38575314250_5235dcd3d7_z.jpg


40385906821_982687ab01_z.jpg


More to come...
 
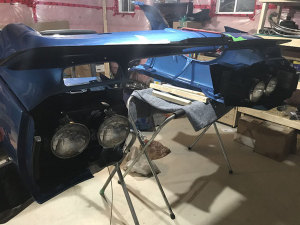
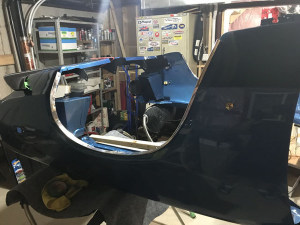
Also brought the fenders and front valance to my basement after I blacked out the front end so I could add the headlight buckets with their correct mounting hardware.
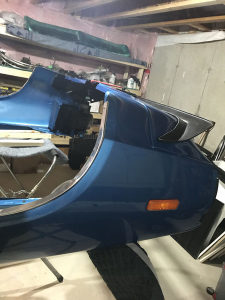
- Added my NOS wheel lip moulding.
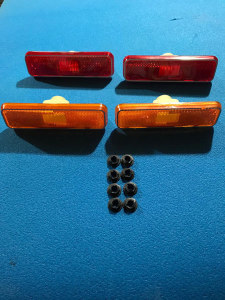
- Added the NOS side marker lenses.
- reproduction Pentastar
- Impact pads

38577084100_def87b8e21_z.jpg


26516526798_793b9b0bc3_z.jpg


26516694598_c04b50c132_b.jpg


38577135900_b5010d3c35_b.jpg


25519893517_9ca2b17d08_z.jpg


39676691094_ce471c4c66_z.jpg


40470203411_10929bf640_z.jpg


40470203451_9a9e104481_z.jpg


Will drill the holes for the front spoiler next.

38577084100_def87b8e21_z.jpg 26516526798_793b9b0bc3_z.jpg 26516694598_c04b50c132_b.jpg 38577135900_b5010d3c35_b.jpg 39676691094_ce471c4c66_z.jpg
 
Last edited:
Wow your car is turning out great I'm still waiting to get into the metal shop for the rust repair then I'll start doing body and paint and after that interior and reassembly if the car hopefully I can get it running and driving by August for the mopar nationals in Columbus
 
Wow your car is turning out great I'm still waiting to get into the metal shop for the rust repair then I'll start doing body and paint and after that interior and reassembly if the car hopefully I can get it running and driving by August for the mopar nationals in Columbus
Thank you, once you get the fresh metal on it's just so much closer to the goal.
 
Thanks for all the compliments guys, really looking forward to the better spring weather to get some more significant progress started.
 
Installed the Vapour Shield:

Used some RPM on the screws and Eastwood's Extreme Chassis Black on the shield.
Also used all the original screws and clips.

40426726792_cf7c71cbbf_z.jpg


39574543255_b2c2915a3b_z.jpg


40426726862_bb09581fa0_z.jpg


40426726762_e675c50e4c_z.jpg


40426726892_784d8e4f48_z.jpg
 
Auto Transport Service
Back
Top