• When you click on links to various merchants on this site and make a purchase, this can result in this site earning a commission. Affiliate programs and affiliations include, but are not limited to, the eBay Partner Network.

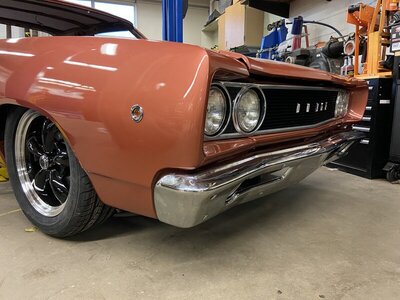
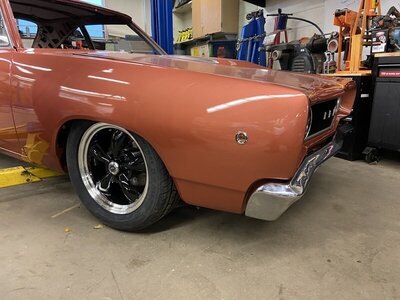
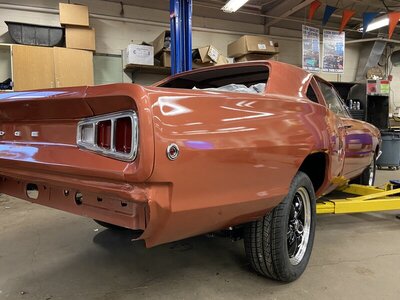
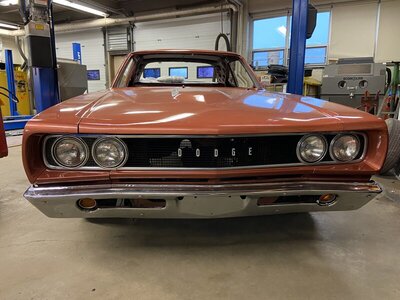
High School Building a 68 "Super Bee" Turbine Bronze.

The axle flange nuts are 3/8 24 small profile. The McMaster number is 444026-25-PN. I have a bunch of used ones I could send you if you are stuck without a source.
Bergman is a sponsor of this site and has power steering boxes.
 
Alll right..... who forgot the torsion bars?!?

ED98D9FE-1D70-4FD2-9144-8234E22FC2FD.jpeg 4D39A362-A326-423B-B98F-5D9B1F4055C7.jpeg
 
Yes, you are missing the short toothed piece.
 
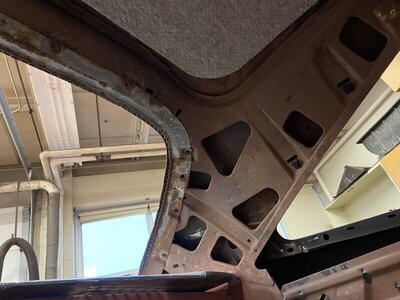
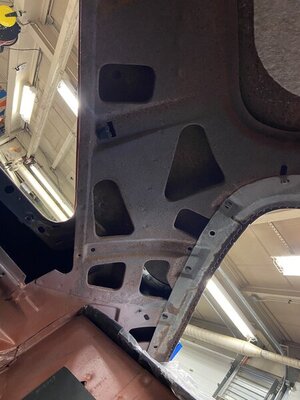
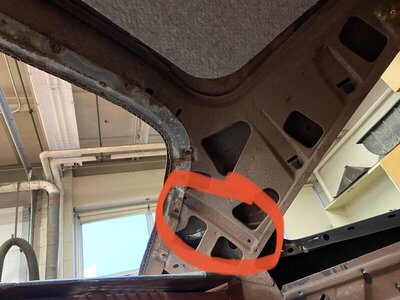
Got mine from Stephens in Alabama. All the saw tooth piece's where rotted and rusted on mine but a roadrunner. Should be the same. Also need the X clips to attach them Got them from part's mix. Not cheap. Looking good on the project. Or RT parts have the X clips. If you have not installed the front inner trim U shaped brackets. Bought new ones and the retaining clip's broke off. So used a tri spread rivet's to hold them on. After cutting off the retainer clip's on the bracket. Doing good work and keep it up.
 
Got mine from Stephens in Alabama. All the saw tooth piece's where rotted and rusted on mine but a roadrunner. Should be the same. Also need the X clips to attach them Got them from part's mix. Not cheap. Looking good on the project. Or RT parts have the X clips. If you have not installed the front inner trim U shaped brackets. Bought new ones and the retaining clip's broke off. So used a tri spread rivet's to hold them on. After cutting off the retainer clip's on the bracket. Doing good work and keep it up.

have you found the inner headliner clips that pinch in place but look like they have a long thin hole meant for a screw?
 
That is to fix the trim too. The new pinch clips on the new set I bought just would brake when trying to spread them in the hole. So ground them off and used those rivets. A buddy had some and never had seen those spread type. He work's on golf carts and John deer side by sides and use then all the time to fix the plastic to the frame. Had to put a small washer stainless steel ones on them so they would not fall through the bracket's hole. Figured I will not be taking them off in my life time and the old ones where their for 50 year's so it was a good Idea. Have fun and keep those young men busy. Will be watching for further up dates on the build. Blue
 
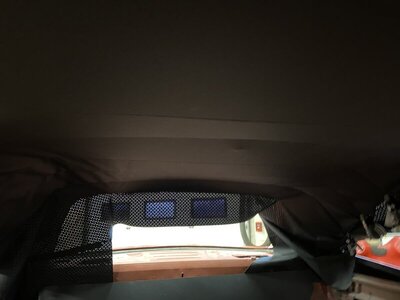
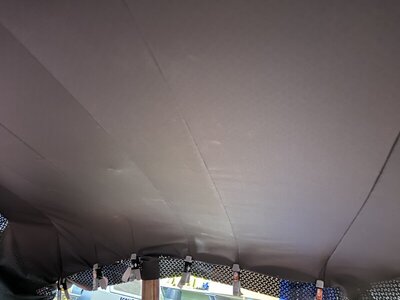
I think we also need the clips that I’ve seen in the rebuild thread that hold the side of the headliner in place. Not to bad so far

90515918-0679-4019-A3E8-45DAB129644A.jpeg 19F00D6C-18F5-40EF-B7EE-204FB32A83C2.jpeg
 
That is a tough thing to do those head liners. Still have some slack at the back near the sail panel area. So take a heat gun and work it and it will pull in for you. Those after market U clips that hold the cloth to the pinch weld's are not as good as the original ones. They had run my head liner out to the drip rails but I did not was afraid it would take up room and through thing's off on the build. You guy's are doing a fantastic job keep those boy's busy. blue.
 
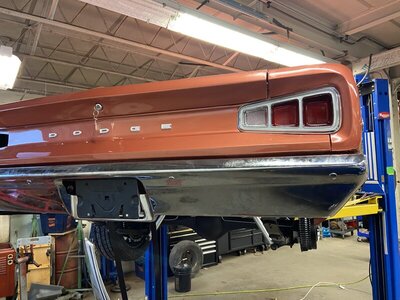
The 1968 model has the BEST taillights of any year Coronet.
 
Auto Transport Service
Back
Top