Aerogoth
Member
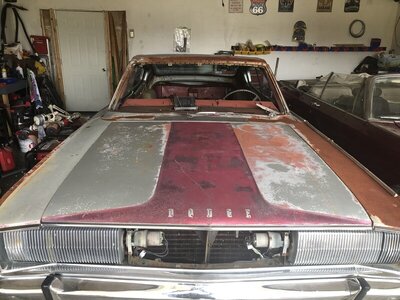
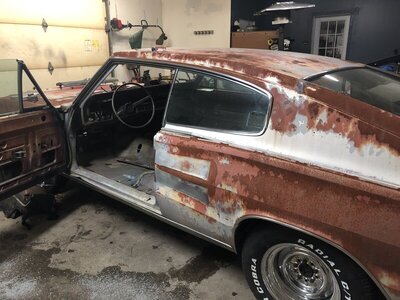
So I acquired a 1966 Charger late last winter right before the icy winds of Michigan started which likes to keep everything on hold. This spring the restoration has started.
First I would like to say thank you to the members of this community an to the few of you I have met, helped me get some parts, sold me parts, or steered me in the right direction for the parts, a very sincere thank you! (Oh an btw I will be pestering all of you more along the way for more parts as I find what I need )
The story for this car, well it has been my dream car since I was 3 years old, my Godfather had one an he was always telling me when I graduated high school that car was going to be my graduation present. Sadly he had a house fire when I was 15 an the car was lost to the flames.
So I finally find one and the deal actually happens!!! I was super excited after the deal went south on 12 previous others. We do the norm exchange photos make arrangements make the deposit, say forget all that here’s all the money I’m not going to lose another one.
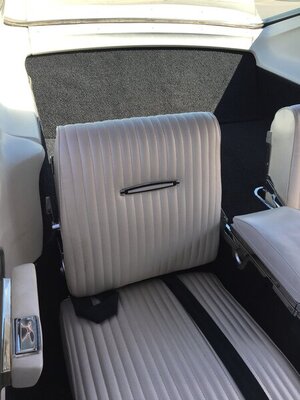
The journey begins, so the car is rough but it’s all there, not a easy restore but one definitely worth doing. First shipping delays, my normal guy I’ve used his truck breaks down on the way to pick her up. One week delay not bad, he gets the car an starts the cross country journey. When the car arrives finally the front glass is blown out and the interior is gone, not pieced but gone, I contact seller, he says I sold you the car not the interior so I let my brother have the interior to use to restore his , I said well what about the windshield, the reply oh that broke when he tossed his tool bag on it...
Moving forward easier to forget than deal with stupid lol.
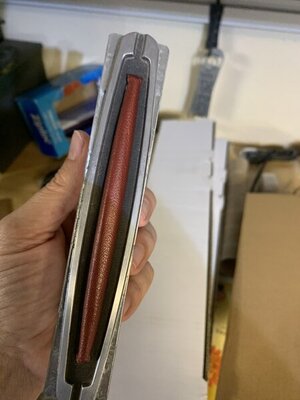
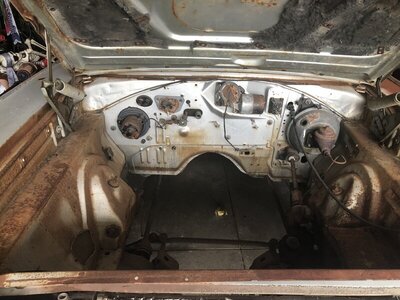
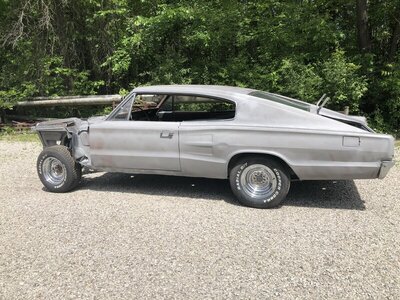
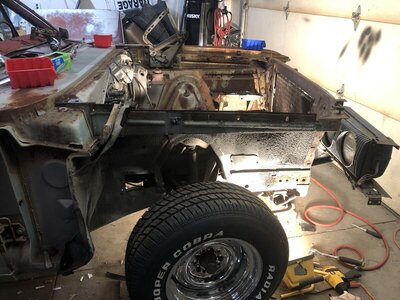
On to the fun stuff so I finish cleaning the guys mess he left and stripped what was left of her down to the skin to begin fresh. I started the inventory process of what do I know I need to start collecting especially stuff I knew would need some love to resto to like new.
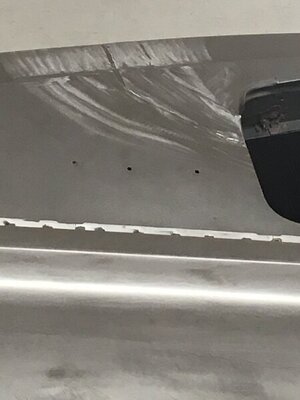
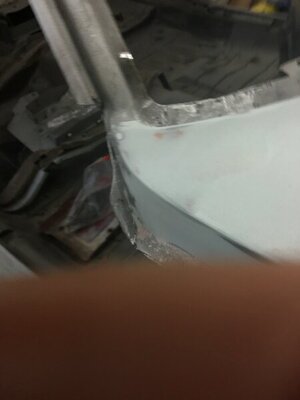
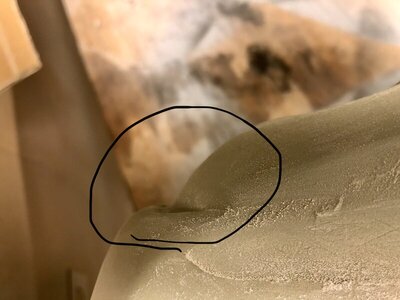
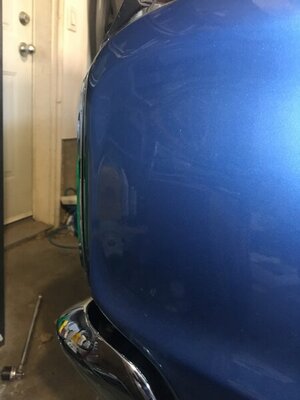
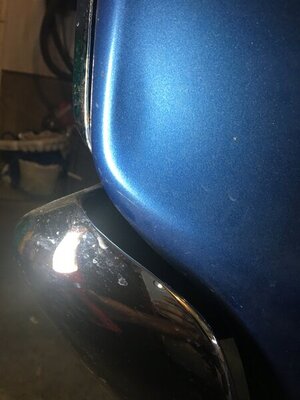
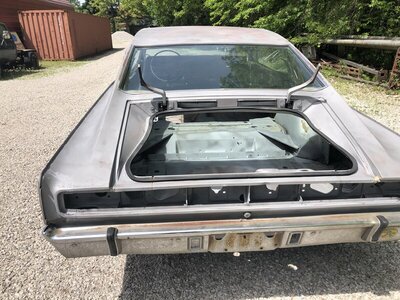
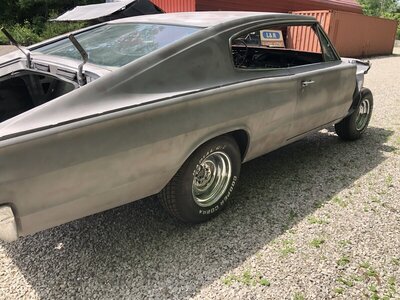
So far I’ve blasted the car an now it’s at my body shop having a nice rest on the rotisserie. Thankfully the only body problem was 1 blown lead joint and 1 dent caused by the the morons tool bag.
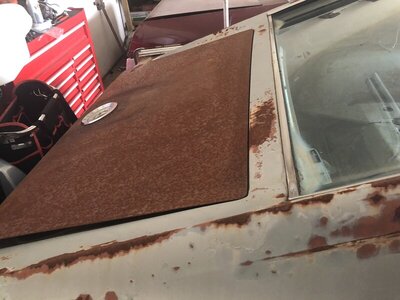
After the stripping I pulled the fenders, the hood, the deck lid (which was the most rust covered part). Now that it’s all stripped down, after the lead joint repair I’ve coated the car in etch primer to preserve, prevent, an seal away any FE O2 that may still be there. After the etch prime I’ll be doing a triple layer primer with blocking an sanding after each coat to offer a better protection and to give me a beautiful base for the future paint job.
I’ll post more pictures along the way.
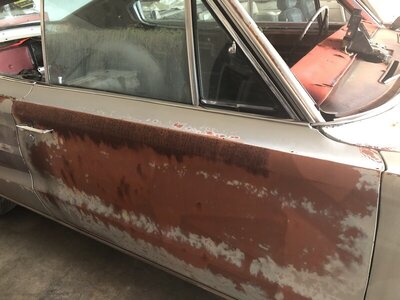
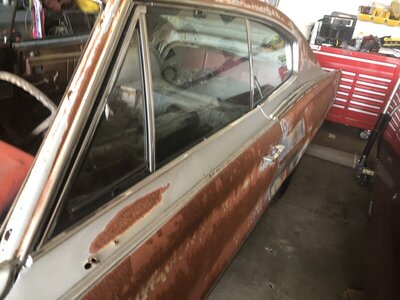
oh side note, Those damn Quarter windows suck!


