• When you click on links to various merchants on this site and make a purchase, this can result in this site earning a commission. Affiliate programs and affiliations include, but are not limited to, the eBay Partner Network.

My 66 Charger restoration story.

Thanks Charger-Dana,

well damn I’ll tell him I was wrong toMorrow and I’ll work on getting that ridge out of there
 
So quick question, I know I saw a forum on it before and can not find it now. Where is the general recommendation place to get a replacement front windshield.

I would like to have the glass sitting an ready to go in once I get everything primed an cut in.
 
As far as I understand, the offshore glass is thinner. So can cause leaks.
AMD I think has windshields that are like factory. They also use Precision gaskets I believe..
I have a PPG windshield I bought in 2005, have the car apart. Ordered a Precsion gasket from DMT to instal
 
Thanks 440, is DMT the Detroit Muscle? I’ve been using them for my gaskets so far.

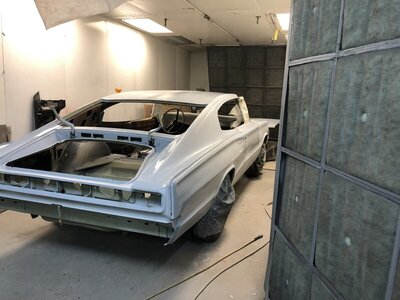
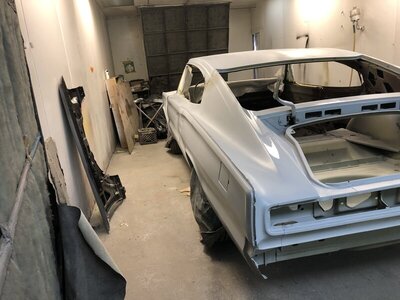
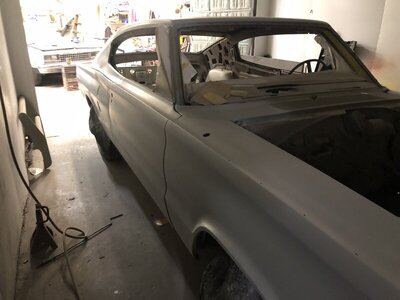
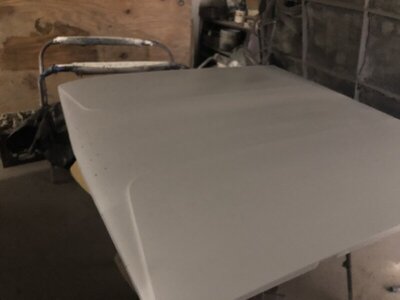
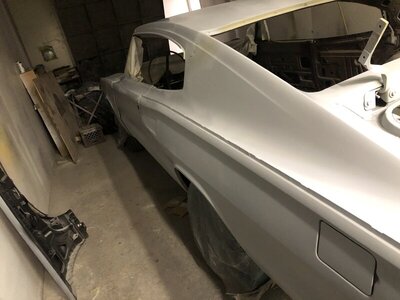
So quick update to the car. Of course everything was going swimmingly, the blasting came out the etch priming came out, the first coat of primer laid and blocked looks great.

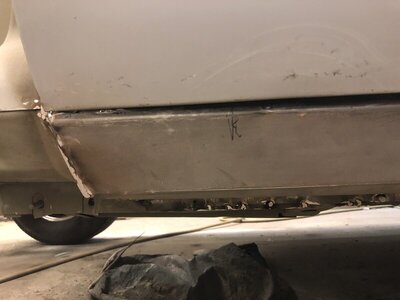
So decided to take a little time off from sanding an spraying, fixed the outer rocker of the car that as it was on the rotisserie I noticed had a wicked dent in it that couldn’t be pulled straight, so cut it out replaced it. Used Classic 2 Current for the part, mainly since there shop is close to mine, nice thing about living in Detroit area have quite a few classic part manufacturers and suppliers all within driving. Well of course their part fits like normal (bent in wrong spots not enough rise...no biggie I have the tools to fix there base piece, however it does fit a coronet perfectly)

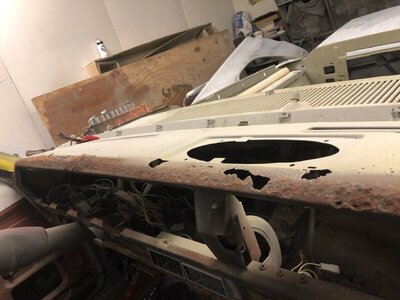
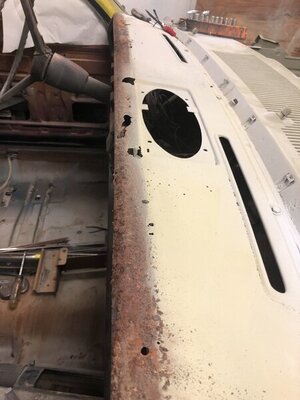
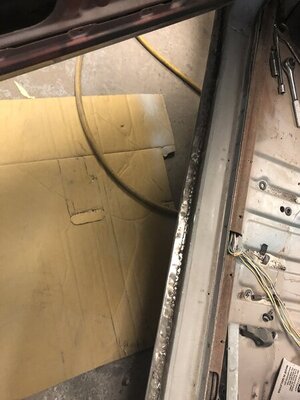
So I get the new rocker installed, needs finish work still but then I decide well let me tear out the cluster of junk in the dash and see where I’m at so I can start prepping the inside for primer an jamb cut in and a base coat. Pull the dash pad off an the upper part of the dashboard following the pad...my friend FEO2 iron oxide(rust) along the whole path and a couple monster holes in it! @*%#!!!

So I tried finding a new or replacement dashboard, that has been a struggle. So now I’m thinking I cleaned up the rust most of it is okay but with these monster holes should I just patch and repair or plasma cut the line off and bend a new piece of steel for it completely.

I’ll post pictures of the dashboard ridge so you can see after I make it to shop today.

78E80160-B702-477B-BD24-6960255E7EB9.jpeg D99A323D-FE32-4C7C-BA58-F9B6E82C7C82.jpeg 38C57F8E-BA0D-4046-9B6A-D7516720EA67.jpeg 69AFA289-D721-4AA3-A8D0-9B78E2370156.jpeg 8186E9C5-BF65-4A0B-97B6-4F2428776E0C.jpeg 06011BD3-C25A-47C0-BE96-D847F1086935.jpeg
 
Aerogoth, I could only wish I had your fabrication skills! I am getting excited for you- really coming along.

1) is it the dash itself that’s rusted through? We rarely see that in Western Canada. Or is it the firewall?
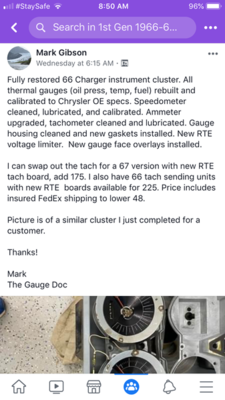
2) if your looking for a cluster, Mark Gibson has one almost ready to go on Facebook. He’s on FBBO too search under Gibber). His work is excellent. He’s one of a handful of guys that works on them and knows them intimately.

A18CCFCF-253D-4045-9CAF-65C7EBB5A59D.png
 
Hi all small updates.

Yes Dana, well compared to the rest of the car the dash is hit. However I’ve been working tirelessly to remanufacture a whole dash assembly I’ll post photos of that when that’s done.

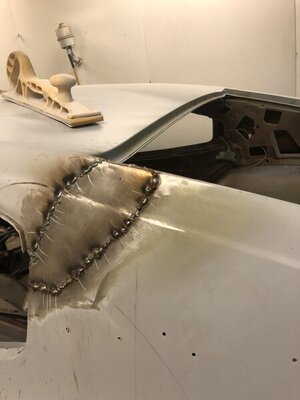
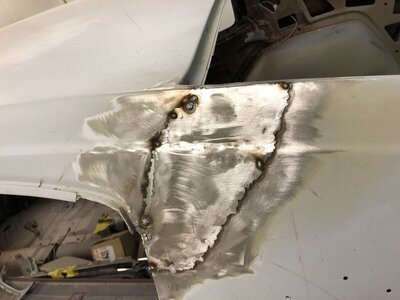
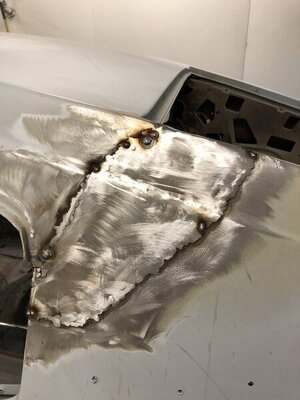
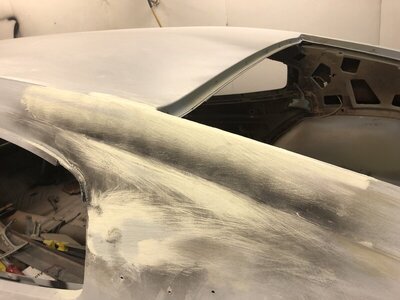
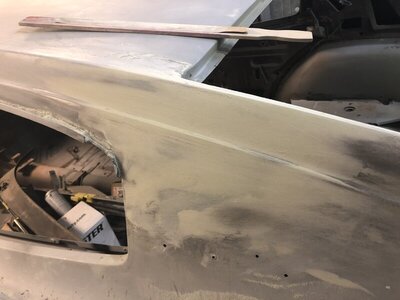
I did finish the lead joint repair, the rust went a little farther than I anticipated but have torch welder an steel and overcame. I still have a little finess work to finish on it, I did the measuring on the other side and want to make sure my edge ridge line is solid an in spec.

Hopefully by end of next week I’ll have all the blocking an primer done and all the jambs am the cut in work finished. Then it’s time to start putting things back together before she gets her final paint. Accidents happen so would rather hold the final paint until the end.

58EBEF71-F8A9-44F0-85C9-B3B5FEE69EAC.jpeg E336DA3C-E09A-4B99-BD13-BC428E3FE435.jpeg 6A9C2DAA-3623-4B1F-AA1E-9E7774455473.jpeg DC329008-979A-483B-91BD-42F55FFA5482.jpeg 4CA9AD1C-3D09-4796-B403-0F61A0860DA4.jpeg 0D94C086-5221-4FB9-B9A3-39DA80C9C697.jpeg
 
My non actual working funny story, so my wife brings lunch down to the shop most everyday for all of us. Everyday she comes in spends about a hour or so looking at all the projects and progress on them.
Yesterday she said you know everyday I come down here and it’s always playing 1960s music, what station are you listening too, so I told her nope no station we have the IPod piped through all the shop speakers playing randomly nothing but songs from the 60s, she said why are you doing that. 3 of us look at her an said we are putting the souls back into these cars, since everything in the shop right now is a 60s era car lol.

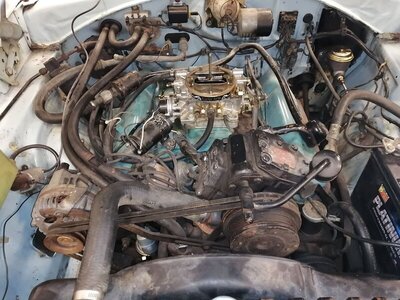
couple of side questions though, I’m really debating on putting the AC back in this car, I know it makes it worth more, but I don’t really want another pulley eating another 7HP, and I’m thinking of going with a updated heater core, that monster from within I’ll keep but that’s a extra 100 pounds I can eliminate from the car, thoughts?
 
The factory A/C system is heavy and is kind of a hornets nest of lines. A modern retrofit system with a sanden compressor would be much lighter and cleaner.

light blue intake.jpg
 
Thanks, I was looking at the kit through Classic Auto Air, for the AC system. The problem is I only use air in a car when the woman is with me, not having air means more time to cruise alone lol.

So in the evenings I’ve been trying to figure out my next major dilemma or step for this car and that is the wiring. Normally that is something I had a guy I paid him for an TaDa the magic happened an it’s done, well now he is gone so this time I’m on it in my own... The struggle comes in, do I go with painless universal mopar harness or the one from classic that looks to be a repop part since it’s still running glass fuses. I don’t have experience with either kit and normally try to stay away from the electrical side because I honestly I’ve not done them other than simple repairs because I don’t want to fry my whole car lol.

Any suggestions for a complete wiring kit and were to find them would be greatly appreciated.
 
Finally completely finished the old lead joint, lots of measuring an sanding an finger play but my new joint, an body lines are precisely a match for the other side of the car.

Also rocker panel is coming along a little more grinding an smoothing of the rocker to go then I’m going to do a hot roll lip so no one except everyone who reads this will ever know it was done, lol.

436A08D0-F54A-4734-8419-B95D9FBF7EA3.jpeg 910D7476-94B8-4B0C-9DBD-2AF3804D59B9.jpeg 258F6069-7682-4EE9-B084-2B3C7CC6D27F.jpeg
 
Thanks, I was looking at the kit through Classic Auto Air, for the AC system. The problem is I only use air in a car when the woman is with me, not having air means more time to cruise alone lol.

So in the evenings I’ve been trying to figure out my next major dilemma or step for this car and that is the wiring. Normally that is something I had a guy I paid him for an TaDa the magic happened an it’s done, well now he is gone so this time I’m on it in my own... The struggle comes in, do I go with painless universal mopar harness or the one from classic that looks to be a repop part since it’s still running glass fuses. I don’t have experience with either kit and normally try to stay away from the electrical side because I honestly I’ve not done them other than simple repairs because I don’t want to fry my whole car lol.
National Moparts can supply the reproduction ones that are exact. They work well,mand also supply engine bay and headlight foreword harness.
Any suggestions for a complete wiring kit and were to find them would be greatly appreciated.
 
Well 8/31/2020 to many pots in the fire so to say. While waiting for paint to dry lol, here’s a small update.
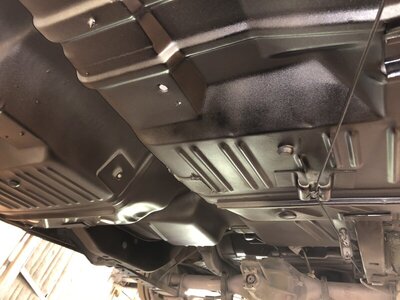
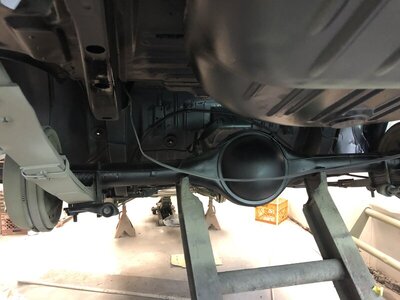
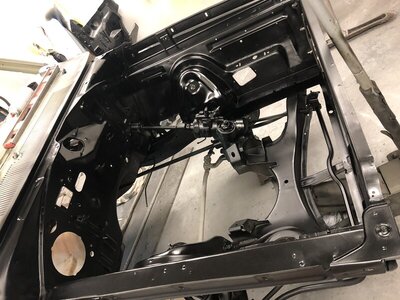
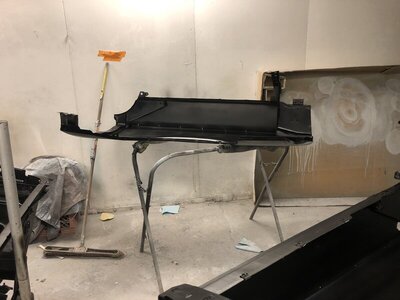
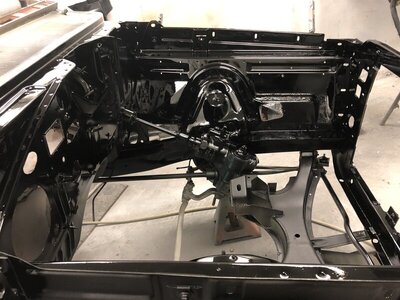
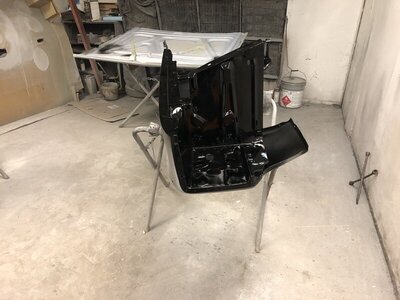
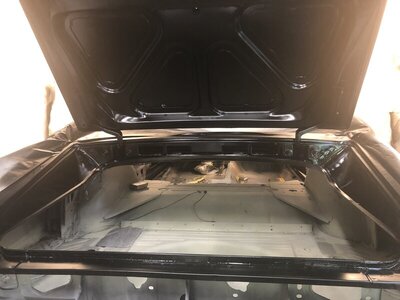
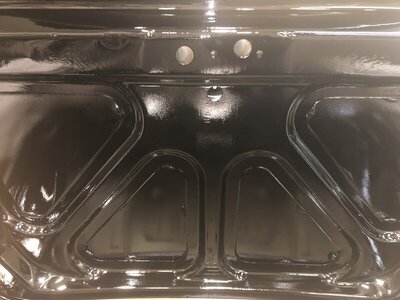
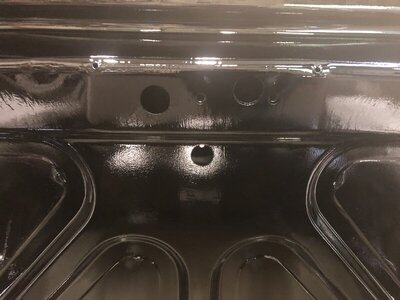
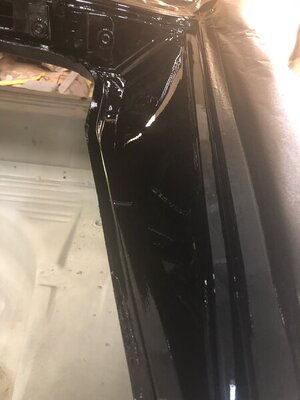
So jambs are painted motor compartment is painted underneath of car is painted. My quest for wanting it to be done right as well as the cost of the paint job i’m applying to the car because of the color/s i’m probably one of the few that has wet sanded between each application of paint in a motor compartment... I know I do not need to but I want that to be sexy an really make people scratch their head going wtf, lol. I still have 3 more different colors to put on the bottom an different parts of the car just so it has depth of character and doesn’t look cheap, thankfully most of the shade differences are coming because of the different parts, suspension parts a satin black an red, torsion bars a charcoal, k member is a flat, stuff like that.

Well in my infinite wisdom of course after letting paint cure I’ve been doing other stuff. Started restoring all the upholstery in the car, been polishing so much stainless and chrome I think my fingertips are glowing because they shine now. Ordered a bunch of parts an waiting for them to arrive. Oh had to mill and form a new seat riser bracket because was still missing one.

Still in a struggle with this wiring nightmare, I want to use my OG dash components and all the interior lighting, but I still have to make heads or tails out of the mess that’s left under the dash and figure out a new bulkhead. After I do one more application of paint in motor compartment, then it will be time to set the motor and trans back into her.

BB007D6F-8CEE-4480-A4B4-141E4458257F.jpeg 9B31E5FF-5365-4E6F-891A-DC67A889BE59.jpeg 33E9AFBC-A720-435D-84C4-60E8D9A92336.jpeg 5F6DF8A0-0247-4EDC-B6B4-20310AE6422A.jpeg 3B6D8A09-C75D-403B-8E50-84D061214877.jpeg 28E2F324-2AC7-423D-B1E6-32A5DEB81242.jpeg 7D8264F5-D963-4C2C-BE9C-13F2AC163520.jpeg 7796DD1D-9C08-4137-94BC-5B307C5856F1.jpeg 321D0371-89AD-4F7E-942F-FB3937A73D31.jpeg B9903082-5714-485A-8027-9E67980B3708.jpeg
 
Thanks, I was looking at the kit through Classic Auto Air, for the AC system. The problem is I only use air in a car when the woman is with me, not having air means more time to cruise alone lol.
Any suggestions for a complete wiring kit and were to find them would be greatly appreciated.
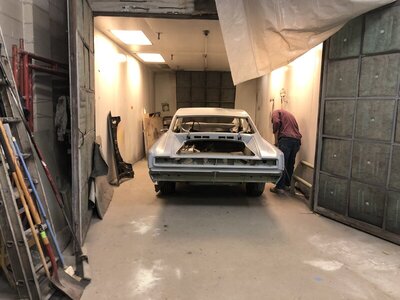
Like you, I am not familiar with auto electricity. Nevertheless I was able to rewire my ´66 Charger from front to back with a kit I bought from Year One. In fact I ran into no problems. They have three kits for these cars, one for the engine harness and engine bay, like the lights, one for the dash and the third for the rear (trunk and fuel tank). I think the only wires left out are the ones for the wipers. Make sure to buy a new bulkhead connector too, because disconnections there are a common source of electrical gremlins in Mopars of that era.
Thanks for sharing your restoration here.

Ragnar in Iceland
 
Auto Transport Service
Back
Top