frank
Well-Known Member
Jeff
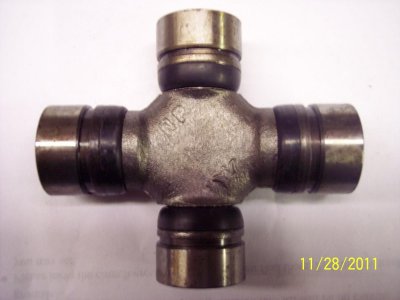
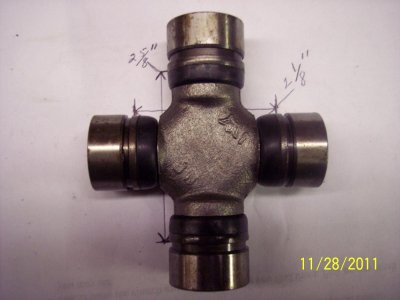
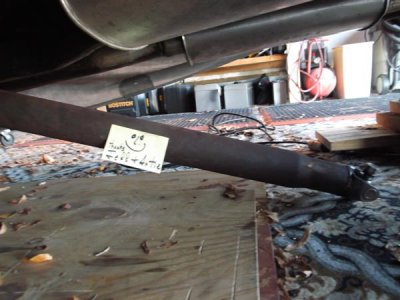
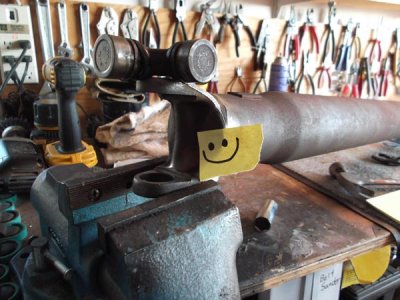
No big deal, I probably asked too many questions anyway. As I mentioned the part order was placed and should be here today or tomorrow. If it’s incorrect I’ll just send it back and try another size. The undertaking of this process has allowed me to get a good comprehension of another part of this car that I haven't seen. I’m doing my best to bring this RR back to its original state. I knew this was going to be a complex job (to novas) but it needed to be done. What’s helped me the most (other than you and Artie) is taking my time and looking at the overall project one peace at a time.
Again, thanks for your input.