• When you click on links to various merchants on this site and make a purchase, this can result in this site earning a commission. Affiliate programs and affiliations include, but are not limited to, the eBay Partner Network.

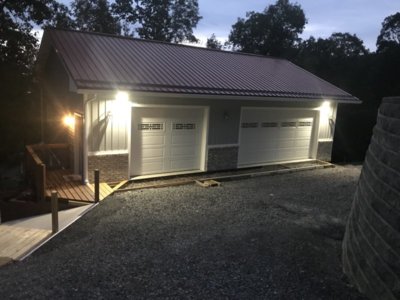
New Garage

Sonny ... looks good BUT STOP NOW .... my 20ish GF and I need to go on a r and r cruise and will be needing some(ok most!) of that coin for our relaxation!
 
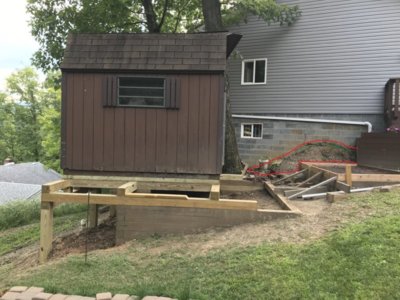
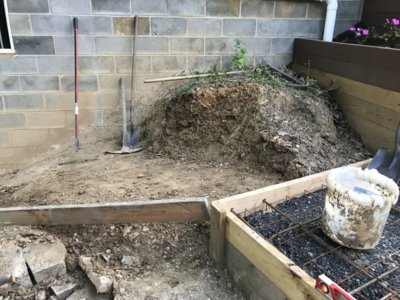
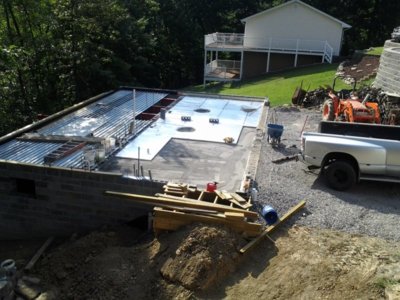
I know that pile of dirt at the end of the lower concrete pad didn't look very big...
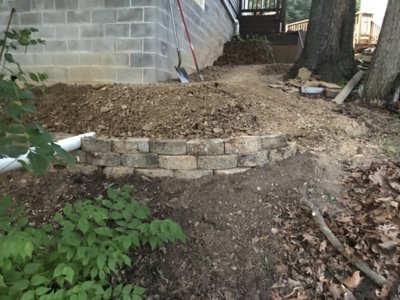
It took several evenings of digging it out and distributing it towards the back door of the garage to create a slope that is pretty close to being ready for gravel.

I had some old landscaping blocks laying around so I threw them in on the hill behind the garage to help hold all of the dirt...

Original plan was to have 5' wide concrete sidewalk all the way to the basement door of the garage...

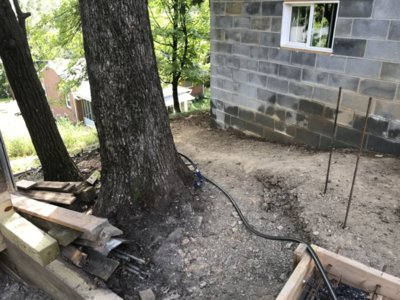
Clearance between the tree and the garage is only going to let me get about 4' 6" without getting to close to the tree.

Ive been trying to come up with elevations that do not exceed a 10 degree slope but it makes for a lot of dirt relocation...

IMG_0919.JPG IMG_0931.JPG IMG_0941.JPG IMG_0946.JPG IMG_0948.JPG
 
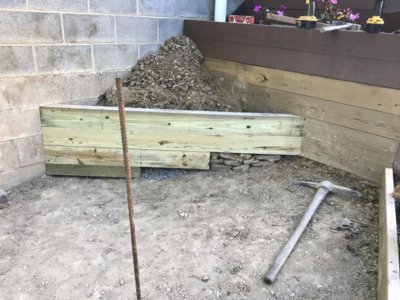
With all of the excess dirt removed I was able to begin to install the last wood planter in the corner.

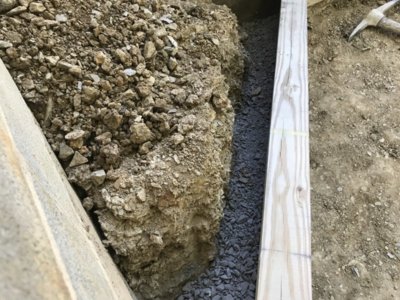
I used about 4" of gravel directly behind it typical to the others to allow water to drain out.

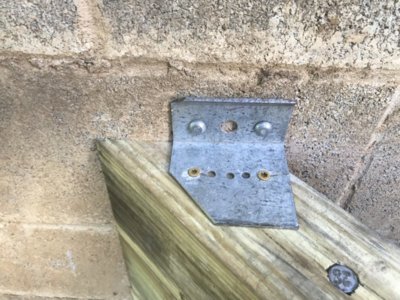
14 gauge steel clips attached to the masonry wall will hold it back with no issues...

Topped it off with 4 bags of soil and a little mulch and call it good till time to plant something in the spring...

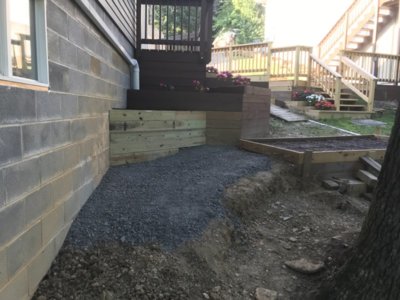
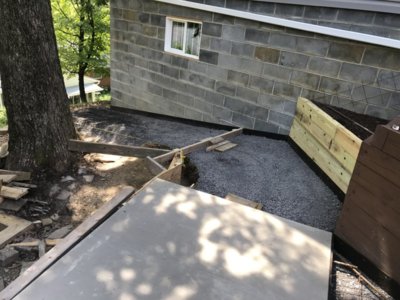
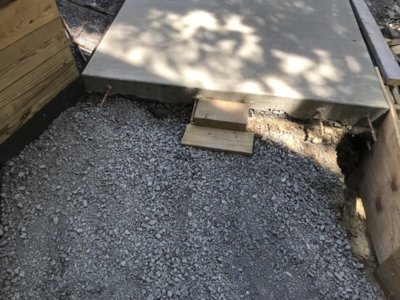
I began adding gravel for the base and it starts to look like a sidewalk...

IMG_0951.JPG IMG_0952.JPG IMG_0955.JPG IMG_0958.JPG IMG_0959.JPG IMG_0962.JPG
 
Figured I would update what everything looks like once the plants all grow in...

Some have taken an a$$ whoppin with the heat but for the most part they turned out pretty good...

IMG_0970.JPG IMG_0974.JPG IMG_0910.JPG IMG_0977.JPG IMG_0979.JPG IMG_0989.JPG IMG_0990.JPG
 
Back to the garage work...

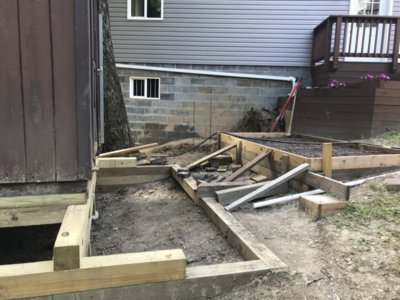
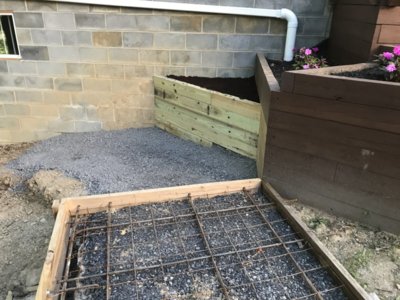
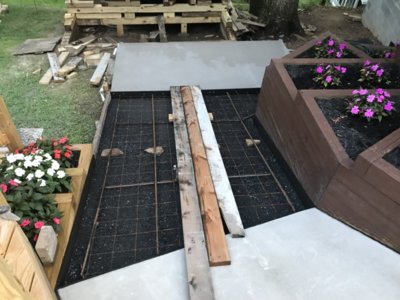
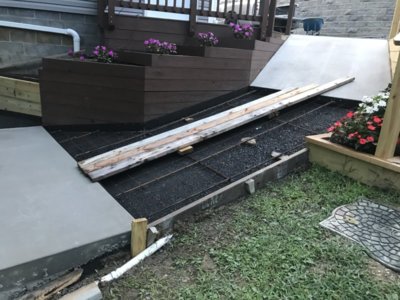
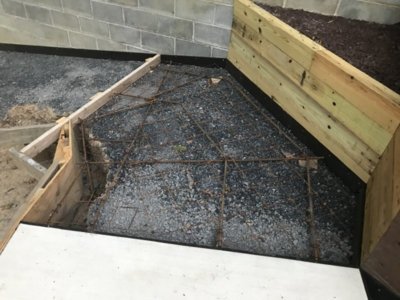
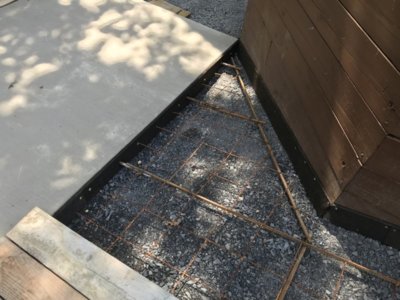
The first 2 pics are where this was when I left off...

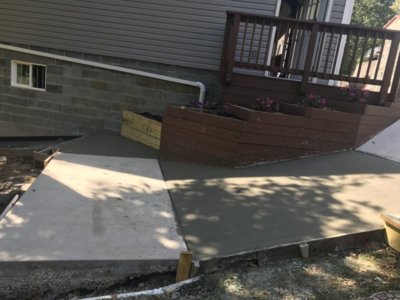
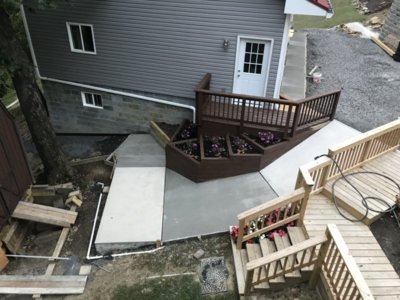
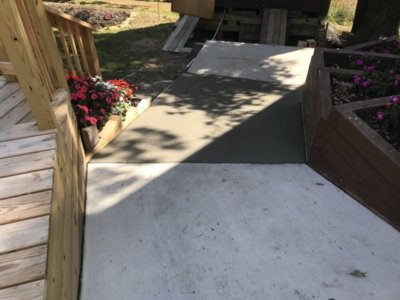
Thursday I was able to get the concrete guys here and poured both pads...

I been keeping them wet for the past few days to attempt to minimize any shrinkage cracks...

IMG_0991.JPG IMG_0992.JPG IMG_0994.JPG IMG_0995.JPG IMG_0997.JPG
 
I just put a heavy broom finish on them to make sure they're not too slick...

Saturday I got on it with a brush and removed all of the extra concrete that was trying to stick on the wood...also detailed the expansion joints to clean everything up a little...

1st pour ended up being 3 yards of concrete and I was able to make up 3 concrete "pads" 2'x2' with the extra material...

It looked good after getting everything cleaned up...

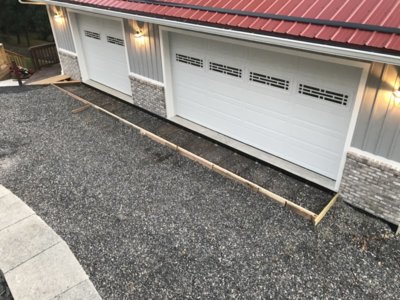
So now I'm onto forming up the next set of pads...removing dirt to get to about 3" below the sub base level...installing the expansion joints...adding gravel and tamping and then adding the rebar and wire screen...

1st pad between the two that are already poured is finished...

The 2nd pad is ongoing as I am trying to get the balance of 2 1/2 ton of gravel spread out on down the walkway towards the back door...

I want to get all the gravel off of the truck and then I can finish the rebar and wire screen in the second pad...

I probably have enough gravel on to make it to about halfway to the back door...

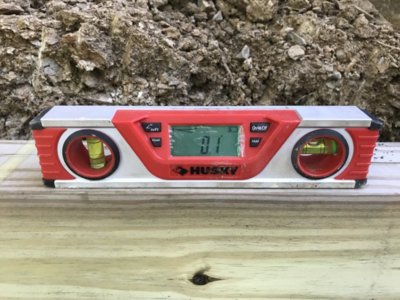
The top pad pour was at a 14.9 degree slope...the second pad I just formed is about 12 degree...the 5x10 pad in front of the shed was level left to right but had 1 1/4" of fall across the 5' span...The sloped pads heading to the corner of the garage I am trying to keep everything at less than 10 degrees of slope...

Having the rebar sticking out of the initial pad pours worked well however it did make getting the forms off a PITA...

IMG_1001.JPG IMG_1004.JPG IMG_1007.JPG IMG_1009.JPG IMG_1011.JPG
 
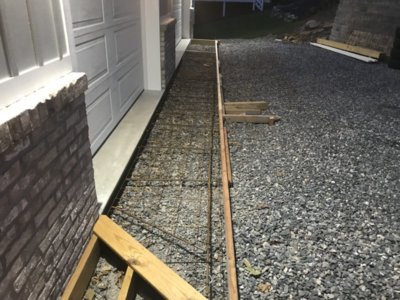
The framing for both pads is now finished...rebar and wire mesh have been installed as well as expansion joints...
I also finished forming the 32" apron in front of the garage doors as well as installing the rebar 24" on center and wire mesh...
Only difference with this pour over the others is that its 6" thick rather than the 4" used at the sidewalk areas...
Concrete is scheduled to be delivered on Thursday 9/12/19 at 2:00.
4,000 lb mix with a number 2 slump for the first pad at 10 degrees and then we will add water for the other 2 pours...
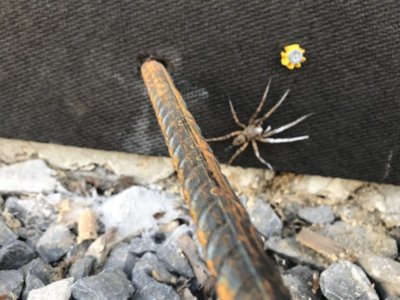
The last pic is a nasty little bugger I ran across before he got the chance to bite me...:mad:

IMG_1069.JPG IMG_1014.JPG IMG_1060.JPG IMG_1066.JPG IMG_1070.JPG IMG_1056.JPG
 
Things sure are looking pretty!
 
For some reason I can't PM? Finally getting started on my slab preparation and had a question. I've got a pile of 2" foam to put down but was looking at the 57 gravel scratching my head then looked at yours, looks like you put some fine screening down first? The #57 gravel would be a pain to get flat for the foam plus not an ideal surface? I was debating on whether or not to put down sand or limestone screening first? Any moisture membrane?
 
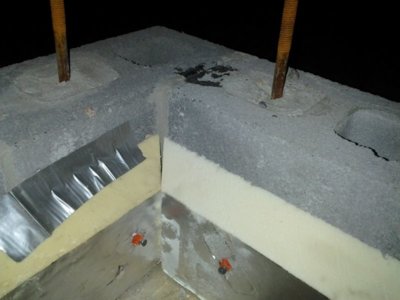
I used crushed limestone dust under my foil insulation...Then watered and tamped that a few times...
It actually worked out pretty well...I just ran a vibrating plate over everything...throw a little more stone in...more water and then the vibrating plate again...

You may have to do it a few times till everything gets settled in...

You may have to use a vapor barrier with how yours is just a slab on grade...
I installed drainage pipe at the bottom of the basement wall 4" below the basement floor slab...Mine can't ever get enough water inside the foundation and block to ever perk through the slab...

Don't forget to turn your insulation vertical up the sides of the block at the ends of the slab...Foil up facing the concrete...cut the top of the vertical insulation at a 45 and the concrete will fill everything in...The very back edge will be where the top of your slab will be...

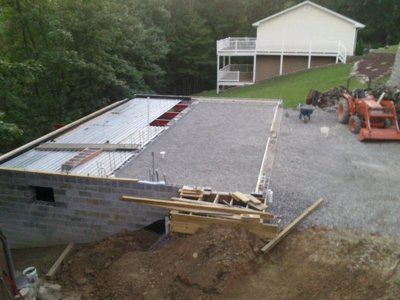
8/25 pic is #67 gravel...

8/27 pic is the limestone dust under the insulation...

Man these pics are only 3 years old and it seems like forever ago...

8-24-16 (2).jpg 8-25-16.jpg 8-27-16.jpg
 
Last edited:
Pump truck for concrete on another site went down today...:mad:

I couldn't get another delivery until Tuesday 9/17...:BangHead:

Oh well...plenty of other things to work on...:rolleyes:
 
I used crushed limestone dust under my foil insulation...Then watered and tamped that a few times...
It actually worked out pretty well...I just ran a vibrating plate over everything...throw a little more stone in...more water and then the vibrating plate again...

You may have to do it a few times till everything gets settled in...

You may have to use a vapor barrier with how yours is just a slab on grade...
I installed drainage pipe at the bottom of the basement wall 4" below the basement floor slab...Mine can't ever get enough water inside the foundation and block to ever perk through the slab...

Don't forget to turn your insulation vertical up the sides of the block at the ends of the slab...Foil up facing the concrete...cut the top of the vertical insulation at a 45 and the concrete will fill everything in...The very back edge will be where the top of your slab will be...

8/25 pic is #67 gravel...

8/27 pic is the limestone dust under the insulation...

Man these pics are only 3 years old and it seems like forever ago...

View attachment 833666 View attachment 833667 View attachment 833669
Thanks for the input. I don't have foil faced foam, I bought the under slab rated 2" thick foam for mine. I put quite a bit of fill gravel in.... worried about getting the sand/crushed lime worked through it all? Sand may be a better idea since it will flow through better?
 
If its good and dry and stays dry maybe...

When I watered mine down a lot it really helped with compaction...just don't know how true that will hold with sand?

The limestone dust mixed in almost made mine as hard as a crush and run stone once compacted...

I cheated a little and used my dually back and forth and back and forth while mine was good and wet...

I stayed away from heavy compaction near the basement wall and actually added in 5' long 4" x 4" angle iron resting on top of the wall and spanning 5' towards the front doors...

Until I had the rebar from the engineered wall turned down into the slab and then concreted I was afraid of pushing on the 12" block wall and just stayed away from it with my truck...

How much fill did you have to add?
 
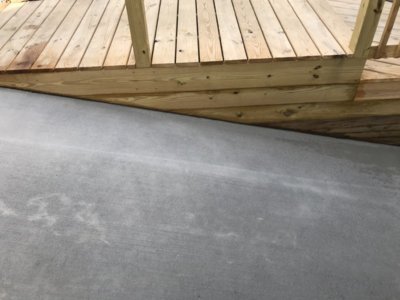
So my concrete pours on Tuesday went off without any problems...

I spent Wednesday night removing the concrete spatter from the walls and cleaning up all of the expansion joints...Thursday Night I removed all of the forms and put everything away...

I've been keeping water on it since Tuesday night the same as I did for the other pads when they were poured...

Now I need to bring in some gravel and pull the front up to grade at the garage door aprons...

Eventually I'll get there...

IMG_1084.JPG IMG_1086.JPG IMG_1088.JPG IMG_1090.JPG
 
Forms all removed...These are the last pours I'm going to do this summer...The rest of the sidewalk going to the back door of the garage will have to resume in the spring...

IMG_1094.JPG IMG_1097.JPG
 
Alright....I guess its time for an update...

Outside of storing my car and the deck furniture in the garage there isn't anything to report...

If you remember back a ways I was supposed to be working on the wife's kitchen too...

Man there's not much worse than tearing apart where you live and then having to live in it while it gets repaired...especially a kitchen...

So I basically just got sick of this hanging over my head and jumped in with both feet to get it done...

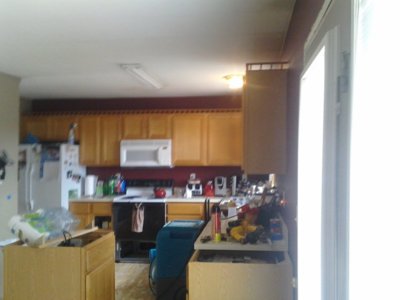
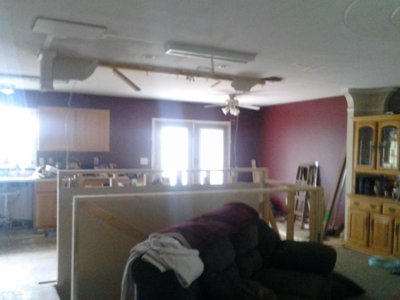
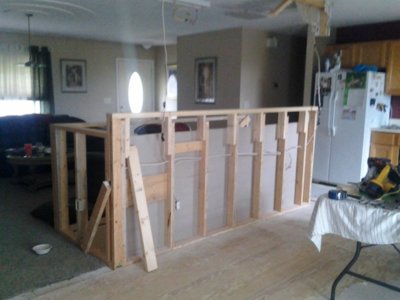
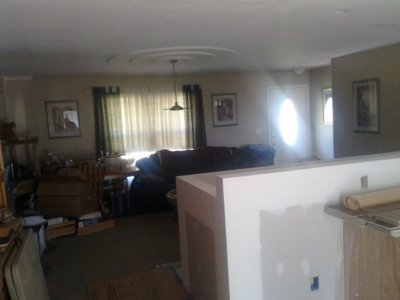
So what happened was I had a dishwasher leaking and ruined the flooring...subfloor and a bunch of my base cabinets in the kitchen...Cabinets could have maybe been matched by a custom cabinet maker but we opted for just redoing everything and changing the layout a little.

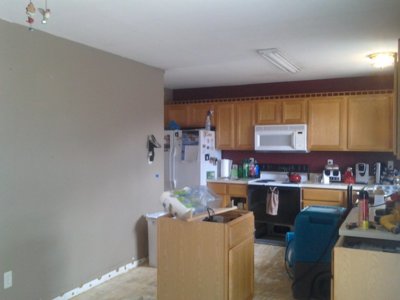
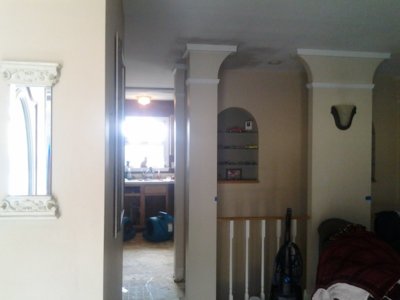
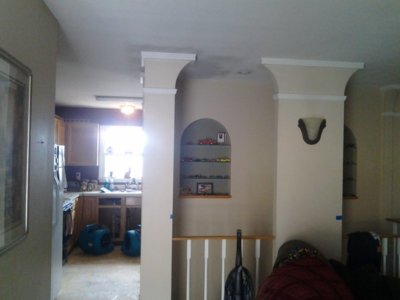
Below is a few pics of what I started with...

The brown wall at the left needed to go...

10.jpg 4.jpg 2.jpg 11.jpg 18.jpg
 
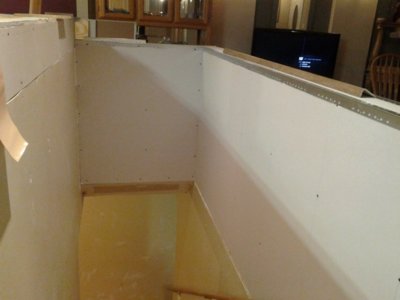
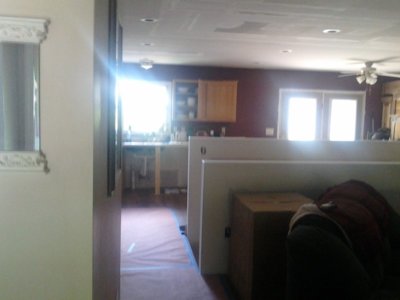
So out with the floors and wall demo began...of course all of the electric went up through the wall to the ceiling which meant adding a chase wall to pick up an area to relocate all of the electric...No problem the new deeper refrigerator need a section added to the wall anyway...It sure didn't help that all of the truss's are set on a 19 1/4" center line and used spray in insulation above in the ceiling...
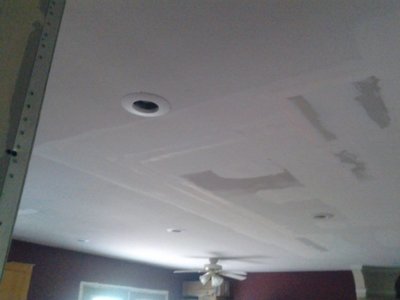
The one 2 tube 4' Fluorescent light was removed and 6 recessed light cans were installed...

As far as a scope of work for this project basically everything that was there before was to leave and all new appliances...flooring...cabinets...lighting and paint were to be installed along with updates to everything existing...

25.jpg 21.jpg 24.jpg 291.jpg 274.jpg 293.jpg 475.jpg 477.jpg
 
Auto Transport Service
Back
Top