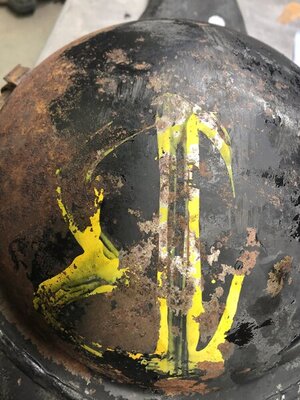
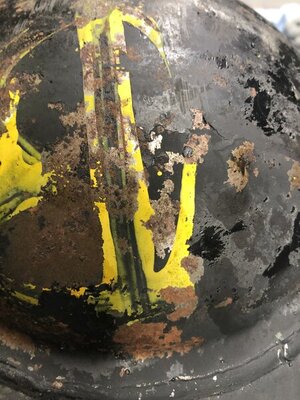
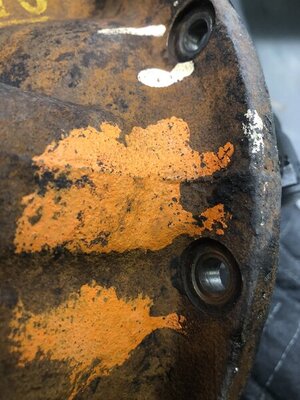
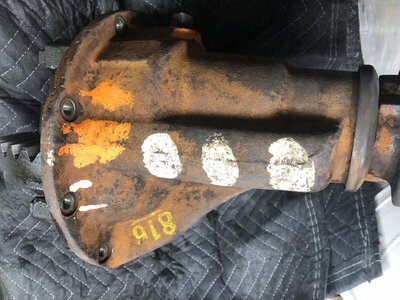
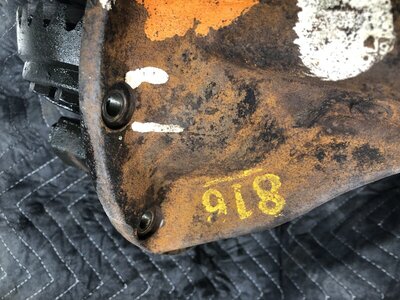
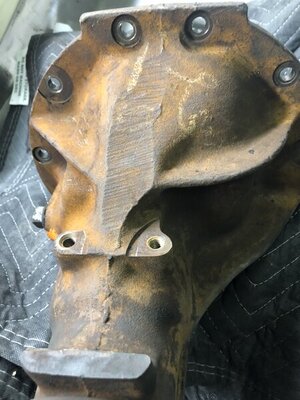
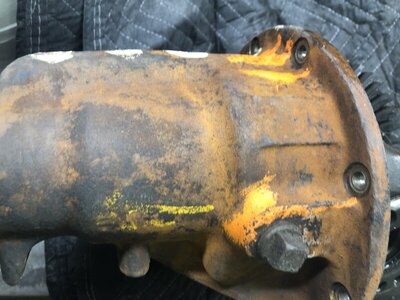
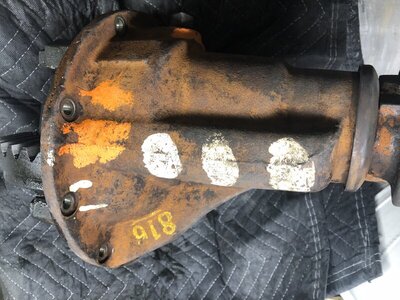
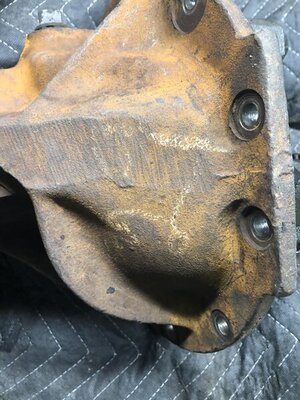
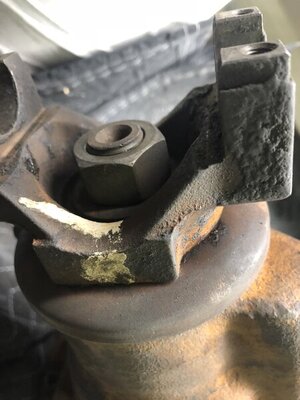
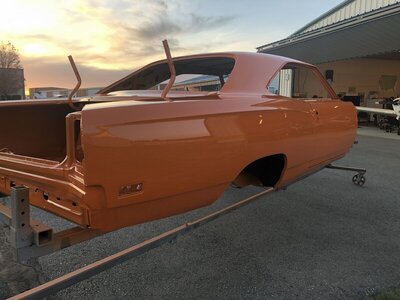
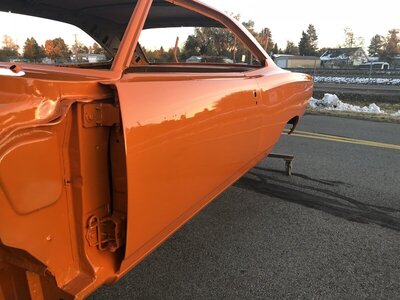
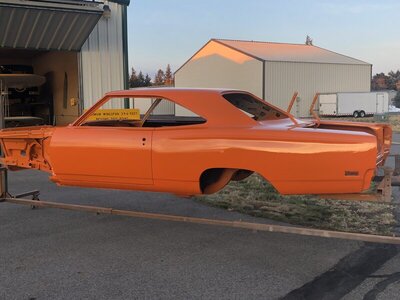
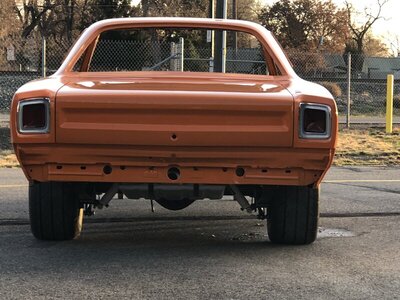
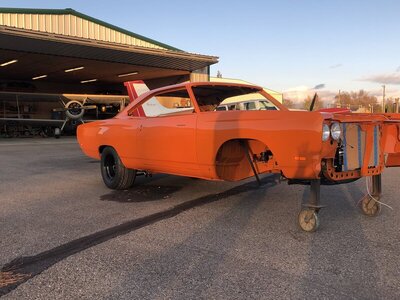
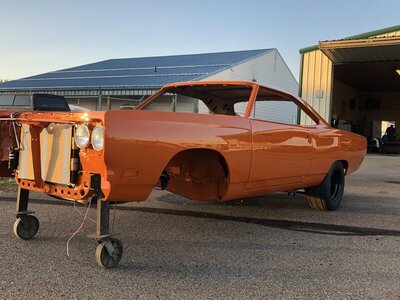
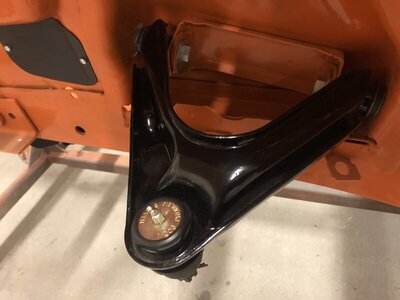
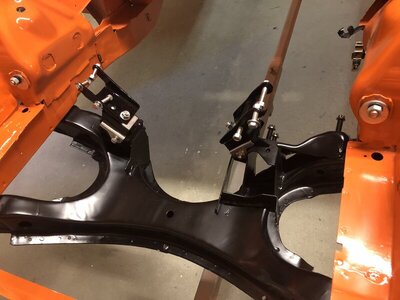
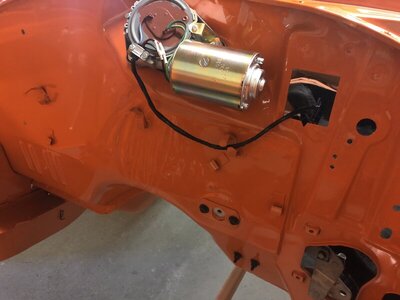
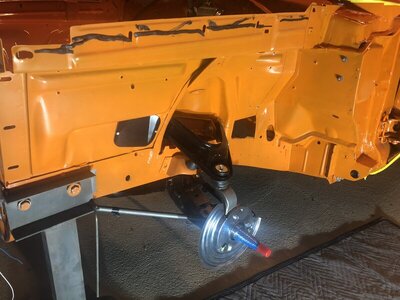
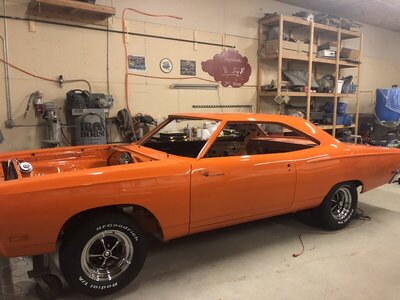
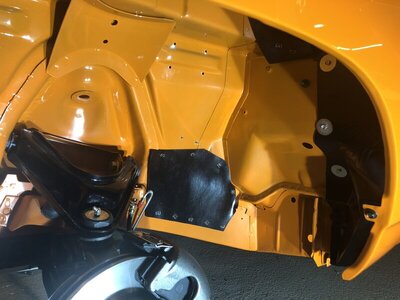
Great Choice !! Im glad you put it back to Omaha Orange...Love that color on an A12
One more 69 road runner build
- Thread starter pro-streeter
- Start date
Joe Palmer
Well-Known Member
Beautiful!!
Stuntmonkey
Active Member
Man this is great. Definitely want to go this path with my 69.
pro-streeter
Well-Known Member
pro-streeter
Well-Known Member
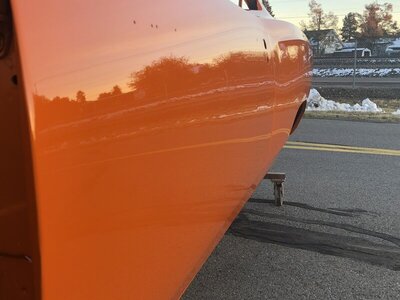
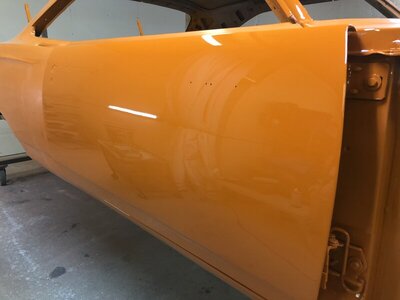
Started the cut and buff on the main body. Looks great for being done in a make shift both. I use the 3 step 3M product for this process
Color sand 1200 then 2000 and final 3000. Buffs easy. There are many different thoughts on the cut and buff process. Just do what works best for you. The whole body work and paint process can be done in you are patient and follow the basics. The end result can be as good many shops
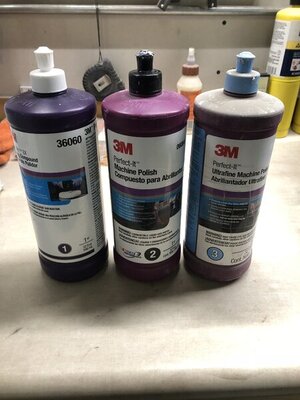
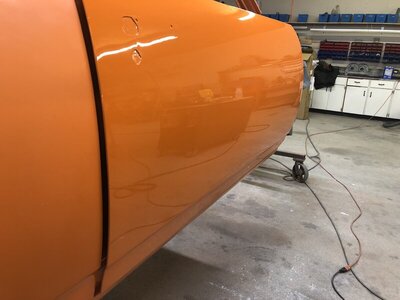
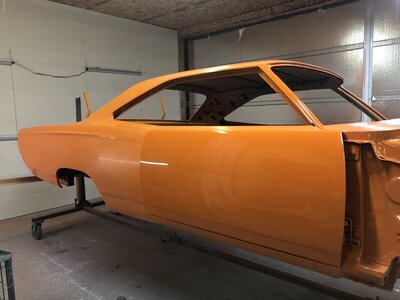
Color sand 1200 then 2000 and final 3000. Buffs easy. There are many different thoughts on the cut and buff process. Just do what works best for you. The whole body work and paint process can be done in you are patient and follow the basics. The end result can be as good many shops


pro-streeter
Well-Known Member
pro-streeter
Well-Known Member
pro-streeter
Well-Known Member
pro-streeter
Well-Known Member
pro-streeter
Well-Known Member
pro-streeter
Well-Known Member
70chall440
Well-Known Member
- Local time
- 3:30 PM
- Joined
- Feb 11, 2018
- Messages
- 4,952
- Reaction score
- 7,009
- Location
- Yelm, Washington
Awesome build
pro-streeter
Well-Known Member
BB BELLA
Well-Known Member
awesome thread and build!wish I had the time,drive,patience! just looking at the dash,dad's car,omaha orange all brings back so much of my youth!Dash pics.[you know how many hrs. I spent sitting behind one of those,years},brand new 68 omaha 383/4sp RR my first mopar taste owned by a family member, your dad's car same colour when purchased my first car 69RR 383mag. 4sp.
pro-streeter
Well-Known Member
pro-streeter
Well-Known Member
pro-streeter
Well-Known Member
pro-streeter
Well-Known Member
pro-streeter
Well-Known Member
pro-streeter
Well-Known Member
Similar threads
- Replies
- 181
- Views
- 15K
- Replies
- 3
- Views
- 2K

