• When you click on links to various merchants on this site and make a purchase, this can result in this site earning a commission. Affiliate programs and affiliations include, but are not limited to, the eBay Partner Network.

Project Unicorn - 1968 Charger Restoration

I have the fender tag for the car, but no build sheet. here is the decode from the fender tag:

CAR: Dodge Charger 2 Door Sports Hardtop
ENGINE: 383cid 4-bbl HP V8
TRANSMISSION: 3-Speed Automatic
TIRES: 7.75x14 White Side Wall
BUILD DATE: July 05.
AXLE: 3.23 Rear Axle Ratio
INTERIOR: Charger Trim Grade, Vinyl Bucket Seats. Black Interior.
PAINT: Monotone Bronze Metallic Paint.
OTHER: Bright Blue Metallic Upper Door Frame Color.

MOLDINGS:
25: Drip Rail Mouldings
30: Body Belt Mouldings
78: Wheel Lip Mouldings

ABC OPTIONS:
H1: Power Brakes
K8: Power Windows
N8: Rear Window Defogger
R1: AM Radio
X2: Tinted Windshield Only
Y6: Black Vinyl Top

abc OPTIONS:
a6: Console
b4: Bucket Seats
h7: Fender or Hood Mounted Turn Signal Indicators
m6: Driver's Outside Remote Operated Mirror
 
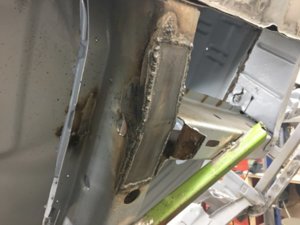
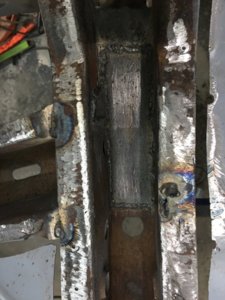
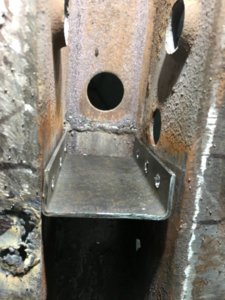
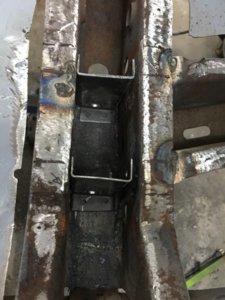
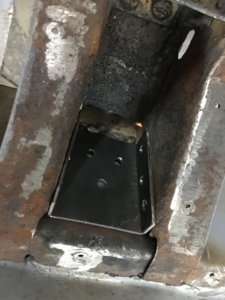
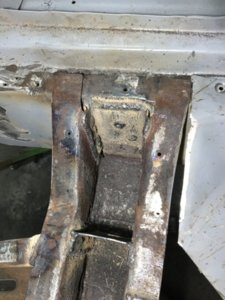
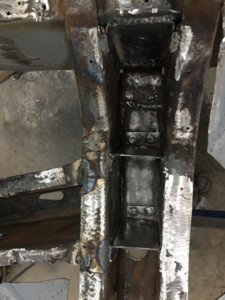
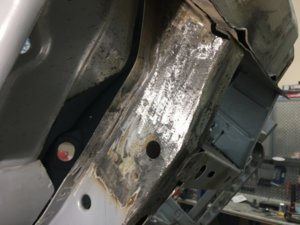
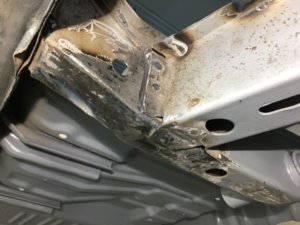
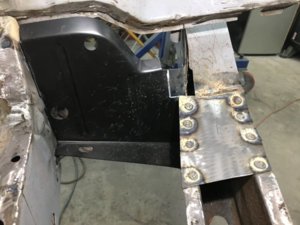
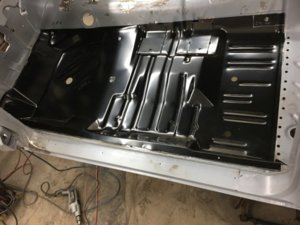
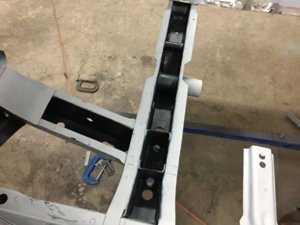
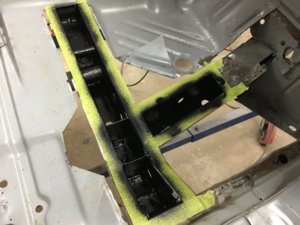
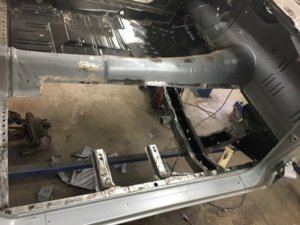
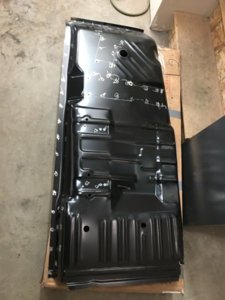
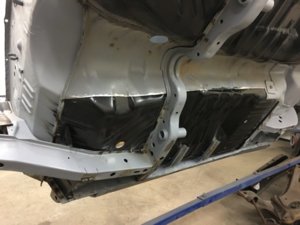
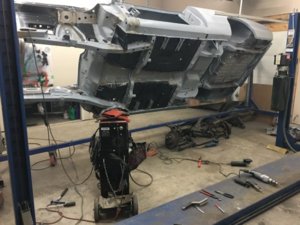
next I decided to replace the floor. the original could be patched but I wouldn't be satisfied with this later. And because the underside of the car is going to be finished and painted body color, it needs to be solid and look good. So, ordered new AMD floor pans and welded them in. This also allowed me to get inside the rear section of the front frame rails and torsion bar cross member and clean up rust, weld in new bracing, undercoat, and address the passenger side cross member which was very weak. photos...

20171220_123101086_iOS.jpg 20171220_205700464_iOS.jpg 20171220_225122068_iOS.jpg 20171220_231819089_iOS.jpg 20171221_124108345_iOS.jpg 20171221_125336554_iOS.jpg 20171221_130644496_iOS.jpg 20171221_143214212_iOS.jpg 20171221_143224918_iOS.jpg
 
and more...

I also installed new floor braces on both sides. The originals were rusted/beat up so for the cost, in go new AMD pieces!

20171221_192123029_iOS.jpg 20171222_181919410_iOS.jpg 20171223_013341527_iOS.jpg 20171223_205701450_iOS.jpg 20171226_172038567_iOS.jpg 20171226_175045435_iOS.jpg 20171227_015148208_iOS.jpg 20171227_030306890_iOS.jpg
 
you might wonder why I didn't go with a full piece floor pan. Well two reasons, a) the cost to have one shipped out here to Nova Scotia was brutal. b) I'm going to have to cut the tunnel all up anyway to fit in the Tremec transmission (TKO 600 going in with Hydraulic clutch - used this on the cuda and loved it).

So, went with halves and welded them in, ground it smooth and with some minor body work underneath it won't be noticeable. The tunnel modifications will come later when I'm ready to test fit the tranny.
 
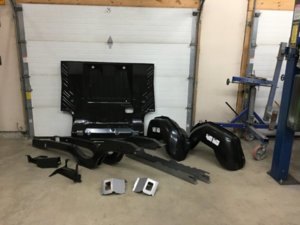
so with the front half of the car complete with metal work, time to put this thing on a frame table and go to work with major surgery on the back. All of the sheet metal in this photo has to go in next!

20180103_173032814_iOS.jpg
 
Looks great! Looking forward to watching your build.
 
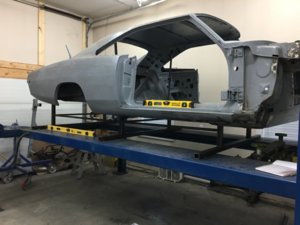
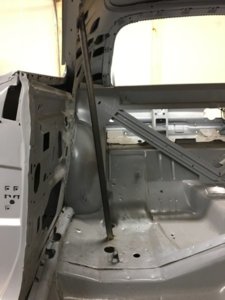
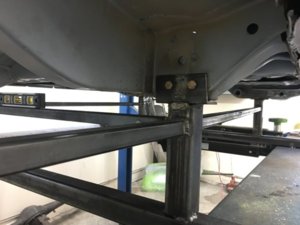
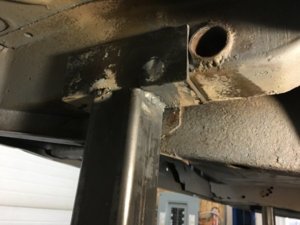
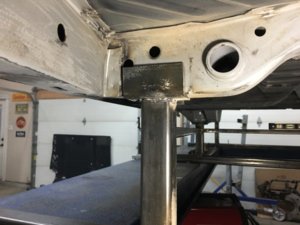
so ... entering new territory here and would some thoughts about the frame jig i'm making here to keep everything straight while surgery is performed. Haven't seen anyone use a four post hoist as a base in all my searches. However, because I am able to dial in and level each runway it seems to me to be a perfect base. The intent is not to raise or lower the car. I've put it at this height to allow me to work under the car without being on my back, while still allowing me to easily get up and work inside work on the side/back without a ladder or crouching. we'll see how that works out.

here are a few photos of the jig so far. the chassis is currently supported in three main areas 1) rear spring leaf mounts 2) rear torque boxes/front leaf spring mount 3) torsion cross member. The tubing used here is 2x2 by 3/16 so quite strong.

I tied all of it together with 1x1 1/8 wall tubing for insurance really, just to ensure all those main brace/support points stay where they are.

Note - each of the 2x2 3/16 brace "rails" that run across the hoist runways are welded down and level to each runway.

Also - each of the 6 chassis mount points in the pictures are level to each other.

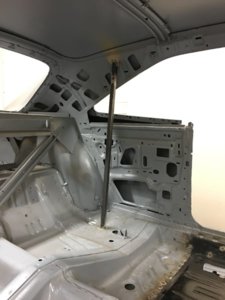
I have installed braces inside the car from the top of the rear torque box to the roof.

Welcome all thoughts/opinions. Some questions:

a) with all the surgery occurring the in rear, do I need to make another chassis brace and support similar to the other three at the front that would connect to the front of the frame rails - thinking I could make one to bolt up to the K
member holes.

b) I intend to make an additional brace, out of 2x2 3/16 square tubing that will be a box wrapping around the outside of the car around the rear window - where I will bring fingers off of to brace to the rear window and top of trunk. is this overkill?

c) any other bracing I should consider?

Still working through this....

20180107_195135639_iOS.jpg 20180107_195145886_iOS.jpg 20180107_195156957_iOS.jpg 20180106_180319182_iOS.jpg 20180106_180414958_iOS.jpg 20180106_180444192_iOS.jpg
 
Last edited:
all I can say that you are very talented ,the Lord has blessed you. Cant wait to see it finished.
 
Your jig looks fine. Make sure you get 2 rear points, 2 at the leafs, 2 at the torsion bars, and 2 up front at the bumper mounts. Once it's braced, those are your points.

I'm not sure what your cutting apart but your over kill if your only doing quarters.

You work fast! All in a days work. Looks good.

Thanks for the feedback. I'm replacing both rear rails, full trunk floor, both inner and outer wheel houses. quarters are staying - they were recently replaced, along with the trunk drop down extensions.
 
Bronze with a black top and interior is a pretty combo. On your tag decoding you said bright blue upper door paint??? Typo or Freak? Guessing black or bronze upper door color?
Keep up the good work. At this pace you outta be done with it by next weekend.....lol
:thumbsup::lol:
 
Bronze with a black top and interior is a pretty combo. On your tag decoding you said bright blue upper door paint??? Typo or Freak? Guessing black or bronze upper door color?
Keep up the good work. At this pace you outta be done with it by next weekend.....lol
:thumbsup::lol:

Thanks for the kind words. About the upper door paint, I found it strange too. I've included a photo of the trim tag. That output is what came out when I put it in, maybe I screwed up something when entering in the info the decode? welcome your thoughts on that

20180108_011922402_iOS.jpg
 
If that is a "B" under the UBS code it is black uppers. A "Q" would indicate bright blue i believe.
 
It is a B under UBS ... thanks for the help
No problem!

That woulda been a bizarre combo with bronze over black and blue...

Enjoy watching your progress:thumbsup:
 
Great work, moving right along too. I feel for you Canadians when it comes to buying parts, I've got a good friend up there and have heard many stories about the additional cost... :eek:

Keep up the great work.:thumbsup:
 
You are doing great on that charger! Keep up the good work :)
Looks familiar the repairs you have done on the body so far! ^^

Nice work
 
Auto Transport Service
Back
Top