• When you click on links to various merchants on this site and make a purchase, this can result in this site earning a commission. Affiliate programs and affiliations include, but are not limited to, the eBay Partner Network.

Rallye Instrument Cluster and Dash Bezel Restoration

Lionized

Well-Known Member
Local time
8:46 AM
Joined
Mar 23, 2014
Messages
1,998
Reaction score
1,741
Location
Vancouver Canada
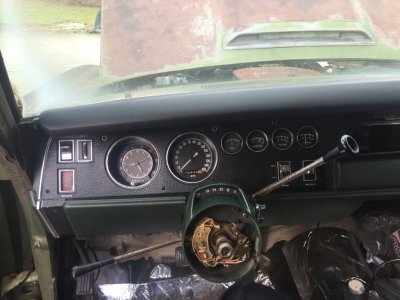
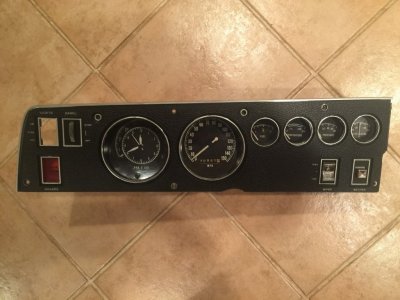
I've been mulling this over for some time and considered sending my instrument cluster out to be restored but have decided that kind of money could be better used elsewhere. Like on gas this summer!

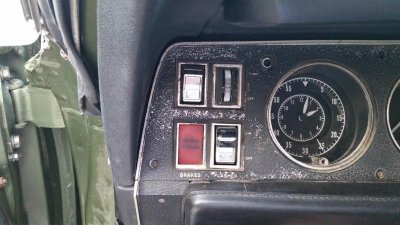
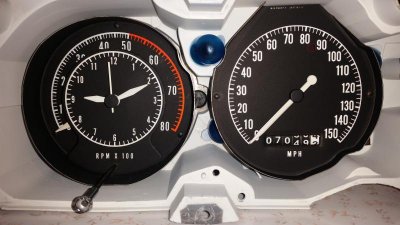
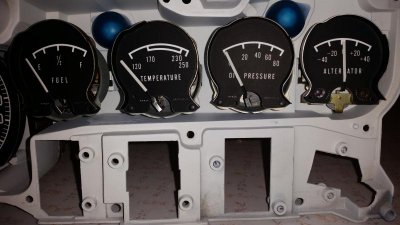
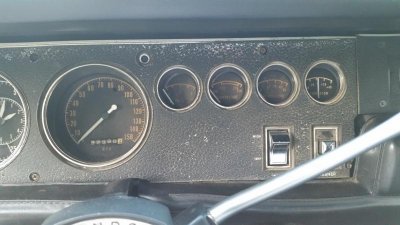
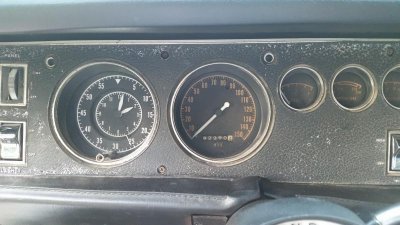
All of my gauges seem to work "OK". No real major issues. I believe that replacing the voltage limiter with the solid state which is available from RT Eng. should clear up 95% of any issues. Cleaning and lubricating the mechanics should help considerably.

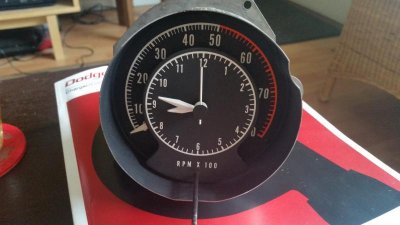
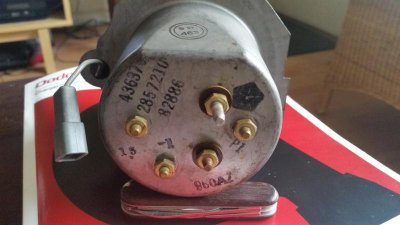
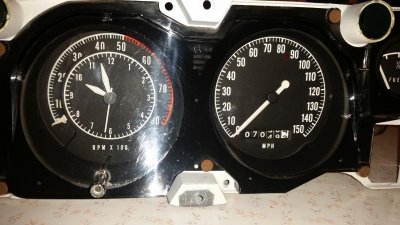
My clock will be replaced with an OEM Tick Tock Tach. I have already replaced the circuit board to work with electronic ignition and tested the clock, which appears to be working. It wasn't supposed to be operational but hey, I'll take it!

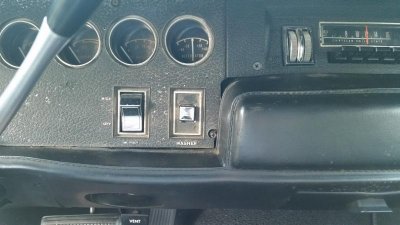
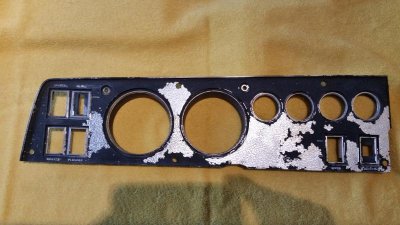
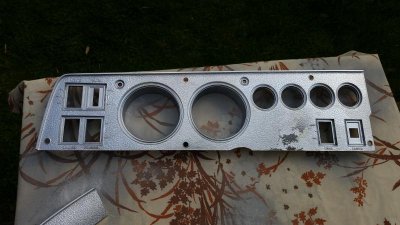
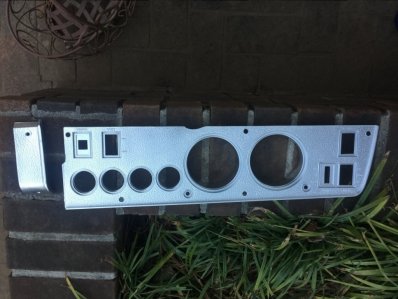
All of my bezels, except the instrument, are in excellent condition. I considered restoring the instrument bezel regardless of the missing corner but thought it would always be a bother to me. This is what you look at every time you get behind the wheel! I've since tracked down an intact bezel and will be restoring it. The one in the car will be my test mule.
instruments.jpgspeed (1).jpgtick.jpgtock.jpglight.jpgwasher switch.jpgreplace.jpg

instruments.jpg speed (1).jpg tick.jpg tock.jpg light.jpg washer switch.jpg replace.jpg
 
20150412_194723.jpg
20150412_194735.jpg
20150412_200324.jpg

- - - Updated - - -

Bezels will be next.
Also need to revisit the odometer. Pretty sure it's not quite right.

20150412_194723.jpg 20150412_194735.jpg 20150412_200324.jpg
 
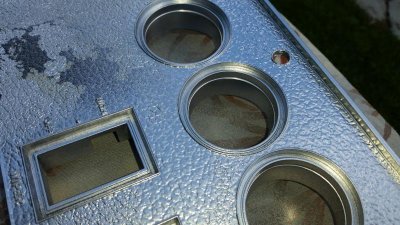
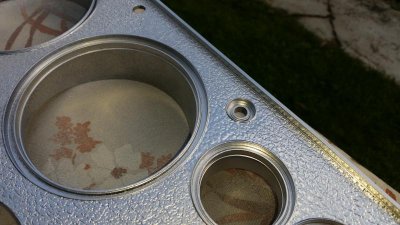
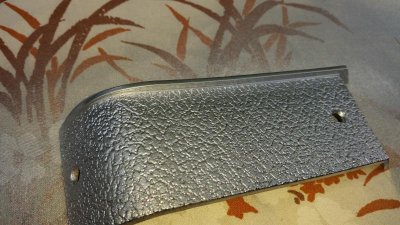
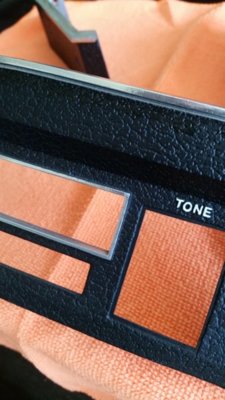
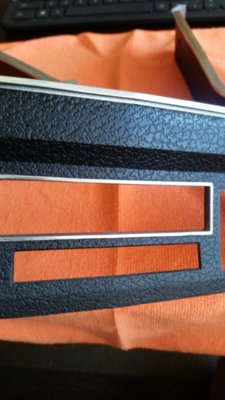
"Chrome" is laid on the bezels. Washed each piece, both sides, with warm soapy water then sprayed them lightly with brake cleaner. Scuffed lightly with a medium Scotch Brite, blew off with compressed air then gently wiped with a tack cloth. Took a deep breath, shot five light coats and this is the result :

20150415_164556.jpg
20150415_164630.jpg
20150415_164636.jpg
20150415_164624.jpg


Waddya'll think?

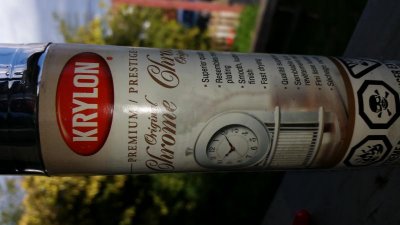
Also, this is the product I used. Half the price of the automotive "chrome" spray and, I presume, the same results :

20150415_165216.jpg

20150415_164556.jpg 20150415_164630.jpg 20150415_164636.jpg 20150415_164624.jpg 20150415_165216.jpg
 
Looks good so far.
I would suggest an adhesion promoter of some sort on any raw plastic and steer away from using any harsh chemicals on the plastic. reason is it could soften the part and start any release agent to come to the surface that may be left behind from the molding. I've painted may plastic parts and flexible bumper covers, after a lot of paint coming off the parts we learned that sanding to coarse and using chemicals were not good and not using an adhesion promoter. Once we learned that the plastics will always have oils and release agent in the part and to do everything possible to leave it alone.
I have a couple dashes to detail... not looking forward to the tedious job.
Do some testing with the Chrome paint on some scrap parts that are of close to the same kind of plastic if possible and use a heat gun "Very Carefully" to warm the part first and between coats. practice to get the gloss to look right. This is how I had success with the chrome paint.
edited to add using the heat gun only to 80 degrees or so not real hot at all or again back to messing with the composition of the plastic I use my infra red thermometer and check the temp as I go.
 
I neglected to mention that I did use Herb's Parts adhesion promoter after the brake cleaner. I also did not douse the parts in the brake cleaner, just a light coat. Much the same as the adhesion promoter.

Thank you very much for the tips though. I didn't think about warming up the parts before spraying...although this was all done in the sun, in the backyard.
 
good deal you did use adhesion promoter if you want the paint to stick and stay on the part.
I have painted the chrome paint in the summer when the parts were nice and warm and it worked good.
I used the same paint this winter and found when the parts were cold the paint didn't want to lay out correctly.

Once a guy figures out that prepping plastic is different than a piece of metal makes for less failure.
The adhesion to metal is a more physical type with sand scratches or "tooth" for the paint / primer to hold.
plastics- the adhesion is chemical from the promoter used and actually sanding and especially sanding to coarse makes the adhesion worse
by opening the plastic up.
When we would get some urethane bumper covers from Subaru I would cringe since some would come with no primer on what so ever and be so slippery with release agent you could hardly hang on to them. We found that washing them with soap and water several times, then with metal etch yep acid got them squeaky clean where the primer would stick after the promoter..
another good cleaner for plastics is TSP
it has been a while since I've painted a lot of plastics almost forgot this..
of course urethane parts are not the same as a plastic type part but using the same method to prep is.
this might be over kill on description on the prep process for a dash bezel but when a guy is doing seat backs,
seat belt trim kick panels door panels and the like where the parts get a lot more wear is when proper prep really shows. We've all seen painted parts that the paint comes off with a little bump or scratch.
nice job on your dash!
 
Thank you very much for the info. I will be doing the kick panels and A pillar trim next and will most likely use TSP.

:eek:ccasion14:
 
your welcome.
when doing old interior trim one thing to be aware of is that dam Armor all or silicone. a painters worst enemy.
easy to tell if it is on the part.. take a piece of masking tape and see if it sticks nothing sticks to armor all.
it has to all come off first and be careful not to push it down into the plastic.
one test to see if the part is clean is when you rinse with water is to watch the water as it comes off the part. if it sheets off you more than likely good. if it beads at all your not done cleaning
even if your not planning on painting the backside of the parts they should still be as clean as ever.
 
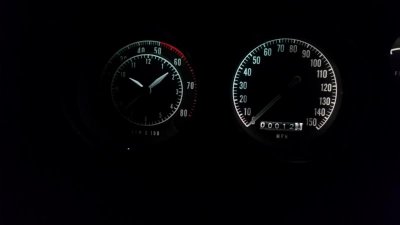
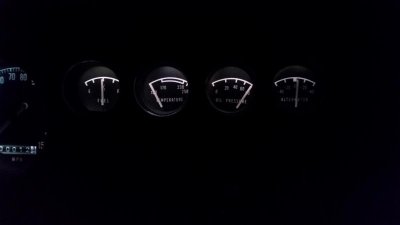
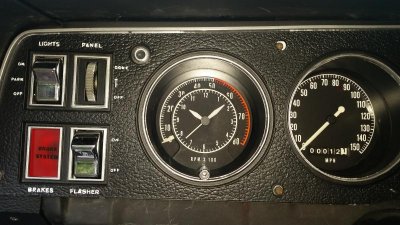
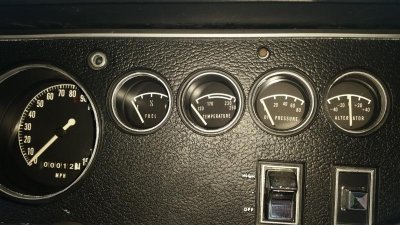
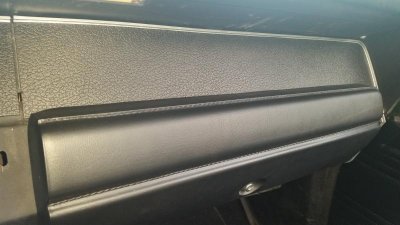
Dash is back together. Waiting on the lower pads which are at the upholstery shop having the top edge readhered. Looks good. Oil pressure is reading high. All other gauges appear to be correct.

- - - Updated - - -

20150419_204915.jpg
20150419_204933.jpg

20150419_183658.jpg
20150419_183712.jpg
20150419_183722.jpg

20150419_183658.jpg 20150419_183712.jpg 20150419_183722.jpg 20150419_204915.jpg 20150419_204933.jpg
 
Last edited:
Looks awesome keep up the good work! I am doing my dash in 69 RR and probably should replace voltage limiter since dash lights would inadvertently go off and then come back on.
 
Looks awesome keep up the good work! I am doing my dash in 69 RR and probably should replace voltage limiter since dash lights would inadvertently go off and then come back on.

Sounds as though you may either have a grounding issue (ensure all of the mounting screws are in place and tight) or, possibly, your dimmer is acting up. Get yourself a can of spray contact cleaner and lubricant from your local electronics store or parts jobber. Spray it liberally while rotating the dimmer up and down. Should help.
 
Great job, you will enjoy it more knowing you did the work, plus I'm sure you saved quite a bit.
Way to go!
 
Looks outstanding!
How is this holding up and what black paint did you use?
 
after you sprayed the chrome on first, how did you mask it off for the black?
 
after you sprayed the chrome on first, how did you mask it off for the black?
Very carefully (with 3M Fine Line 1/8"). I went over the larger areas with 3/4" after the Fine Line. Anything larger was then masked with 2".
Check your local jobber for Fine Line. Can't say enough good things about this tape.
 
Thanks for sharing. I decided to do my entire dash myself thanks to your thread.
Even restored the vintage slot car tag for the dash later or when I go see the Original owner.

IMG_4368.JPG dash6.jpg IMG_3961.JPG
 
Auto Transport Service
Back
Top