• When you click on links to various merchants on this site and make a purchase, this can result in this site earning a commission. Affiliate programs and affiliations include, but are not limited to, the eBay Partner Network.

Rallye Instrument Cluster and Dash Bezel Restoration

Hemirunner, I am confused as to what I am looking at. What is the rectangular thing under your thumb? A bezel for gauges? Is the original bezel cut out behind it?

Either being an optimist or an idiot, I saw a new type of "chrome" spray paint at the hardware store, and bought one. I tried it out on a pebble finish hockey stock that needed refinishing, with the thought that if the spray paint didn't work out well, I could always repaint the trim with the Molotow paint stick.
First photo - The test piece.
Second - As I always do, I sprayed the entire piece with SEM Landau Black.
Third - I cut a mask out of thin poster board, using the outer edge of the test piece as a pattern.
Fourth - The mask on the piece.
Fifth - There was some bleeding around the mask. I took a small paint brush, sprayed Landau Black on a paper plate, and dabbing the brush in the paint, painted over the bleed through.
Sixth - After paint brush fix up.
Seventh and Eighth - Comparison with Molotow Chrome on a refurbished bezel.
Ninth - The paint.
In conclusion, in my eye the spray paint, while not as shiny as the Molotow, is the best "chrome" spray paint I have seen. It is not as flat as other "chrome" spray paints I have tested. It has a bit of reflectivity, as shown in photo five, where you can see the pebble finish reflected if you look at the corner of the piece in the upper right. There are some jobs where this spray might work well. You can't cover a large, flat area with the Molotow pen because the strokes made while using it will show. Obviously you all know that spray is smooth.
I welcome your comments and questions.
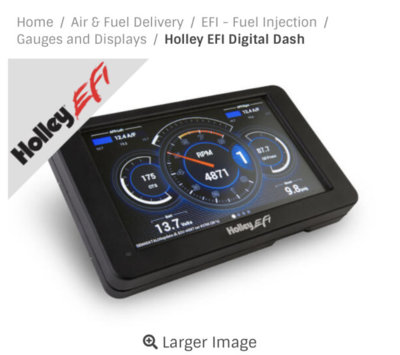
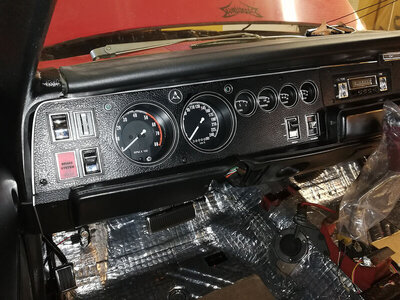
The large rectangular thing is an EFI Digital Dash screen. The silver pieces on each side of it are aluminum mounts that also serve to plug the speedo and tach openings. It looks like this when powered up

0B9328E9-8326-4ACA-BC4A-429CCC1700CA.jpeg
 
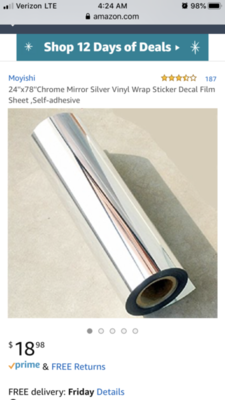
Here’s another product that could be used for chrome. We’re using it to wrap a fiberglass bumper so I’ll try some scrap for this project.

18B534CC-1F86-4A79-A95A-1BEF3414BC0A.png
 
Here’s another product that could be used for chrome.

I will be very interested to see your results. I have wondered what the product used for wraps was like. I have tried several different chrome tape products. Problems I have encountered are if the product is thin you get wrinkles. If it is thicker, it won't fold over edges, or won't stick well. Also it would be impossible (IMO) to use on the round gage holes and rectangular switch holes on instrument bezels.
 
The large rectangular thing is an EFI Digital Dash screen.

If the display is attached with small holes, I would fill the holes with epoxy. If you take some molding clay and press it on the pebble finish, then put it over the hole and fill it from the back, the epoxy will pick up the pebble finish pattern. It will be tough to get the clay right because if you push it too hard over the hole it will fill the hole, and if not pushed hard enough, the epoxy will ooze out. Different epoxies have different consistencies. Some are very thin and will seep through the smallest of openings, while others are fairly thick. To do this particular repair, I would recommend JB Quick weld. It is pretty thick.
 
Last edited:
I will be very interested to see your results. I have wondered what the product used for wraps was like. I have tried several different chrome tape products. Problems I have encountered are if the product is thin you get wrinkles. If it is thicker, it won't fold over edges, or won't stick well. Also it would be impossible (IMO) to use on the round gage holes and rectangular switch holes on instrument bezels.

I experimented with chrome vinyl from TeckWrap. It would be good for larger surfaces but I agree tight corners would be tough to get right. I attempted to cover one of the dash rocker buttons and while the chrome finish looked pretty good, it was really hard to get it to conform without bubbles or overstretching it. I'm sure somebody with more experience with vinyl could get a better result, but I still think it would be tough.
 
I will be very interested to see your results. I have wondered what the product used for wraps was like. I have tried several different chrome tape products. Problems I have encountered are if the product is thin you get wrinkles. If it is thicker, it won't fold over edges, or won't stick well. Also it would be impossible (IMO) to use on the round gage holes and rectangular switch holes on instrument bezels.
Not impossible but difficult for sure. It stretches when heated. The bumper required more stretching that a gauge panel would but the panel will require much more attention to detail. Once applied, it looks great. Very realistic. Here’s a bumper done by a professional company that does automotive wraps.
75C6A61E-3FDB-4BC7-BBCE-25533B361F99.jpeg
 
I experimented with chrome vinyl from TeckWrap. It would be good for larger surfaces but I agree tight corners would be tough to get right. I attempted to cover one of the dash rocker buttons and while the chrome finish looked pretty good, it was really hard to get it to conform without bubbles or overstretching it. I'm sure somebody with more experience with vinyl could get a better result, but I still think it would be tough.
Agreed. I’m only planning to use it around the outside edge. I’ll use the markers for the detail work.
 
I have had pretty good results using chrome tape on the top edge of 68 -70 radio dash bezels. The reason it will work well there is because they don't have any curves like the hockey stick piece.
 
Not finished by any stretch of the imagination but getting there.
25E57E39-D8CB-428D-9A80-5299DB45B650.jpeg
 
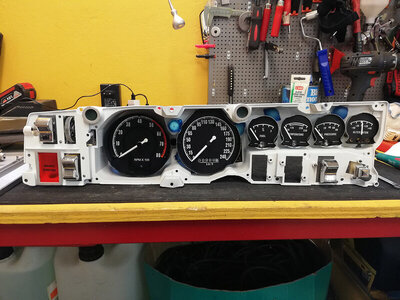
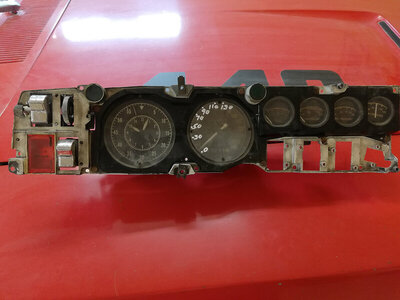
Those Chrome markers were great. A big improvement on this panel as it was in pretty poor shape.

406B3405-3E1B-4C7F-9405-5C96CF3187A4.jpeg
 
Bumping this with my Molotov pen ver.
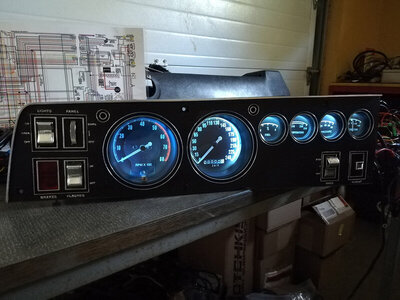
Used Novus 3 to polish the plastic clear cover over the new gauges.
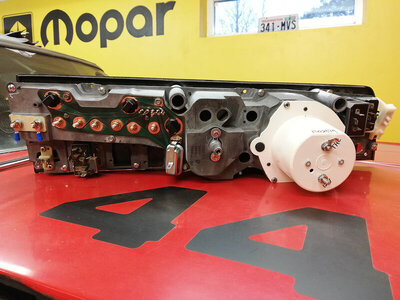
Cleaned up the housing and painted the inside white.
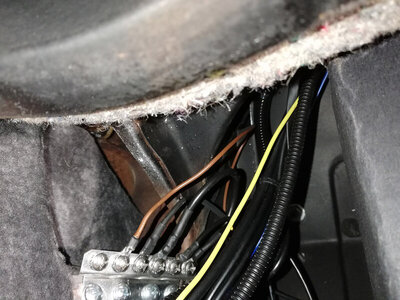
As someone also said earlier in this thread, its good to add Grounds, I added a ground bracket at the far right side of the dash, right behind the glove box liner is a nice open space on the chassis, then I added one extra ground bolted to the gauge housing by the Wiper switch bolt and then one extra ground wire connected to the new Voltage limiter.

Added LEDs to the dash and a Tach from YO.
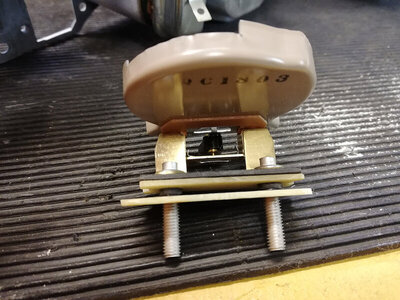
Also added extra fiber boards to make the attaching of the amp-meter more secure.

jn1.jpg jn2.jpg jn3.jpg jn4.jpg jn5.jpg jn6.jpg jn7.jpg
 
Auto Transport Service
Back
Top