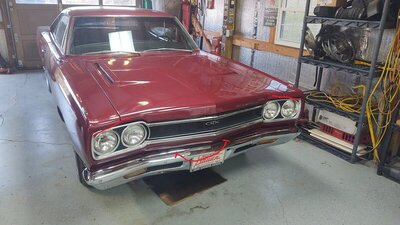
Well, final result?
Everything cleaned up fine for starters - the shifter is over a decade old, but has very low
miles on it, so I expected that.
I decided to "glue" the spacer for the adapter plate to the back of the plate, since that's
been a source of aggravation in times past that I remember, so a little permatex gasket
sealer was used - nothing permanent, just something to hold it in place while I got the
screws started in the plate.
My using a header bolt for the bottom adapter to transmission attachment went just fine,
as did the other two "correct" fancy Hurst hex screws in the two other positions.
The header bolt, sitting on a thick steel washer, pulled right into the recess and got out
of the way of moving parts to come without issue - and took the torque, too.
All got some Loctite Blue - and this time, they received a proper dose of
manly tightening,
courtesy of a 3/8" drive ratchet and proper sockets for each.
That part done, preliminary check showed the adapter plate to be
seriously tight to the
transmission - half the battle was over.
Now, the fun began (read: frustrating at times, but not when you think it would)...
I had washed and blown out the shifter mechanism with Brakleen and compressed air;
I followed that up with a dousing of PB Blaster, to the point everything was clean and
loosy-goosy in there. I finished off with some white lithium and worked the mechanism
until it felt right in my hands, then wiped it off and tossed it under the car along with
its' mounting bolts.
Thanks to my "floor modifications" the day before, I was able to get both bolts in and
tightened to Ed torque using ratcheting box wrenches - and I didn't spare the horses
on those, either.
Things were going really well and I thought I was on the home stretch...
I got out the Brewer's-supplied photo of how the shift rods are arranged for reference
and chucked that under the car as well, along with the nylon washers and snap rings
for the shift rod pivots.
I used a snug allen wrench as an alignment tool for the shifter mechanism and set
about checking & adjusting the rods - some minor adjustments were needed, but nothing
drastic.
But those snap rings? Oy, those friggin snap rings...
There has GOT to be a better way of doing that! I HATE those things!
It literally took me longer to get those on than to check rod alignment.
Much cursing and gnashing of teeth was witnessed by Fred...
FINALLY, I got to the inside of the car and reattached the shifter handle (the two bolt
is definitely an inferior design to the "blade" ones IMO) and stuck the $20 Hurst boot
back on.
(I really need to get a proper shifter boot one of these days!)
I was so confident things went well that I went ahead and got Fred back down on all
fours and put the jack and stand away.
Finally, I got in the car and started playing with the shifter...
Where I found zero slop, no fussing going into any gear, all while not even starting
the car. It found neutral easily and it only took a quick stabbin' of the clutch pedal
to finish going up into reverse.
The shift pattern felt
much smaller and precise; the shifter made all the cool
"snick-snick" sounds of precision that a good Hurst unit
should.
There was a little stiffness, in fact - but I had to remind myself that the transmission
is a fully rebuilt unit with less than 750 miles on it, too, so it's gonna be a tad
stiff for a while longer.
All in all? I'm declaring victory.

Maybe now I can get back to planning the brake overhaul I was planning on before
this little sidetrack reared its' ugly head.
Oh....and Fred grinned his thanks at me on the way out.


 )
)


