• When you click on links to various merchants on this site and make a purchase, this can result in this site earning a commission. Affiliate programs and affiliations include, but are not limited to, the eBay Partner Network.

What did you do to your Mopar today?

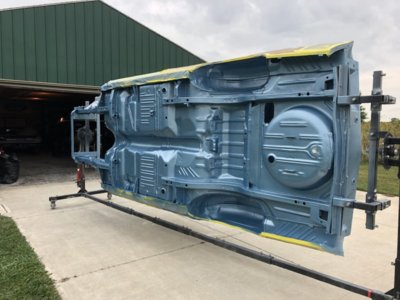
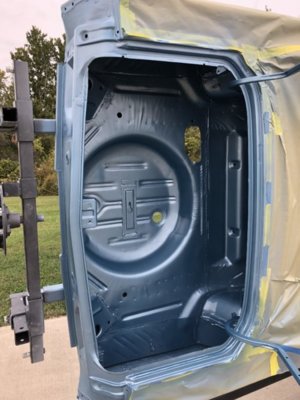
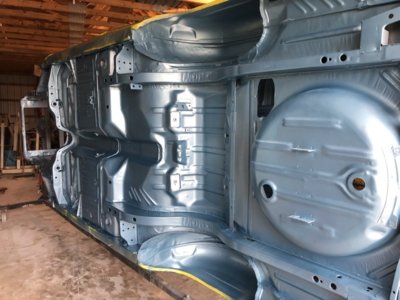
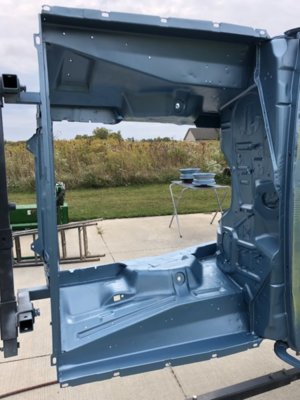
I've had intermittent no start issues with the '71 Charger since I got the car back from the shop that worked on it. Today, I was supposed to drive it to PA to let the body shop that's going to paint it see it as the guy they sent to check it out at the house has quit and moved on. Of course, it wouldn't start. Started with the simplest thing first and cleaned the battery terminals. Turned the key, and she fired right up. I turned it off, loaded some stuff in it, then hopped in, turned the key, and nothing. So, in a modern marvel of poor diagnostics, I decided it was the neutral safety switch. So, I went and bought one and realized the wiring was iffy at best. So, my new harness came out of the package and I installed that while I was working on it. Got it all put back together and...nothing. I didn't even have back up lights anymore. So, back in with the neutral safety switch I had just removed, turned the key, and she kicked right over but would not run. After 5 or 6 tries of this, she wouldn't even try to start anymore. I turned the key on and had no power in the ignition circuit either. So, I jiggled the key quite vigorously and it started and ran. Crap.

Off to the attic to get out the spare column and I spent the rest of the afternoon getting the ignition switch out of the spare column. I tested that switch through all of its positions and it tested fine. So, now to find the time to pull the switch out of the car and replace it with the spare.
20190924_130603.jpg
20190924_132043.jpg
20190924_185621.jpg
20190924_172624.jpg
20190924_172633.jpg
 
Took my friend from SC who's visiting out to the garage and gave him a comprehensive tour of the Express. He was stunned. Really liked everything I have done. Gave me some good ideas on how to correct the quarter extension problem I'm having. He agreed that I have managed to incorporate all of my mods into a cohesive design that seems like it "could" have come from the factory this way and that the changes are all subtle enough to not be immediately noticed, which is the point. Except for the tail lights, he agreed those are in your face...lol. Which is also the point.
 
@Ghostrider 67- your car looks like an early, Dodge version of the Rapid Transit System show cars!
 
Had a few issues with the steering on the old W250, so I started digging. Found half of the drivers side steering knuckle had froze up. Yeah, that'll do it!
Decided to just tear it all down and start fresh with all new components on both sides from the King Pin assemblies on out. Fished the tear down this morning. Breaking the actual King Pins loose is always fun however. They just laughed at the 3/4" Impact Wrench, so I broke out the Brute Force equipment... 3/4" Breaker Bar and a 6 foot length of 3" steel Square Tube for an extension. They weren't laughing after that.
Frozen Axle.jpg


King Pin 5.jpg


King Pin 7.jpg
 
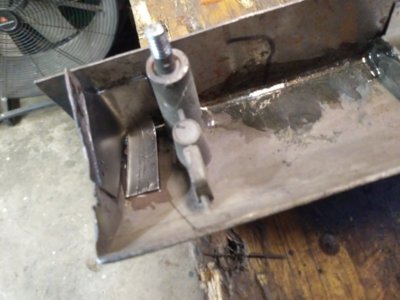
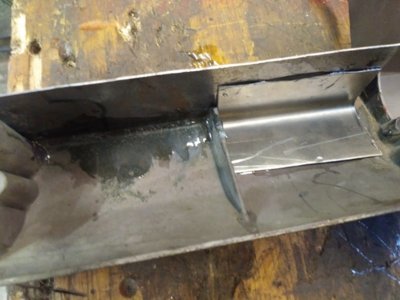
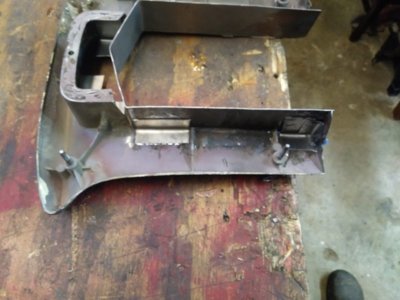
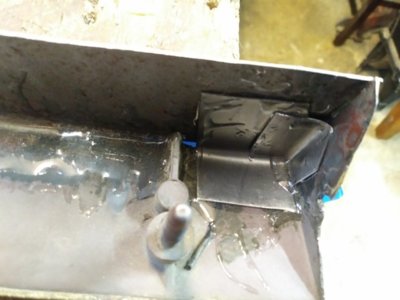
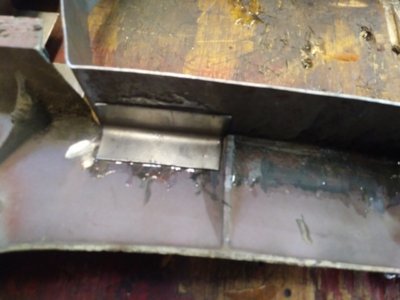
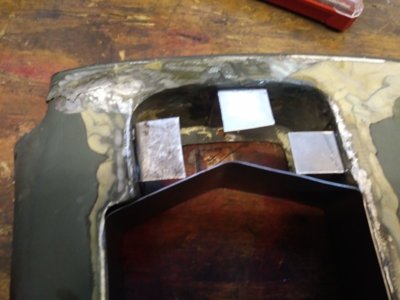
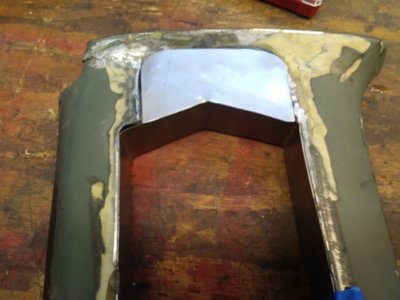
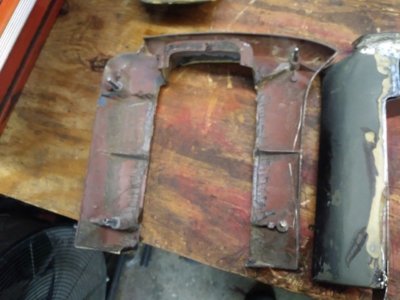
Well, I will try to explain what I have been doing. So, I modified the quarter tail extensions so they would fit around the 66 T Bird tail lights. Problem is, the pot metal cant be fastened/welded to the sheet metal forms that replace the original "U" bend around the ends. I tried several versions and all cracked. So, now, with the input of our friend from SC who is visiting I have tried another version. I tore apart the last attempt and cleaned up the extensions. Then made new "U" shapes from 18 GA steel. It wont flex as much. Then fit it to the extension shell. Then mixed up two part epoxy and flowed it into place in the center section on each side. This holds the thing together for the next steps. Then cut pieces of 18GA for braces between the "U" shaped Sheetmetal and the pot metal extension shell. Coated the pieces with 2 part epoxy and the shell surface and clamped together. Put them in three spots around the "U" channel. Then cut and fit the flap that fills the area on the outside of the extension face from the new channel end to the old end. bout 3". Then made braces to go under that in 3 spots as well and glued them into place too. Once dry I will go back and weld/tack the "U" channel to the ends of the steel braces for added support. Then I'll flow more epoxy into all spaces so it all becomes a single piece. Once dry I can then finish it. Then clean up all edges and apply filler to smooth it all out and we will see if THAT holds together, or if it cracks. Pray for me.:icon_fU::rolleyes:

0926191500.jpg 0926191500a.jpg 0926191500b.jpg 0926191500c.jpg 0926191500d.jpg 0926191501.jpg 0926191501a.jpg 0926191501b.jpg 0926191501c.jpg
 
The section where it's flowed in there looks thin, but it's clear and about a half inch deep.
 
Well, the hard part is done...
New King Pins and Lower Bearing Races installed on both sides of the old W250.
A made a tool for installing the new bearing races, using one of the old ones. I ground the sides of the old bearing race down a bit on a bench grinder, then polished them with a bench mounted belt sander. I took off just enough so the old bearing race would freely slide in & out of the socket. Put the new races in the freezer for a bit, then tapped them into place. Worked like a charm.

King Pin 8.jpg
 
Adjusted quarter glass, re-installed moisture barriers, installed quarter door panels and trim.

The new inner window felts solved the problem I had adjusting the window to get enough tilt outwards.
 
0172099A-AD1F-4AC7-93A2-E0F3A17325C3.jpeg
Sent it to biomedtechguy.
FROM the Redwood forest, TO the Gulf-stream water.
 
Last edited:
Lucky me, I just scratched the passenger front fender on my 65 pulling into my car port :BangHead::BangHead::BangHead::mad: Yes I'm pissed !!!
 
Auto Transport Service
Back
Top