• When you click on links to various merchants on this site and make a purchase, this can result in this site earning a commission. Affiliate programs and affiliations include, but are not limited to, the eBay Partner Network.

Whats everyone working on?

20190521_083608.jpg
20190521_083556.jpg
20190521_083335.jpg
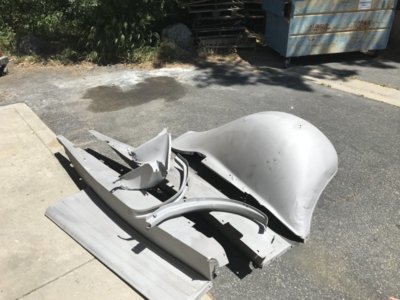
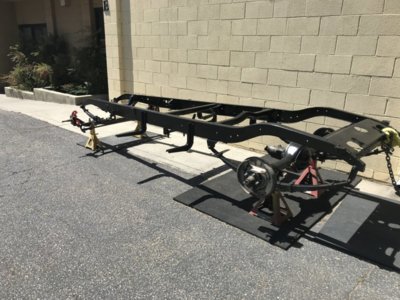
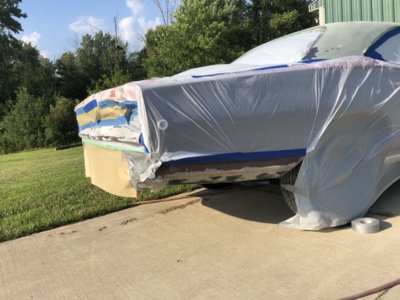
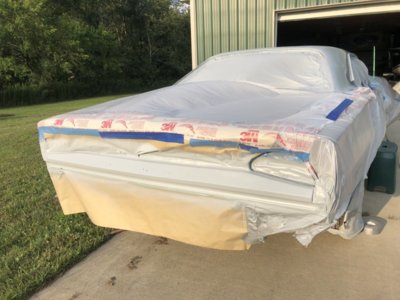
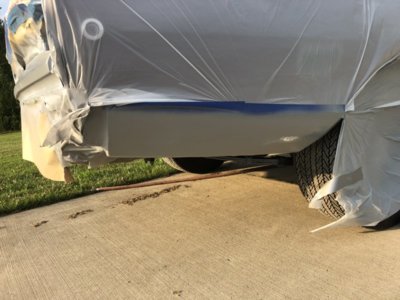
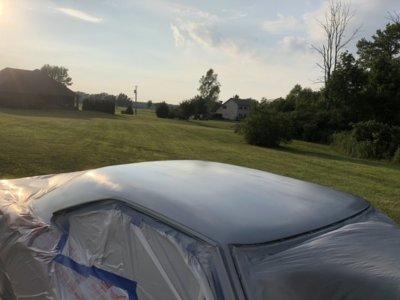
Just finished this up for the 68. May go in this weekend depending on other honeydo's
Scott.
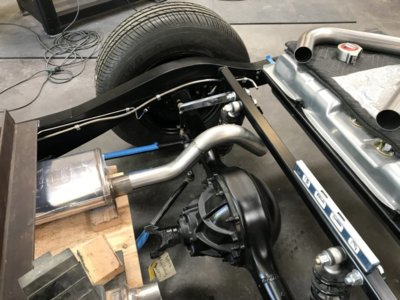
 
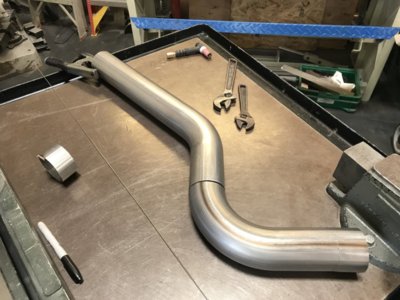
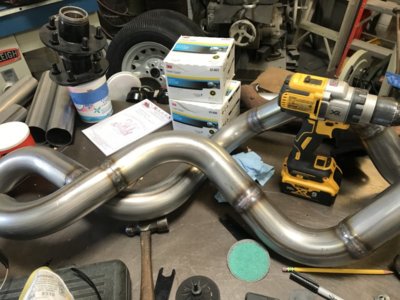
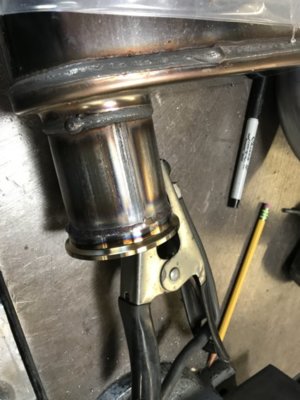
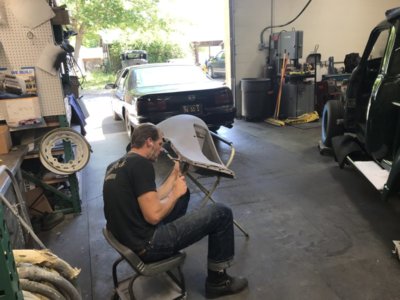
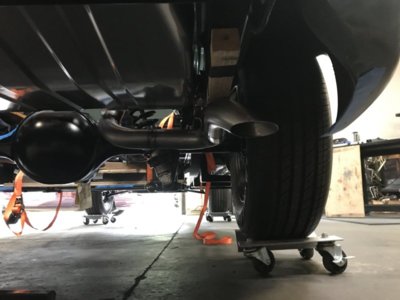
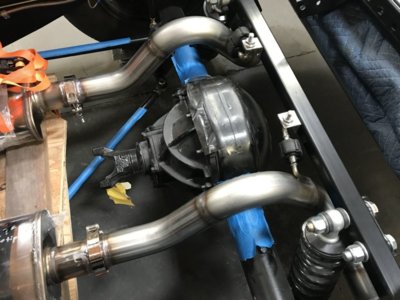
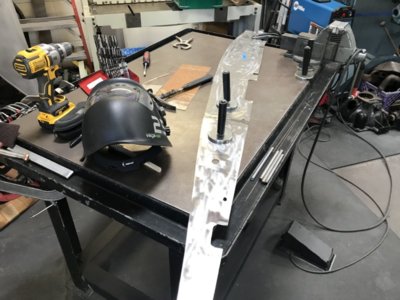
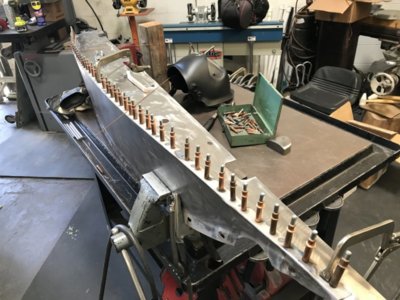
I've been back at work on the 50 Chev, building the rear exhaust on it [2.5 stainless] which pretty well wiped out the bends supplied with the Magnaflow box [going to need more], got the first pair of band clamp wings welded to one muff, modified the APPS [accelerator pedal position sensor] to work in conjunction with the original gas pedal, took it apart many times to change the bends around to mate up. A local teacher got ahold of Ben to take over his 36 International truck project. He had already done a lot of the mechanicals on the chassis, powder coated it etc. He decided to bail as it was too much time for him to do so thats a new project. It should be fun, especially since we didn't take it apart. The owners grandad bought it new in 36 and its in decent shape considering the age. Bossman is putting the whoop on a fender.

IMG_1614.JPG IMG_1613.JPG IMG_1714.JPG IMG_1722.JPG IMG_1717.JPG IMG_1719.JPG IMG_1720.JPG
 
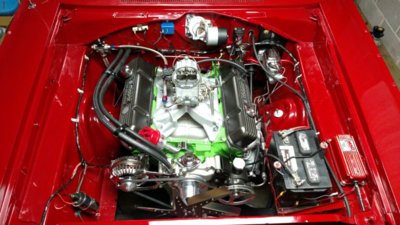
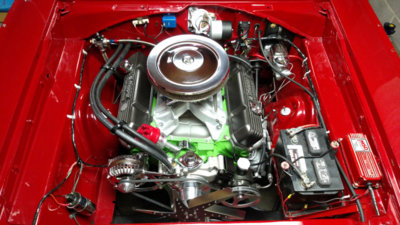
We've been building the Engine for the Charger
Can't wait to get her running
I wanna hear it run

IMG_20190623_215218470.jpg IMG_20190623_215723207.jpg engine edit.jpg
 
Fixing front fenders on my 68 road runner, someone cut lower front lips off to fit bigger tires, pick up a 69 for parts and cut and welded on. Turned out pretty good!
WP_20190627_19_57_21_Rich.jpg


WP_20190619_12_45_36_Rich.jpg WP_20190619_12_46_42_Rich.jpg WP_20190620_16_07_58_Rich.jpg
 
The Firm Feel Stage 3 steering box in my car has felt sloppy for awhile. I had suspected the coupler to have some slop but it always feels snug.
Still, the loose feeling on center or more specifically, from the 11:00 to 1:00 positions always annoyed me. I could turn the steering shaft by hand with the engine off and see a fair amount of movement before the pitman arm started to move. The splined shaft on the steering box moved in and out with the rotation of the steering shaft too. Today I adjusted the nut and screw on top. The 3/4" nut was cracked loose and the slotted screw was turned about 1/4 turn clockwise, then it would not move any more. I tightened down the 3/4" nut and drove the car. The slop is greatly reduced but a little still remains. I wonder if this means that I am at the end of what can be done with this box. I have considered a Borgeson box for the car so maybe I'll use this FF box in another car.
 
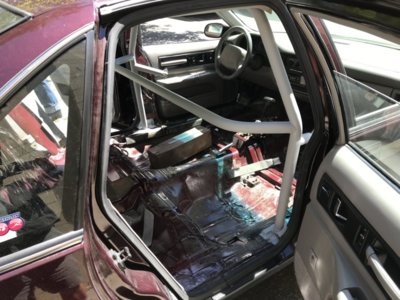
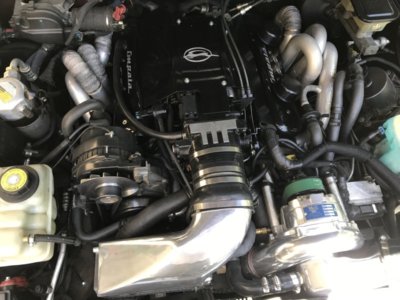
I finished up the tailpipes on the 50, made up the hangers and brackets to mount them. The front stuff will have to wait until the engine and trans are back in. Ray is working on what wiring can be done at this time. I flared the ends of the stainless hard line now that the quick connect fittings and other fittings are in so that I could finalize the mount spot for the filter/regulator. Did some welding on the running board filler panels for the 36 International. Tim made up some replacement pieces for the rusted away portions. He'll get after more of the sheetmetal next week. I keep forgetting to include the 96 Impala SS we've had here for awhile. The owner, in his 70's, is a friend and ex shop landlord of Ben's. Ben made up a 6 point cage for the car. The owner is into land speed record stuff and has already run it like 160+ so far. He wants to do 200 with it but needed the cage. Ben is almost wrapped up putting the interior back in. Car has a blown LT1 in it for motivation.

IMG_1738.JPG IMG_1739.JPG IMG_1747.JPG IMG_1755.JPG IMG_1751.JPG IMG_1761.JPG
 
The engine went in yesterday
Along with the trans and drive shaft
I still have some plumbing and wiring to go but I hope to fire her up soon

IMG_20190630_140002340.jpg IMG_20190630_141436646.jpg IMG_20190630_150636348.jpg IMG_20190630_205243276.jpg
 
That's certainly an unusual colored engine to go in a red car!

My Dad called me Bullfrog from the time I was born
So when I was Racing I raced under the name Bullfrog Racing and all of my engines were "Bullfrog Racing Green"
The last engine in this car was green with Pink trim because I couldnt afford all the nice chrome lol
Miss Mopar liked it - Early 90s

char4.jpg


charEng.jpg
 
Getting close to wrapping up the sheet metal work on my 1969 Dodge Coronet 4 door restoration. We did a lower rear driver side quarter panel patch panel, complete passenger quarter panel, complete trunk pan, and complete tail panel Here is the link to my build thread with videos if you would like to take a look: https://www.forbbodiesonly.com/mopa...-4-door-coronet-yeah-thats-right-i-do.169340/ and here are a few pics from this last weekend.

3048.jpeg

3593.jpeg

3594.jpeg

3626.jpeg

3627.jpeg

3628.jpeg

3629.jpeg
 
Last edited:
Wow
What a wild ride this car has been
Still gotta cut some spark plug wires but other than a couple of horns everything is in place under the hood
We thought we would fire it up yesterday but found out my radiator has gotten damaged in storage
I ordered a new aluminum one last night but now we gotta wait to start her
You can't run them if you can't cool them

IMG_20190707_211749935.jpg IMG_20190707_211931482.jpg
 
Here is a video link to the week 10 progress on the restoration of the 1969 Dodge Coronet 4 door.

 
Last edited:
This is another project I have been working on for a couple of years now.
Rescued 1966 Dodge D100 Utiline truck needs a new cab floor 07122019

 
Last edited by a moderator:
Got the 318 out and stuck in the 440 now if I can get the shifter cable routed I can get it off the jack stands and wire up the msd box then put some fire to it .... would like to take it to the Mopar Nat's this year
 
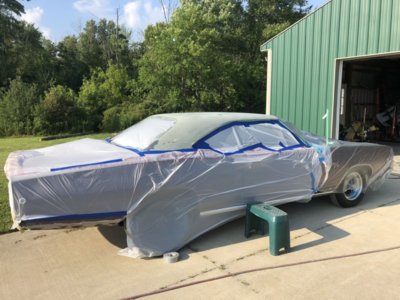
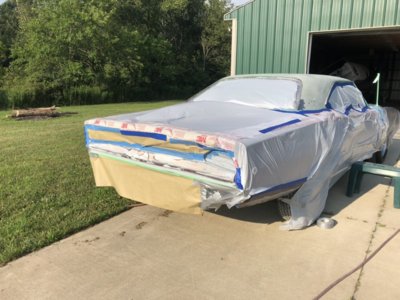
Fixing some body issues before they get out of hand.
Had a small rust pocket on the passenger side C pillar. Had to cut out and weld in a patch.
Required pulling the vinyl top.

Also had a dent on the tail area and some rust on the lower passenger quarter. Again, cut out and weld in new metal.

Epoxy primer on the top and repaired areas today.

82DACCC9-0E9E-4497-8CF5-83BCC6EB962B.jpeg 45D88032-7328-4D7F-8F1E-C5971F02AAC0.jpeg A91C6390-F674-4C91-BF79-21B65B396B7F.jpeg BC023601-8736-495D-A7C5-D2D7102126E4.jpeg 2F2A67E9-22B4-4698-B913-B2695FA73713.jpeg 10E05D85-2F38-4877-8D2E-1DD991DBBFBB.jpeg
 
Auto Transport Service
Back
Top