• When you click on links to various merchants on this site and make a purchase, this can result in this site earning a commission. Affiliate programs and affiliations include, but are not limited to, the eBay Partner Network.

Yankee Express RestoMod Project

What I will do is cut the bottom edge of the new section so the 1/8" mat and fabric will slide under it but slightly press down against it. I might go and buy another sheet of the stuff but only 1/16" thick to place next to the thicker one around where the armrest edges set in so it wont compress the fabric so much. Kinda a step down..
 
Decided to keep the chrome strip along the top of the door card. It keeps the card pressed down against the panel to provide support against the pulling the door when closing it. I'll sand it down though and paint it black so it disappears with the top section once it is covered in the black fabric.
 
Still more Kindigit **** going on! I like it!
 
Still more Kindigit **** going on! I like it!
I wish!! Thanks pal, I am at the very least willing to try **** out to see if it belongs on my ride...or solves an issue I have.
I stumbled onto this technique by accident while looking for something else. The kid who does it is a dufuss but he knows his **** in this stuff. Makes custom audio speaker build outs for cars.
 
Once the fiberglass cloth is dry on this I can then use a mini cutter to trim the edges to perfection for fit.
 
I received the Burnt Orange fabric from SailRite today and will be returning it forthwith. The color is orders of magnitude lighter than the picture in the catalog. It looks more like Dreamsicle orange. Here's the side by side. They clearly shined a yellow light on the fabric before snapping the image.


0124201425a.jpg
EverSoft-Indoor-Outdoor-Burnt-Orange-54-Vinyl-Fabric_1.jpg
 
...I am at the very least willing to try **** out...

^^^^^ THIS is the way you end up with cool stuff! Anything cool, new or different was always started by someone with this idea...

Keep up the good work!

Hawk
 
I received the Burnt Orange fabric from SailRite today and will be returning it forthwith. The color is orders of magnitude lighter than the picture in the catalog. It looks more like Dreamsicle orange. Here's the side by side. They clearly shined a yellow light on the fabric before snapping the image.


View attachment 899286 View attachment 899287
To me, it doesn't look a whole lot different. But that's just the computer monitor, I'm sure.
 
To me, it doesn't look a whole lot different. But that's just the computer monitor, I'm sure.
I was surprised at how different even a cell phone pic was from the actual color. It looks better in that pic than in person. It really is a washed out pinkish orange in person. They sent me an RMA so I will be returning it today. I'll not be buying anything without first getting a sample or seeing it in person now. I have a master sample brochure from Elmosoft Leather, out of Sweden. Still though, i'm going to look for alternatives today. That stuff is very nice but pricey. You buy actual hides and I would need at least two.
 
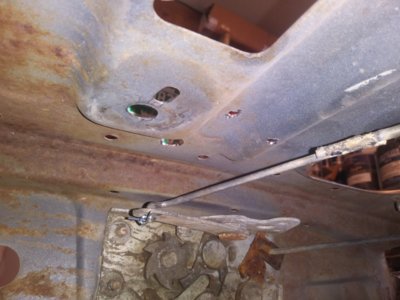
I dug up the wiring harnesses that go to the doors and sorted them out between back door and front, old and new. Labeled all plugs once I figured out where everything went. Installed the latch mechanism and figured out how to connect the top of the door Audi pull handle to the bottom of the door Coronet latch release arm.. The Audi handle has a small arm that hangs down with a tiny hole through the end for a hook that is connected to a cable pull. The Audi door latch/lock mechanism is at the top rear of the door. So, that would not reach across and down to the 67 latch. Then took the 67 latch arm pull rod and swapped ends so the funny shaped end could go in the Audi arm. I drilled a tiny hole through the 67 rod end for a cotter pin. Then the opposite end was 3 3/8" short, running diagonally down and back. I thought about it for a while and looked about for any rod of the same diameter. Turns out the handle from a 10lb plastic nail pail is the same, AND, the end is already twisted in the correct shape! Bonus. So I cut 4 3/8" off and welded it onto the rod end, overlapping an inch. Drilled a cotter pin hole in THAT end too. Wah laa! Just like down town. lol. I took a step drill bit and drilled out the anchor points of all of the Audi door panel wiring looms and removed them to put aside for when I decide to fasten them to the inside of the Coronet door panel to keep the wiring corralled. Need to put the windows back in again first to see the clearance issues..So that's the drivers door figured out.

0126201350.jpg 0126201350a.jpg 0126201351.jpg
 
I was laying in bed this morning and I occurred to me that I hadn't yet figured out the door latch configuration. Thought I was going to have to cut the drivers door expanding foam build out and start over. But, it worked out.
 
Applied the filler to smooth out the contours of the upper door treatment. Needs a second skim in a few places. When I glue fabric down over it all I want no bumps.

0129201234.jpg
0129201234a.jpg
0129201234b.jpg
0129201234c.jpg
0129201235.jpg
0129201235a.jpg
 
From the pull handle forward it's a front door section and to the rear of the pull handle is a rear door section. I did it this way because the rear door panel top section is flatter and longer. The front section is because I needed that shape to mate up with the dash end. The only thing left for this door is to determine where exactly to place the wiring plug looms on the underside of the panel so they don't interfere with the window. They will keep the plugs and wiring corralled and neat. Once that's done I will set aside the shell and start on the passenger door.

0130201005.jpg
 
Second coat is on and sanded down. Reshaping the front nose to slip around the jamb and pass by the pillar chrome trim base. Sprayed foam behind tape and will shape it tomorrow. Looking pretty good. A square of material stretched across in several spots looks fine. so I'm good with it. A few tiny spots to fill and call it ready for paint and fabric. On to passenger side.

0131201121.jpg
0131201122.jpg
0131201122a.jpg
0131201122b.jpg
0131201122c.jpg
0131201123.jpg
0131201123c.jpg
0131201124.jpg
0131201125.jpg
0131201123b.jpg
 
Last edited:
Got the "H" clips ( door glass Sliders) today. I see the channel they slide in. Isn't there supposed to be a weather strip in that wing window long channel?
0201201448.jpg
0201201503a.jpg
 
This is supposed to be the "U" shaped channel that goes inside the vent window door glass channel. I don't see how? Plus, it's only half as long as the channel is, what keeps the bottom slides when the window is down from getting hung up on the black insert as the window is rolled up?
If the "U" is where the edge of the door glass sits then where do the slide pins run? I'm missing something here.....anyone? Beuller?

F198649063.jpg
0201201503a.jpg
 
The company, SailRite is going to refund my money on that orange material I sent back.
 
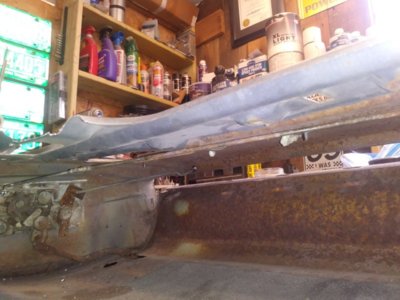
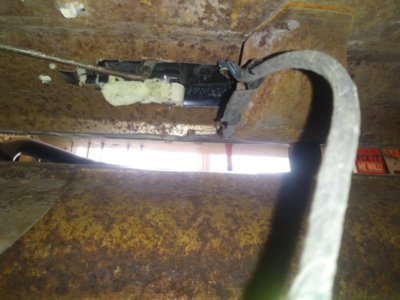
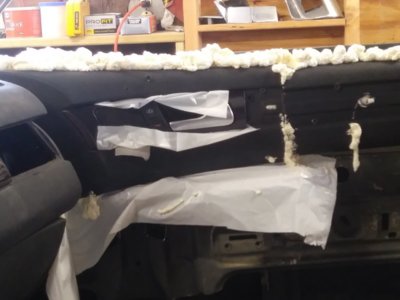
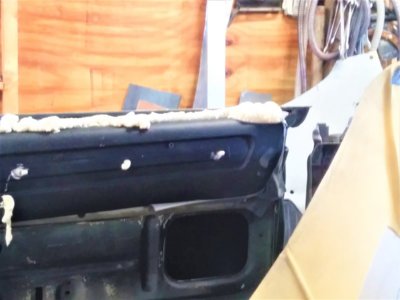
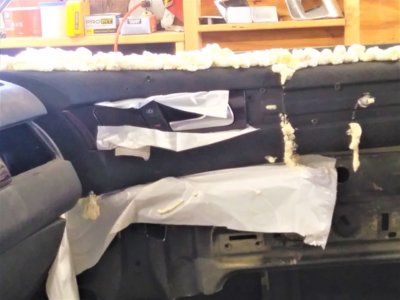
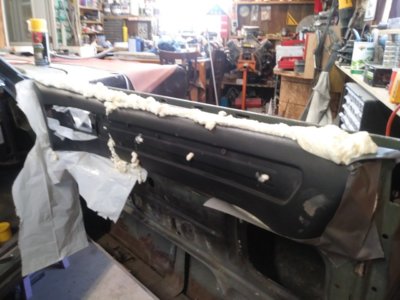
Finally got warm enough to get the other door set up and backfilled with expanding foam. I taped off some open gaps and built a metal form for the curved front surface and the big gap beneath the pull handle area along the underside. Screwed them down to the door panel so the foam would have a surface to fill up against. Covered those with plastic as a release agent. Put plastic around and under the latch mechanism as well. In the one pic the two pieces look off centered. When I saw that I went out and adjusted it and braced it in place so when it's dry it will line up right.

0222201453.jpg 0222201453a.jpg 0222201454.jpg 0222201454a.jpg
 
Just be careful with the foam. I use it for modelling, sometimes if it's a thick section it keeps expanding the next day and forms a bulge.
 
Auto Transport Service
Back
Top