• When you click on links to various merchants on this site and make a purchase, this can result in this site earning a commission. Affiliate programs and affiliations include, but are not limited to, the eBay Partner Network.

1969 Dodge Coronet 500

crahill39

Well-Known Member
Local time
8:20 PM
Joined
Nov 1, 2011
Messages
487
Reaction score
441
Location
Jacksonville, Fl
Hello,

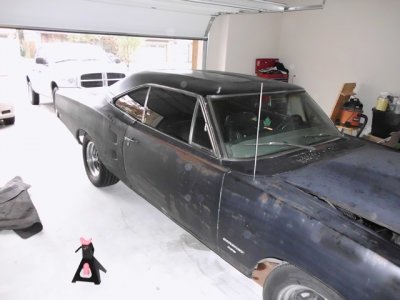
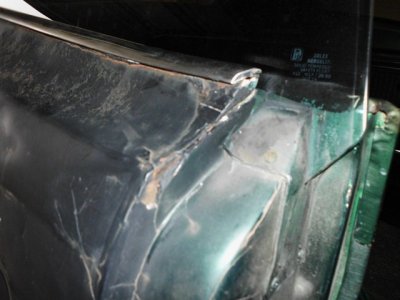
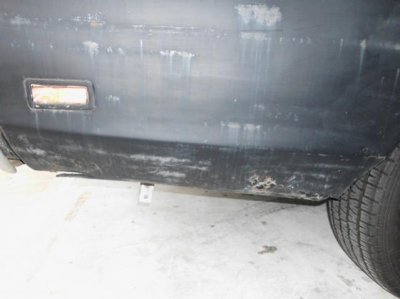
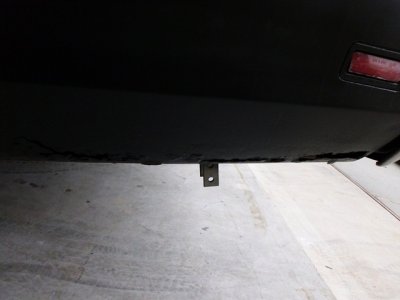
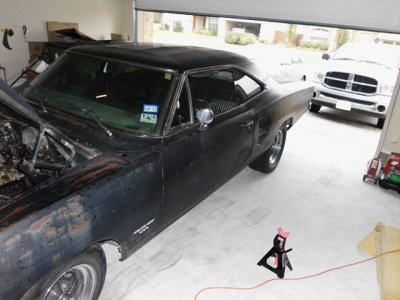
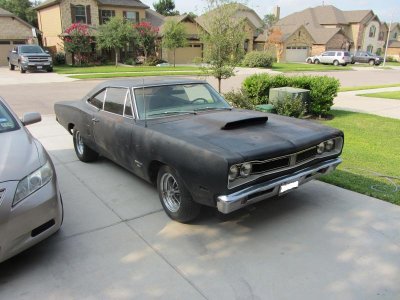
I have spent countless hours reading the journals here and finally decided to get over my fear about tackling a project car. I sold my 72 Satellite back to the prior owner, seems he just couldn't live without it after spending 3 years working on it. I picked up the Coronet 500 last week and I am starting to formulate a plan for fixing it up. To begin, I have no real experience with autobody repairs and will be learning things as I go. I know this sounds ambitious, but $$$ dictates that I tackle what I can on my own and farm out what I absolutely have no business messing with. I can already see the car needs a new trunk, quarter panel patches, rocker arm repair, driver fender, some door repairs, and possibly new floor pans - I am sure there will be more as I go along. I really don't intend on taking my first project car down to a bare frame like some of the pro's on here do, but I will do what's needed to stop the rust. I am hoping for some input here on how to best tackle this project and hopefully avoid too many pitfalls along the way. I couldn't get in to any of the community college welding classes here in the Austin / Round Rock, TX area because they were full - so I will be finding other sources to learn and practice. Hopefully picking up a welder, air compressor, and getting the garage wired next week. I haven't done anything this week other than clean out the garage and get things somewhat organized. Looking forward to your input.

Craig
 

Attachments

  • HPIM0077.JPG
    HPIM0077.JPG
    193.3 KB · Views: 1,589
  • HPIM0078.JPG
    HPIM0078.JPG
    79.7 KB · Views: 1,590
  • HPIM0084.jpg
    HPIM0084.jpg
    26.9 KB · Views: 1,596
  • HPIM0083.JPG
    HPIM0083.JPG
    63.2 KB · Views: 1,596
  • HPIM0088.JPG
    HPIM0088.JPG
    101.4 KB · Views: 1,565
Ask what you will and all will be answered. Good luck with the project and enjoy the whole process and don't let it overwhelm you, it's a car not a rocket ship.
 
Good luck on your new project, guess the first thing would be to start stripping her down for your body work and engine if thats what your doing.
 
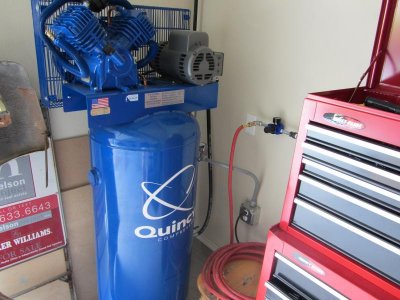
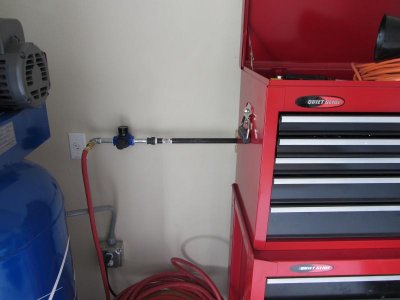
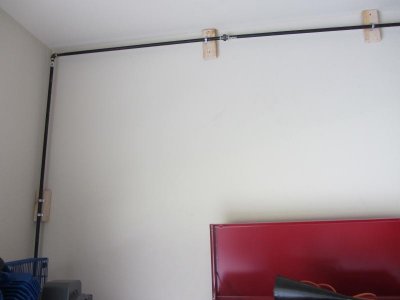
It's been awhile and I haven't made much progress on the car, because I decided it would be better to get my garage and tool situation organized before tearing it apart. After months of saving and planning I was able to get my home garage about 80% sorted. After reading all the threads here and doing a ton of research, I bought my compressor and welder. I ended up going with a dual stage Quincy Compressor and a Lincoln welder. I also enrolled in a welding class at the local community college, which has been an awesome experience so far. Here are a few pics of the compressor with the black piping I ran in the garage.
 

Attachments

  • Compressor.jpg
    Compressor.jpg
    69.1 KB · Views: 1,468
  • Car1.jpg
    Car1.jpg
    72.6 KB · Views: 1,443
  • Piping2.jpg
    Piping2.jpg
    40.2 KB · Views: 1,453
  • Piping.jpg
    Piping.jpg
    21.5 KB · Views: 1,429
Round Rock, TX? Of so, cool, I'm just down the road; glad to have fellow MOPAR freaks sort of close by. Nice compressor for sure! Oops. just re-read it, my question is answered! These cars are pretty simple, but daunting at the beginning. I recommend you write out your end state where you want your car to be, and the condition of the car at that point, and work backwards from there, planning it out, coming up with estimated costs, and you'll find that the costs you come up with need to be tripled -- just so you know, I got that from the mouth of John Balow himself, and, he was correct! Good luck, and looking fwd to seeing the pics of the process!
 
nice project,Just take it slow. Your not in a race with anyone here to get it done as fast as possible.Make a list of things you will need to replace and or repair and that will help you as far as a plan of attack.
 
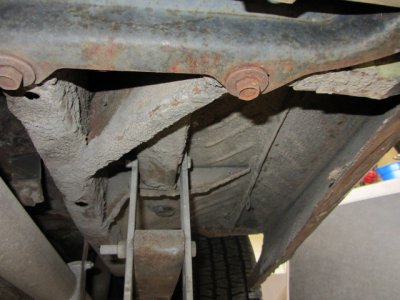
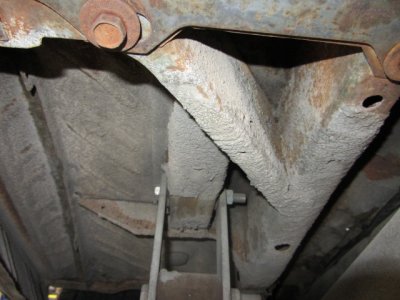
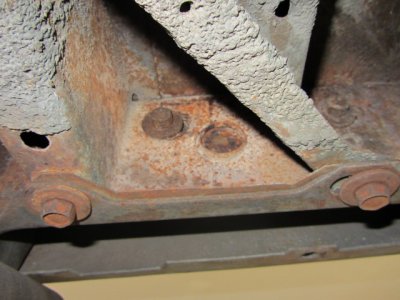
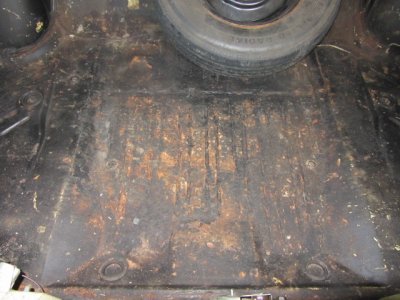
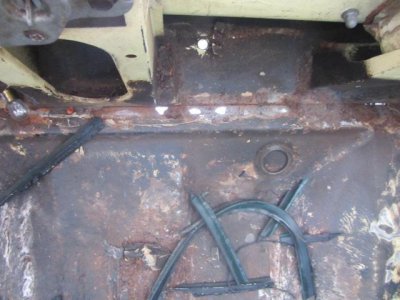
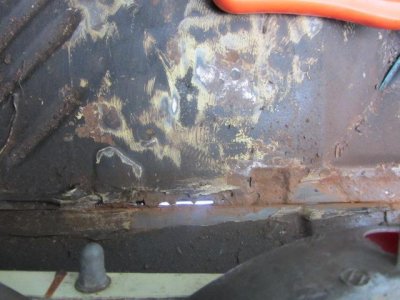
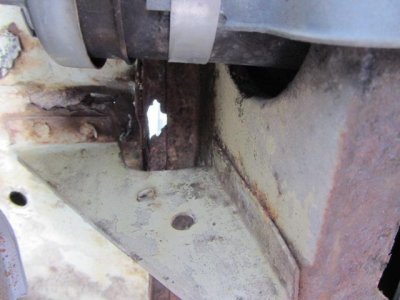
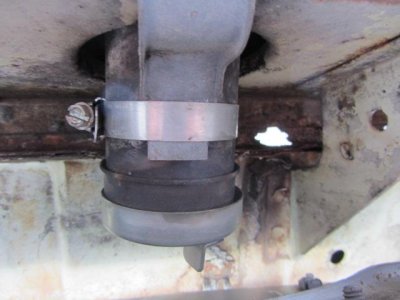
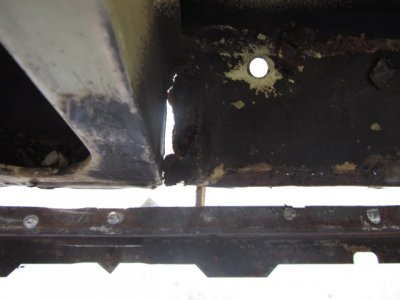
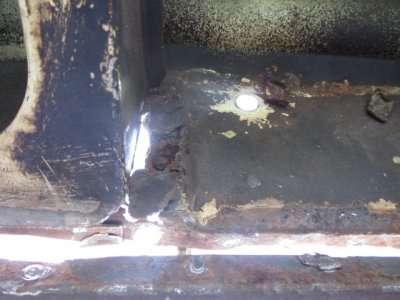
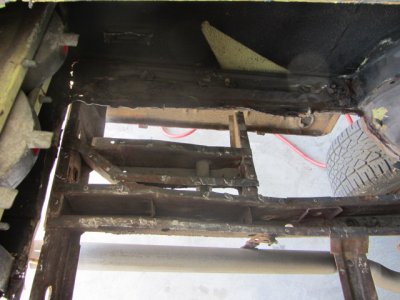
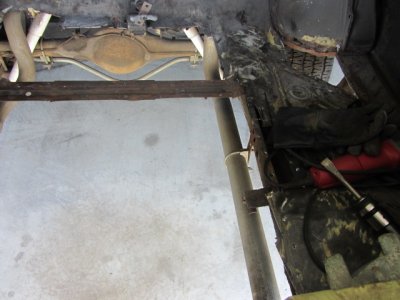
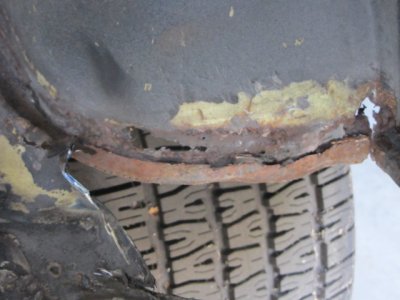
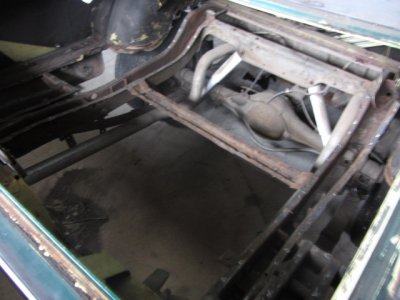
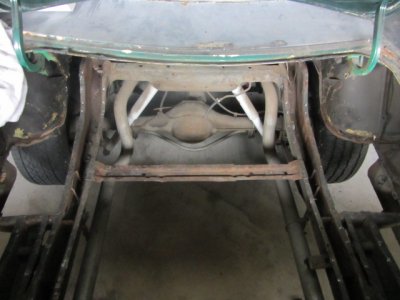
Thanks for the input and I think I have a game plan for the car. The trunk, quarters, and 1 door skin need to be replaced. There are a few pin holes in the floor pan as well. I planned on working from the back of the car forward, starting with the trunk pan. From what I can see, the frame rails are solid and still have some of the undercoating protecting them. Here are a few pics of the trunk area underneath. This weekend I plan on removing the gas tank and start pulling out the trunk pan - I am sure I will have a ton of questions on getting this done.

Craig
 

Attachments

  • IMG_0917.JPG
    IMG_0917.JPG
    116 KB · Views: 1,423
  • IMG_0919.JPG
    IMG_0919.JPG
    115 KB · Views: 1,424
  • IMG_0921.JPG
    IMG_0921.JPG
    119.7 KB · Views: 1,419
  • IMG_0923.JPG
    IMG_0923.JPG
    140.4 KB · Views: 1,438
To answer your first question that will be coming this weekend:

A 12 pack of beer, a punch, Blaire spot weld cutters and a steady supply of sweat and swear words should be all you need to remove that trunk pan.

Good luck!
 
To answer your first question that will be coming this weekend:

A 12 pack of beer, a punch, Blaire spot weld cutters and a steady supply of sweat and swear words should be all you need to remove that trunk pan.

Good luck!

X2:grin:
 
Your at the right place for
"good" advice and support! Looks like a good project and sounds like your headed in the right direction, Getting your garage in order before is a good start.. Learning patience is the hardest but without it things can get tuff, sometimes walking away is a great way to keep your focus. Id get plenty of zip-lock bags and a good Sharpie pen and bag and tag everything, you'll be glad later on.. I cant really add more then whats been said and i do wish you luck.. Enjoy the restore and take plenty of pictures for the future.. Its always fun to look back on the days when you did it. I personally think the biggest gratification is being able to say, "I did it myself" I don't consider myself a pro , ive seen to many builds and things some guys have undertaken but as one member here put it, were all pros when we take the time, money, and effort to build a ride.. Good luck and hope you'll keep us updated..
 
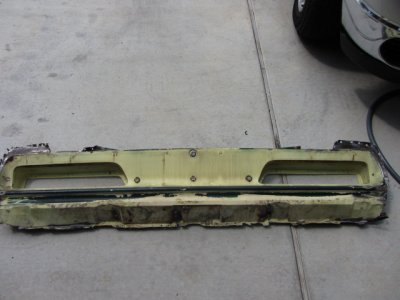
I didn't get to do anything with the car this weekend due to the house A/C breaking this weekend, which took up all my time. I got in there late Sunday to start plan of attack on ripping this trunk out and figure out all the parts I need. I noticed that the trunk has rotted out where it joins with what I think is the rear cross rail (Sorry, complete beginner with autobody work)? From what I can see, it looks like the rear valance will need to be replaced and if so, would it be best to ahead and pull the tail panel to replace the trunk in one piece vs 2? From reading other posts about the rear section of these cars, with the tail panel out, do I need to tack up some bracing to span the trunk opening? Sorry for all the questions, pics inline.

Craig
 

Attachments

  • Coronet_4.JPG
    Coronet_4.JPG
    58.3 KB · Views: 1,347
  • Coronet_3.JPG
    Coronet_3.JPG
    59.5 KB · Views: 1,365
  • Coronet_2.JPG
    Coronet_2.JPG
    50.1 KB · Views: 1,352
  • Coronet_1.JPG
    Coronet_1.JPG
    46.4 KB · Views: 1,347
Last edited:
I think you should start with removing the gas tank and the exhaust pipes.
Gives you work space and it sure feels a lot safer without 10 gallons of gas 5 inches from where you be cutting and welding.

Then remove the trunk floor, drill out the spot welds, it is only 325 of them or so.
Leave the tailpanel for now, I think it is repairable, It is not so much more work with a 2 piece trunk floor so it is worth the job to take of the tail panel.
When the trunkfloor is gone it will be much easier to inspect the rails, the tail panel and the crossmember. Why not let Donny media blast them for you?
If you search the forum you will find plenty of pictures to guide you.
If not, just ask!
Good luck!

AND a good advise from someone that made this mistake, do NOT start disassemble the car more then you need, you can disassemble a car in molecules in a couple of days and it takes a lifetime or more to get in back together.
Start with the trunk and finish the trunk before you move on.
 
Thanks for the advice Swede, I will follow that route. I hope to save up enuf $$ to get my car down to Donny at some point. I have signed up for a bunch of overtime work and holiday work. If it pans out, then I hope to get it to him.

Craig
 
Looks like you have a good start. Getting the garage in order is a smart thing to do. From my limited experience strip it down, bag and tag all the parts, and get it to Donny. You don’t want to install new metal and then find out that the new metal is in the way or welded to something that needs to be replaced. Torch (to soften) and scrape the undercoating off before it goes into blasting since it will reduce your bill and you get better results. Good luck!
 
So I got started cutting out the trunk. I think the crossmember is ok, but I am not sure the tailpanel is ok. I still have a ways to go, and through trial & error, I found it easier to use an air chisel than the spotweld cutter. I kept drilling through the damned rails :angryfire: ! Feel free to chime in with any tips on getting this bastard out and if the tailpanel should be replaced.

Craig
 

Attachments

  • IMG_0949.JPG
    IMG_0949.JPG
    80.7 KB · Views: 1,254
  • IMG_0952.JPG
    IMG_0952.JPG
    123.2 KB · Views: 1,230
  • IMG_0960.JPG
    IMG_0960.JPG
    113.8 KB · Views: 1,247
  • IMG_0962.JPG
    IMG_0962.JPG
    108.8 KB · Views: 1,227
  • IMG_0964.JPG
    IMG_0964.JPG
    100.9 KB · Views: 1,246
Trunk is all out now after a bunch of swearing and sweating. I managed to booger up the driver's side inner wheel well, and will have to fix it. Still hoping to get some input on the tail panel.

Craig
 

Attachments

  • IMG_0976.JPG
    IMG_0976.JPG
    102.2 KB · Views: 1,208
  • IMG_0974.JPG
    IMG_0974.JPG
    99.8 KB · Views: 1,212
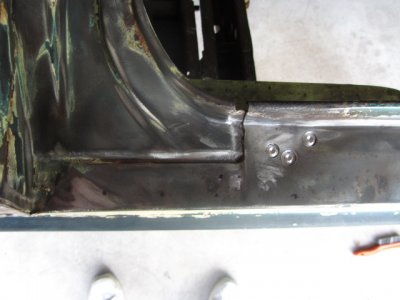
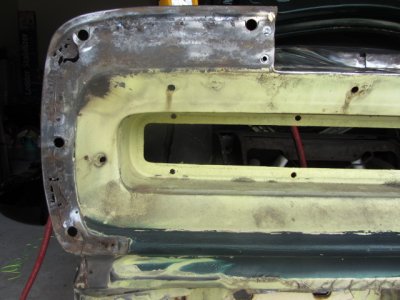
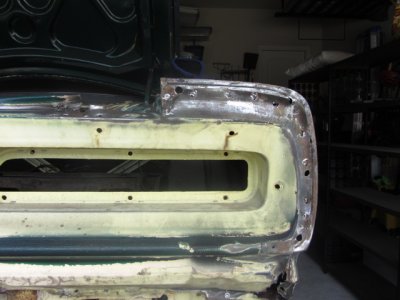
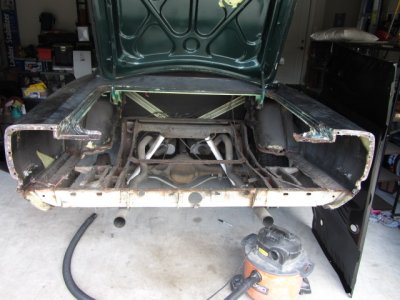
Tail Panel is out and new parts have arrived. I am starting to get the hang of the spot weld cutter and learning more everytime I work on the car. Unfortunately, I have to limit how and when I work on the car because of a few upity neighbors who act like the HoA police enforcers :icon_fU:. Anyways, here are a few pics.

Craig
 

Attachments

  • IMG_0978.JPG
    IMG_0978.JPG
    89.2 KB · Views: 1,178
  • IMG_0979.JPG
    IMG_0979.JPG
    115.8 KB · Views: 1,155
  • IMG_0977.JPG
    IMG_0977.JPG
    100.8 KB · Views: 1,138
  • IMG_0980.JPG
    IMG_0980.JPG
    122.2 KB · Views: 1,131
  • IMG_0981.JPG
    IMG_0981.JPG
    97.6 KB · Views: 1,127
Thats an awesome car you picked to work on, love the look of them.
By the way, buying your tools and organizing your garage was probably the best thing to start with. Its ALWAYS a pain in the a** to do it after the car is in there and half torn apart!
No need to say "have fun with it" because you already are.... lol. Glad to see.
Out of curiosity, what do you have planned for the final outcome of the car?
 
Auto Transport Service
Back
Top