• When you click on links to various merchants on this site and make a purchase, this can result in this site earning a commission. Affiliate programs and affiliations include, but are not limited to, the eBay Partner Network.

1969 Dodge Coronet R/T restoration, going one piece at the time

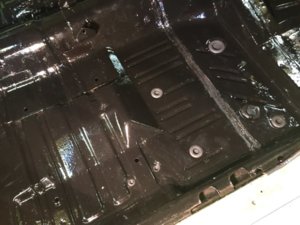
I've removed all the rust and paint off the seat tracks and got them painted black.
Guess this was the last job for now, tomorrow i will chill out a bit and saturday it's time to go travel to work.
So no Mopar for the coming 4 weeks, instead i will be all over Caterpillars and drilling equipment....

Anyway, need to make some money again to keep the restoration going!
And i will be able to read FBBO so i can stay up to date.
 
Checked out your thread, very nice floors! That undercoating has done it's job, I'd touch up any spots needed and leave it. Doing a good job and it's going to be nice when you're done Wietse.
 
I know it is not a full restoration, but my plan is to make sure the car is not rusting away under my ***.
Thinking all this will last another 10 years, maybe by that time I have the space and the need to do a full strip down and getting the complete car done in 1 go.
Main objectives are keeping it in it's current condition, replace/repair/upgrade the bolt-ons so whenever the time comes it will be an easy strip down.
The other point there is that all suspension, k-member, engine/transmission and rear axle can be done bit by bit without losing any points.
I know most of you guys do a full strip down, blast and paint the body and rebuild everything bit by bit, but hopefully I will have most of it done when the time comes to do a full restoration on the body.
The thing that I keep in mind is to do pieces at the time, and once completed still be able to drive it when the weather is nice.
I would be really sad pulling it in bits and it will be standing in my garage for a year or 2 and I can't drive it.

It's funny to see that this car was originally red, many parts i've removed and you come across a nice red color makes me thing to spray it back in it's original color if the time comes.
Mind you i have not fender tag, build sheet or any other documentation so i can only go by the proof i can find.
The car's externals were stripped and painted in it's current color, specifically green to transfer the car on an "illegal" registration. (this was done a lot here years ago)
This is still something i need to work on, the shop where I bought the car asked me to make a full report of all numbers found and they can check with the vehicle registration if it is possible to get the car correct registered on it's proper VIN. (as now it is registered on a '70 coronet 500 VIN)

But most important is to enjoy the work, improvements and driving it and that is the best part of all i guess.
 
Hey guys,

I have been relaxing my first week at home, but yesterday i wanted to carry on with some business on the car.
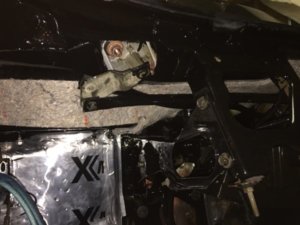
I got my body plug kit and after some organising i figured what goes where i got them all installed. (sore thumbs now from pushing the bastards in :)
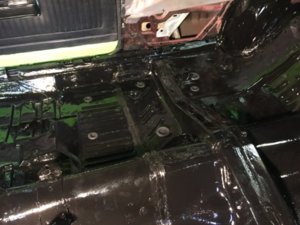
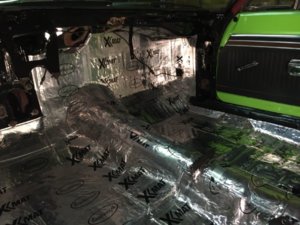
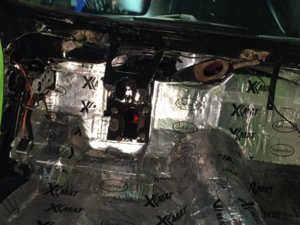
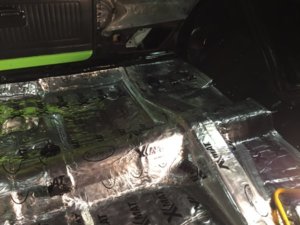
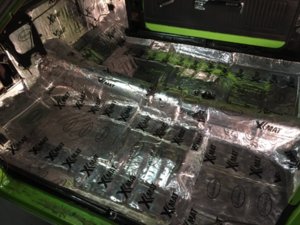
After i started on the heat and noise insulation, which after a few sheets was easier then i expected.
You just have to make a start and attach a corner and work your way around and keep a stanley knife at hand.
All in all results are good, hope it functions as good as it looks.

IMG_8500.jpg IMG_8502.jpg IMG_8508.jpg IMG_8509.jpg IMG_8510.jpg IMG_8513.jpg
 
When the car was still driving i noticed the speedometer started playing up again, working intermittent.
Now after removing everything i noticed there was quite some copper filings inside the speedometer cable connector on the dashboard side.
Now i found the copper filings came out of my speedometer body. (New OER part from Classic Industries)
The input shaft in the speedometer now shows a lot of axial clearance inside the housing, causing the needle to "lock up".
The only thing done previously was replacing the speedometer gear in the transmission for one with the correct gear size.
During this i was struggling to get the cable reinstalled again, i had to loosen both sides of the cable and work them in 1 at the time. (thinking the cable was not engaging fully)
Now i am wondering if the inner core could get stretched and become too long; causing too much force pushing against the speedometer input shaft and with this wearing out the body.

I am quite pissed off because it looks like i can spend another $350-400 to buy a new speedometer.
Only thing i can do is to prevent this from happening again.

Any thoughts?
 
I don't believe the cable can stretch or shrink. I would call/e-mail Classic & ask them for thoughts.
 
I don't believe the cable can stretch or shrink. I would call/e-mail Classic & ask them for thoughts.
I agree with oldbee, call up Classic and explain your problem to them, that shouldn't have happened.
 
Not sure if they can provide a solution, i am quite sure they will not send me a new one instead or so.
Just thinking that the cable hole in the new drive gear shaft might have been more shallow; causing the cable being too long and pushing too much on the speedometer input shaft causing it to wear out very fast.
I will try and see what CI has to say about it.
 
Well, i've contacted Classic Industries regarding the malfunctioning of the speedometer.
Man, they have the best customer service i've ever came across, the will send me a new one and will pay for shipping costs.
Also any import and tax charges i can reimburse to them and they will pay it back.
And the old speedometer i do not have to send back, which i can understand it's not worth the shipping costs.
Seriously, that kind of service you will never see from any company over here, really impressed with them and obviously highly appreciated.

I've received my order from Classic Industries...so plenty to do again.
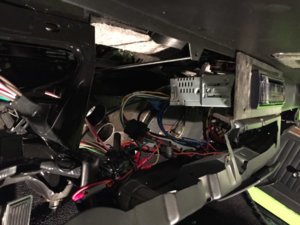
I the past few days i focused on the audio installation, as everything is out i have all the space needed to route any wiring and install everything as hidden as i can.
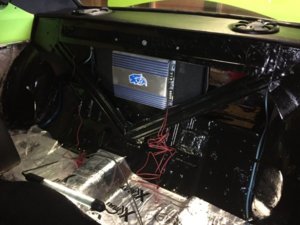
I still had a 1000 Watt Soup woofer with a 1200 Watt amplifier which i removed from my Infiniti (previous owner had installed this but i never really understood that as it only takes space and the sound system in the car is already very good.)
As i was at my usual car shop i've seen they had a set of speakers and amplifier on sale and was a pretty good deal compared to what i was planning from the stuff from Retro Sound which would have cost me a fortune.
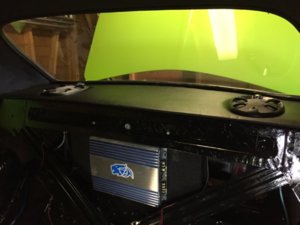
Got it all installed right behind the rear seat, luckily the additional amplifier fitted exactly between the frame on the back of the sub woofer housing.
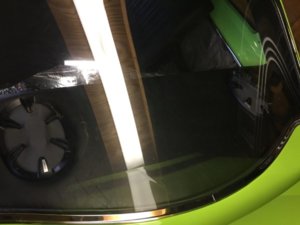
Also got some material to cover the speakers in the package tray as the core of the speaker was yellow and would not look good obviously.

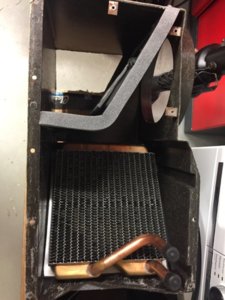
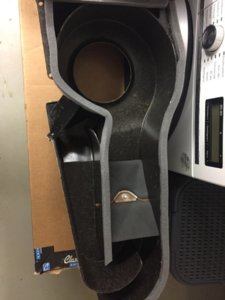
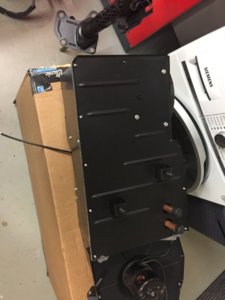
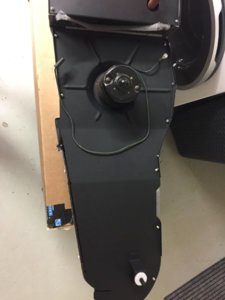
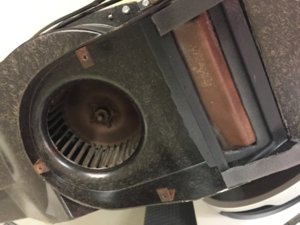
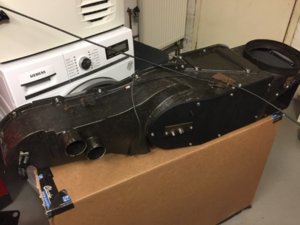
Today got my heater box rebuild with the seal kit and hardware kit i received, including a new heater core.
I had all metal parts sand blasted and painted matte black. (apart from 1 door which would require drilling out the rivets etc. and afraid to damage something.)

Some pictures of the progress.

IMG_8539.jpg IMG_8540.jpg IMG_8541.jpg IMG_8545.jpg IMG_8546.jpg IMG_8547.jpg IMG_8548.jpg IMG_8549.jpg IMG_8550.jpg
 
What did you do with the old heater core?
 
I still have it.
It has signs of leaks but i never found any coolant inside, maybe it's just corrosion of the brass material.
I want to somehow pressure test it, clean it and keep it safe in case i ever get a leak on the new one.
 
Some more updates:

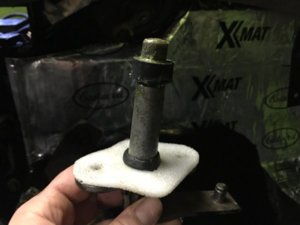
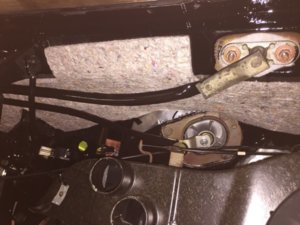
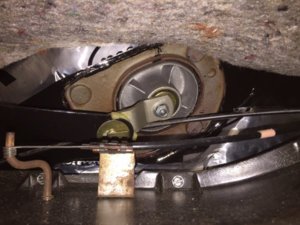
Removed the window wiper shafts.
They were not easy to move so i soaked them with WD40, after some moving around they came more free and now are very easy to move.
Got new seals on them and put them back, installed all the wiper bars.
The last time i bench tested the wiper motor i set it in the park position, saves guess work when putting the wipers back on the shafts. :)

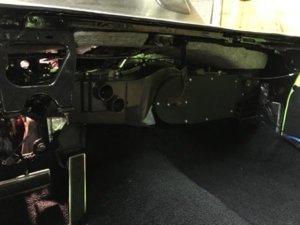
Installed the heater box again, which was easy enough.
I did notice the tubes for the heater core do not stick out of the fire wall that far as the old ones.
I might have to pull them out more a bit to get the hoses installed properly.
Some time back i remember reading someone had issues with installing the hoses, when trying to push the hose on the brass tubing just bends.
Need to figure out a way to hold the tube and install the hose at the same time....any suggestions?

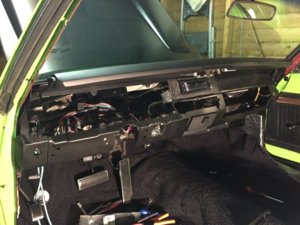
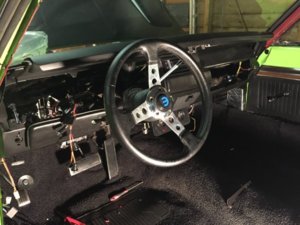
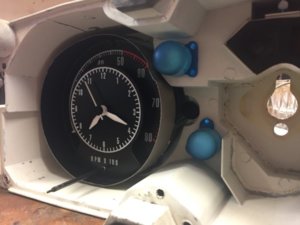
After all that got the dashboard back in place, this was also sand blasted and painted in matte black.
I reinstalled the fasteners which hold the upper section near the window in reverse, the clips are attached on the dash board and the screws went in from the bottom.
This way the dash can easily be removed in the future without removing the front window.
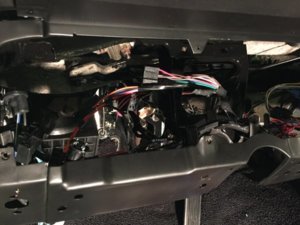
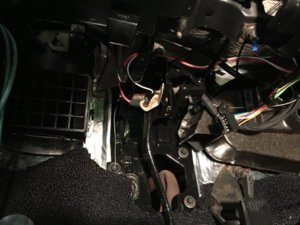
Installed the Under Dash Wiring harness, very easy to work out what is what and to find a good way to lay it out.
I found my old harness had an extra part that was not supplied with the new one, which is for the map light and the glove box light.
When removing i did not find any brackets etc. for the glove box light so guess i will have to find something for them.
If i am not mistaken with this "light package" there should also be a light for above the ignition key right?
There was nothing there either like a bulb socket or whatever but i can maybe find something for that and integrate it into the "light package"
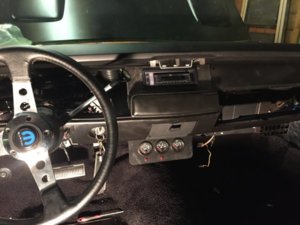
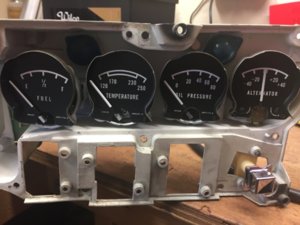
Still have some additional wiring to do for the radio and the additional gauge cluster.
I cut the connectors of the Amp meter and soldered them together and installed 3 layers of crimp sockets, good for resisting 600 Volt.
I will also run a bypass in the engine compartment as well as many done before and recommended this to prevent potential disasters.
I will run an additional wire from the alternator output and hook it up direct to the battery terminal, bypassing the fire wall connectors.

See below some pictures. :thankyou:

IMG_8553.jpg IMG_8555.jpg IMG_8557.jpg IMG_8558.jpg IMG_8560.jpg IMG_8564.jpg IMG_8565.jpg IMG_8566.jpg IMG_8567.jpg IMG_8568.jpg
 
Last edited:
Some more progress made.
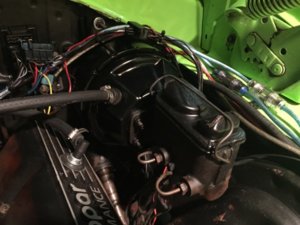
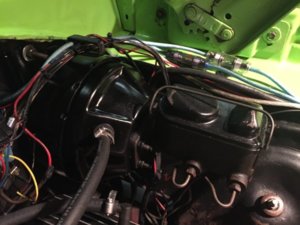
Got the steering column and brake booster back in place.
The steering column was cleaned up and sprayed in a coat of plasti dip, which gives this "rough" matte surface and turned out wel.
The bearings were still in good shape so i just cleaned and greased them, had a new gasket for against the fire wall.
The brake booster was cleaned up, stripped from old paint and rust and resprayed in gloss black.
Maybe over time i will replace the brake booster, along with the master cylinder etc. when the time comes but for now looks good again.
Hooked up a lot of electronics and hooked it up to battery....no sparks and smoke :lol:
Ended up chasing my own tail with the dome light....long story short, i found out the light bulb i was using is one with the housing as ground.
Which causes the light never to go off, i remember something about it but after reading here i found it again that the 1004 bulb type is to be used where the housing is not ground.
For some reason i found 1 fuse blown and was quite sure they were all good before so i replaced it and later on i noticed it went again.
It was the one for the cigarette lighter, removed the Positive wire from the lighter and put another one..so far so good. (i had it open and cleaned out but did not find anything wrong, but still must be shorting somewhere)
I also run an additional heavy wire across from the alternator to the battery terminal to reduce the load on the bulk head connectors.

I cleaned the vinyl dash pads and they came out a lot better then before, i have not seen these being reproduced anywhere.
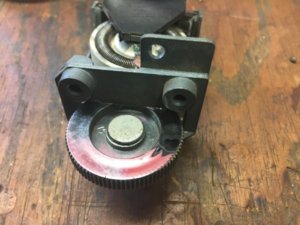
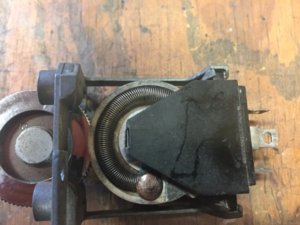
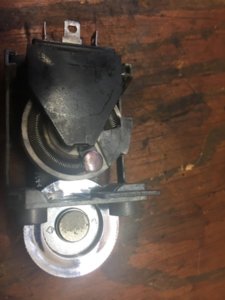
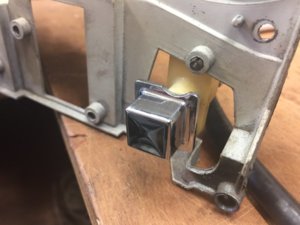
I've cleaned and tested all dash switches, the dimmer switch was not working before and was planning to buy a new one but after some love and cleaning it was working well again, with a multi meter i noticed the resistance was fluctuating badly but all it needed was a good clean up of all contacts.
All chrome on the switches turned out very nice again after some polishing.

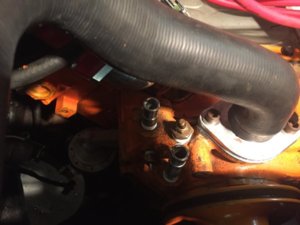
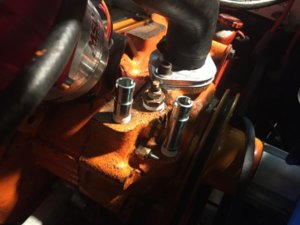
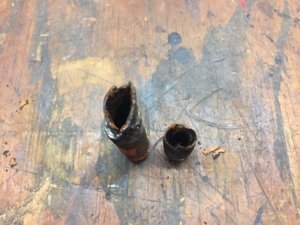
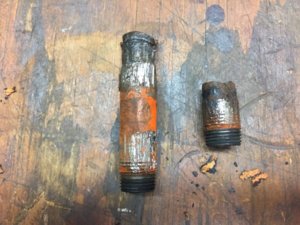
I also received new hoses, clamps and fittings for the coolant to the heater core, the fittings on the engine were in a bad state and looks like i was right on time there.
They were a nightmare to get out but with a can of cold crimp and vice grips they gave up in the end.

Installed a new speedometer cable, which was quite a bit shorter then the old one, which probably was not the proper one for a B-body.
Not sure if that was part of the cause of my speedometer to fail but who knows.
Still waiting on the rear light harness and my new speedometer to complete the last bits and pieces before i will put the rear bench and seats back in.
Had a good test on my new sound system and that i well capable of playing some good old music from them days, no drone, rattles etc! :thumbsup:

IMG_8642.jpg IMG_8643.jpg IMG_8644.jpg IMG_8635.jpg IMG_8636.jpg IMG_8638.jpg IMG_8639.jpg IMG_8640.jpg IMG_8641.jpg
 
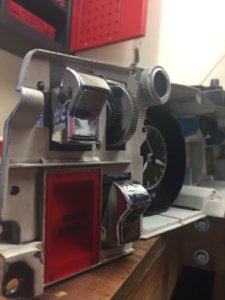
Some more pics of the dash board.
In the first picture the dimmer wheel left hand side was not cleaned, compared to the right side which was polished.
Some patience and fiddling around makes a lot of difference in the small details.

IMG_8627.jpg IMG_8628.jpg IMG_8630.jpg IMG_8631.jpg IMG_8632.jpg IMG_8633.jpg IMG_8634.jpg
 
Real productive time, looks good.
 
Thanks Oldbee.

I am very lucky that with my job i have plenty free time at home to continue on my car, i know a lot of guys here barely find free time in their weekends.

Just decided as well to go ahead and buy new dash bezels to give it all a "as new" look.
Very expensive though for some pieces of plastic but i think it does make a hell of a difference.
 
Some more updates:

Removed the window wiper shafts.
They were not easy to move so i soaked them with WD40, after some moving around they came more free and now are very easy to move.
Got new seals on them and put them back, installed all the wiper bars.
The last time i bench tested the wiper motor i set it in the park position, saves guess work when putting the wipers back on the shafts. :)

Installed the heater box again, which was easy enough.
I did notice the tubes for the heater core do not stick out of the fire wall that far as the old ones.
I might have to pull them out more a bit to get the hoses installed properly.
Some time back i remember reading someone had issues with installing the hoses, when trying to push the hose on the brass tubing just bends.
Need to figure out a way to hold the tube and install the hose at the same time....any suggestions?

After all that got the dashboard back in place, this was also sand blasted and painted in matte black.
I reinstalled the fasteners which hold the upper section near the window in reverse, the clips are attached on the dash board and the screws went in from the bottom.
This way the dash can easily be removed in the future without removing the front window.
Installed the Under Dash Wiring harness, very easy to work out what is what and to find a good way to lay it out.
I found my old harness had an extra part that was not supplied with the new one, which is for the map light and the glove box light.
When removing i did not find any brackets etc. for the glove box light so guess i will have to find something for them.
If i am not mistaken with this "light package" there should also be a light for above the ignition key right?
There was nothing there either like a bulb socket or whatever but i can maybe find something for that and integrate it into the "light package"
Still have some additional wiring to do for the radio and the additional gauge cluster.
I cut the connectors of the Amp meter and soldered them together and installed 3 layers of crimp sockets, good for resisting 600 Volt.
I will also run a bypass in the engine compartment as well as many done before and recommended this to prevent potential disasters.
I will run an additional wire from the alternator output and hook it up direct to the battery terminal, bypassing the fire wall connectors.

See below some pictures. :thankyou:

View attachment 537422 View attachment 537423 View attachment 537424 View attachment 537425 View attachment 537426 View attachment 537427 View attachment 537428 View attachment 537429 View attachment 537430 View attachment 537431

Bought new heater core for my 66 Satellite put it in car tubes bearly came through firewall. Removed it and pipes were 18mm shorter. Took it back radiator shop where I bought it. They took old tank off and put on new core.
 
The driver side tube sticks out far enough to connect the hose.
The passenger side i already tried to pull it out and it will come out a bit more which should give me enough space to get the hose on and clamp it.
Guess during installing the hose i will have to pry something between the fire wall and the tube to stop it from bending back in.
It's a OER service replacement heater core so you would expect it meets or exceeds the standard dimensions.
 
Just a question here.

Going through the electrical wiring for the headlights i noticed this:
The 12 Volt supply comes direct off the wire from the wire from the Amp meter and goes to the light switch in the dashboard.
After this it goes from the switch, through the beam selector switch, to the head lights.
So in this circuit there there is no breaker??

I've changed out all 4 headlights with some after market ones which all accept H4 bulbs.
So now, this circuit requires to supply 4x 55 Watt lights with everything on. (which doesn't happen much but just want to make sure there will be no melt downs)
So according me, P=UxI (Watt=Volt x Amps) this 220 Watts will pull around 18 Amps @ 12 Volt.
Would the OEM wiring survive that?
Keep in mind all wiring harnesses have been replaced with new ones including the fire wall connector.

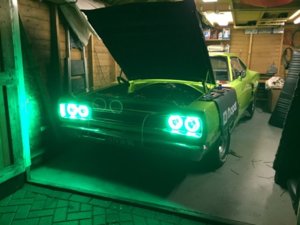
Plus the new headlights came with some angel eyes to match the cars color scheme. :D
(Wired separate with it's own switch to keep the cops away) :lol:

IMG_8624.jpg
 
You may want to consider the remote relay kit for the headlights.
 
Auto Transport Service
Back
Top